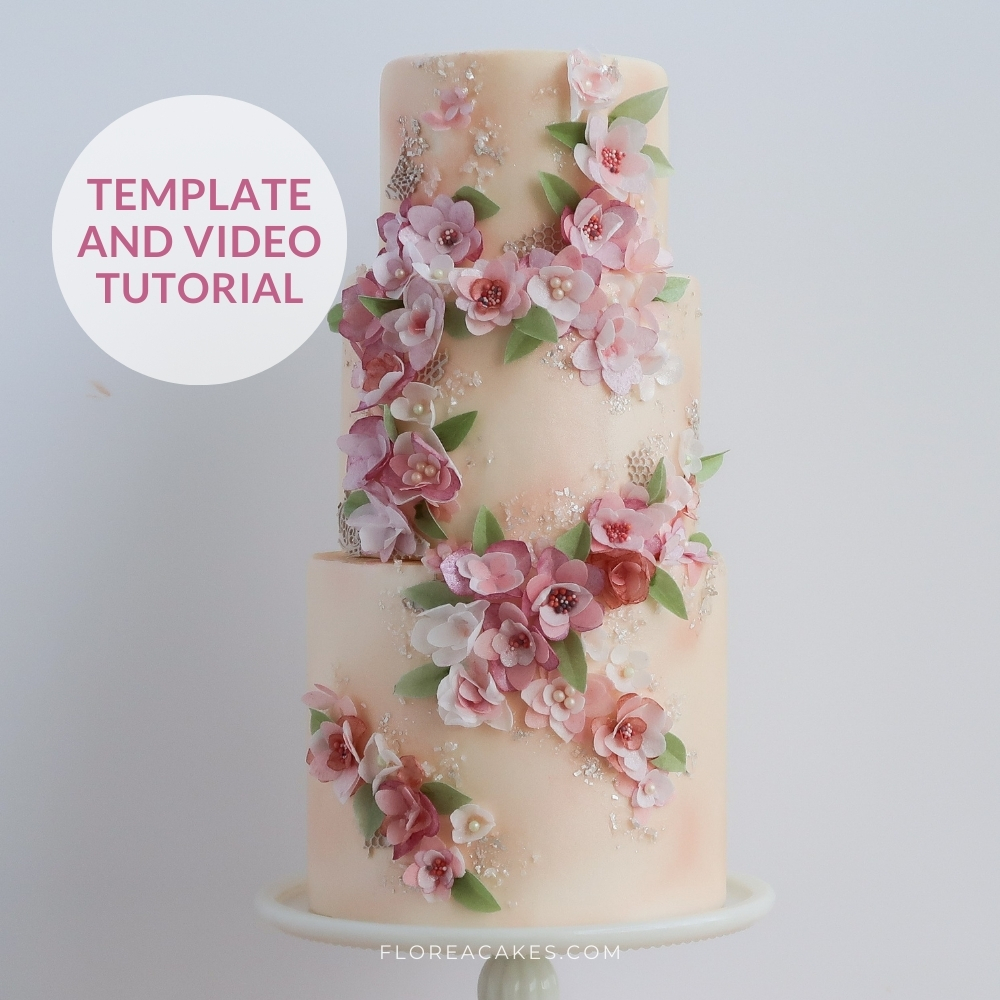
Have you ever wondered how to add beautiful flowers to your cakes without using wires or cocktail sticks? In this tutorial, I’ll show you how to make a wafer paper floral applique design that’s as unique as it is versatile!
Floral appliques bring an elegant, dimensional effect to your cakes, and with the variety of colors and textures you can use, the possibilities are endless. From soft pastels to bold, contrasting shades, you can customize the colors to match any theme, making your cake designs truly one-of-a-kind.
Whether you’re a beginner or an experienced decorator, this tutorial will walk you through the entire process, with detailed instructions and a free template to make the design even easier. Watch the video or follow along with the step-by-step guide below. Let’s get started!
Materials and Tools You’ll Need
Materials
- Wafer Paper – 0.27 – 0.3 mm
- Powder Color (Rose)
- Powder Pearl Color
- Saracino White Top Paste Fondant
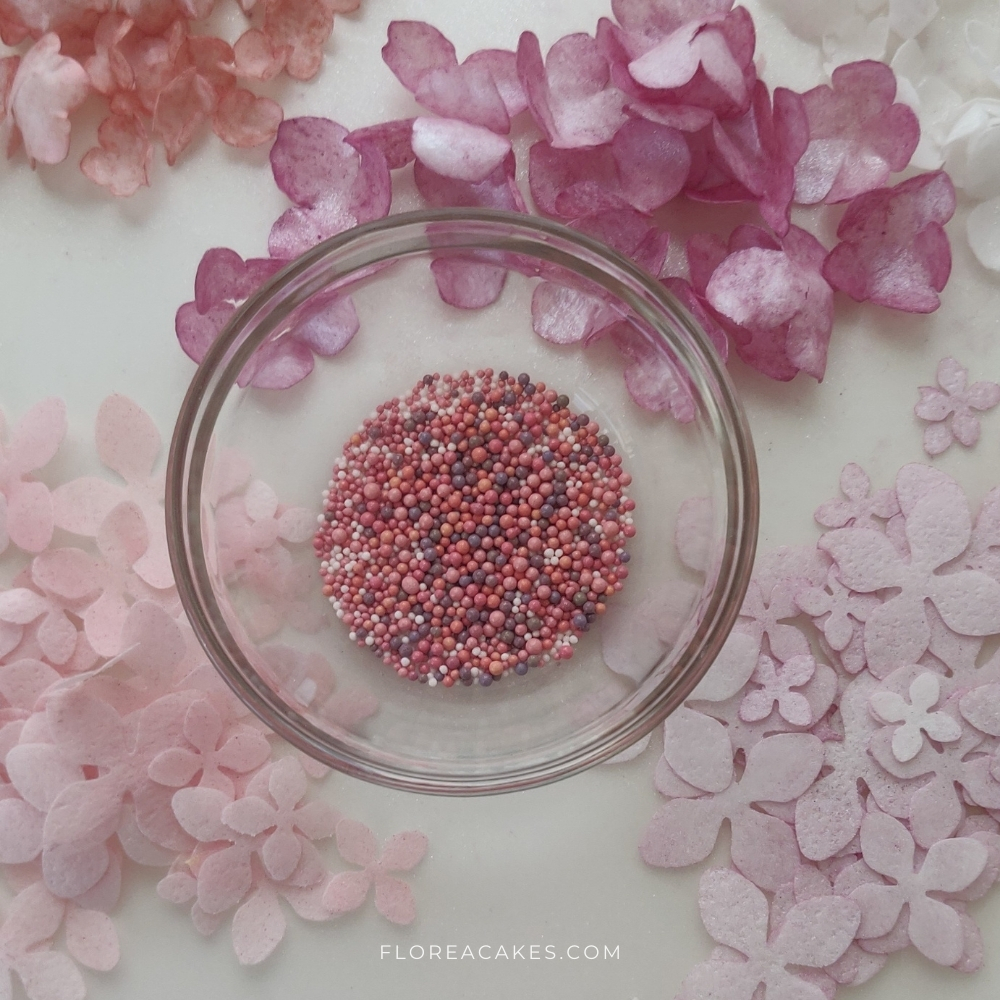
- Rainbow Nonpareils
- Piping Gel
- Wafer Paper Glue (get my free recipe here)
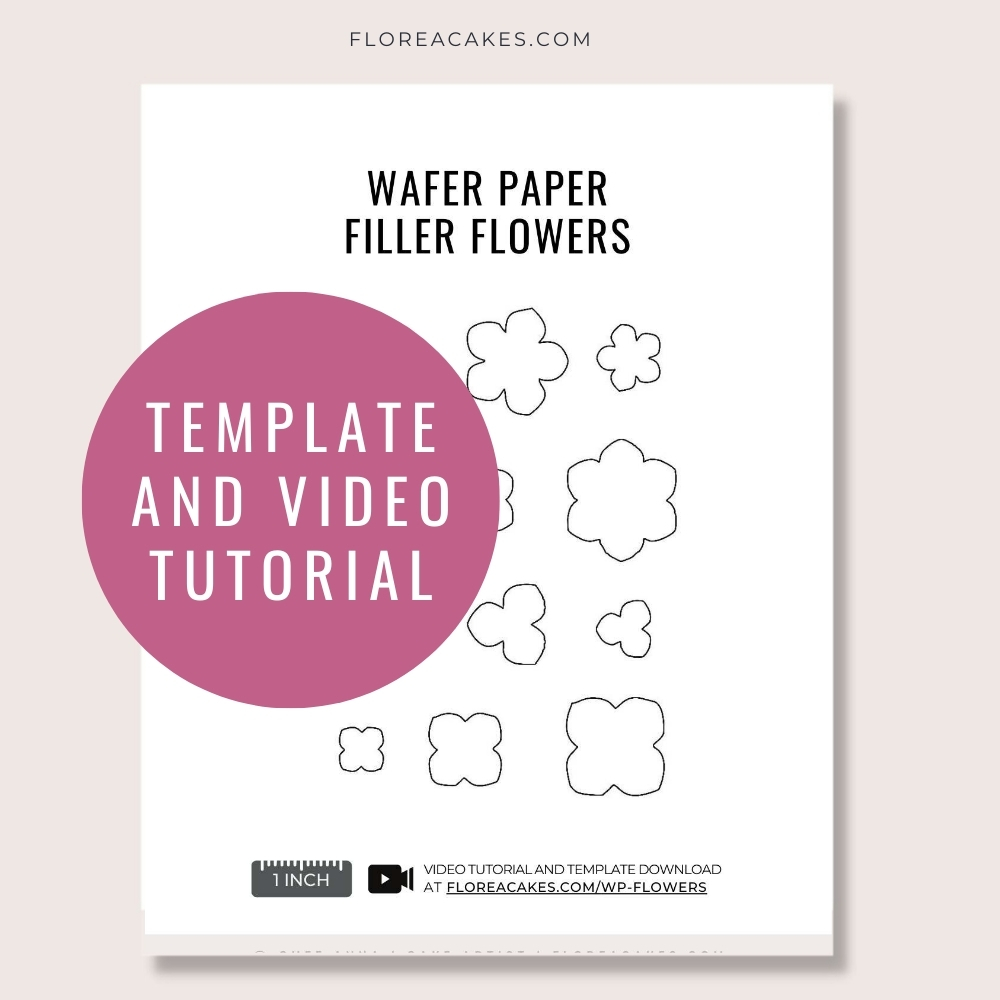
- My Floral Appliques Template (includes SVG files to cut your flowers)
Tools
- Craft Punch – Hydrangeas
- Airbrush (for Mother of Pearl color)
- Brush (for applying colors)
- Piping Bag
- Ball tool
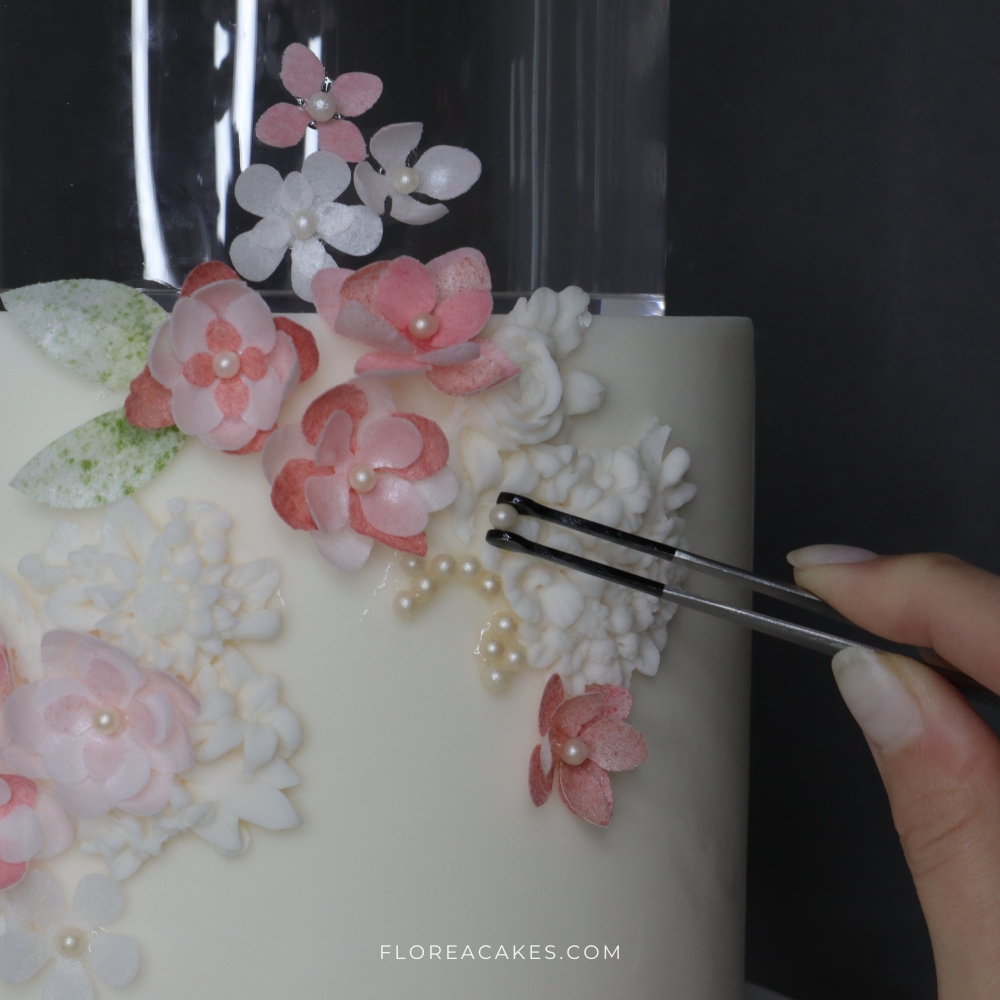
- Tweezers (for precise placement of wafer paper pieces)
How to Create the Wafer Paper Floral Applique Cake Design - Step-by-Step
Step 1: Color the Wafer Paper
Airbrush the wafer paper with Saracino Mother of Pearl color for a soft, elegant effect. Use the Saracino Green and Rose powders to add subtle shading and depth to the petals. Alternatively, you can use a mini spray bottle to achieve a similar effect.
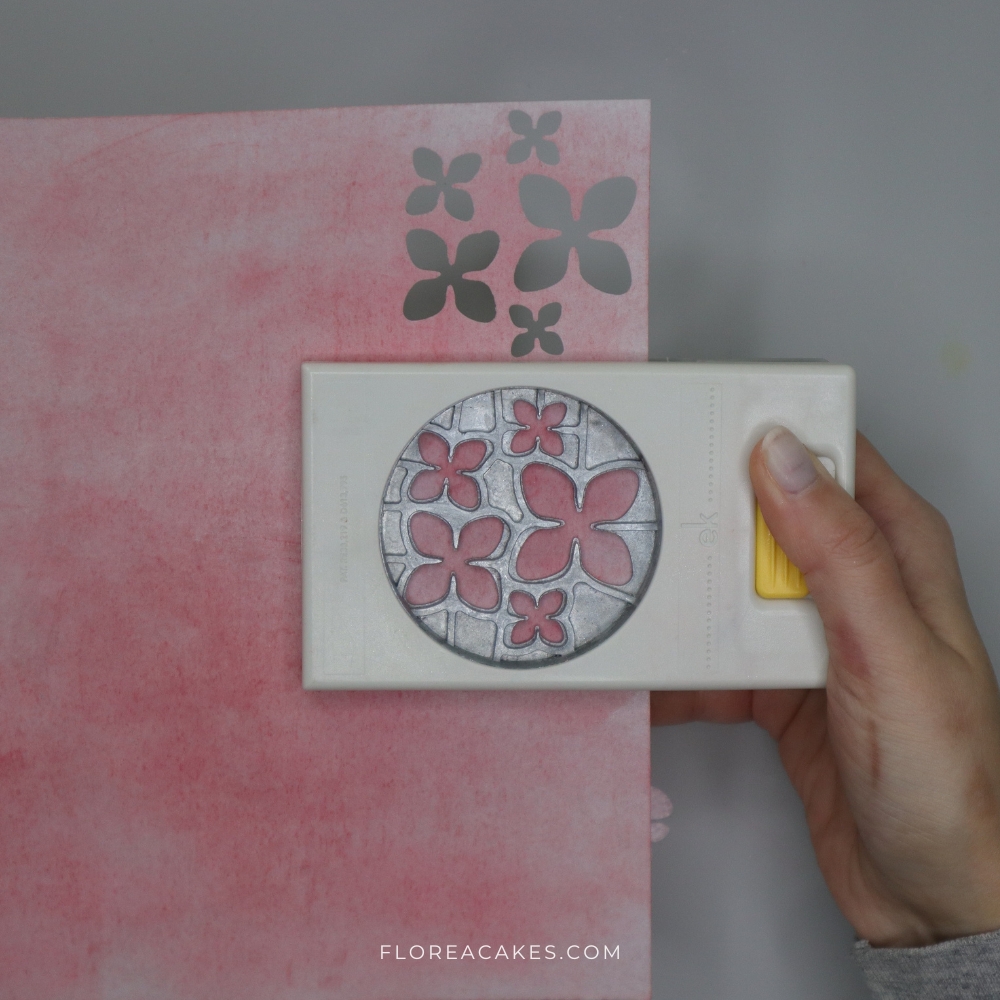
Step 2: Cut Your Wafer Paper
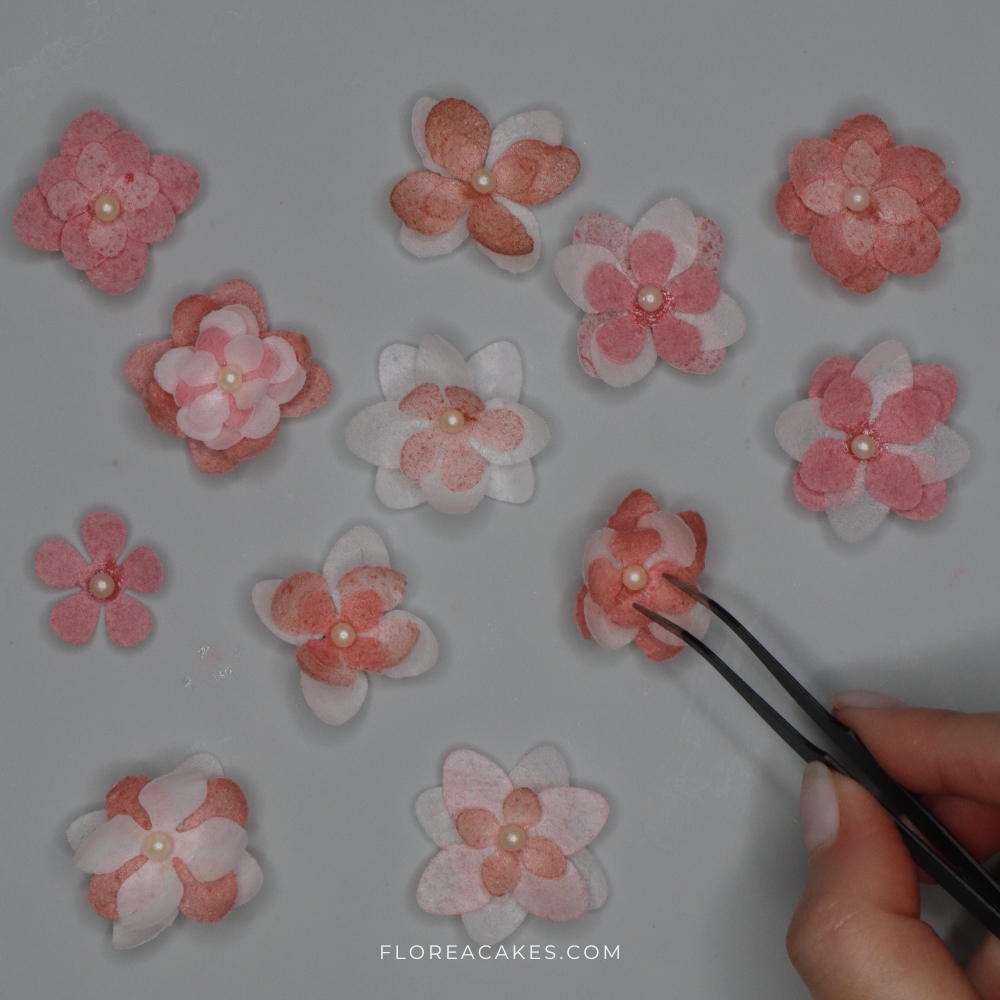
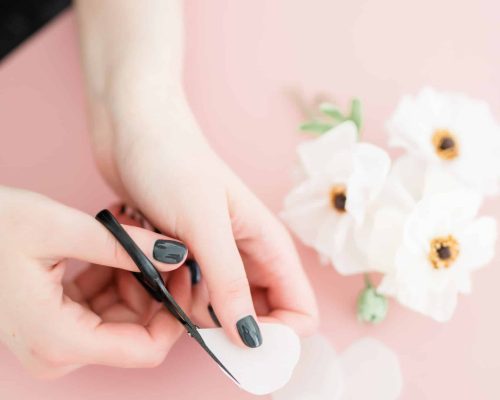
Start by cutting your wafer paper into the desired petal shapes using a Hydrangea craft punch or with a cutting machine. Make sure to prepare enough pieces for each layer of the applique design.
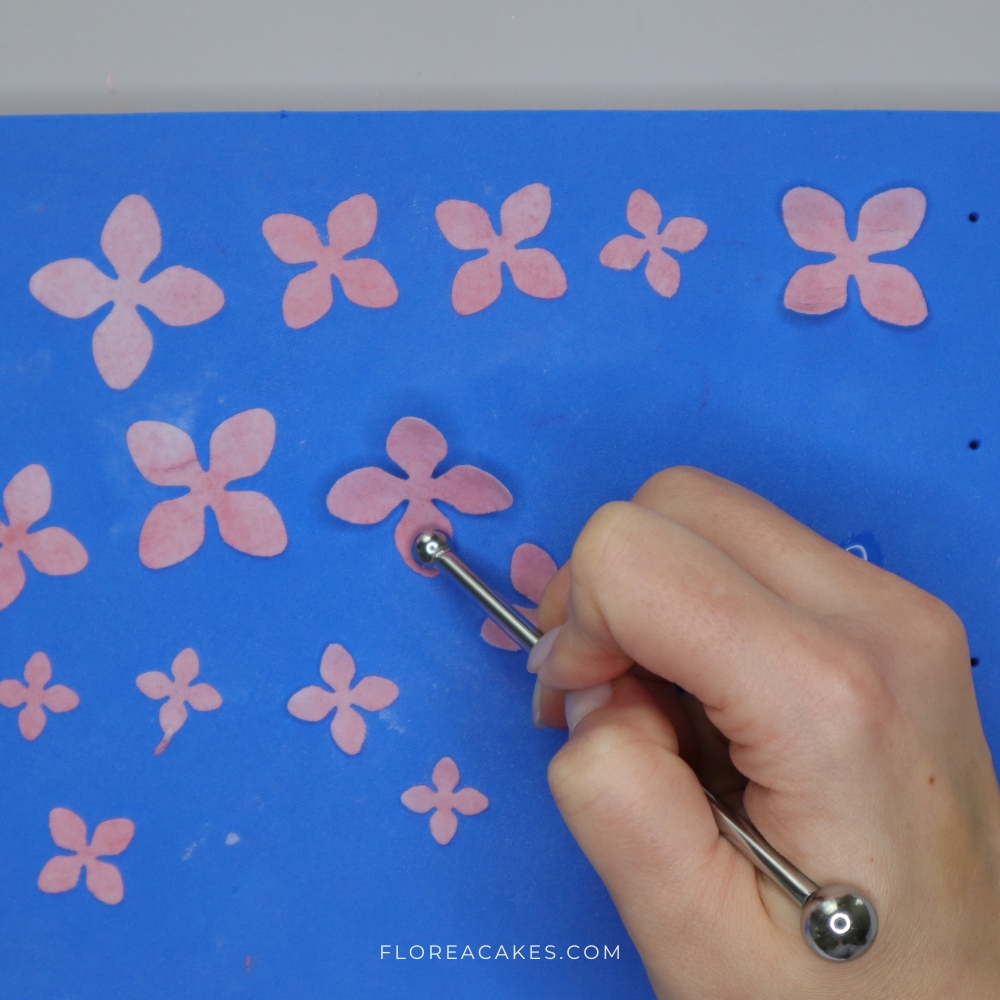
Step 3: Create the Applique Layers
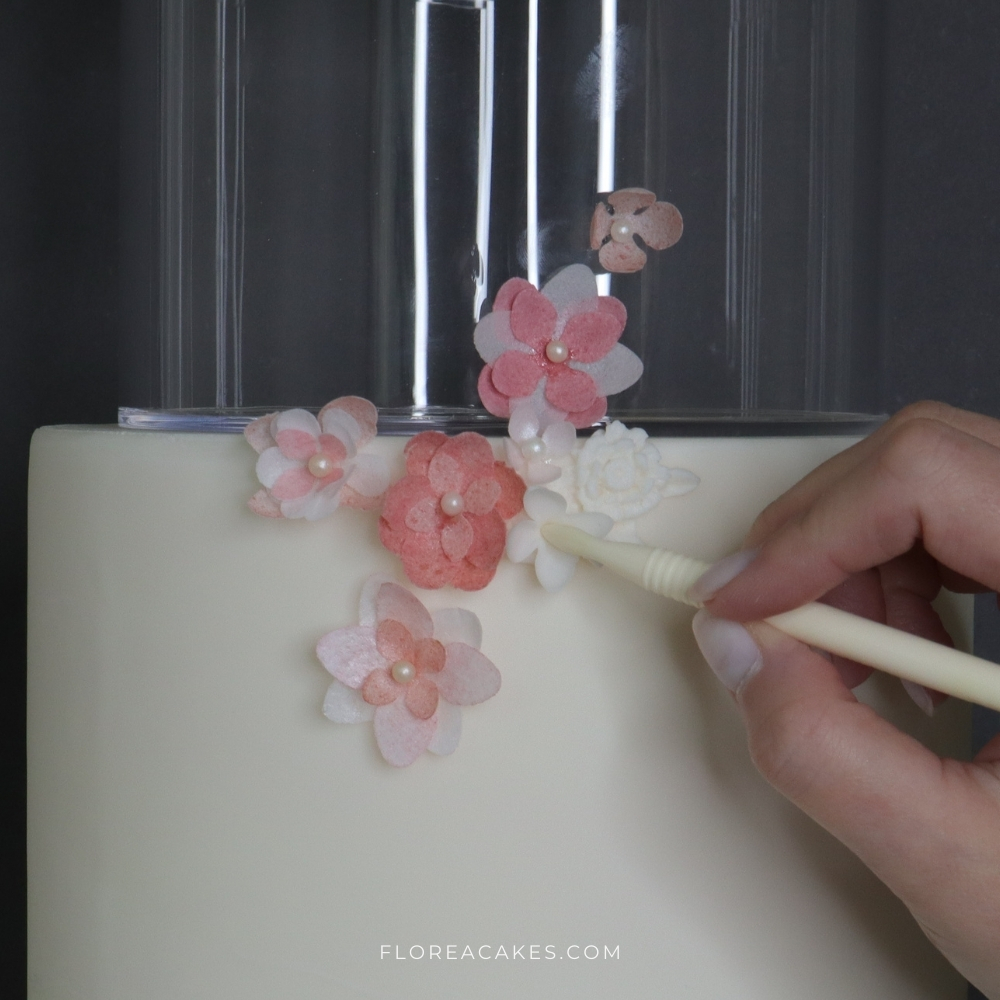
Apply a thin layer of wafer paper glue to the back of each petal piece. Begin layering the petals on the cake, starting with the largest pieces and working your way to the smallest. Make sure to arrange the petals so they overlap naturally for a realistic, textured look.
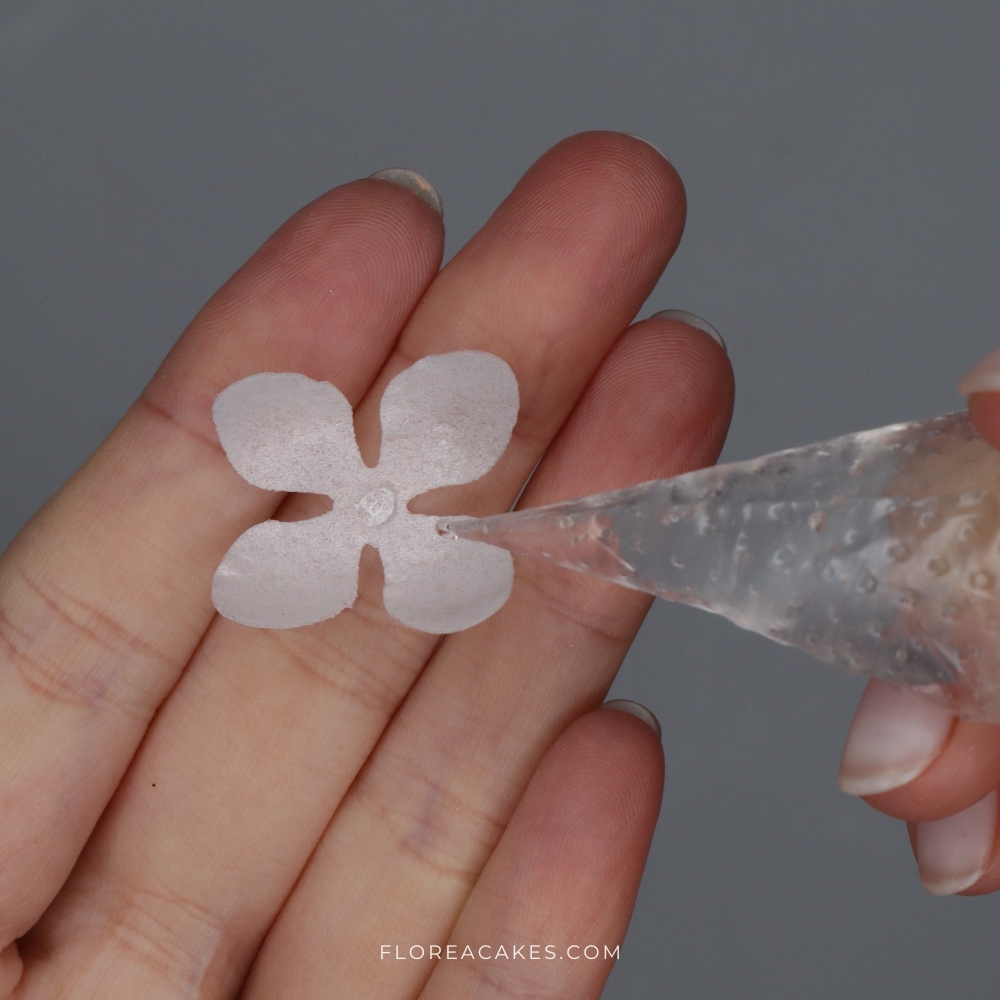
Step 4: Add Decorative Details
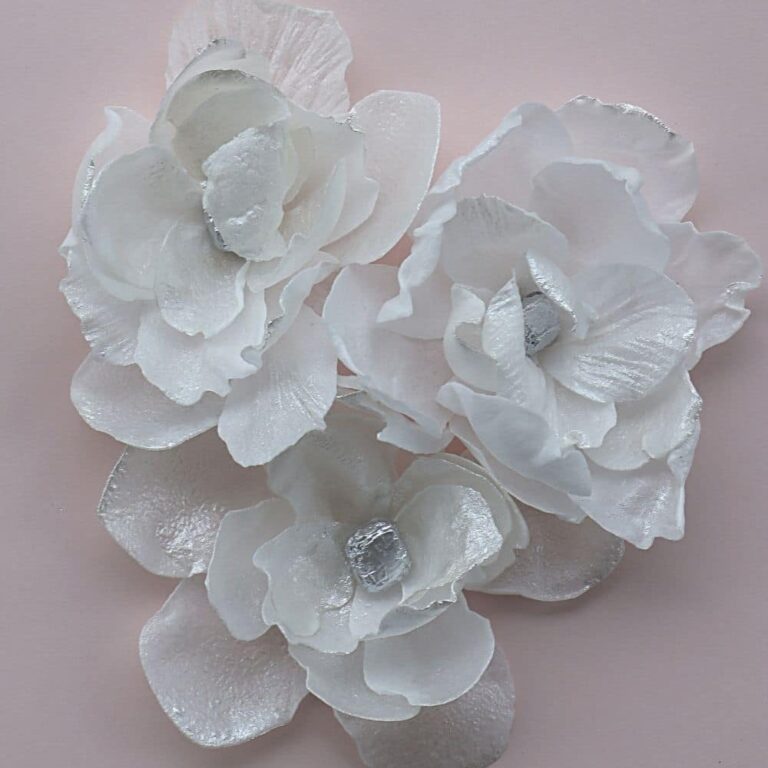
Use the Saracino Silver Pearl and Ruby Pearl colors to add highlights and shadows to the petals for extra dimension. Add Saracino Silver Glitter to give the design a delicate sparkle.
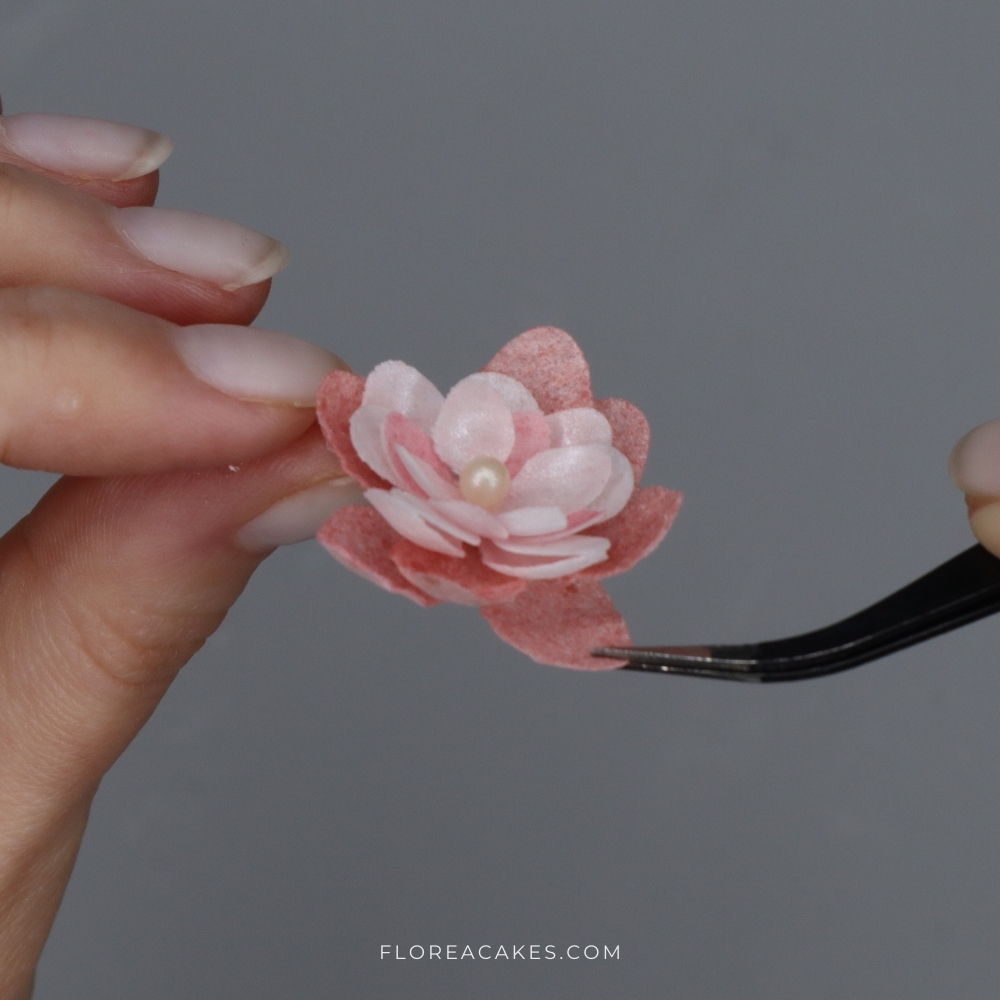
Step 5: Final Touches
Once your floral applique is complete, carefully adjust the petals with tweezers for a polished and lifelike appearance. Use piping gel to attach any small details or additional elements such as nonpareils or fondant accents.
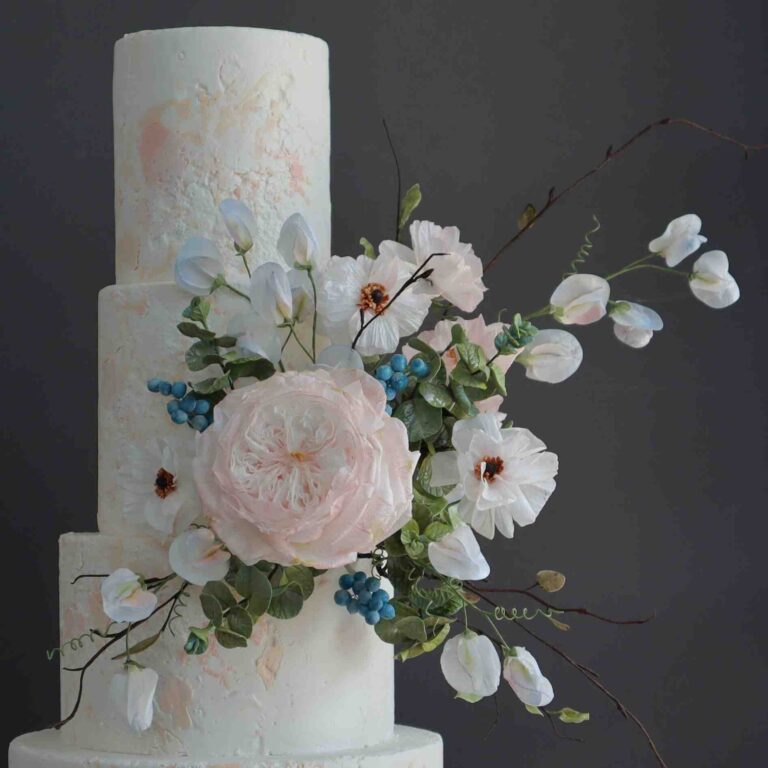
Cake Arrangements Featuring Floral Applique to Inspire You
Ready to Add Floral Appliques to Your Cakes?
I hope this tutorial has helped you discover just how easy and beautiful it is to create wafer paper floral appliques. You can personalize them in so many ways, making each cake unique!
Once you’ve finished your design, share it with me on social media @FloreaCakes. I can’t wait to see what you create!




2 Comments
Hi Anna!
Can you assembled these and store ahead of time?
Amazing work!!
Yes! Easily! Wafer Paper is very stable in a controlled environment