In this tutorial, you’ll learn how to paint beautiful Magnolia (and Rose) flowers on wafer paper to give your cakes an elegant, hand-painted effect. Perfect for modern, eye-catching designs, this method requires no prior painting skills.
Follow along as I show you step-by-step how to transfer a template, outline your flower, add color, and secure your design on a fondant-covered cake so it stays perfectly in place. With these techniques, you’ll master the art of wafer paper painting in no time!
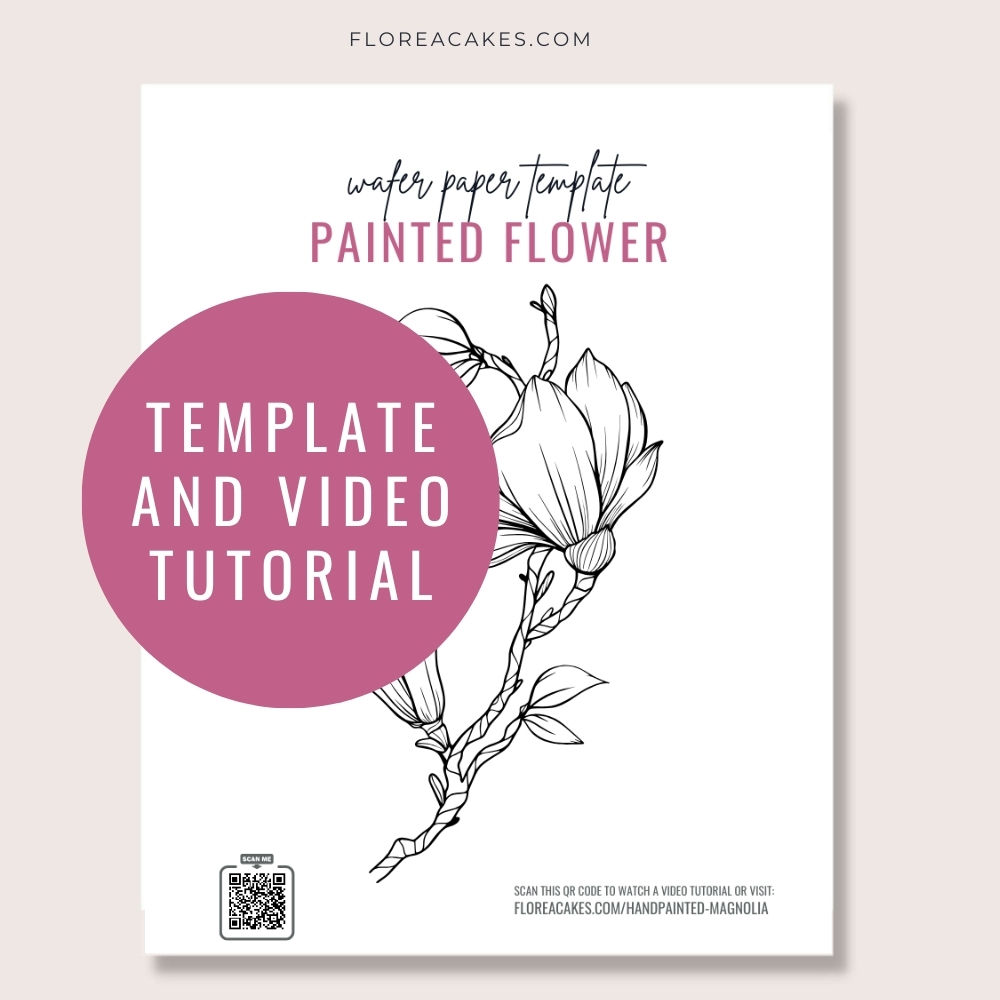
Download Wafer Paper Flowers Template
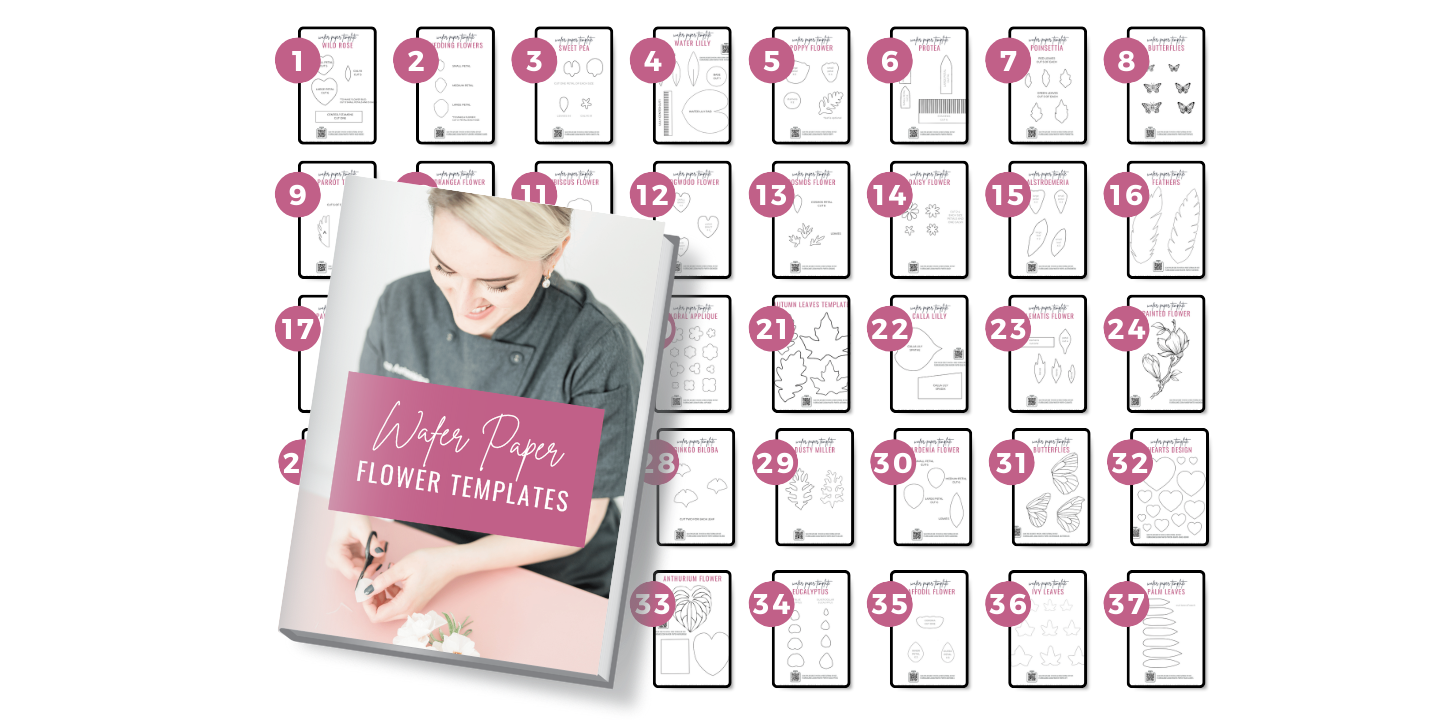
Get instant access to this and 37 more wafer paper flower tutorials and templates in my All-In-One Wafer Paper guide + 3 bonuses!
Materials and Tools You’ll Need
Materials
- DD-grade Wafer Paper (double-thickness or 0.6mm)
- Petal Dusts (Cecilia Rose, Daffodil, Aubergine, Fern, and Foliage Green)
- Black Airbrush Color
- Piping Gel
- Wax Paper or Parchment Paper
- My Handpainted Wafer Paper Flowers Template
Tools
- Edible Marker (or an empty marker brush filled with black airbrush color for outlining)
- Fine Tip Brush
- Craft Knife
- Sharp Scissors
- Painter’s Tape (to temporarily secure wax paper to the cake)
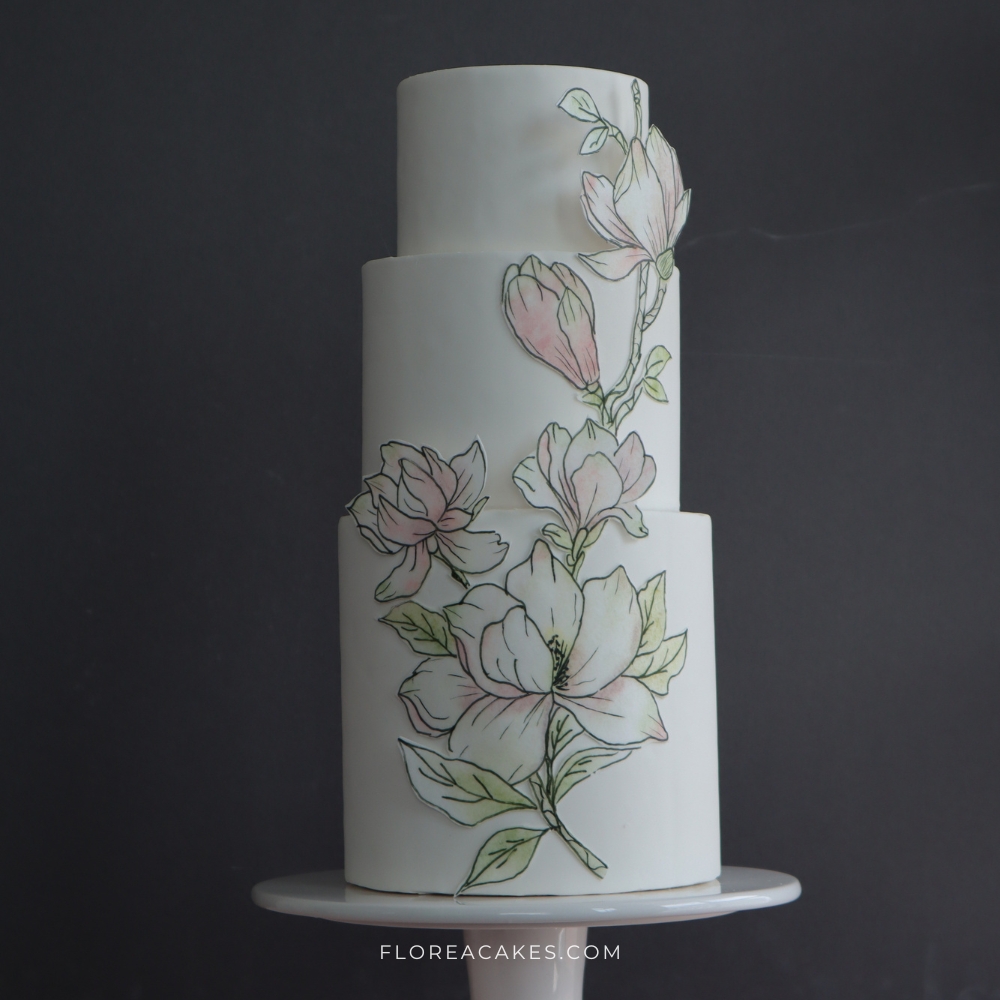
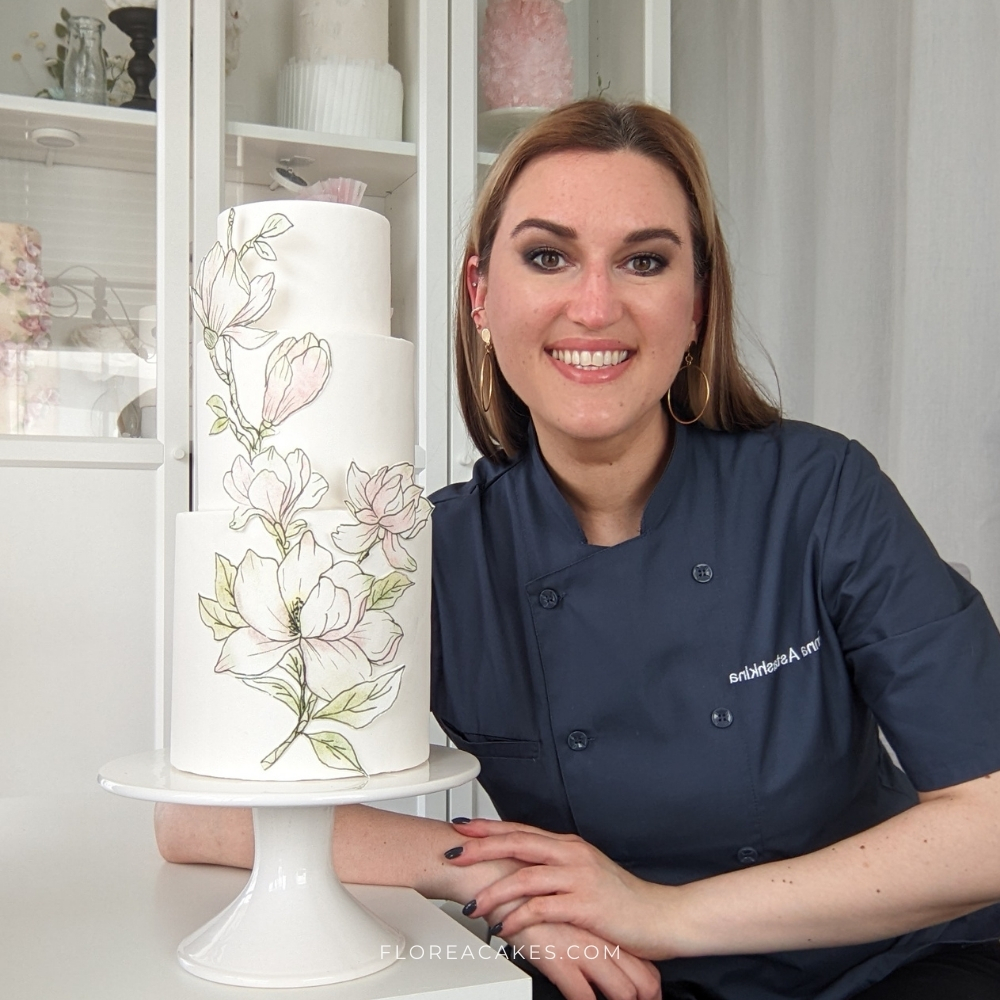
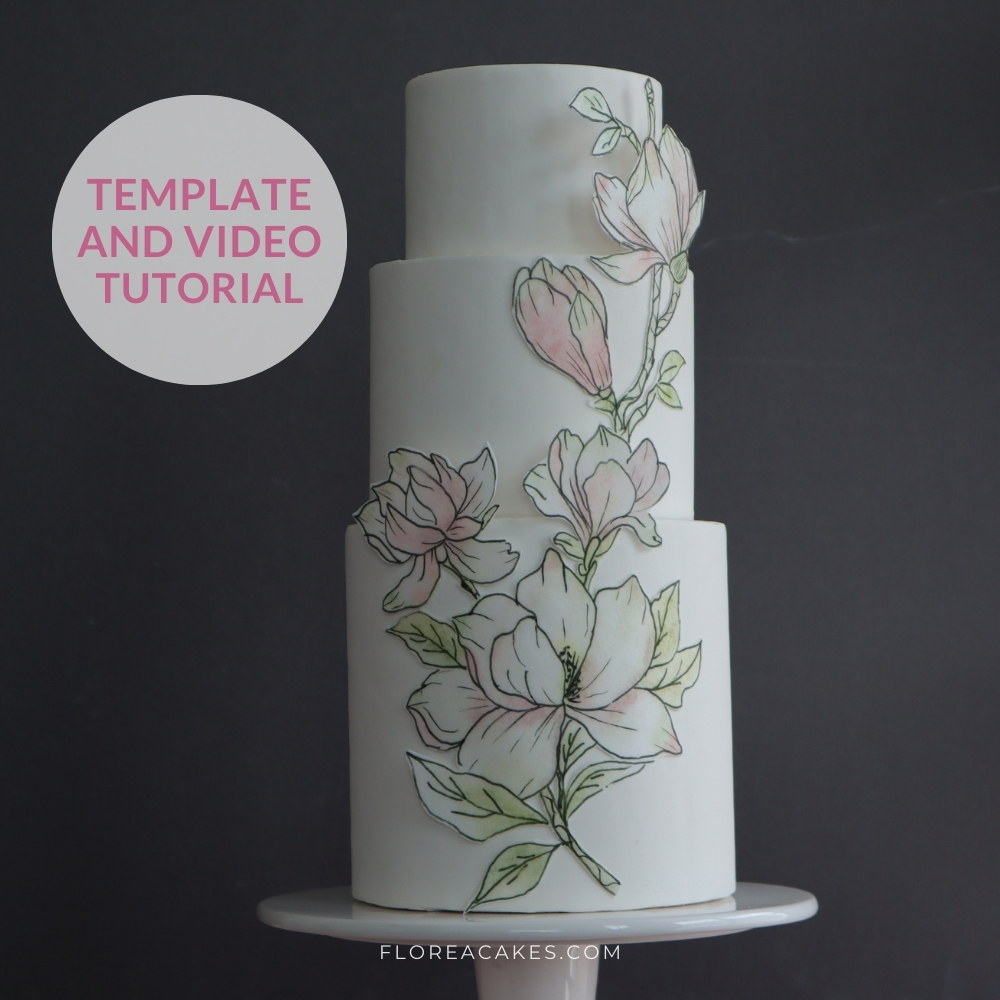
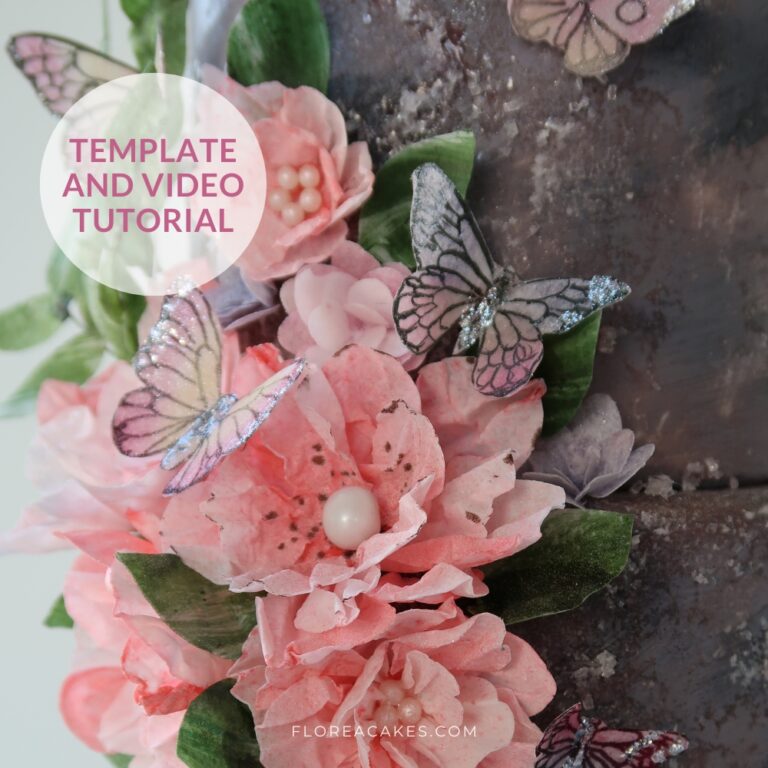
Cake Arrangements Featuring Handpainted Wafer Paper Flowers
How to Create Handpainted Wafer Paper Flower
Step 1: Set Up the Template
Start by downloading and printing your magnolia or rose template. Tape the template to a flat surface to keep it secure, then place your wafer paper on top with the smooth side up. Position it so the design lines up as you’d like it to appear on your cake.
Step 2: Transfer the Outline
Using a food-safe marker, trace the flower outlines onto the wafer paper. If you have an empty marker brush, fill it with edible airbrush color for finer control. Alternatively, you can use a lightbox or window to transfer the image more clearly.
Step 3: Apply Petal Dust for Base Colors
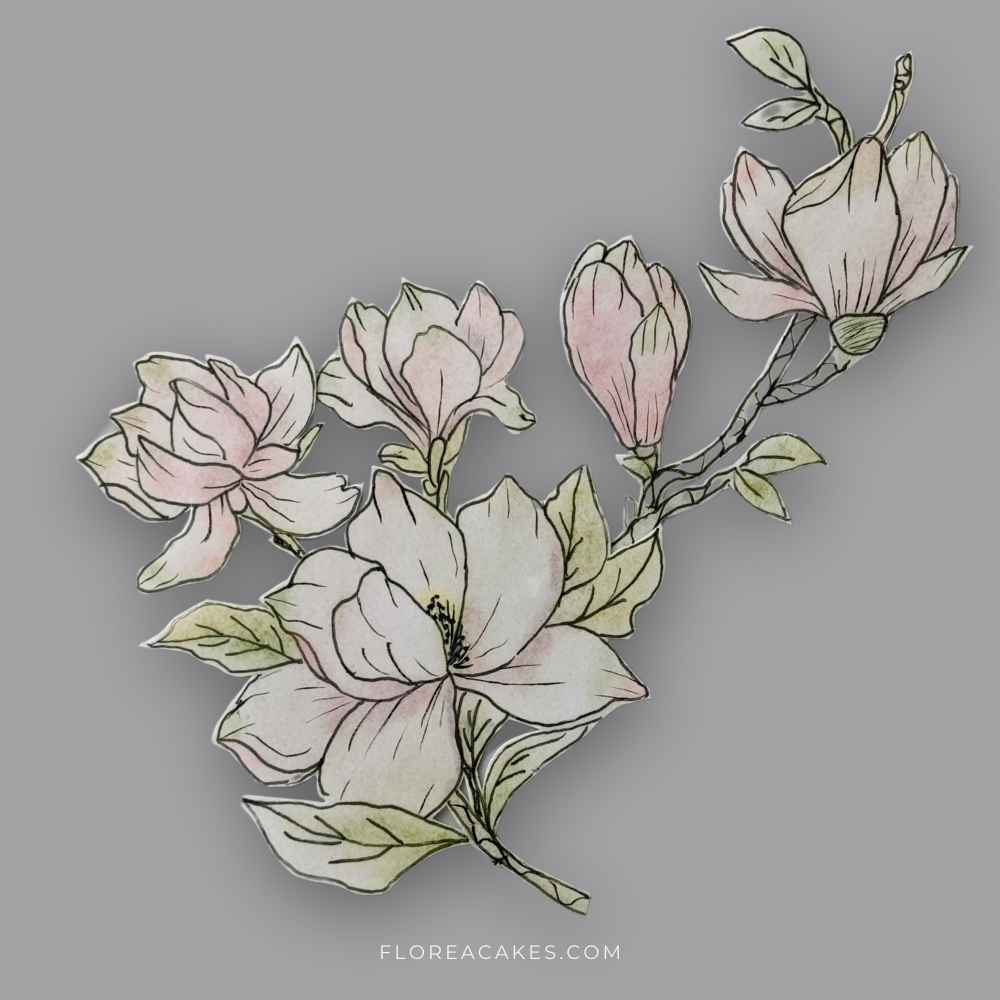
With dry petal dust in shades like pink, yellow, and green, start adding color to your wafer paper. Apply lightly at first, focusing on areas like the petal edges or centers. Blend gently for a watercolor effect, layering colors as needed.
Step 4: Add Details with Fine Brushes
Using a fine-tipped brush and edible airbrush color, add shading and texture to give depth. Emphasize petal shadows and stamen details for dimension. For finer detailing, dilute the color slightly and build in thin layers.
Step 5: Prepare Wafer Paper for Application
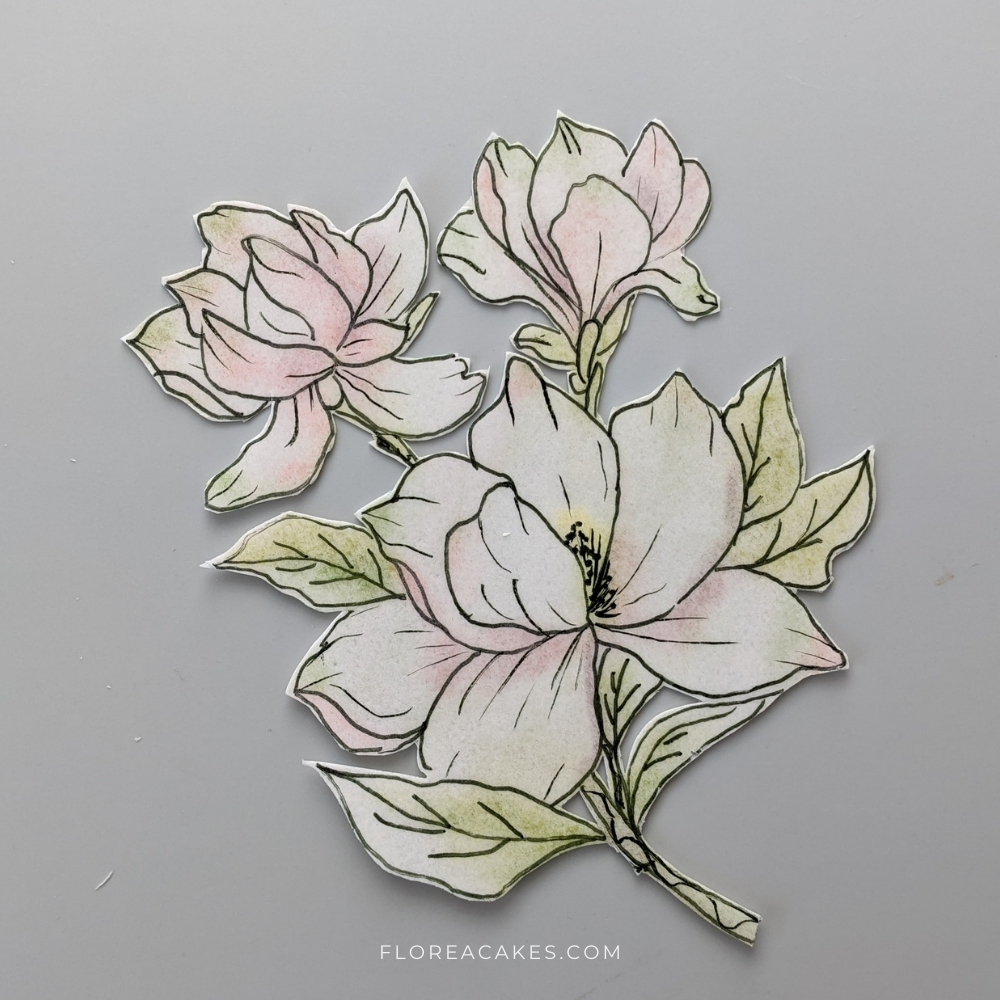
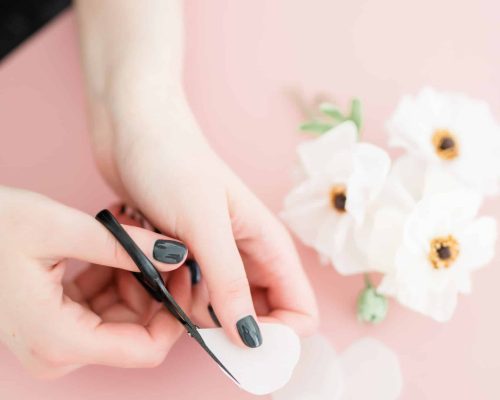
Once the painting is complete, allow it to dry for 5–10 minutes. Carefully cut out each design with sharp scissors, leaving a small border around the edges for added stability.
Step 6: Apply the Painted Flowers to the Cake
Lightly coat the back of each piece with a thin layer of piping gel. Position them on the cake where desired, then press gently to adhere. To hold the pieces in place as they set, use parchment paper and tape around the edges for support.
Step 7: Final Touches
After the flowers are secure, remove the parchment paper and adjust any edges as needed. For an added effect, use a small brush to outline some petals or leaves in a darker color to enhance contrast.
Your Turn to Get Creative!
Now you’re all set to bring beautiful handpainted wafer paper flowers to life! These delicate accents are a perfect way to add a personal, artistic touch to any cake or dessert. Feel free to play with colors and arrangements to make each cake uniquely yours.
Download the template to get started, and don’t forget to share your stunning creations! Tag me @FloreaCakes on social media—I’d love to see and celebrate your work!


One Comment
I absolutely love your work. You have inspired me to work more with wafer paper. Your videos and work are truly great!!!
Thank you!!!❤️