Bas relief combined with wafer paper and fondant is my go-to technique for elegant, dimensional wedding cakes. It gives the look of sculpted details growing out of the cake rather than being simply stuck on. The method below uses just one silicone mold and simple craft punches—no fancy tools required.
What you need
- Wafer paper (0.30 mm works well)
- Pearl petal dust (for a soft pearl sheen)
- Wafer paper conditioner (a small amount makes shaping easier)
- Two craft punches (one large, one small) for flowers
- Fondant (soft and pliable)
- Silicone bas relief mold
- Cornstarch (for dusting mold and fondant)
- Piping gel (to attach delicate pieces)
- A modeling tool or ball tool for smoothing
- Scissors (to trim fondant pieces if needed)
- Optional: gumpaste for sturdier leaves
- Edible Wafer Paper Sequins
Step 1 — Color the wafer paper for a pearl effect
Work on the shiny side of the wafer paper. Apply a thin layer of pearl petal dust with a soft brush to add a subtle pearlescent finish. This single step transforms plain wafer paper into delicate, luminous embellishments that catch light beautifully.
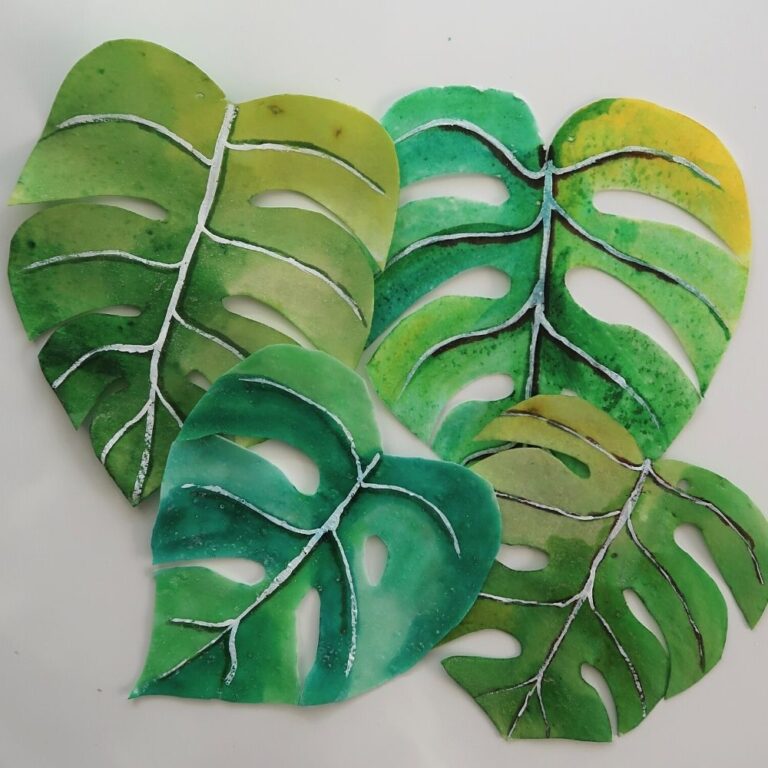
Step 2 — Cut and shape wafer paper flowers
Use your craft punches to cut small and large flowers. For the small flowers, keep them flat for a crisp look.
For larger blooms, shape them so they do not look flat: brush a tiny amount of wafer paper conditioner into the center of the flower. The conditioner softens the paper so you can gently pinch the petals together and place the flower into a small form or shaper to dry. This creates natural curves and depth.
Step 3 — Create bas relief pieces from fondant
Choose a firm but pliable fondant and warm it up to make it flexible. Take small pieces of fondant—smaller than the mold—and dust both the fondant and the silicone mold lightly with cornstarch.
Press the fondant into the mold, then stretch and thin it across the surface to capture as much detail as possible. Turn the mold upside down and gently release your decorations. Thin fondant bas relief pieces blend into the cake more naturally than thick, bulky decorations.
Material alternatives
If you prefer a firmer element for leaves, use gumpaste instead of fondant. Gumpaste holds veins and crisp edges better.
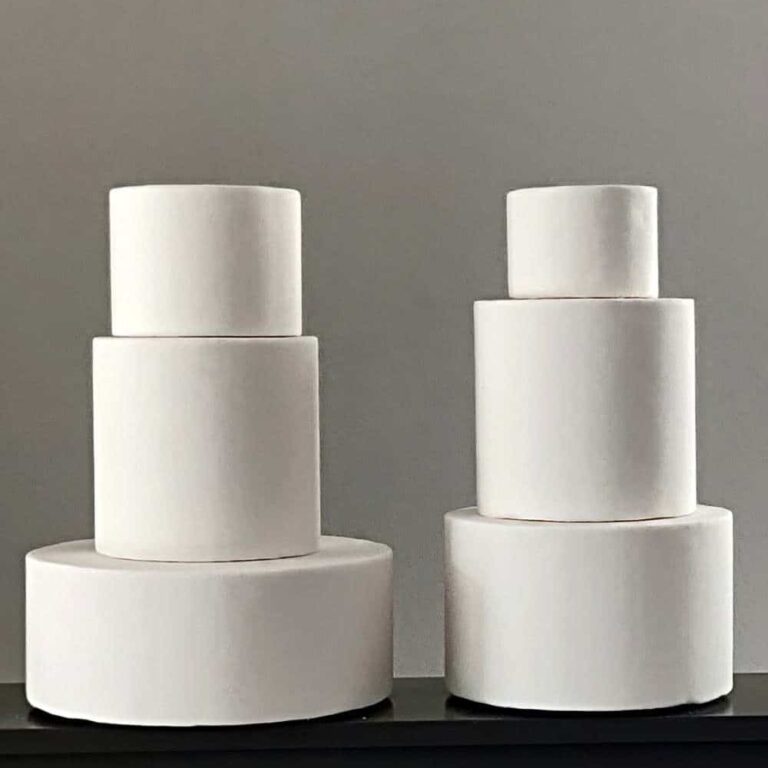
Step 4 — Assemble and blend onto the cake
Placement and blending are what make bas relief feel integrated. Dab a small amount of water onto the back of a fondant bas relief piece and position it where you want it to grow from. Use the thick end of a modeling tool or ball tool to press and smooth the edges into the base fondant layer. This melts the edges visually so the piece appears to emerge from the cake rather than sit on top of it.
If a piece looks too large after placement, trim gently with scissors and smooth the cut edge into the cake with your tool.
Step 5 — Add wafer paper flowers, leaves, and sequins
Attach extra elements using piping gel. For each piece:
- Dip the base of a wafer paper flower or fondant leaf lightly into piping gel.
- Place it onto the still-soft fondant bas relief or directly onto the cake.
- Vary the spacing and heights to create dimension—place some elements close together and others further apart to keep the eye moving.
Finish with small wafer paper sequins or tiny flowers scattered around the composition for sparkle and balance.
Troubleshooting and quick fixes
- If the wafer paper wrinkles while coloring, let the dust set and gently reshape with a soft brush or by applying a tiny amount of conditioner.
- If fondant sticks in the mold, add a touch more cornstarch but avoid over-dusting, which can dull details.
- For edges that lift after placement, press and smooth again with a damp modeling tool and a touch of piping gel to re-adhere.
Want to make this your signature style?
Experiment with different molds, palettes of petal dust, and flower sizes. Small changes in placement and spacing will make each design unique. Once you master the basics above, bas relief combined with wafer paper becomes a fast, elegant way to elevate wedding cakes and create a consistent signature look for orders.


 ()")


")


2 Comments
Love it. Thankyou for sharing such a informative tutorial.
Lots of 😘
Absolutely! Can’t wait to see your version!