Transporting a wedding cake, especially a tiered one, is one of the most nerve-wracking parts of the entire process, but it doesn’t have to be. Whether you’re working with a real cake or a dummy display, the key to stress-free delivery lies in smart preparation, solid structure, and knowing a few pro tricks that make all the difference. Let’s walk through what you need to know to get your cake to the venue in perfect condition.

Why Transporting Tiered Cakes Is Tricky
Delivering a wedding cake isn’t just about getting from point A to point B – it’s about ensuring that every delicate detail, every flower, arrives intact. Tiered cakes come with their own set of challenges that require careful planning and a steady hand.
Multiple Layers Mean More Risk
The more tiers you add, the more you have to consider stability. Without the right internal structure, like dowels or a central support, layers can shift, lean, or collapse during the ride. A strong base and proper stacking are essential for safe transport.
Temperature, Movement, and Vibration Challenges
Wedding cakes are sensitive to temperature changes, especially during summer. Buttercream can soften, fondant can sweat, and fillings can shift if the cake isn’t chilled properly beforehand. On the road, every bump and sudden stop can test your structure, so placing the cake flat on a non-slip mat in your trunk is a must.
Fragile Decorations Require Special Handling
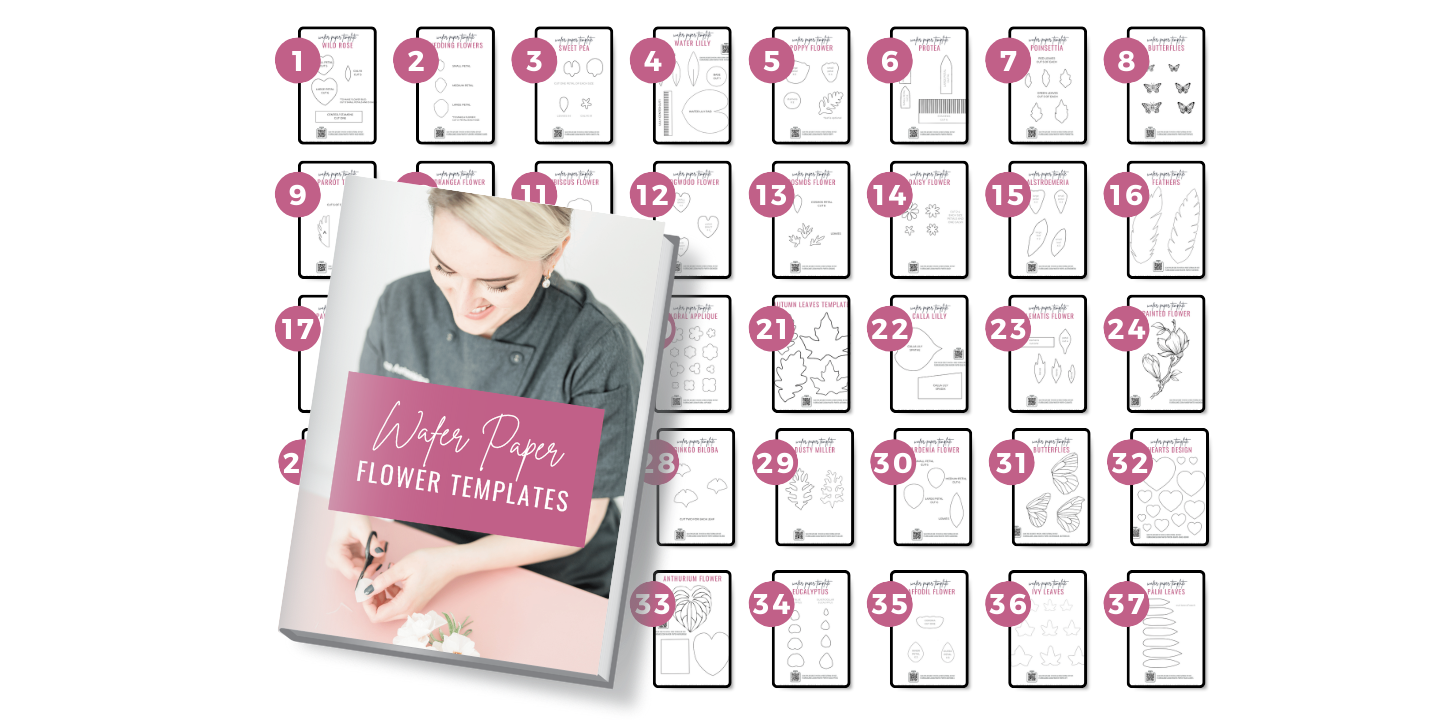
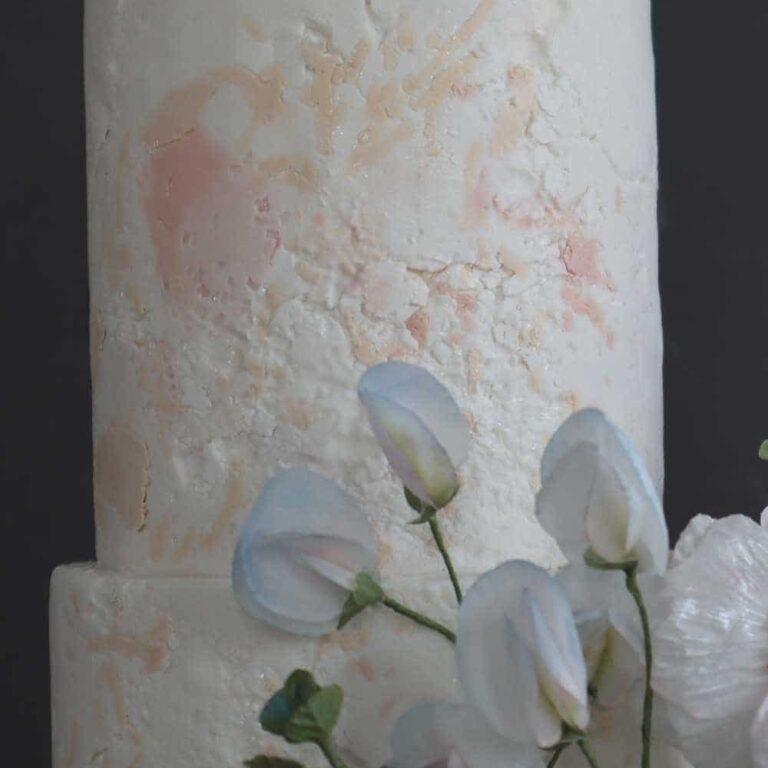
Intricate flowers, delicate toppers, and detailed textures can easily be damaged if not packed or supported correctly. That’s why wafer paper flowers are a favorite for many pros – they’re lightweight, flexible, and much less fragile than sugar flowers, making them ideal for transport.
Read more: What is Wafer Paper?
Your Cake Transport Toolkit
When it comes to delivering a wedding cake, especially over long distances, having the right tools on hand makes all the difference. From stabilizing the cake to capturing content on-site, here’s a look at what I pack to ensure everything goes smoothly.
Cake boxes vs. cake carriers
There’s no one-size-fits-all when it comes to cake transport. While sturdy cake boxes work well for most single-tier cakes, they’re not always ideal for taller or more fragile designs. Cake carriers offer added support but can be bulky depending on the cake’s height and size.
Why I use CakeSafe
When it comes to transporting larger or tiered cakes, I always go with CakeSafe. It’s super stable and keeps the cake secure the whole way. It’s a lifesaver, especially for long-distance deliveries, as it protects the cake from bumps, vibrations, or any sudden shifts in the car.

I honestly think it’s the most reliable way to transport cakes, making sure everything stays in perfect condition until it gets to the venue. Whether it’s a multi-tiered cake or something more delicate, CakeSafe is always a must-have in my delivery toolkit.
How to make a $2.40 DIY delivery box (step-by-step)
Materials You’ll Need
- Box (12″ base, adjustable height)
- Hot glue gun
- Box cutter
- Non-slip fabric
- Cardboard
- Tape
Building the Base and Creating a Flat Support
Start by measuring your cake and adjusting the box to fit both the diameter and height. For taller cakes, leave one top flap open and tape the other flaps to create the needed height.
To form the base, cut about 2 inches from the bottom of the box, then make several thin cuts into the flaps. Fold two flaps flat against each other and two on top to keep the base level. Add a touch of hot glue inside the folds to keep the structure flat and secure.
Reinforcing the Sides for Structure
Cut four pieces of cardboard and hot glue them to the inside walls of the box, one on each side. This strengthens the box and helps it keep its shape during transport, even with a heavy or tiered cake.
Creating a Tall, Secure Lid
Use the remaining box flap to create a tall lid that fully covers the cake. Once the cake is inside, place the lid on top and use tape to secure the sides tightly. The box will feel snug but stable.
Why This Box Works
This DIY delivery box costs around $2.40 in total (the box itself is about $1.20 from Walmart). It’s incredibly effective thanks to a combination of structural support, a tall custom lid, and a non-slip fabric square glued inside to prevent sliding.
The result is a sturdy, affordable transport solution that keeps your cake safe on the road – and it’s easy to open and remove the cake cleanly when you arrive.

Pro Tips for Safe Cake Transport
Always chill your cake before transporting
A cold cake is a stable cake; that’s why I prefer my cake to be as cold as possible. Chilling helps firm up the structure, making it less likely to shift or sag during the ride.
Here’s how I store wafer paper cakes in the fridge without condensation or damaging the decorations.
Load your cake flat in the vehicle, no slopes
Make sure your cake sits on a completely flat surface in your car. Avoid placing it on seats or slanted areas—use the trunk or floor instead to keep it level and reduce movement.
Drive smoothly and avoid sudden stops
Take turns slowly, brake gently, and keep a steady pace. Treat your cake like a passenger who gets motion sick – no sharp stops or quick acceleration!
Bonus tip: Take pictures with timestamps when the cake is delivered to have a record of its condition upon arrival.
Bring a repair kit (just in case)
Even with all precautions, it’s smart to bring along a mini emergency kit. Here’s what I bring in mine:
- Essentials: Gloves, wipes, clean bags, toothpicks, tape, a pen, and a knife or cutter.
- Fix-it tools: Palette, small spatula, tweezers, wire cutters, needle-nose pliers, mini steamer, and a heat gun.
- Wafer paper support: Piping gel, brushes, piping bags, pre-cut flowers, extra sheets, floral tape, and floral wire in different gauges.
- Fondant fixes: A pouch of fondant in your cake’s colors and any baroque or bas-relief molds you used.
- Safety and cleanup: Cornstarch pouch, alcohol dropper bottle, duster, sanitizer wipes, a level (yes, really!), and even a few band-aids.
- Extras: Cake stand, clean towels, apron, cloth for staging photos, and your camera + business cards.
Customize your kit based on the project, and don’t forget to label your things, especially if you’re sharing space with a catering team!
Flying With Cakes? Yes, You Can!
How I fly with my tiered wedding cakes using CakeSafe
Yes, it’s totally possible to fly with a wedding cake – and I’ve done it! When I need to fly with a tiered cake, I always use a CakeSafe. It keeps the cake secure, and the internal support system means nothing shifts or gets damaged during loading, takeoff, or landing. Just make sure the CakeSafe is properly packed, sealed, and clearly labeled as food and fragile. And trust me – this isn’t something you check last minute. Plan for it.

What airlines allow (and what to ask ahead)
Most major airlines do allow you to fly with cakes, but there are a few things to keep in mind:
- Check their policy on oversized or specialty items.
- Call ahead and ask if they allow food items as checked luggage.
- Label everything clearly—mark the box as “fragile,” “this side up,” and “edible food.”
- Expect oversized luggage fees. These can range from $100 to $400+, depending on the airline.
- Always ask about handling. Let them know it’s perishable and delicate, so it’s treated with care.
It’s not the cheapest or easiest option, but if a client needs it (and your structure is solid), it’s absolutely doable.
Final Touches That Help You Look Like a Pro
Deliver in Style: Branded Boxes, Care Cards, and Labels
The way you present your cake matters just as much as the cake itself. Branded delivery boxes, handwritten care cards, and custom labels go a long way in making your service feel premium and professional. It shows you care about the details, before your cake is even seen.
It’s also essential to clearly communicate any special instructions to the venue staff regarding the care and handling of the cake. Make sure to inform them of specific requirements, such as keeping the cake at the appropriate temperature, ensuring it remains cool, and protecting it from direct sunlight. These precautions will help maintain the cake’s appearance and quality throughout the event.
Offer Setup or Cutting Service for Weddings (If Possible)
Offering to set up the wedding cake on-site can make all the difference. It ensures the cake is placed securely, photographed beautifully, and garnished just as you imagined. Plus, it gives you peace of mind knowing everything is perfect.
Additionally, offering cake-cutting services as an add-on provides a seamless experience for your clients and ensures that the cake is sliced and served with care.
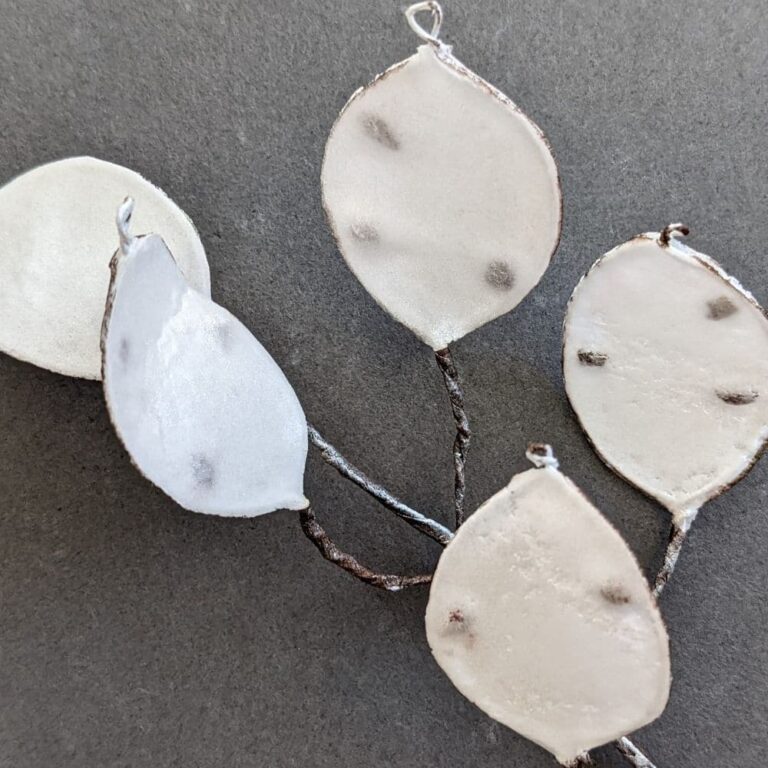
Use Lightweight Decorations (Like Wafer Paper) for Stability and Style
When it comes to decorating for transport, wafer paper is a game-changer. It’s elegant, endlessly versatile, and, most importantly, extremely lightweight. That means less risk of sliding, tipping, or collapsing during delivery. Whether you’re driving across town or flying with a cake, wafer paper flowers hold up beautifully and travel like a dream.
Click here to enroll in my Modern Flowers Course and start creating beautiful, intricate wafer paper flowers!
You Can Transport Cakes with Confidence
With all this knowledge, you’ll see that delivering a cake doesn’t have to be stressful. With the right preparation and tools, you can ensure your cake arrives in perfect condition. From keeping it chilled to packing a repair kit, every detail matters.
Whether you’re driving or flying with your cake, I hope this guide makes delivery day feel easier. Got a question or a tip I missed? Drop it in the comments – I’d love to hear it!
 ()")
")