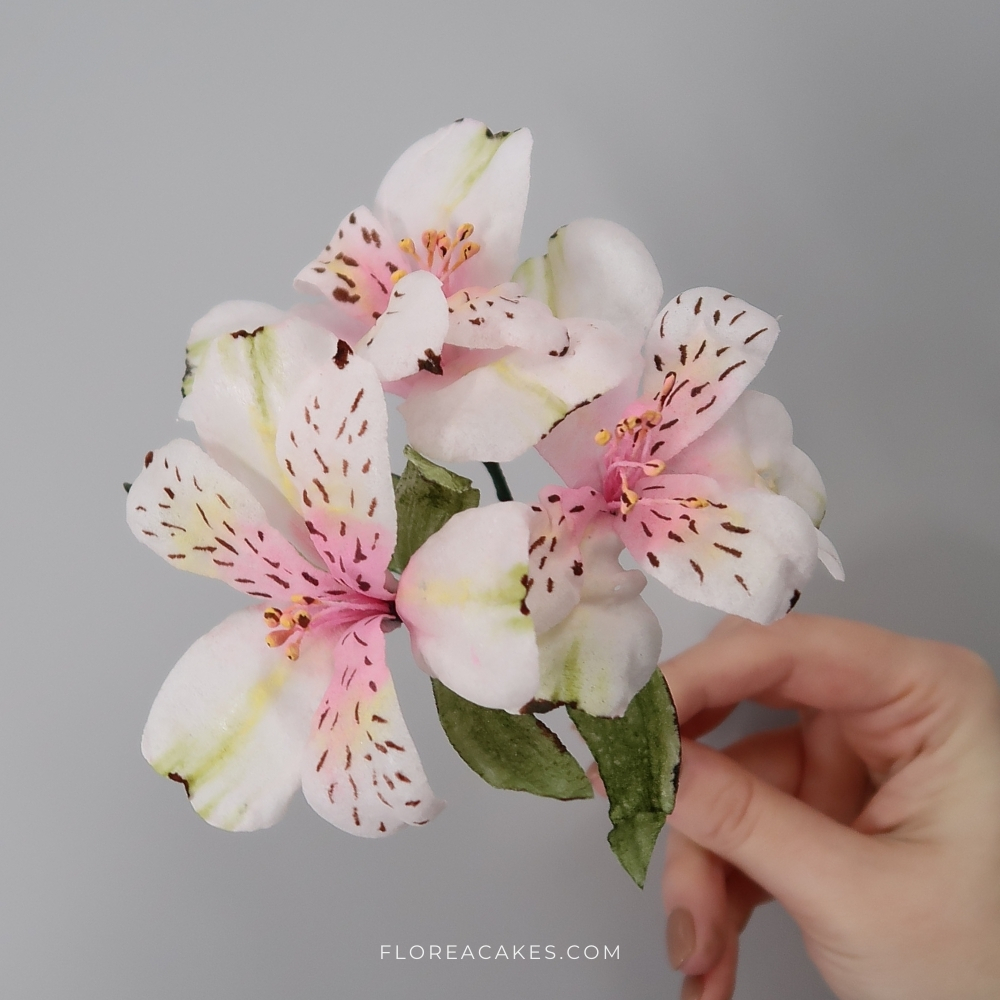
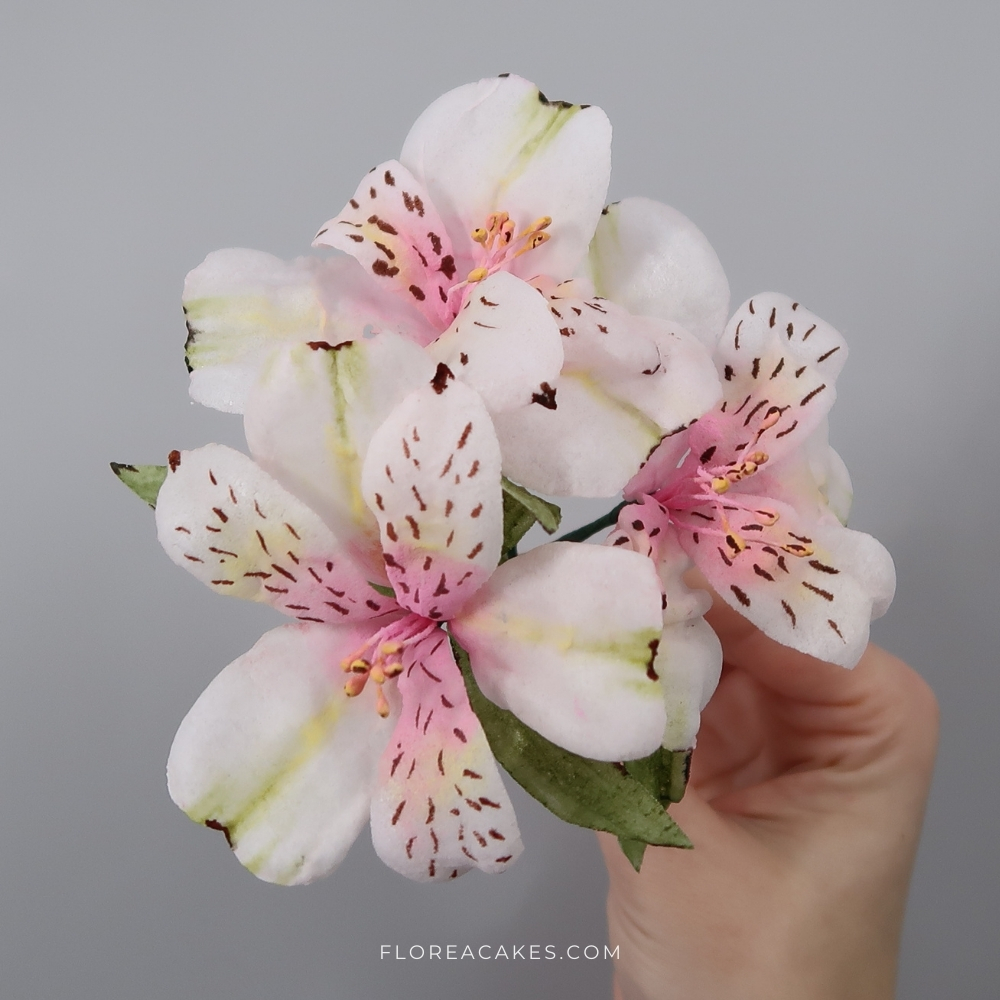
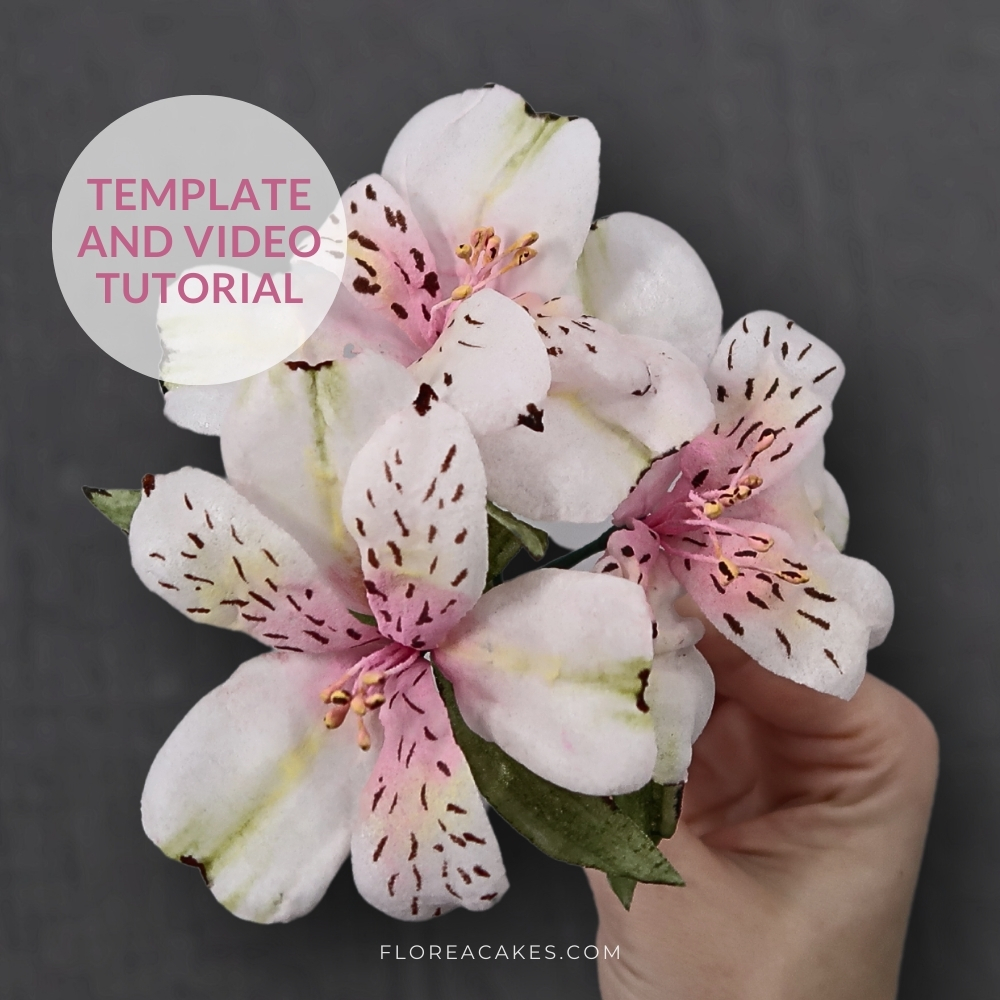
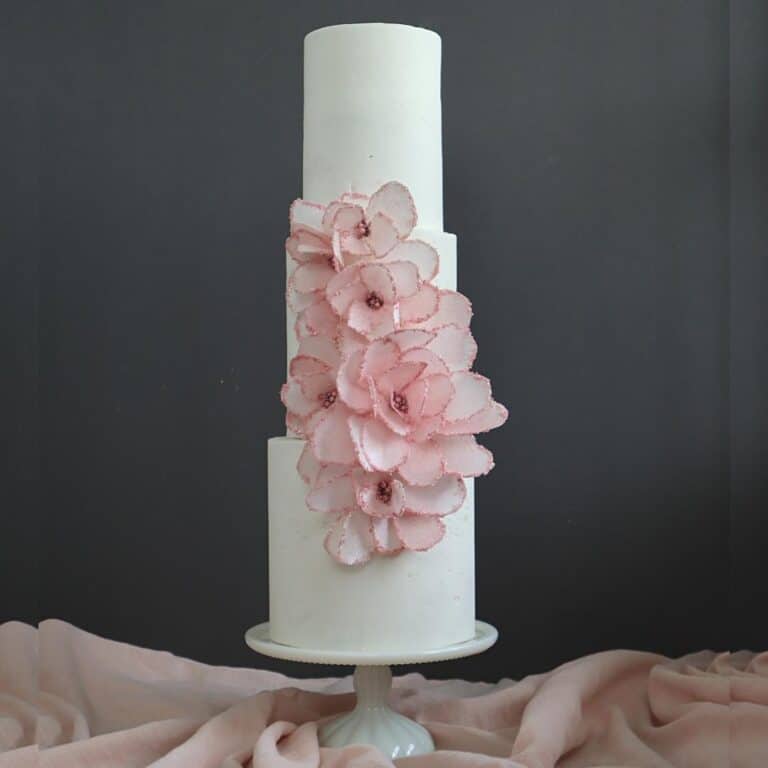
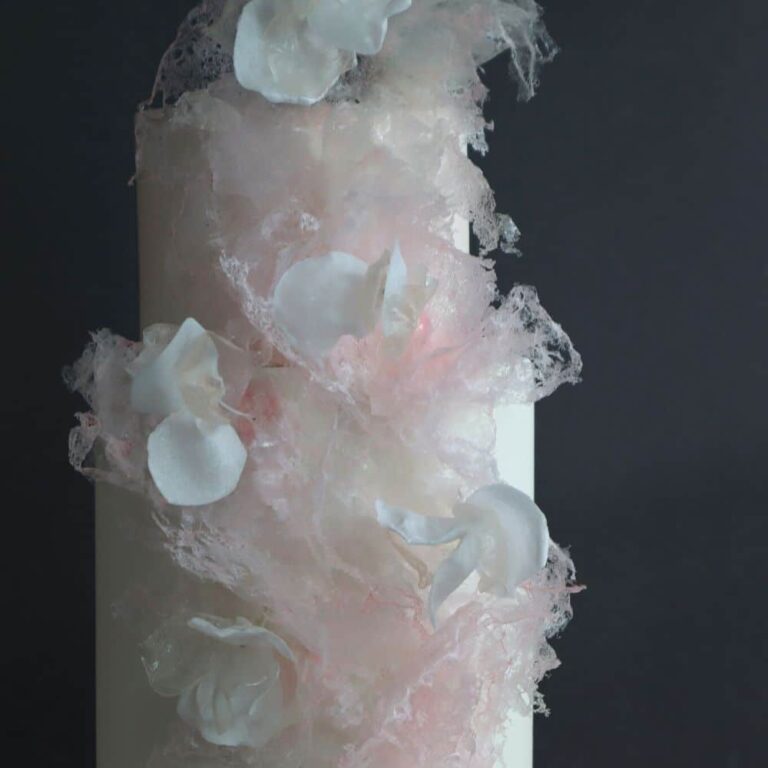
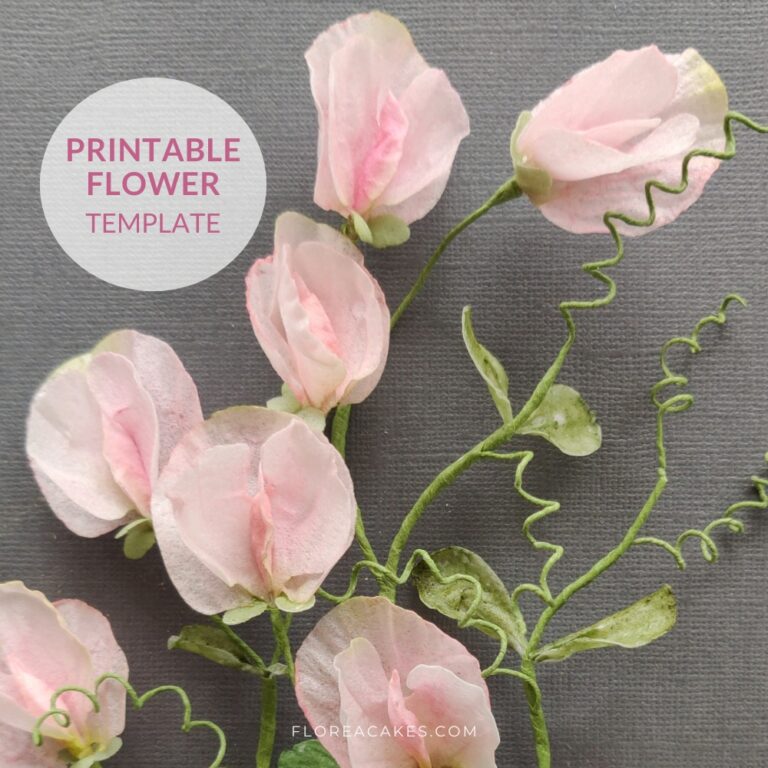
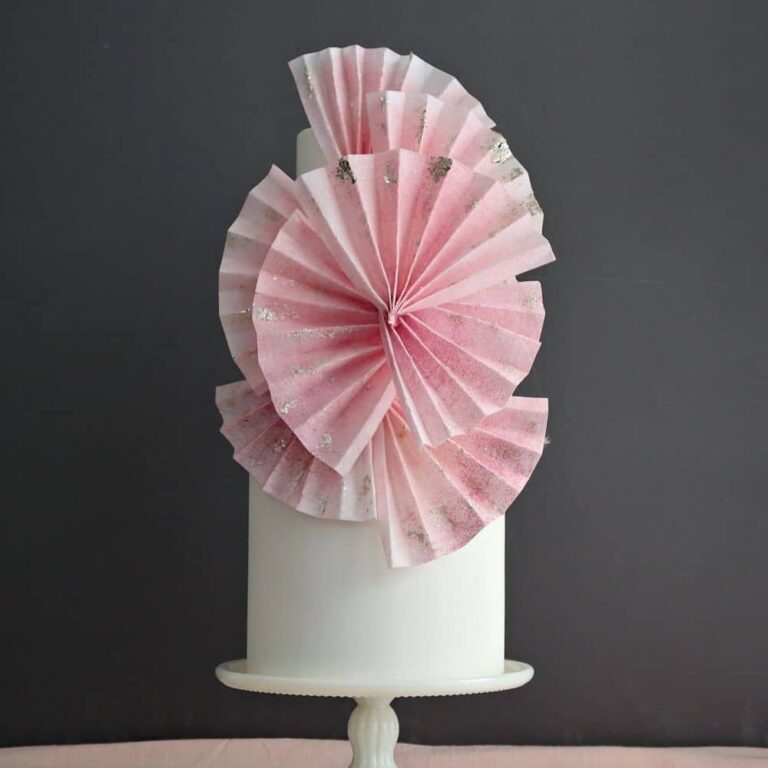
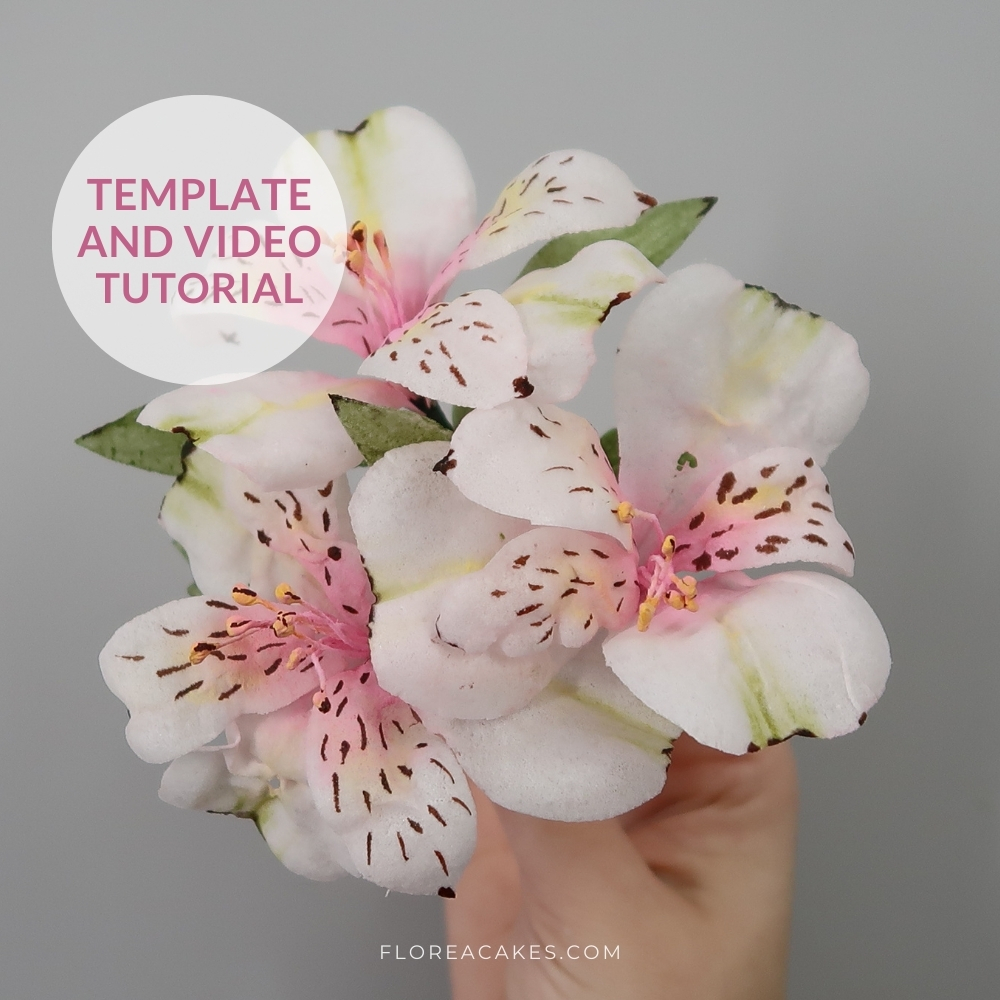
I’m super excited to share another tutorial with you — we’re making wafer paper Alstroemeria, also known as the Peruvian Lily!
This delicate and elegant flower is not only beautiful but also carries a sweet meaning of friendship. In this step-by-step tutorial, I’ll show you how to craft stunning Alstroemeria flowers using wafer paper.
No need for any fancy tools — just some creativity and patience. Let’s get started and add a touch of floral elegance to your cakes!
Watch the video tutorial below or scroll down for the text instructions and material list.
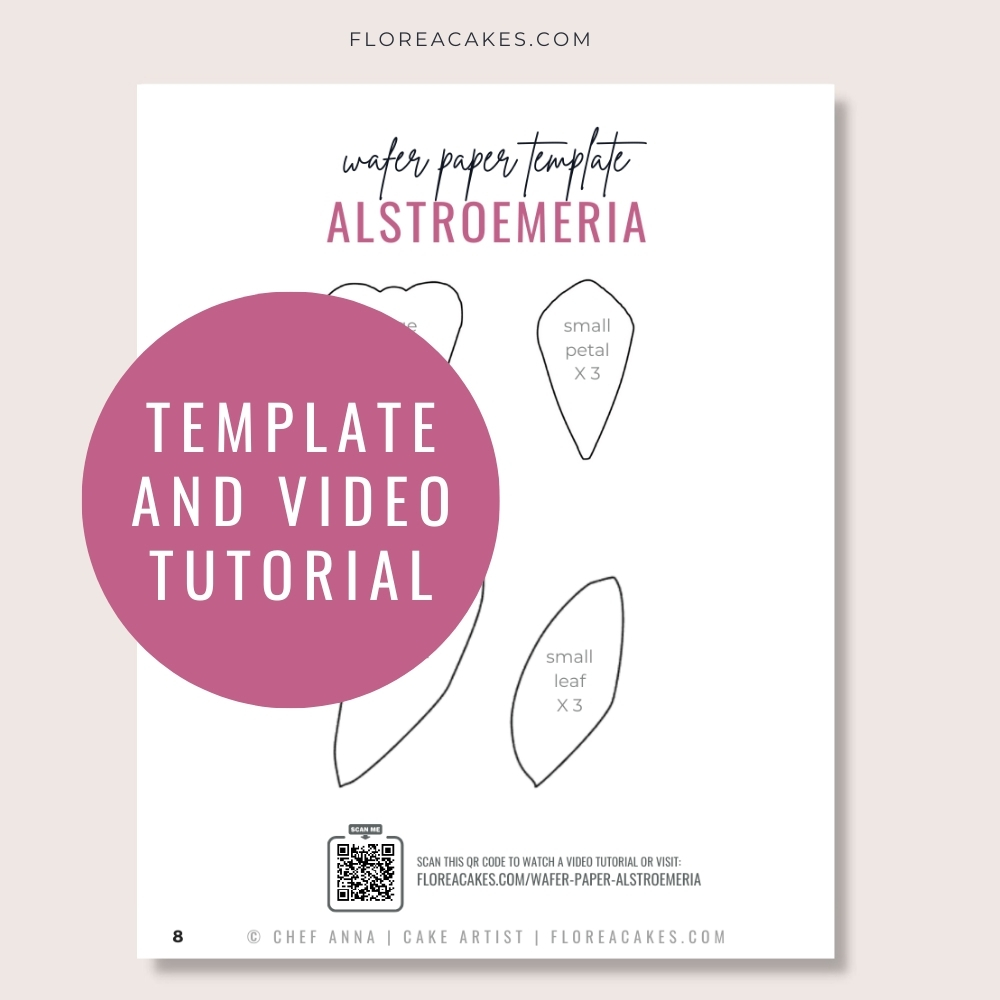
Download Wafer Paper Alstroemeria Template
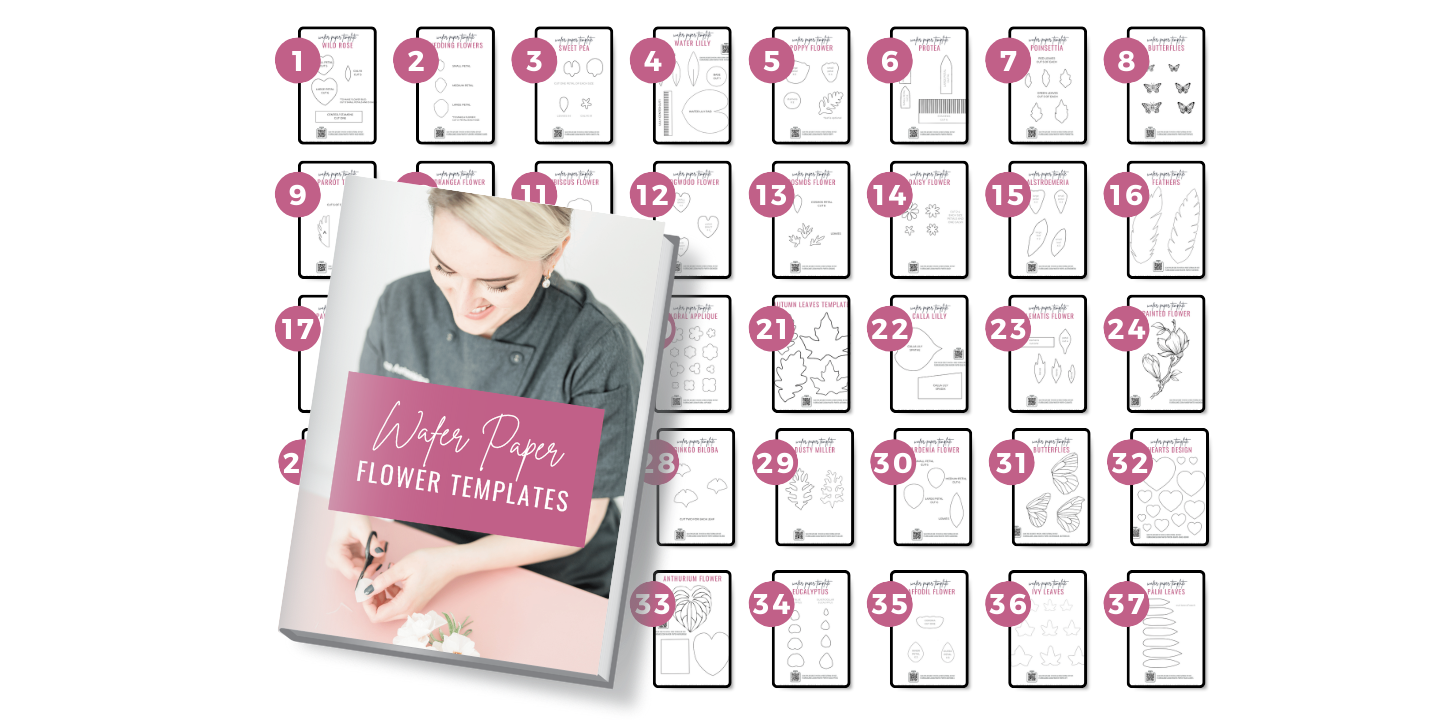
Get instant access to this and 37 more wafer paper flower tutorials and templates in my All-In-One Wafer Paper guide + 3 bonuses!
Materials and Tools You’ll Need
Materials
- Wafer paper (0.27mm thickness)
- Floral wire (28 gauge)
- Petal dust (Aurora Rose, Daffodil, Fern Green)
- Edible gel color (Dusty Pink, Maroon)
- Cornstarch
- Wafer Paper Glue (get my recipe here)
- Pre-made stamens
- Green floral tape (half-width)
Tools
- Wafer Paper Alstroemeria Template
- Small brush
- Floral mat
- Ball tool
- Dresden tool
- Tweezers
- Scissors
- Edible printer (optional)
How to Create Wafer Paper Alstroemeria: Step-by-Step
Step 1: Cutting the Petals
Start by cutting three inner and three outer petals from wafer paper using the template from my All-In-One Wafer Paper Guide. Use the smooth side as the face of the petal, which is perfect for dusting. Stack up to three sheets of wafer paper to save time while cutting.
Step 2: Making the Glue and Attaching Wires
Make “magic glue” by soaking wafer paper scraps in water overnight or melting it in a microwave. Attach floral wire to the back of each petal using a small amount of wafer paper glue. Sandwich the wire between two small pieces of wafer paper to secure it.
Step 3: Shaping the Petals
Using a wafer paper conditioner (Download free recipe here), apply a light coating to both sides of each petal to soften it. Shape the petals with a ball tool on the back (bumpy side) and smooth the front with a Dresden tool. Use cornstarch to prevent the wafer paper from becoming too sticky as you work. Bend the wire slightly to mimic the natural outward curl of Alstroemeria petals.
Step 4: Coloring the Petals
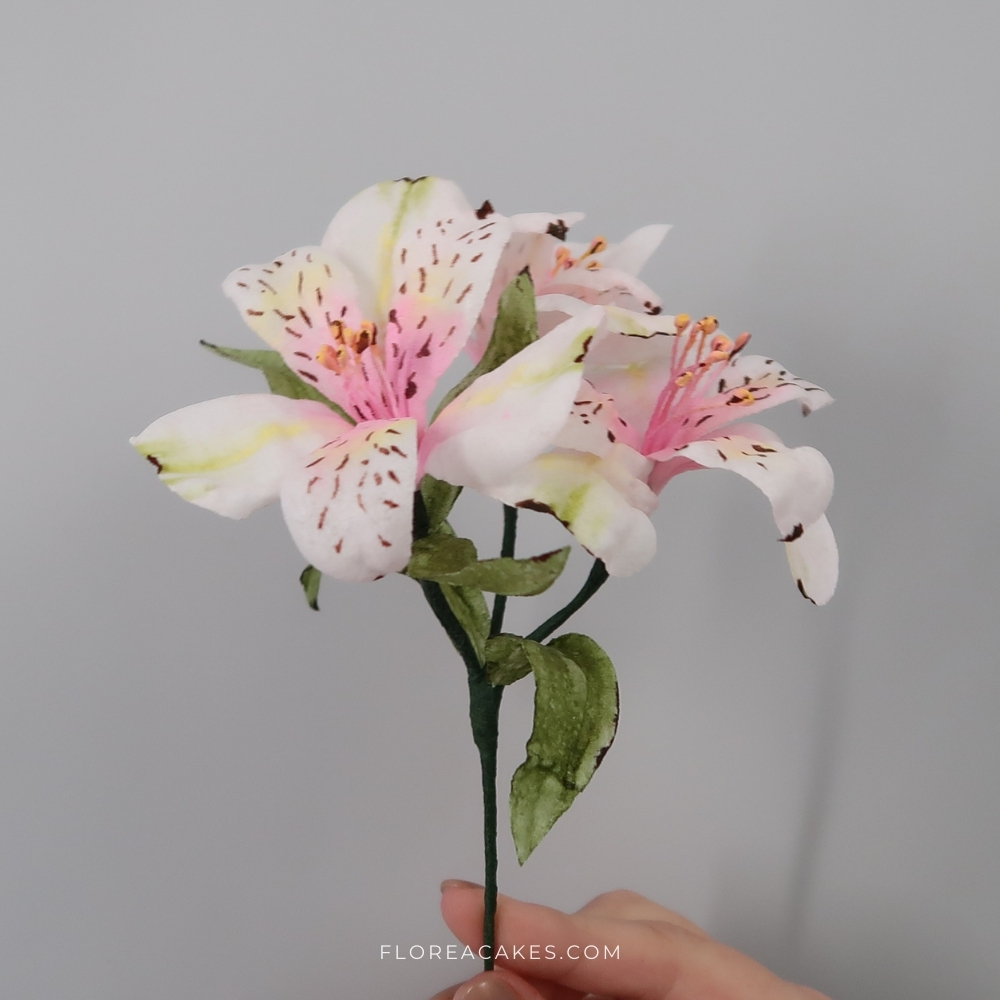
For the inner petals, use a combination of Daffodil yellow in the center of the petal and Aurora Rose pink along the edges. For the outer petals, add Fern Green at the tips.
Step 5: Adding Details
Using a tiny brush, add paint delicate dots and streaks on the petals with an airbrush or gel color for a realistic look. You can also add fine lines on the leaves and petals using an edible marker or airbrush color (I use Americolor Maroon).
Step 6: Assembling the Flower
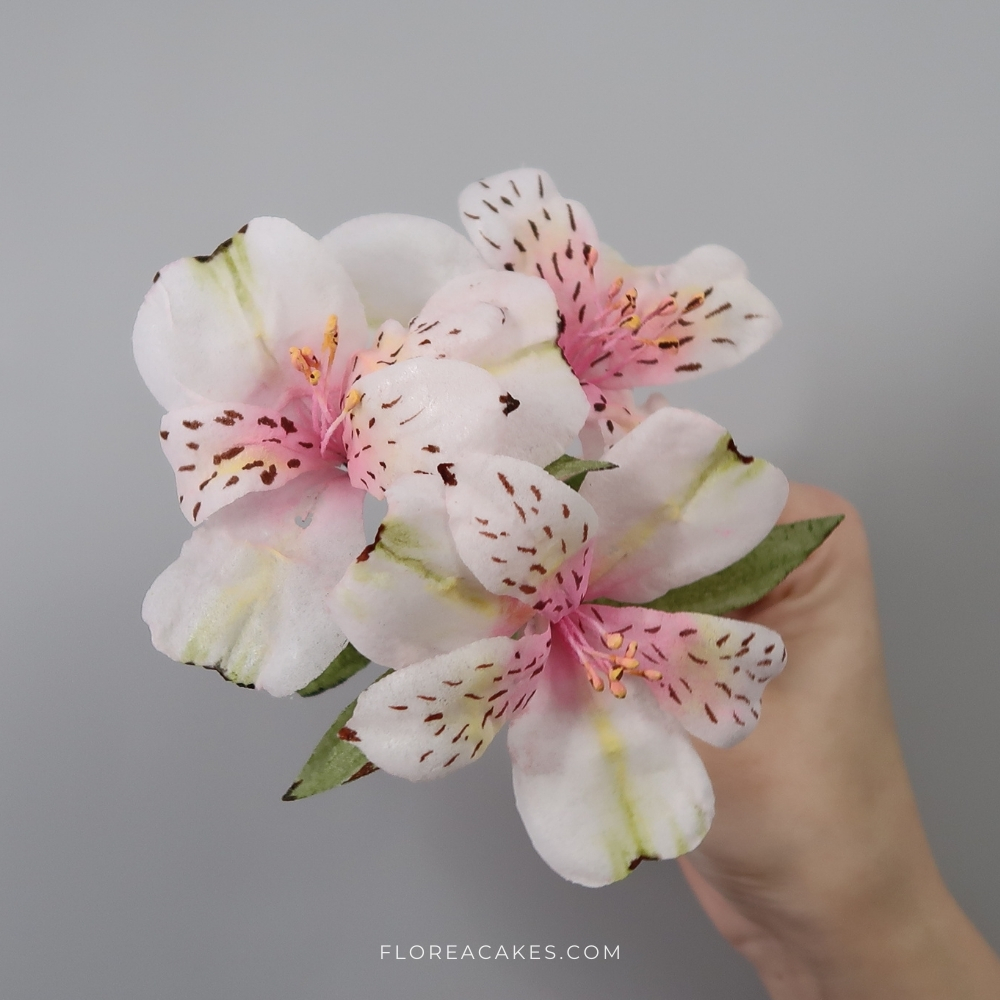
Start by assembling the inner petals around a stamen cluster, securing them with floral tape. Then, place the outer petals in between the inner ones, shaping them as desired. Finally, add your leaves to complete the arrangement.
Go Make Some Wafer Paper Magic!
Now that you’ve learned how to make beautiful wafer paper Alstroemeria, try making your own for your next cake! Feel free to customize the colors and arrangement to suit your design. If you enjoyed this tutorial, share my website with your friend, so I can create more cake decorating tips and tutorials.
