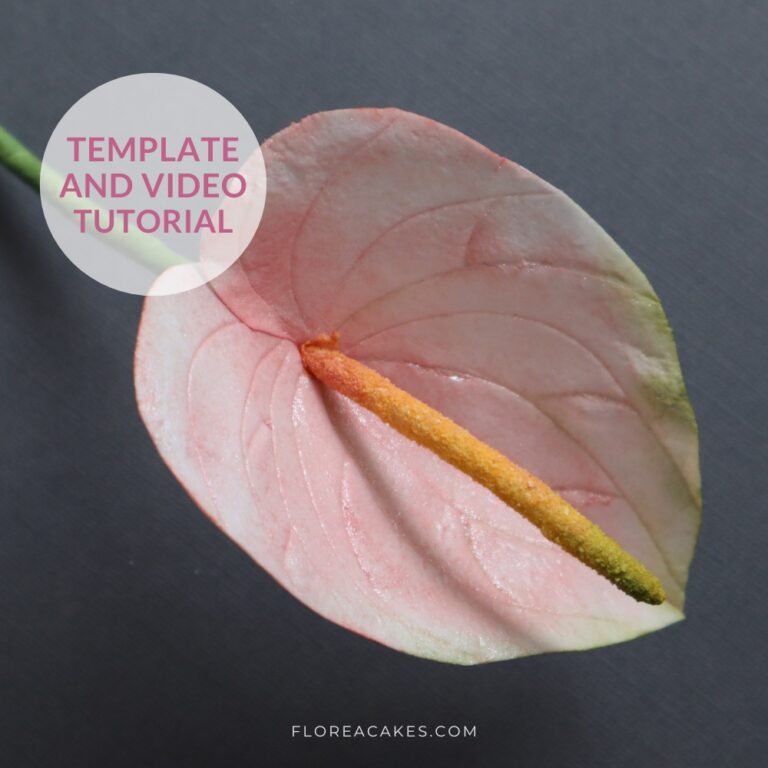
In this video tutorial, I’ll guide you through working with wafer paper, adding texture without the need for molds or veiners and dusting your edible wafer paper anthurium to make it look super realistic.
Anthuriums, often known as the “flower of hospitality,” symbolize abundance and kindness, making them the perfect addition to any celebratory dessert. Their bold, heart-shaped petals add an exotic touch to any wedding cake and would be a great accent flower in an arrangement.
Whether you’re new to wafer paper or a professional cake decorator looking to expand your skills, this guide will walk you through each step, making sure your edible anthurium flowers look stunning and professional.
Additionally, I’ll show you how to make a beautiful flower center, so you can skip gum paste and save time and money with this easy method.
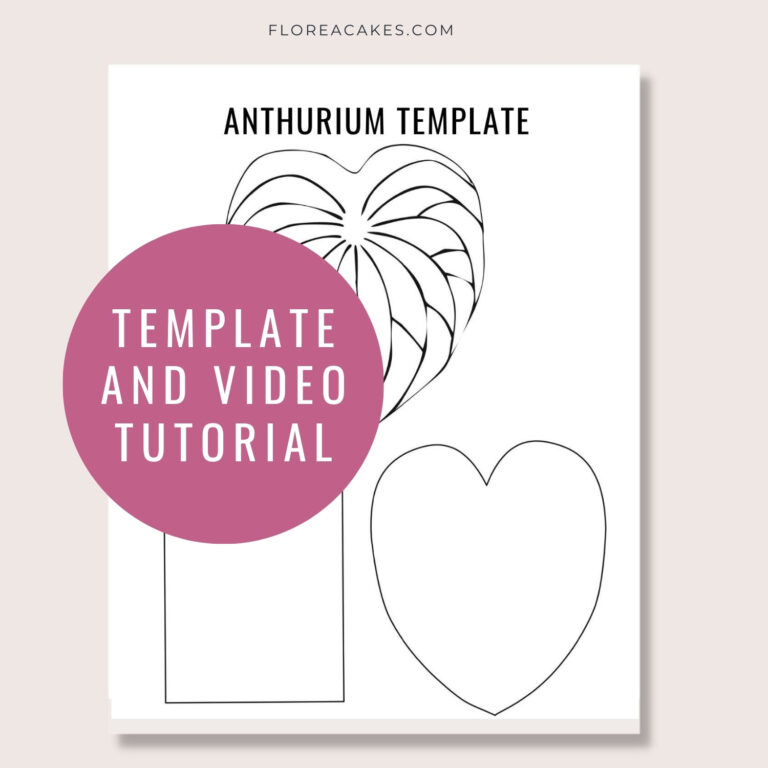
Gather your tools and materials to make this wafer paper anthurium from the list below. Then download the wafer paper flower template or SVG file for my All-In-One Wafer Paper Guide.
Download Wafer Paper Anthurium Template
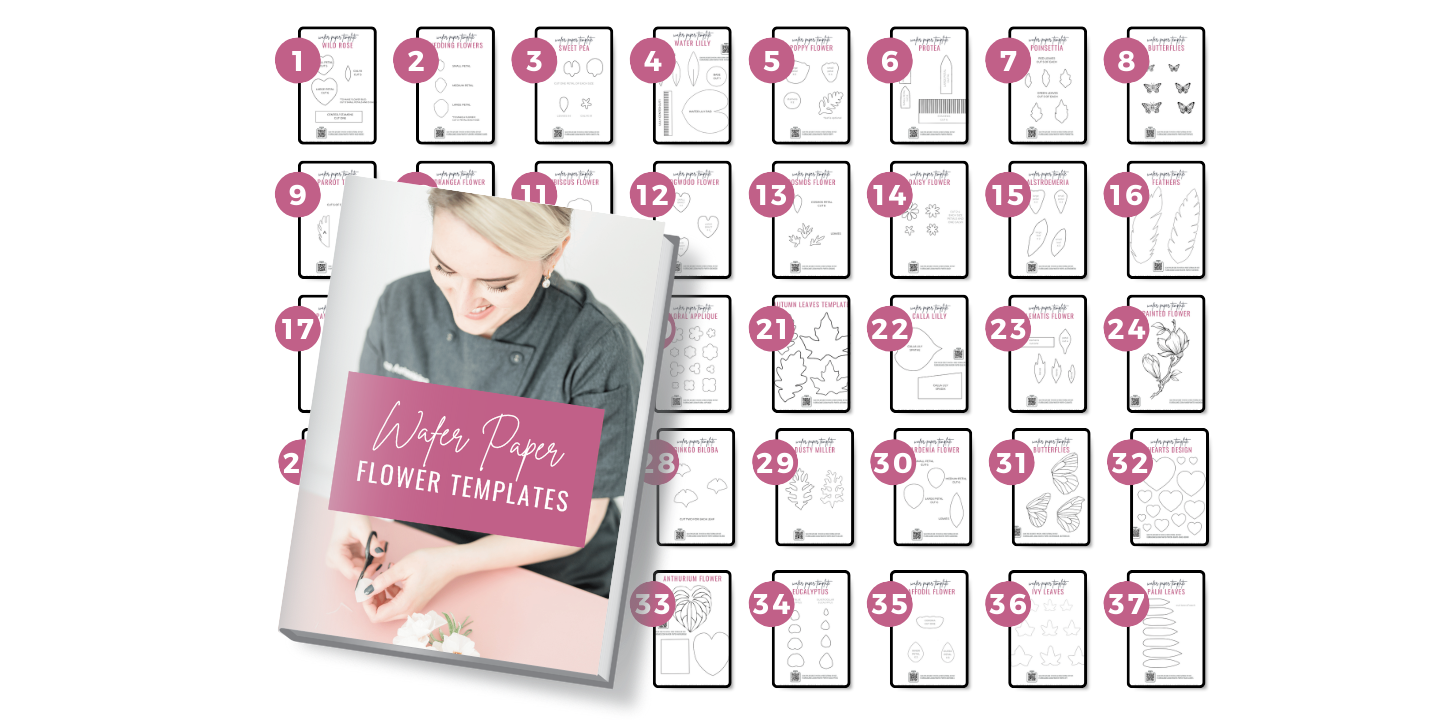
Get instant access to this and 37 more wafer paper flower tutorials and templates in my All-In-One Wafer Paper guide + 3 bonuses!
Materials and Tools You’ll Need
- Wafer Paper (0.27 mm or premium)
- 20-gauge Floral Wire
- Petal Dust (Cecylia Rose, Poppy, Moss Green) by The Sugar Art
- Light Green Floral Tape
- Face Tissue
- My AC Tonic recipe
- Glycerin
- PME Floral Foam Pad
- Petal Dusts Container
- My Perfect Scissors
- Modeling Tool
- Confectioners Glaze
- PME glaze spray
- Wafer Paper Anthirium Template
- Synthetic Brush
How to Create a Wafer Paper Anthurium: Step-by-Step
Step 1: Preparing the Wafer Paper
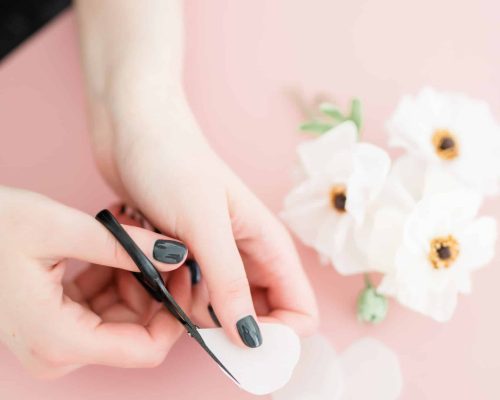
Start by cutting your wafer paper according to the provided template. You will need two layers for this flower. Add a thin layer of AC Tonic conditioner to the wafer paper using a flat brush. Fold in half, removing all air bubbles and making wafer paper as flat as possible.
Step 2: Shaping the Flower
Lay the wafer paper on a foam pad. Use a Dresden tool to gently press in the veins, adding texture without a mold. To give the petals natural movement, employ a ball tool to shape them. This will help create a realistic appearance.
Step 3: Coloring wafer paper anthurium
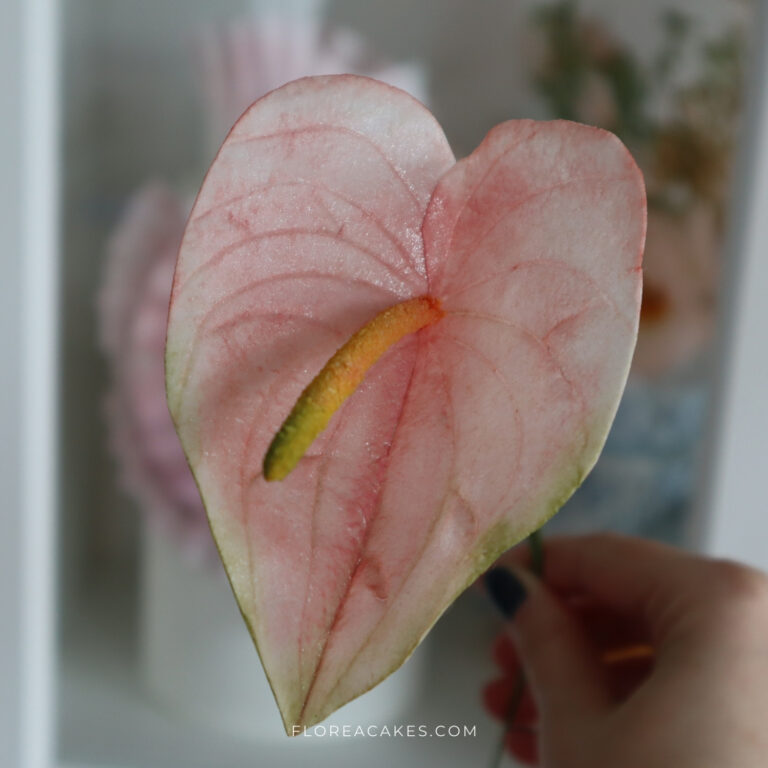
To enhance the look of the flower, layer a few different shades of petal dusts. I like keeping it natural, so I start with a light application of pink color, adding a touch of red on the edges and a touch of green at the base of the flower.
To make it shiny and realistic, apply any perl dust color, either with a brush or a pump bottle. Fix your color with a glaze spray to make it leathery and pearlescent.
Step 4: Creating the Flower Center
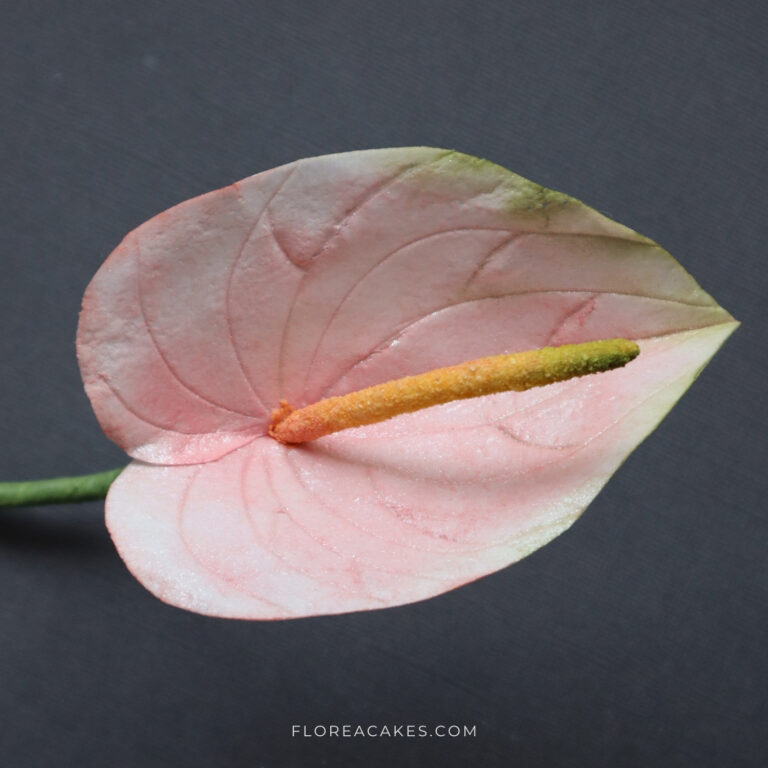
Take a 20-gauge wire and wrap it with conditioned wafer paper, then bend it slightly into the desired shape. Allow it to dry thoroughly. Once dry, apply a pollen mixture (semolina flower mixes with yellow petal dust) and dust to add texture and realism to the flower center.
Step 5: Assembling the Flower
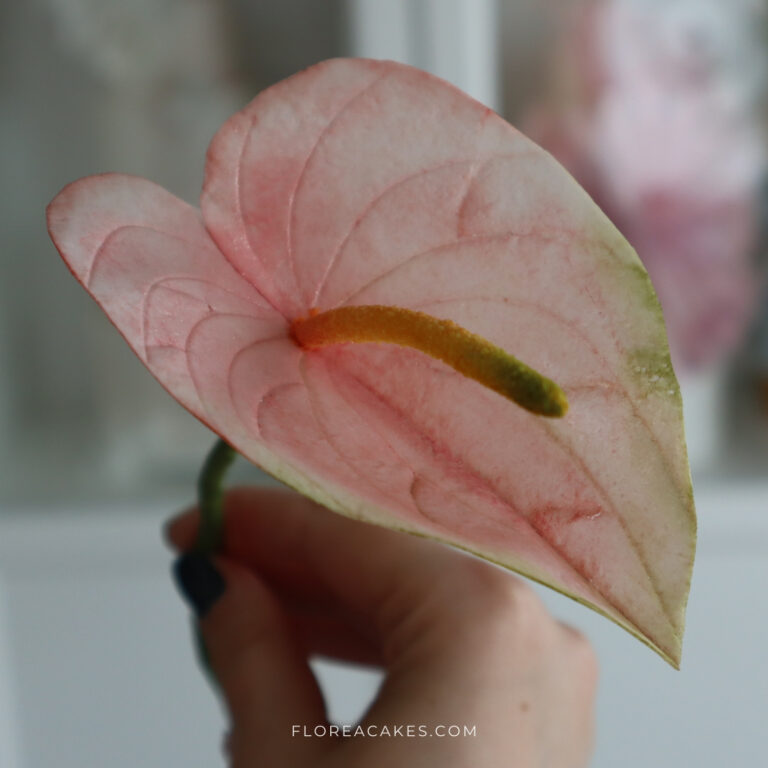
Attach the dried flower center to the anthurium petals using wafer paper glue. Adjust the petals and center to ensure a natural look. To complete the flower, wrap the stem with floral tape and tissue paper to add thickness and enhance the overall appearance.
Ready to Create Your Own Edible Anthuriums?
I hope you enjoyed this tutorial and are excited to give it a try! Crafting wafer paper anthuriums is a fun and delightful way to elevate your cake designs with a unique, professional touch.
I can’t wait to see your creations—be sure to share your beautiful anthurium flowers with me on social media @FloreaCakes!



3 Comments
I love your work and you have a super fan here in Brazil when I reproduce a flower I will tag you on instagram
I can’t wait to see your flowers!
Muchas gracias por su valiosa colaboración. Éxitos