What is your favorite thing about Spring?
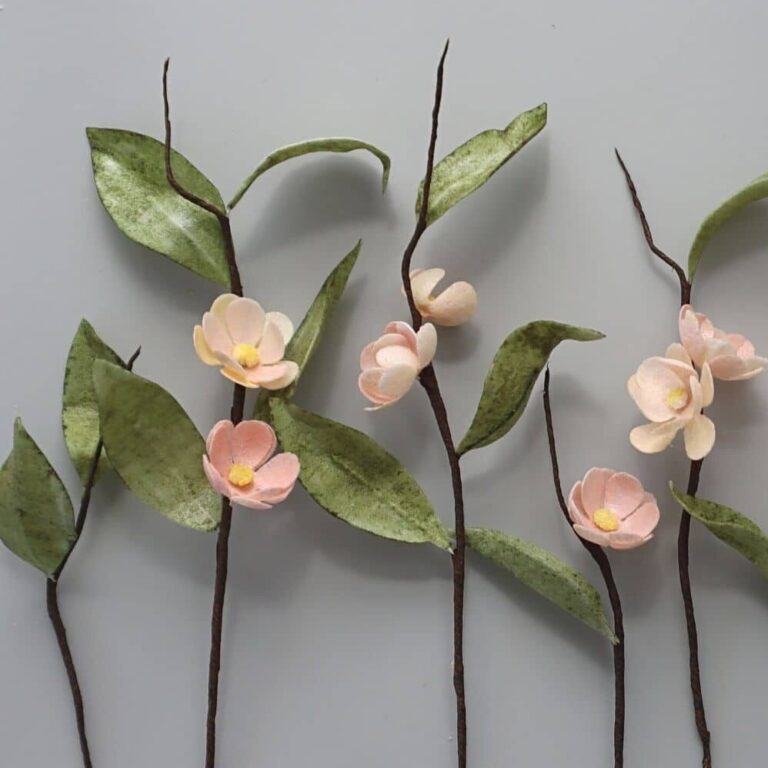
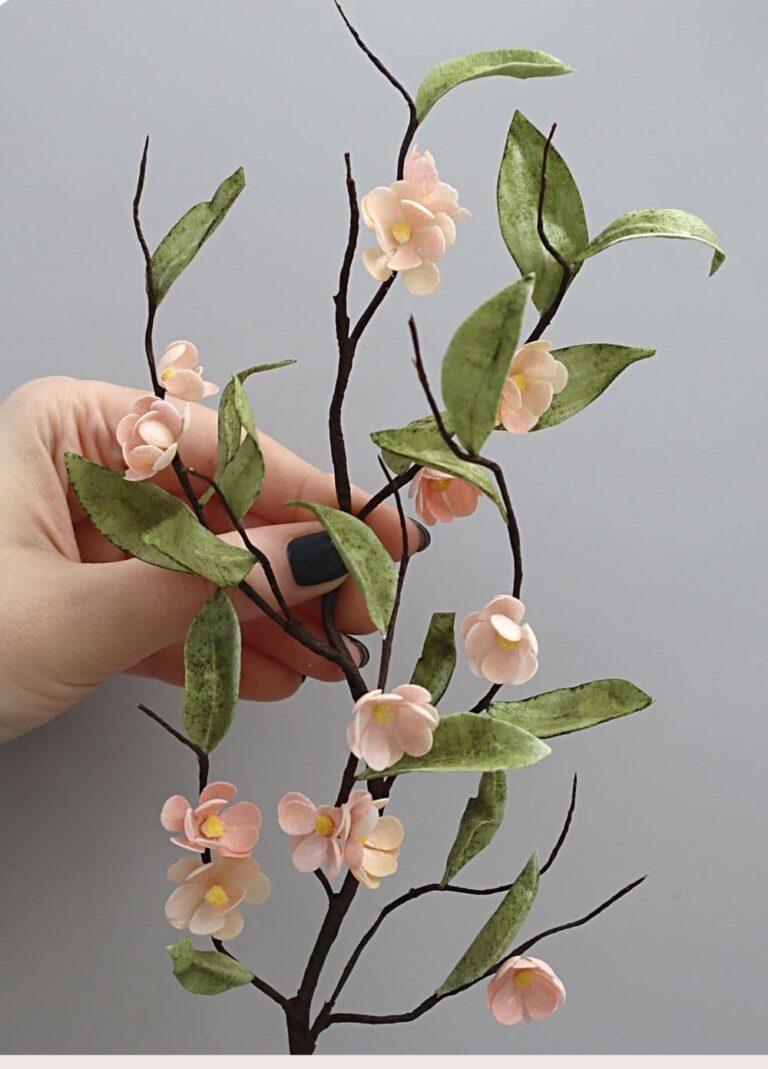
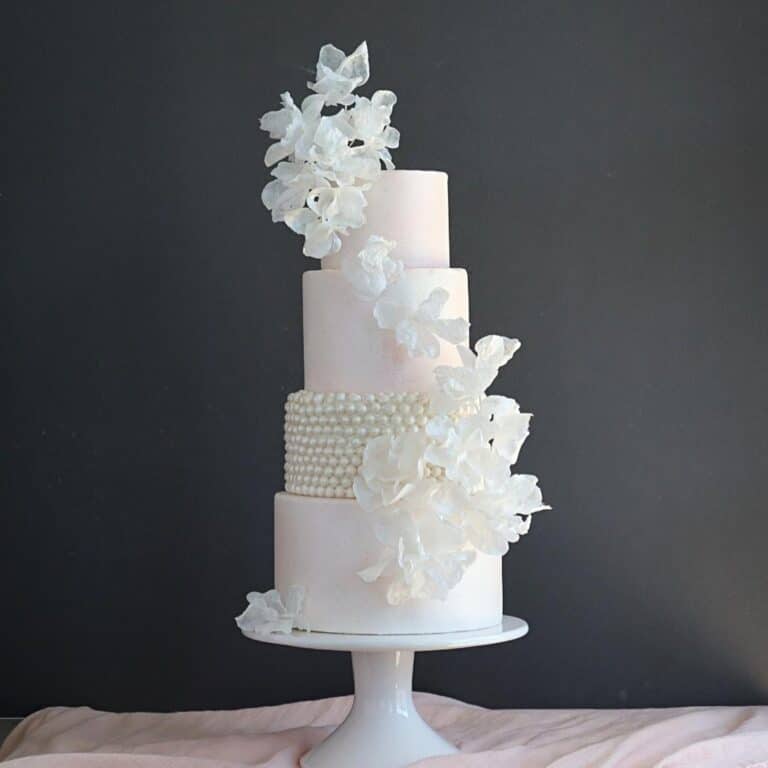
I looooove seeing the trees pop into bloom everywhere. Outside of my kitchen window is a tree full of pink flowers, and every year birds building a nest on its branches. I wanted to capture this light and exciting feeling and decided to make these wafer paper flower blooms. And, of course, create my own version of the Spring blooming branches.
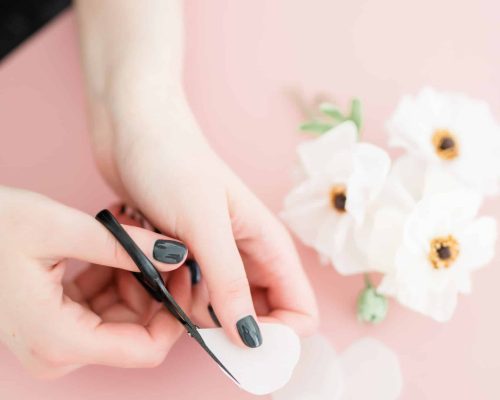
This is a great project for all skill levels — and you can either cut your paper flowers by hand or use your craft punch.
And in this tutorial, I’m going to teach you how to make easy wafer paper leaves and assemble these branches.
The wonderful thing about these cherry blossom branches – you can make them in advance and used them as a cake topper or part of an arrangement for your spring, wedding, or baby shower cakes. So many ideas! All you need along with wafer paper is a pair of sharp scissors and a gel color of your choice. Now your branch is ready to bloom on your cake. Follow my step-by-step video tutorial below to make the wafer paper cherry blossoms and blooming branches.
If you haven’t yet, Subscribe to my channel, so you don’t miss out when we drop new tutorials!
tools and materials
Wafer Paper (any thin paper would work)
20 and 26 gauge white wire
Pollen: Semolina + Yellow Petal dust
Petal dusts: Daffodil and Cecylia Rose by The Sugar Art
Pearl dust by Saracino
Paper punch – 1 inch five-petal flower
Floral pad
Mini steamer
Ball tool / Drezden tool
Sharp scissors
Brown floral tape
Wire cutters
Green gel/airbrush color
My AC Tonic recipe (download here)
Shop my Equipment List on Amazon
