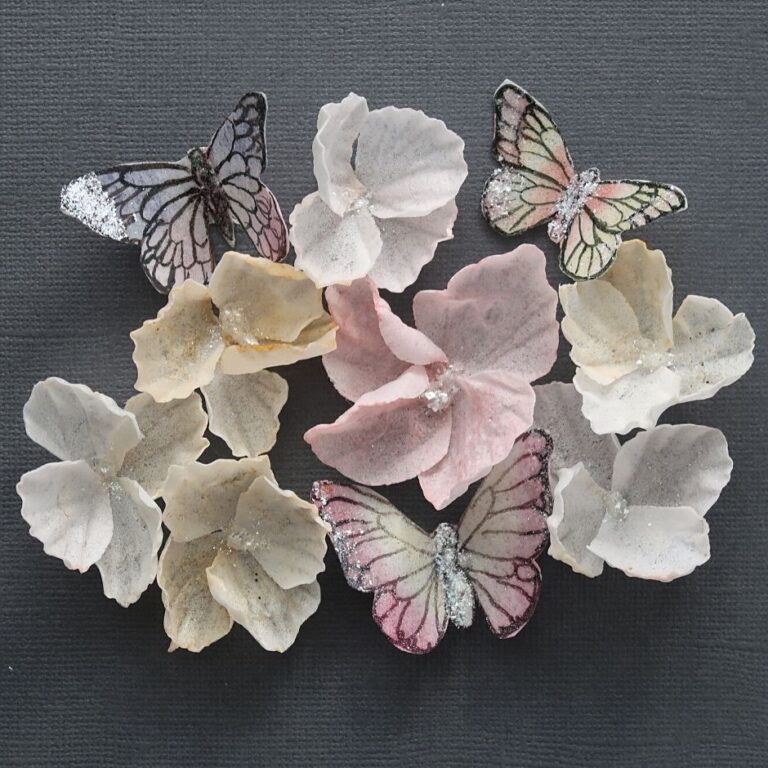
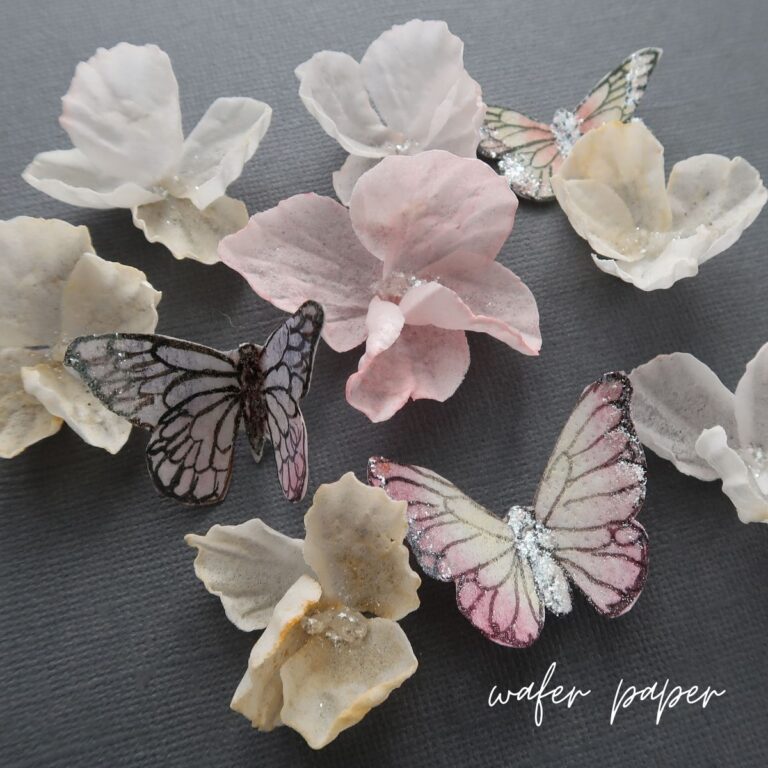
Ready to create some stunning wafer paper butterflies for your cakes? These delicate, edible butterflies are perfect for adding a touch of elegance and whimsy to any cake or dessert.
In this tutorial, I’ll walk you through the process of painting, cutting, and assembling these beautiful decorations, ensuring they look as realistic and vibrant as possible. Butterflies symbolize transformation and beauty, making them an ideal accent for a variety of cake designs, from weddings to birthdays.
Let’s get started! You can follow my step-by-step guide or watch my YouTube video below for a more hands-on approach.
Materials and Tools You’ll Need
Materials
- Wafer Paper (I use 0.27mm by Oasis Supply)
- 26-Gauge Floral Wire
- Piping Gel
- Petal Dusts – Colors like Sicilian Rose, Poppy, Daffodil, and Aurora Rose by The Sugar Art
- Edible Glitter – Brilliant Sparkle
Tools
- Synthetic Brushes – Various sizes
- Sharp Scissors
- Edible Marker
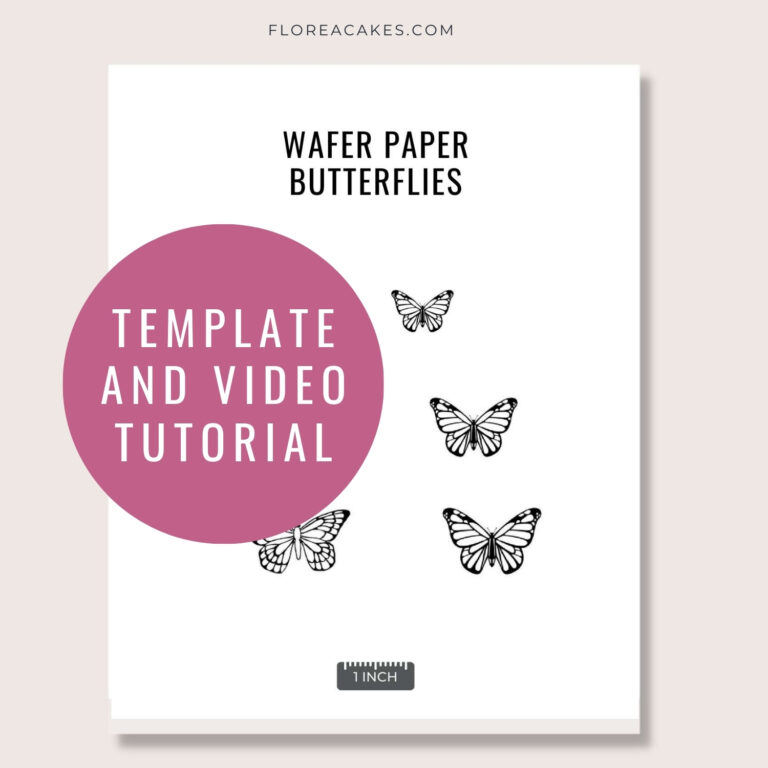
- My Wafer Paper Butterflies Template (All-In-One Wafer Paper Templates Guide)
- The exact container I use
- Option 1: Container
- Option 2: Container
- Small containers with lids
- Similar to what I use for metallic colors
- My label maker
- Clear label tape
Download Wafer Paper Butterfly Template
Get instant access to this and 37 more wafer paper flower tutorials and templates in my All-In-One Wafer Paper guide + 3 bonuses!
How to Create Wafer Paper Butterflies Step-by-Step
Step 1: Organize Your Petal Dusts
Before you start creating, it’s crucial to have your tools and materials organized. Petal dusts come in various shades and are often stored in small containers. I recommend using clear storage containers, like the ones from The Sugar Art, to easily access and organize your dust.
Label each container with a label maker to keep track of your colors and ensure a smooth workflow.
Step 2: Prepare the Wafer Paper
Begin by placing a sheet of wafer paper over your butterfly template. Wafer paper has two sides: a shiny side and a bumpy side. For this project, apply the petal dust to the shiny side for a smoother finish.
Use a synthetic brush to apply your chosen colors, such as Daffodil for the center, Sicilian Rose for the top wings, and Aurora Rose for the bottom wings. Don’t worry about being too precise – just focus on getting the colors onto the paper.
Step 3: Add Details and Cut Out the Butterflies
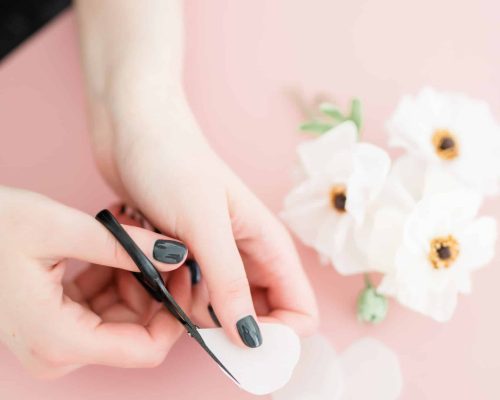
Once the base colors are applied, use an edible marker to trace the intricate details of the butterfly’s wings. If you prefer, you can use airbrush or gel colors with a fine-tip brush for this step. After adding the details, carefully cut out the butterfly shape with sharp scissors.
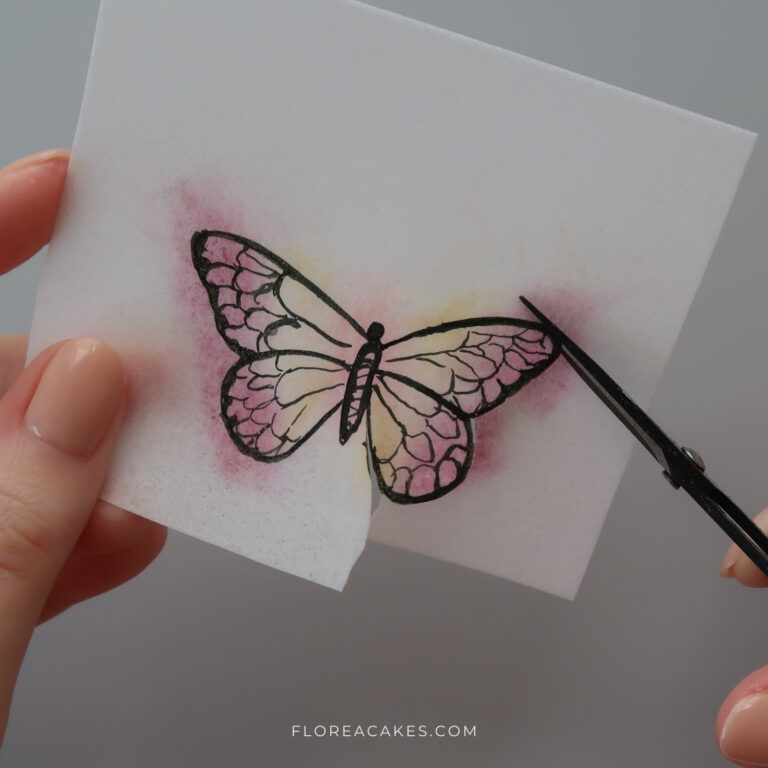
Step 4: Attach the Wire and Add the Final Touches
To make your butterfly stand on a cake, attach a 26-gauge floral wire to the back. Cut a small piece of wafer paper, apply a bit of wafer paper glue to it, and sandwich the wire between the butterfly and the paper.
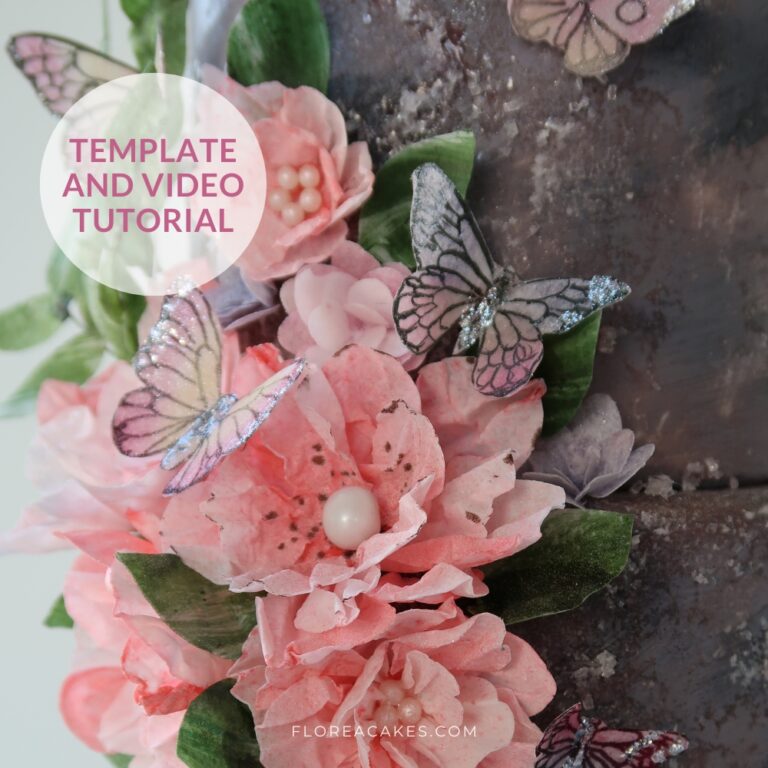
For added flair, use piping gel to apply edible glitter or decorations to the wings. This final touch will make your butterfly shimmer and stand out as a stunning cake decoration
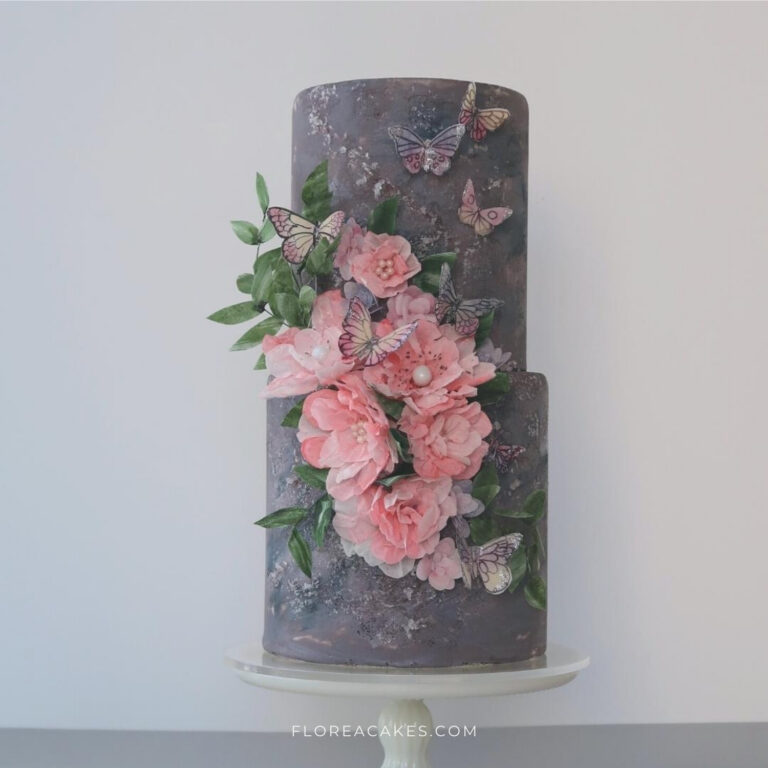
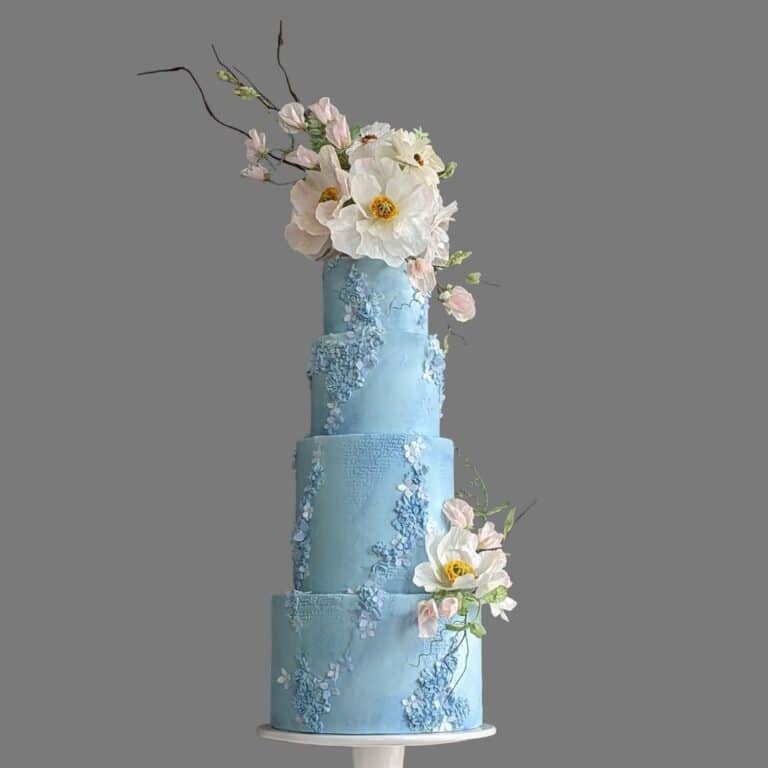
Cake Arrangements Featuring Wafer Paper Butterflies to Inspire You
Where to find storage containers
Go Make Some Butterflies and have fun
Creating wafer paper butterflies is not only fun but also a fantastic way to add a personal touch to your cake designs. Whether you’re making a wedding cake, birthday cake, or just experimenting with new techniques, these butterflies will elevate your creations.
I can’t wait to see what you create – be sure to share your work with me on social media @FloreaCakes!


2 Comments
Thanks to you Anna, you’re such lovely girl and i appreciated all your experiences, and teach us for free. Send you a hug from Merida Yucatan México
You are so welcome! Thank you for your kind words!