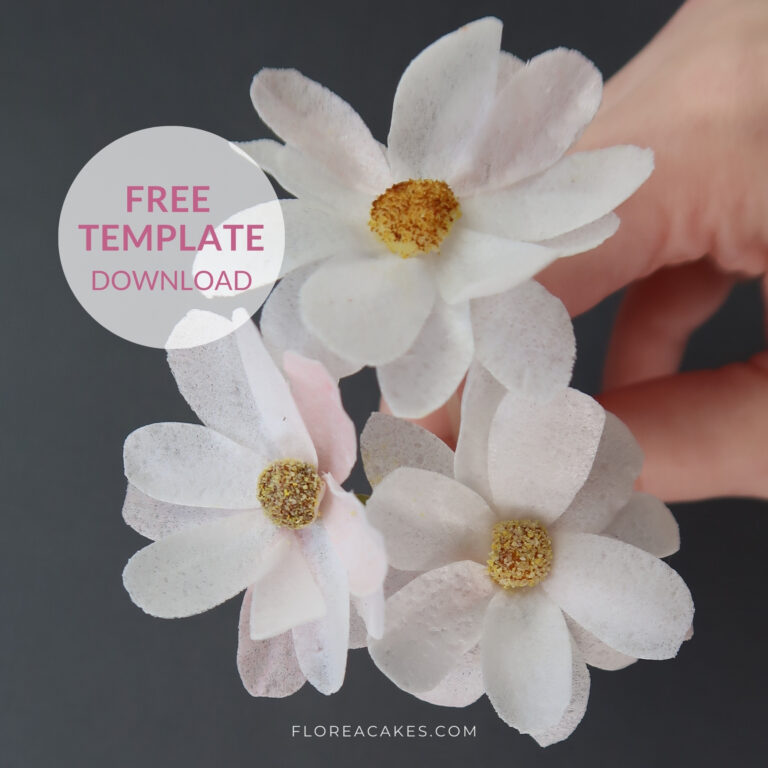
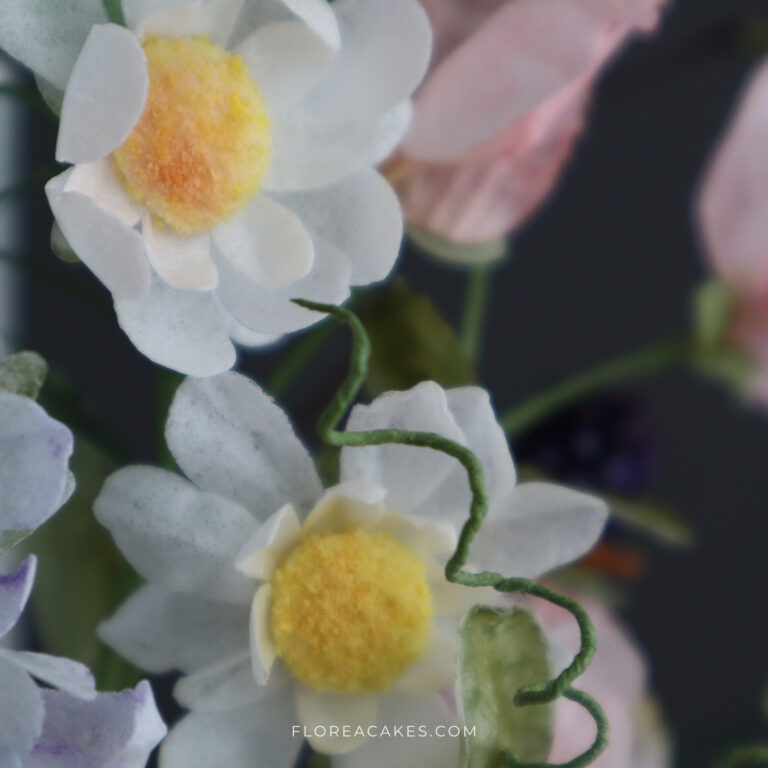
In this tutorial, we’ll explore how to create delicate and beautiful Wafer Paper Daisies with edible stems and centers made entirely from wafer paper.
These charming daisies are perfect for adding a whimsical, natural touch to your cakes or cupcakes, making them ideal for everything from wedding cakes to spring-themed desserts, and the best part is that they are 100% edible!
Whether you’re new to wafer paper or a professional cake decorator looking to expand your skills, this guide will walk you through each step, making sure your daisies look stunning and professional.
Follow the video tutorial or follow the step-by-step guide below.
Materials and Tools You’ll Need
Materials
- Wafer Paper Scraps – Perfect for creating the daisy petals and centers.
- Rice Vermicelli (Rice Noodles) – Used for creating the edible stems. Opt for a thicker variety.
- Americolor Forest Green Airbrush Color
- Cornmeal or Semolina: Mixed with yellow petal dust to create a realistic pollen effect.
- Ivory Gel Color
- AC Tonic (get the recipe here) – for conditioning the wafer paper
- Wafer Paper Glue – Download my recipe with the AC Tonic Guide
Tools
- Watercolor Synthetic Brush
- Sharp Scissors
- Foam Floral Pad
- Tweezers
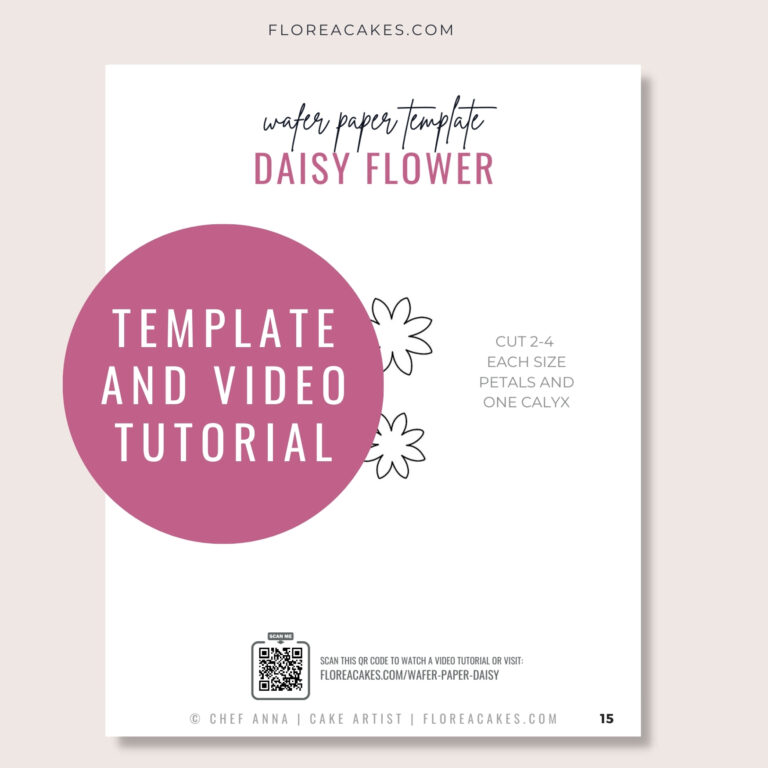
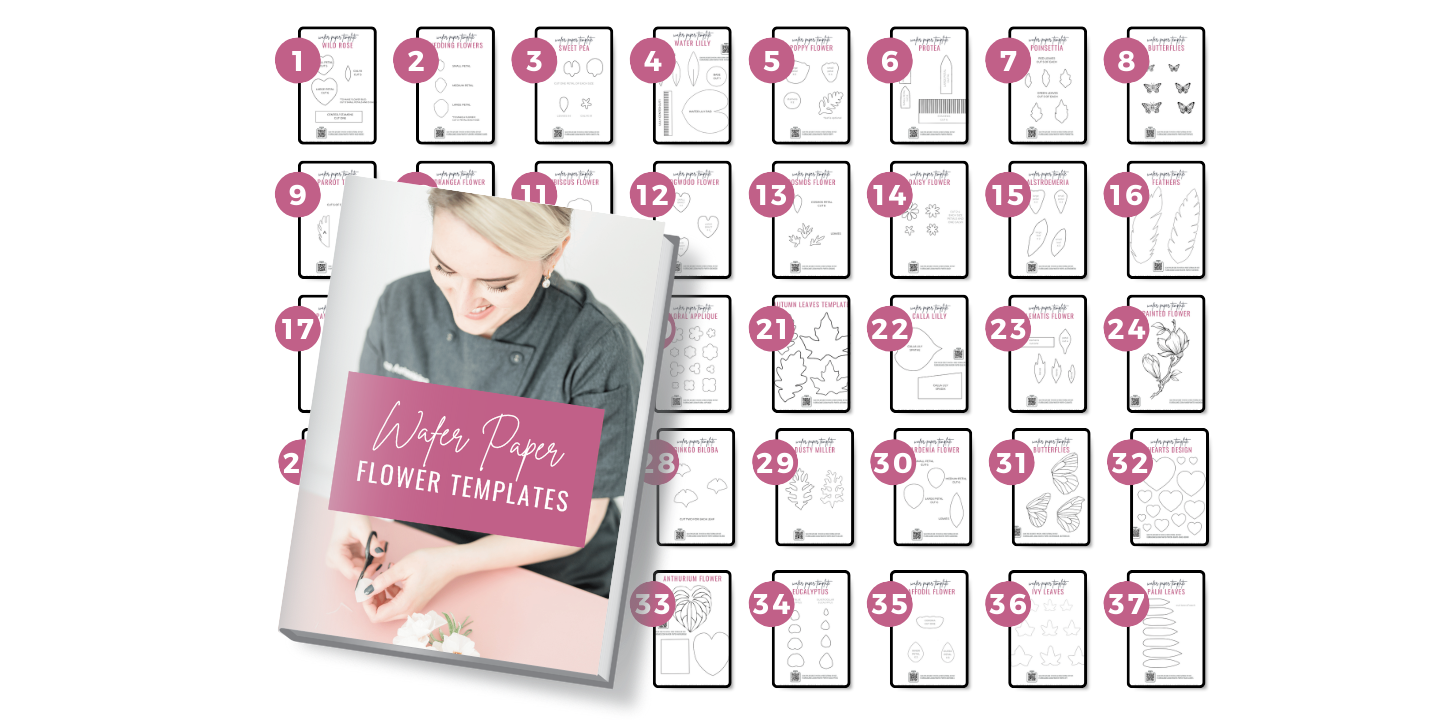
- My Free Wafer Paper Daisy Template (download below)
How to Create Wafer Paper Daisies Step-by-Step
Step 1: Prepare the Edible Stems
To begin, select a thicker variety of rice vermicelli for your edible stems, as it provides more stability for your flowers. Once you have your noodles, use Americolor Forest Green Airbrush Color to paint them.
For a lighter effect, you can blot the noodles gently with a paper towel after painting. Allow the noodles to dry completely before moving on to the next step. It takes about 5 minutes, but can be done in advance.
Step 2: Create the Daisy Centers
Start by forming the daisy center using small scraps of wafer paper, shaping them into a tiny ball that will sit perfectly at the heart of your flower. To attach this center to your painted stem, use a little wafer paper glue.
For a realistic touch, brush the center with Ivory Gel Color and then dip it into a mixture of cornmeal or semolina mixed with yellow petal dust, which mimics the look of pollen.
Step 3: Cut and Shape the Petals
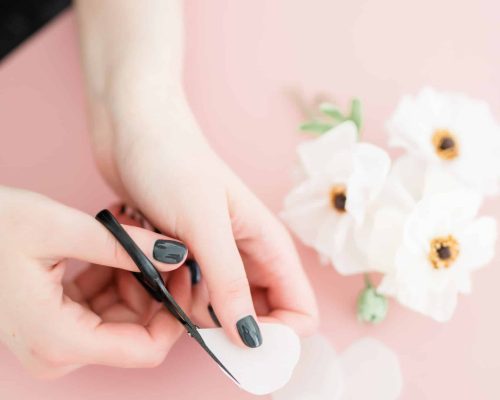
Next, take three layers of wafer paper scraps and cut out simple petal shapes, ensuring they’re consistent in size. To make the wafer paper pliable, lightly brush each petal with AC Tonic, which softens the paper without making it too wet.
Once conditioned, place the petals on a foam floral pad and gently press them to create a natural curve, adding realism to your daisy.
Step 4: Assemble the Flower
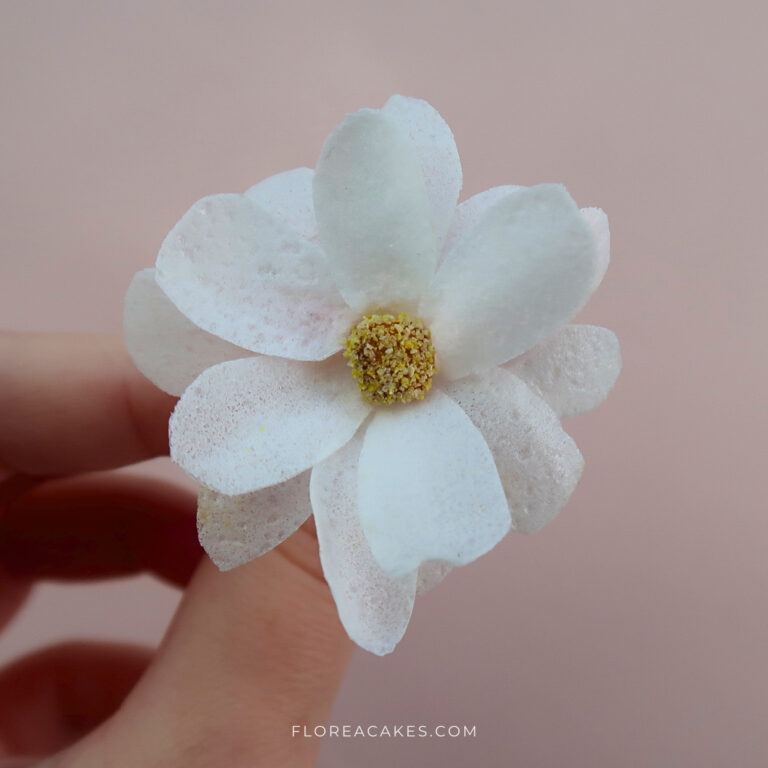
With your petals ready, apply a thin layer of wafer paper glue to the back of each petal and carefully attach them around the daisy center. To create a fuller, more dimensional flower, add a second layer of petals, positioning them slightly lower than the first layer.
After assembling, press the petals gently to ensure they adhere well to the center, then set your flower aside to dry completely.
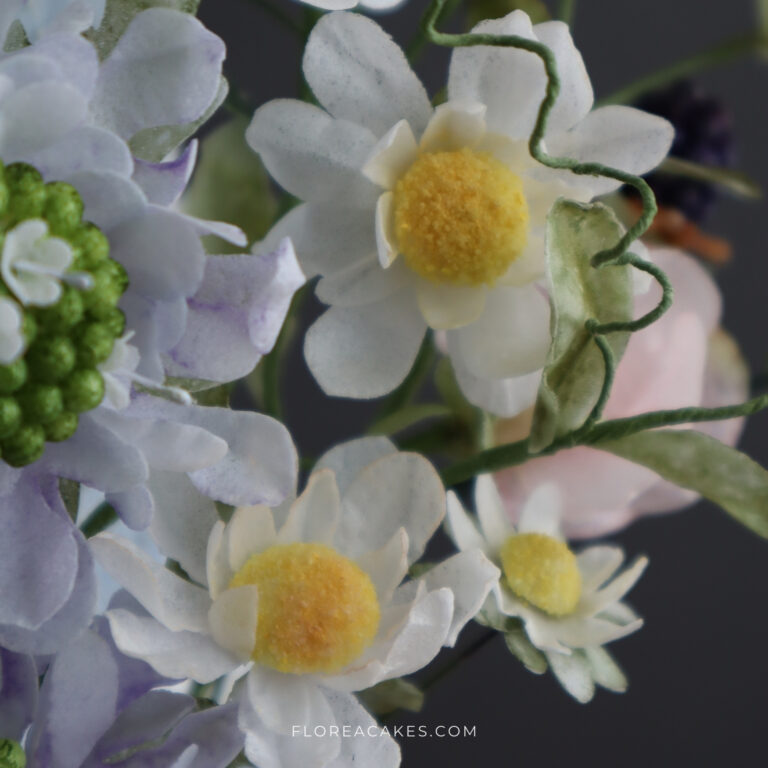
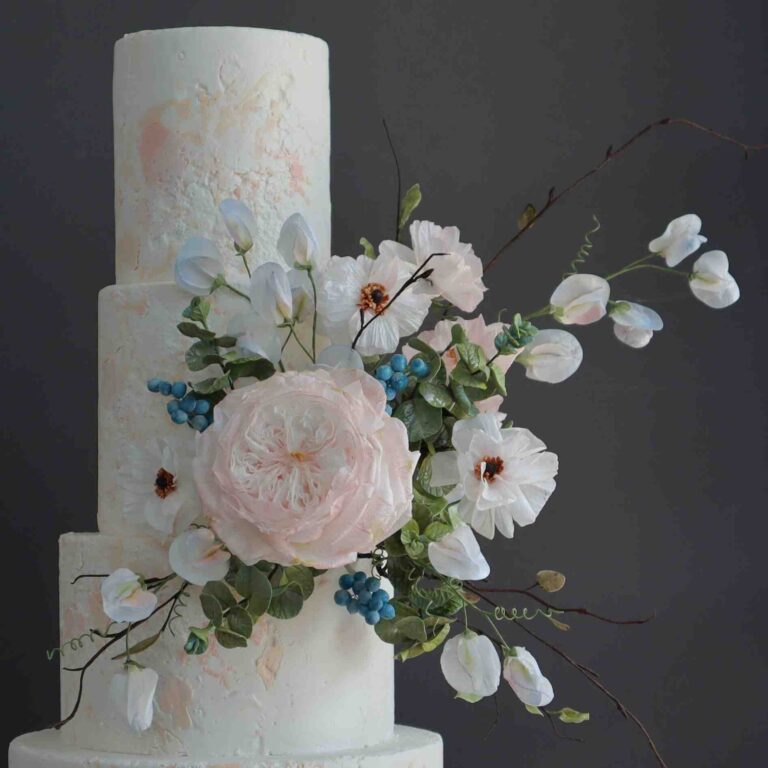
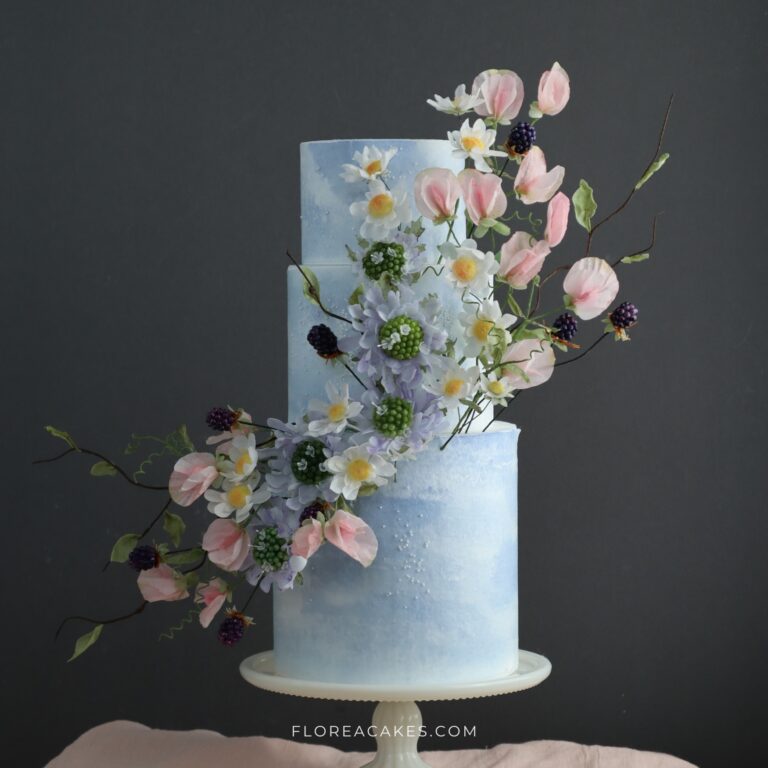
Cake Arrangement Featuring Wafer Paper Daisies to Inspire You
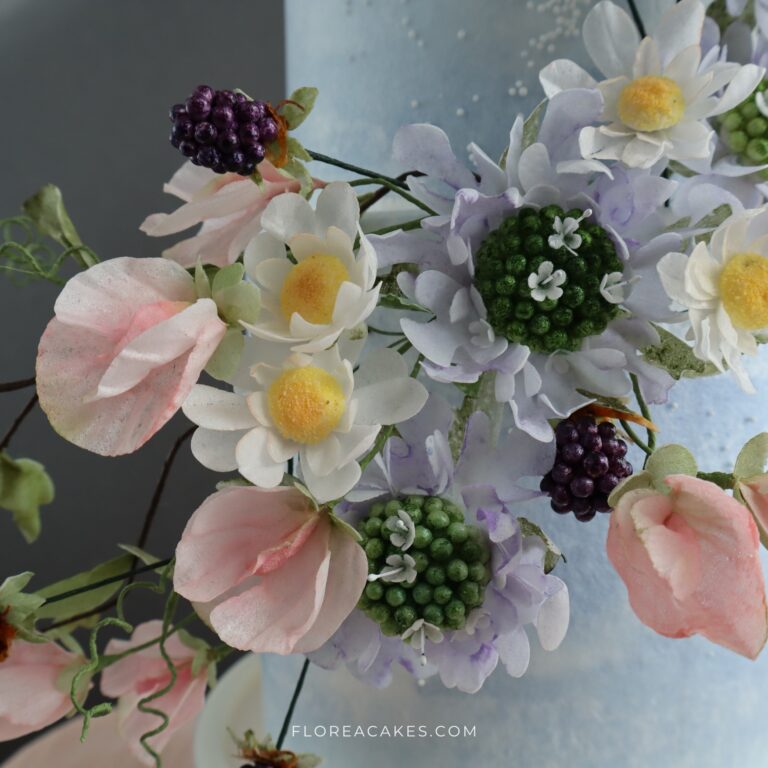
Have fun!
I hope you’ve learned some new tips and techniques for working with wafer paper. Wafer Paper Daisies are a versatile and beautiful addition to any cake design. Don’t forget to put your own spin on the project by experimenting with colors and arrangements.
When you create your own wafer paper daisies, share your work on social media and tag me @FloreaCakes—I’d love to see and share your creations!
