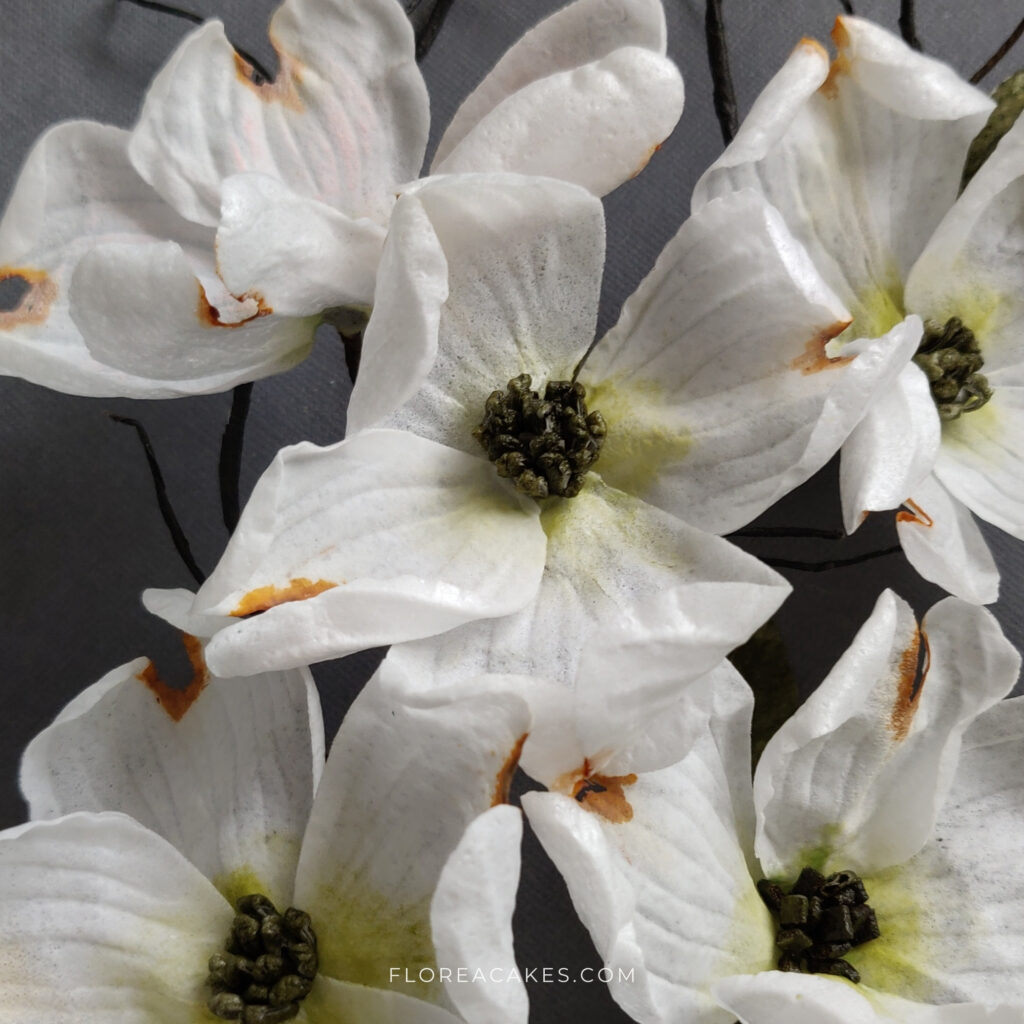
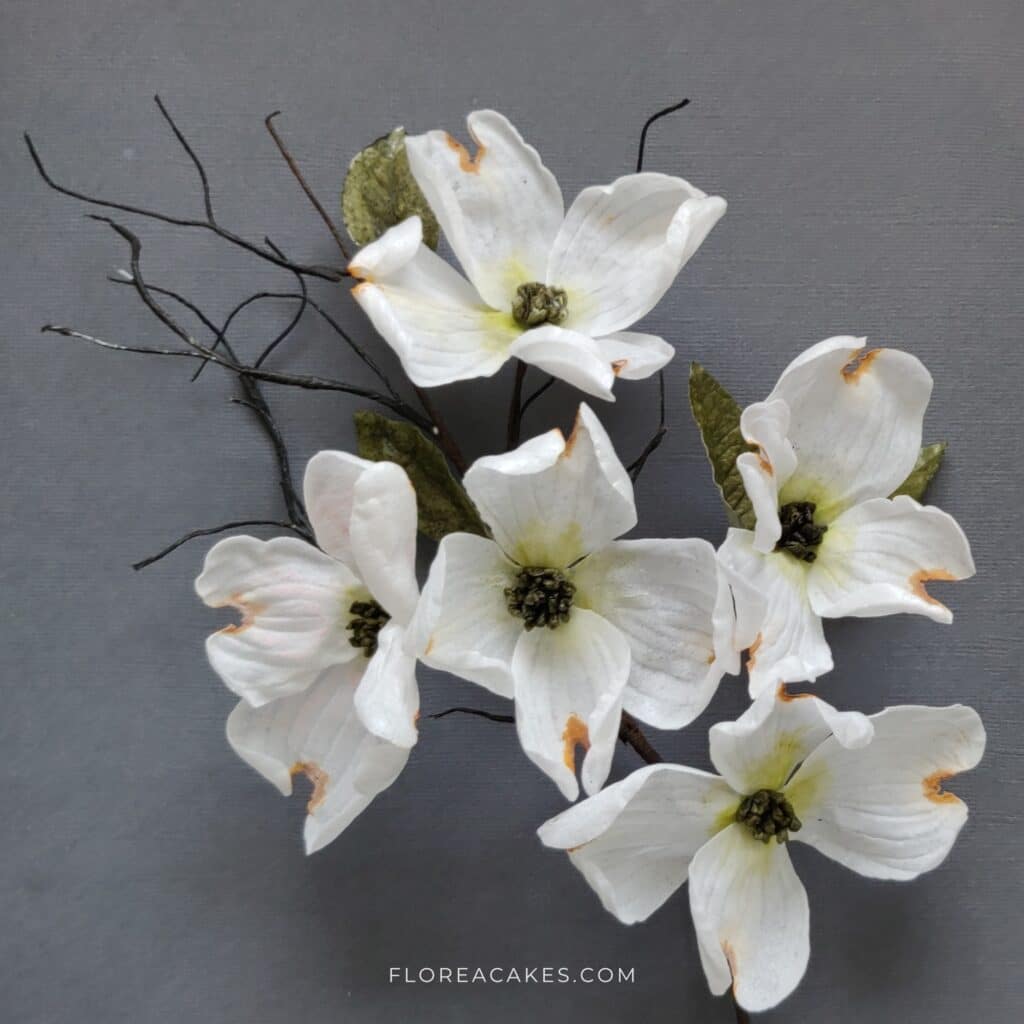
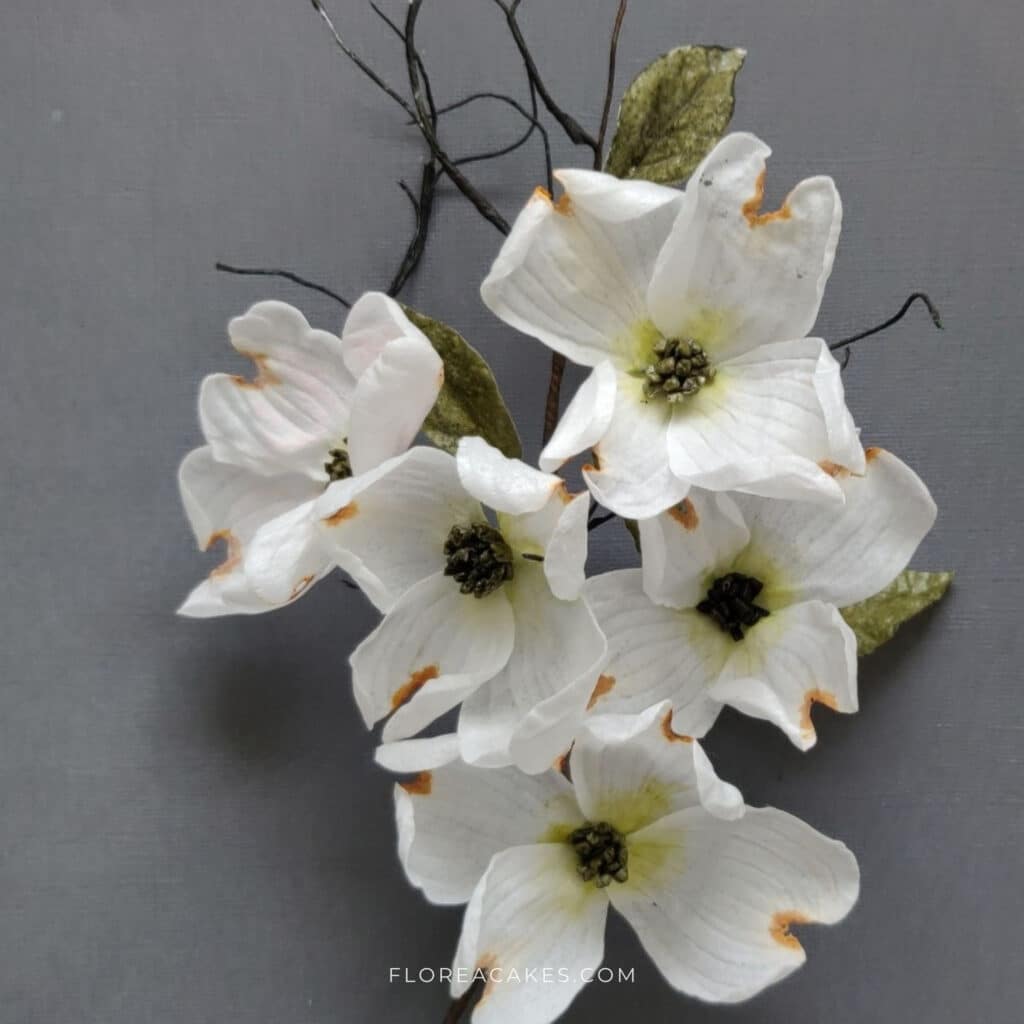
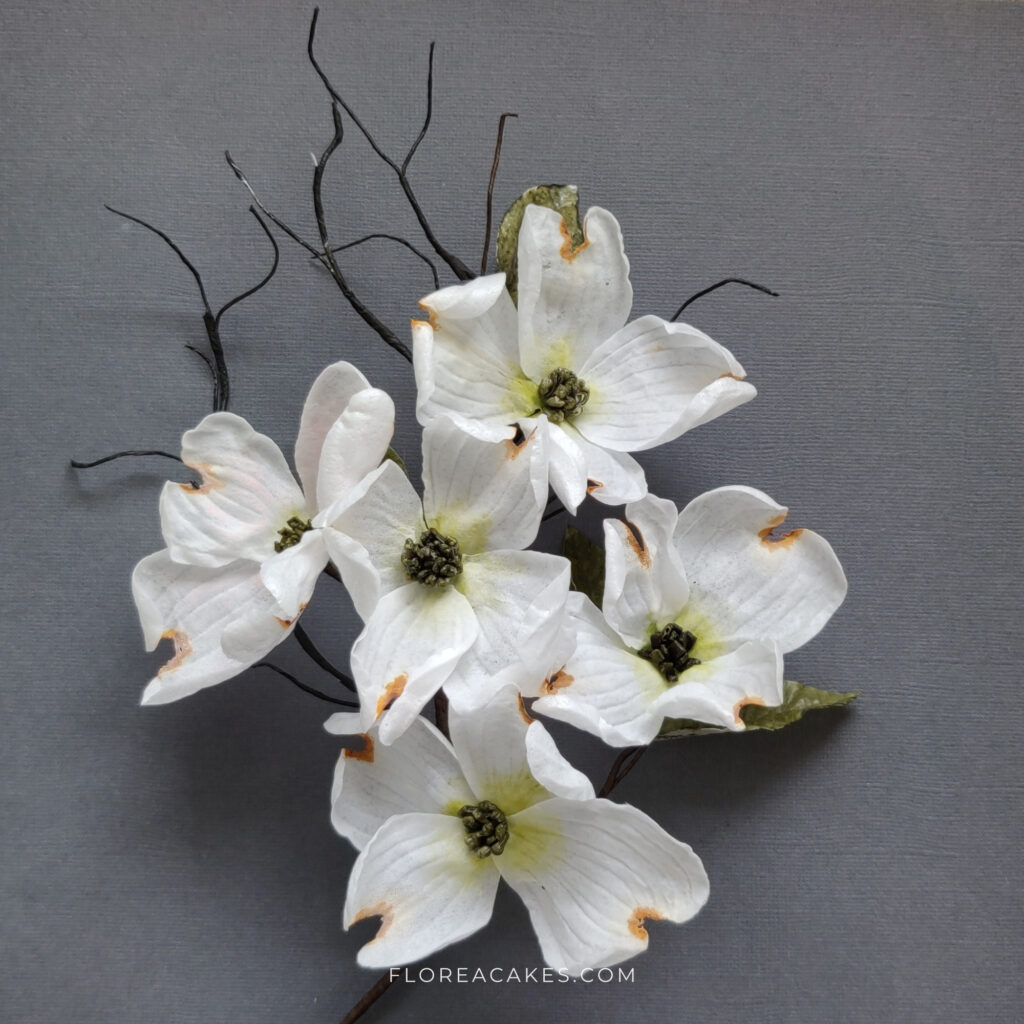
In this tutorial, I’m excited to show you how to create delicate, lifelike wafer paper dogwood flowers. They are my favorite! And so easy to make. Along with assembling the flowers, you will also learn how to build a branch using floral wire and floral tape. These elegant blossoms are perfect for adding a touch of seasonal touch to your wedding cake.
Whether you’re aiming for a classic look or want to incorporate a touch of nature into your cake designs, these wafer paper dogwood flowers are incredibly versatile. With just a few simple tools and techniques, you can create beautiful edible decorations that will impress your clients.
Follow the guide below or watch my YouTube video for step-by-step instructions on how to cut, color, and shape wafer paper to craft stunning dogwood flowers.
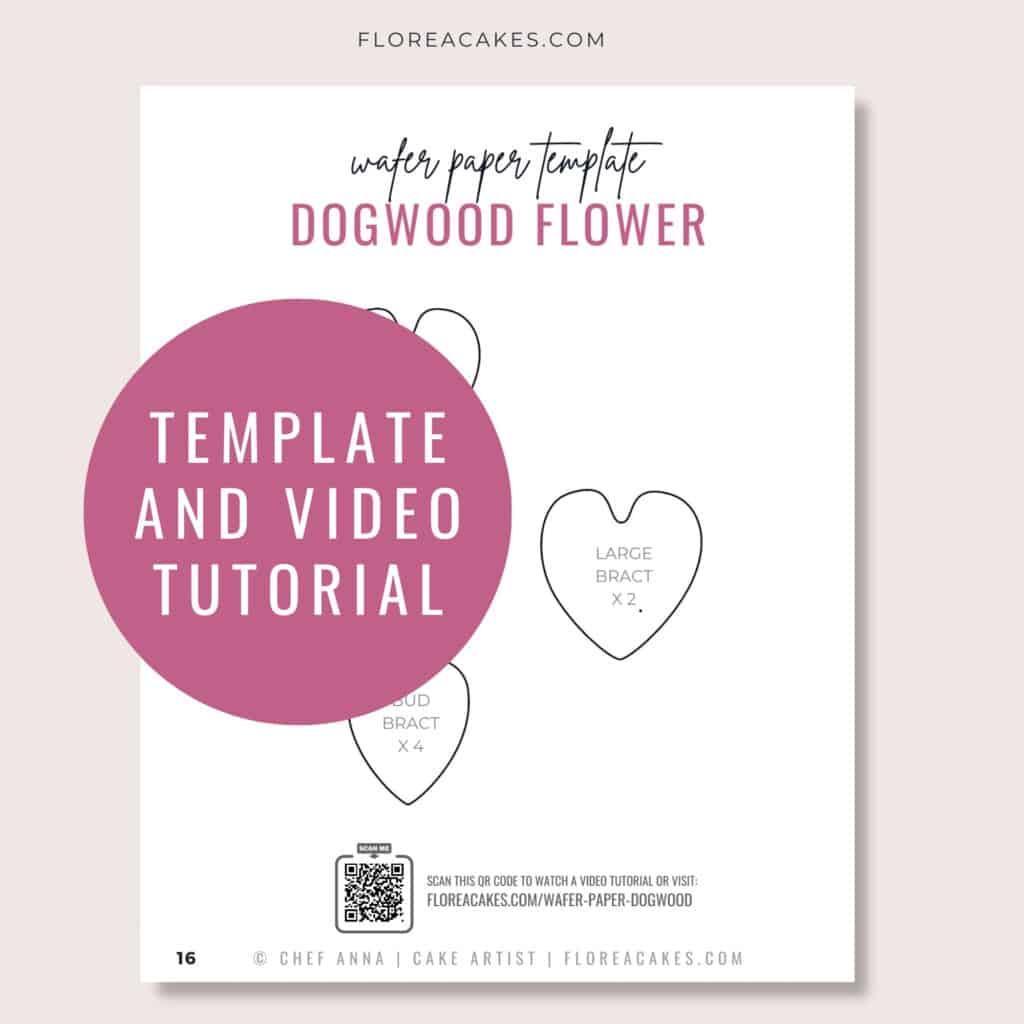
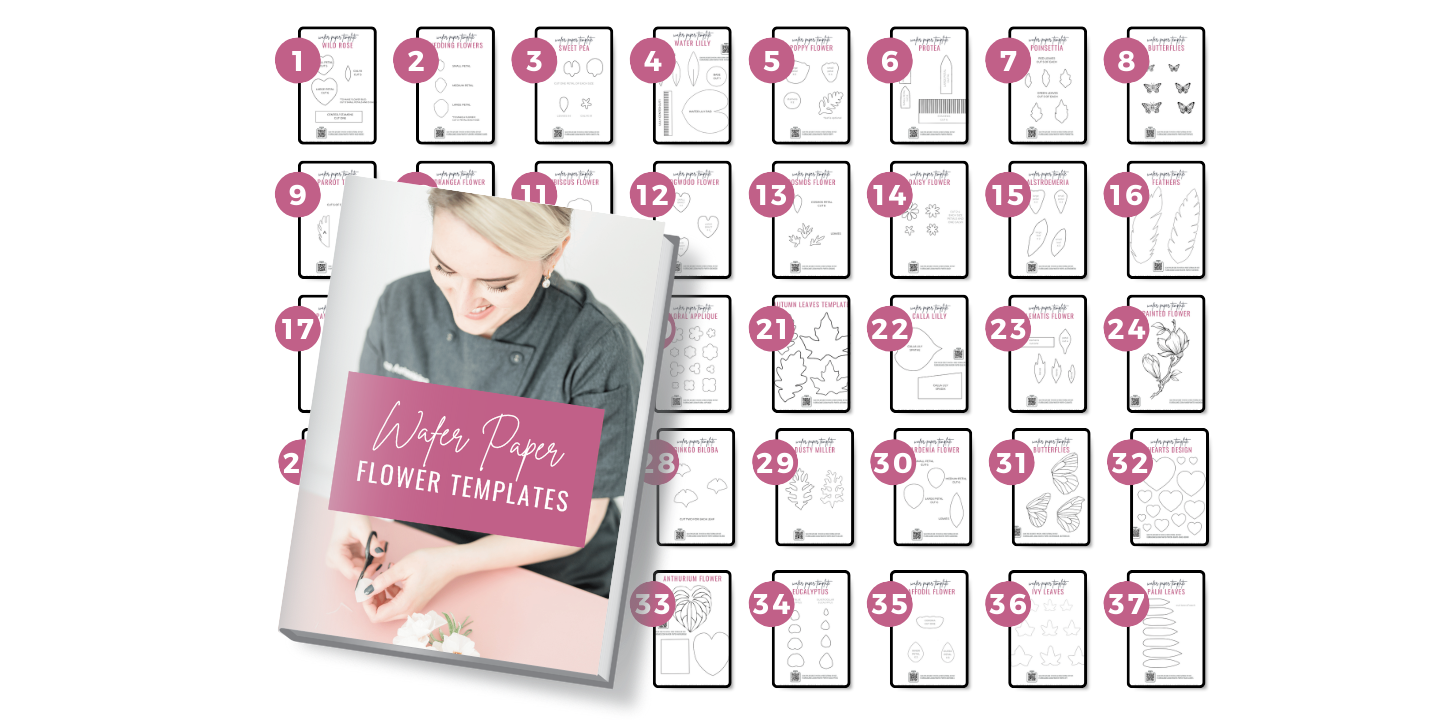
Download Wafer Paper Dogwood Template
Get instant access to this and 37 more wafer paper flower tutorials and templates in my All-In-One Wafer Paper guide + 3 bonuses!
Materials and Tools You’ll Need
Materials
- Wafer Paper (I use 0.27mm)
- Olive Green and Ivory gel color
- AC Tonic recipe (included with the template)
- Foliage Green petal dust
- Sharp scissors
- White 20 Gauge Wires
Tools
- My Dogwood Template (downloadable below)
- Dresden Tool
- Foam floral pad
- Brown floral tape
How to Create Wafer Paper Dogwood Step-by-Step
Step 1: Crafting the Dogwood Center
Start by cutting a piece of wafer paper. Mix Olive green color with a touch of AC Tonic conditioner. Paint wafer paper on both sides (don’t add cornstarch). Using Dresden Tool, draw a line about a 1/4 in. Fold wafer paper on itself a few times. Cut insigiones into wafer paper center with a small pair of scissors to create staments. Add wafer paper glue and assemble the center over a piece of wire.
Step 2: Shaping the Petals
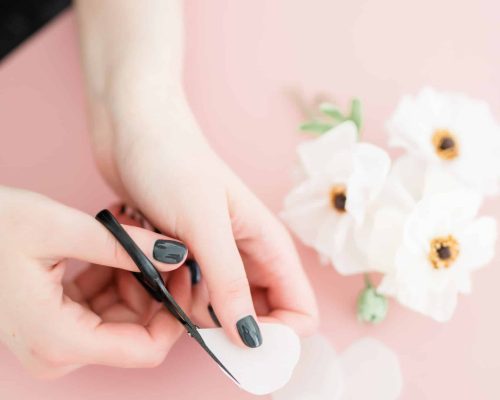
Cut out your wafer paper petals using the template (downloadable above). You’ll need two small and two large petals per flower. Condition them the AC Tonic to keep them pliable, and shape them with a Dresden tool for a delicate texture.
Step 3: Coloring the Petals
Use a dry brush technique with ivory gel color for realistic shading, and add dimension by brushing Foliage Green petal dust on the base of each petal.
Step 4: Assembling the Flower
Once your petals are shaped and dry, assemble your flower using wafer paper glue or a mixture of water and gum paste. Attach the petals to the gum paste center to form the delicate Dogwood bloom.
Step 5: Creating the Leaves
For the leaves, fold a piece of wafer paper and wire it with a 26-gauge wire. Color it with your olive-green gel mixture, giving it a natural, leaf-like look.
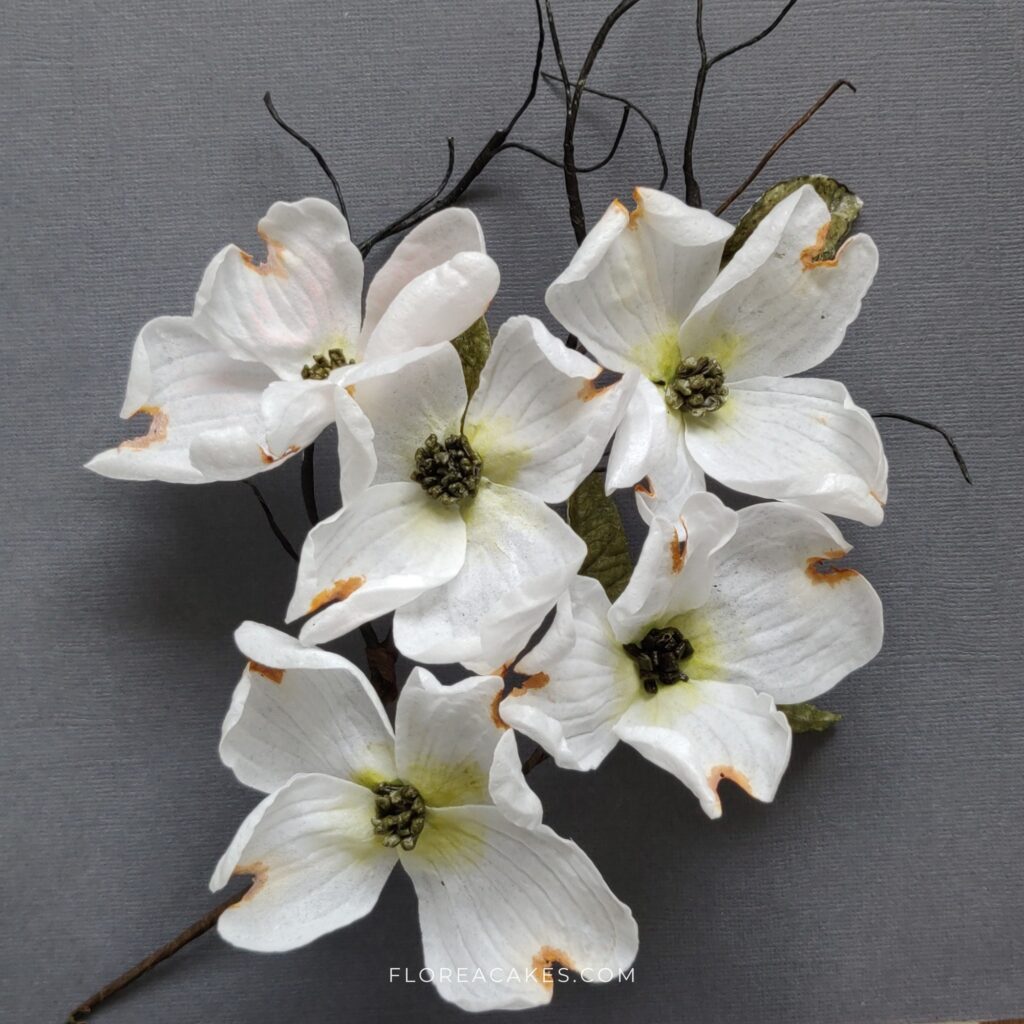
Step 6: Final Touches
To create a beautiful branch effect, wrap the floral tape around the stems, combining both flowers and leaves to form a branch. Let everything dry before arranging.
Over to You!
Now that you’ve learned how to create this gorgeous wafer paper Dogwood, it’s time to get crafting! Whether you’re making a full wedding cake arrangement or simply adding a floral touch, these edible dogwoods will wow any audience.
Don’t forget to get your FREE Wafer Paper Dogwood Template and share your creations with me @FloreaCakes so I can feature your creations!


4 Comments
Just wanted to say thankyou so much for all your help. I fully appreciate every minute of your time.
Your video tutorials are the best I have ever seen.
Thank you, Karen, so much for your kind words!
All your work is beautiful, I hope I can make a flower as beautiful as the ones you make ❤️
You got this! Wafer paper is very fun to work with!