If you are a cake artist and you want to start making wafer paper flowers, you are in the right place.
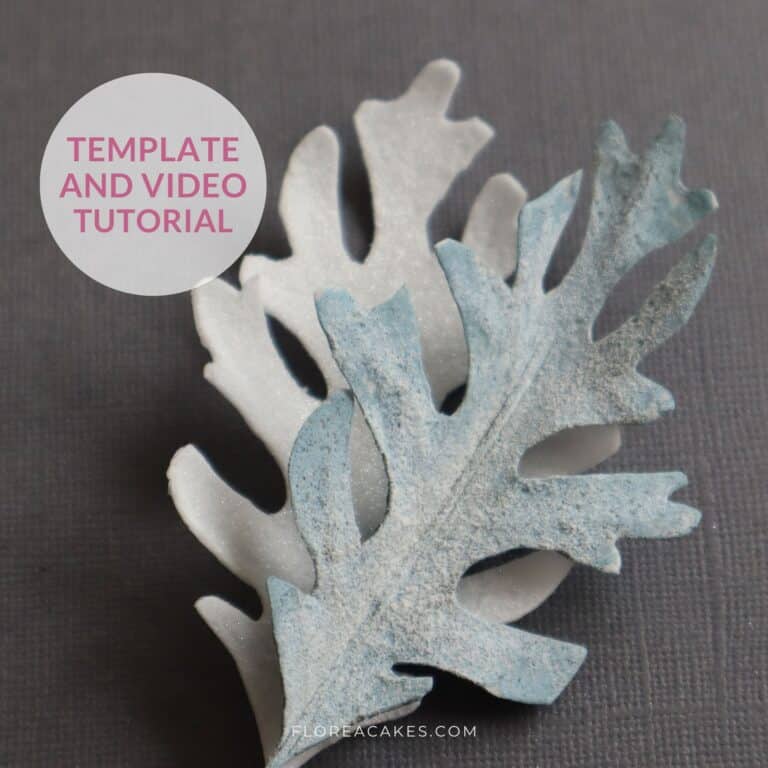
Inspired by the natural beauty and simplicity of Dusty Miller, this tutorial will show you how to create these charming filler leaves.
If you love working with wafer paper, you’ll find this project both exciting and beginner-friendly. Wafer paper is a modern, versatile, and edible medium for creating stunning foliage, perfect for adding elegance to your cake designs.
In this tutorial, we’ll focus on crafting lifelike edible Dusty Miller using wafer paper. You’ll learn how to cut, condition, and assemble leaves to form beautiful, realistic foliage. Whether you’re decorating a wedding cake or just exploring new techniques, this project is perfect for honing your skills, especially if you’re new to using AC Tonic.
Let’s get started! Follow along with the step-by-step guide below, or watch the full video tutorial to see the process in action.
Materials and Tools You’ll Need
Materials
- Wafer Paper (I recommend 0.27mm)
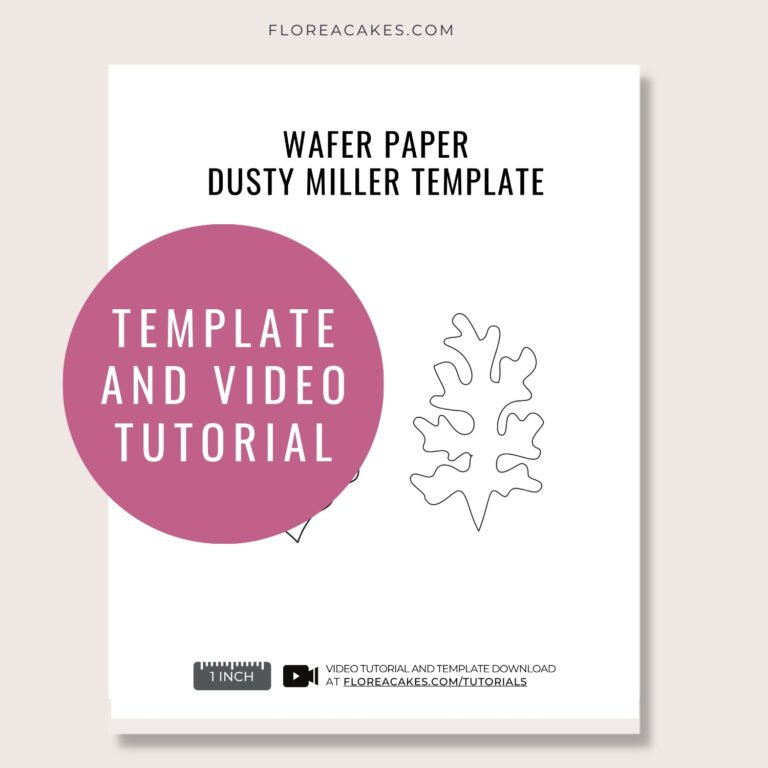
- My Wafer Paper Dusty Miller Template
- Blue, Cyprus and White gel colors
- Rice flour
- Piping gel
- AC Tonic
Tools
Download Wafer Paper Dusty Miller Template
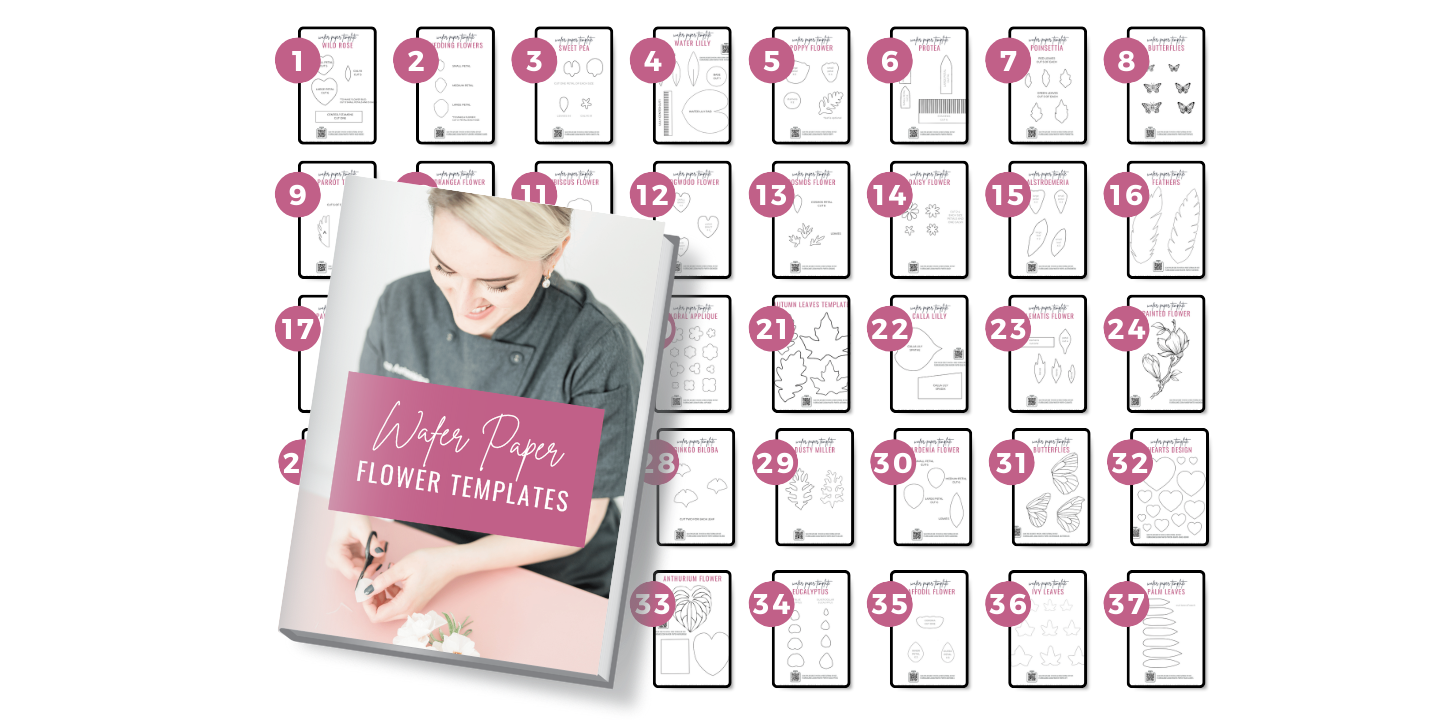
Get instant access to this and 37 more wafer paper flower tutorials and templates in my All-In-One Wafer Paper guide + 3 bonuses!
How to Create Wafer Paper Dusty Miller: Step-by-Step
Step 1: Prepare Your Wafer Paper
Start by downloading the template provided above. I recommend using Saracino wafer paper (0.27mm thickness). Pre-cut one of your leaves and have your floral wire ready.
Step 2: Cut Your Leaves
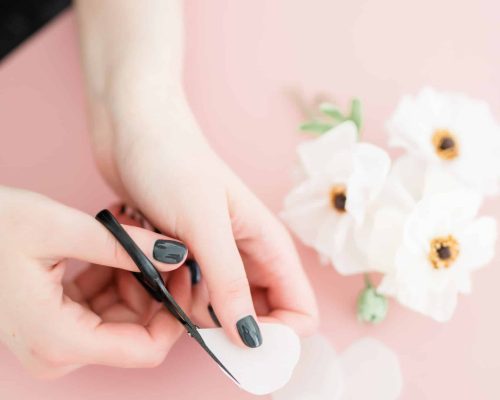
Carefully cut your leaves along the pencil marks. This will give you two identical pieces of wafer paper, ready to add texture.
Step 3: Create Double Thickness
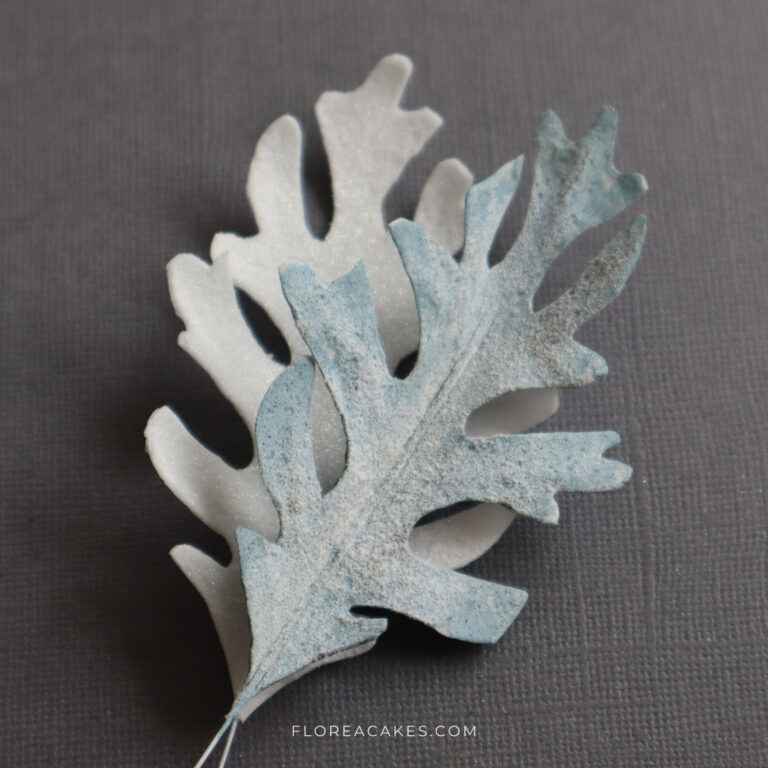
Use the bumpy side of the wafer paper as your face side. To create double thickness, sandwich your wire between two layers of wafer paper. Apply a thin layer of AC Tonic on the smooth side before placing the wire.
Step 4: Add Texture
Place the leaf on a foam pad. Using the sharp end of the Dresden tool, create lines mimicking the veins of a Dusty Miller leaf. With the ball tool, gently run it along the edges to give your leaf shape and movement.
Step 5: Color Your Leaves
Mix your gel colors to achieve your desired Dusty Miller shade. I recommend a blend of Cyprus, blue, and white. Test your mixture on a scrap piece of wafer paper before applying it to the leaves. Start by painting the back side, then the front side once it’s dry.
Step 6: Apply Edible Texture
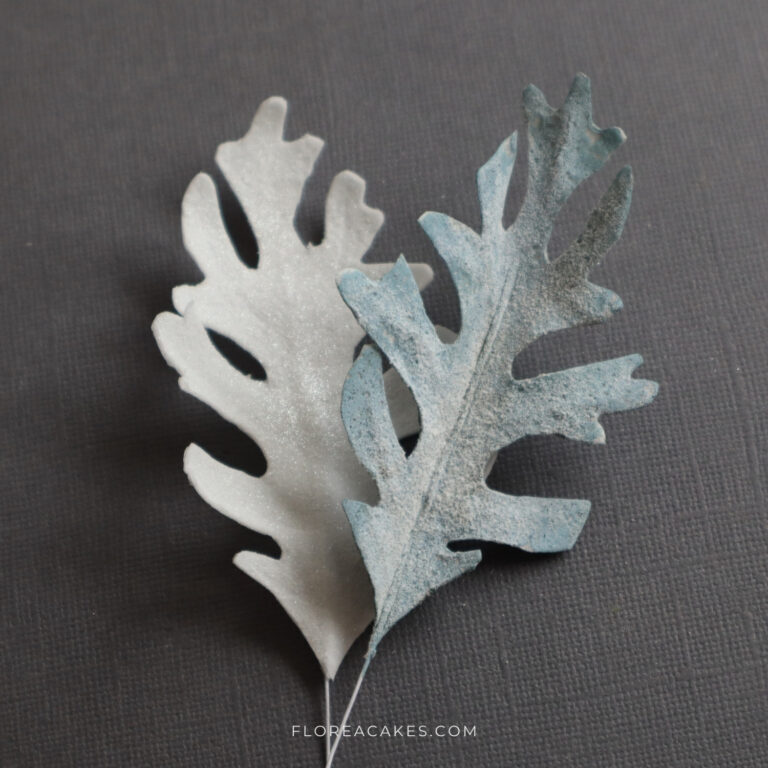
While the paint is still sticky, sprinkle rice flour on the leaves to give them a beautiful, realistic texture. For white Dusty Miller, use piping gel to adhere the rice flour for a stunning flock-like effect.
Step 7: Finish and Arrange
Allow your leaves to dry on a foam pad, maintaining their shape. Optionally, you can spray them with edible glitter for an extra touch of sparkle!
Don’t Forget To Share What You Make
I hope you enjoy creating your own Wafer Paper Dusty Miller flowers using these techniques.
If you try this tutorial, share your creations on social media and tag me as @FloreaCakes—I would love to see what you make and feature your work!



2 Comments
Thank you Ana! I’m watching from Binangonan Rizal Philippines!
I’m learning and motivated by your works. Keep it up and more power. I’m a mother of 3 kids. Baking is my part time income as a housewife. I’m truly blessed by knowing people like you who shared their talents whole heartedly. Thank you!!
Amazing! Thank you for sharing your story!