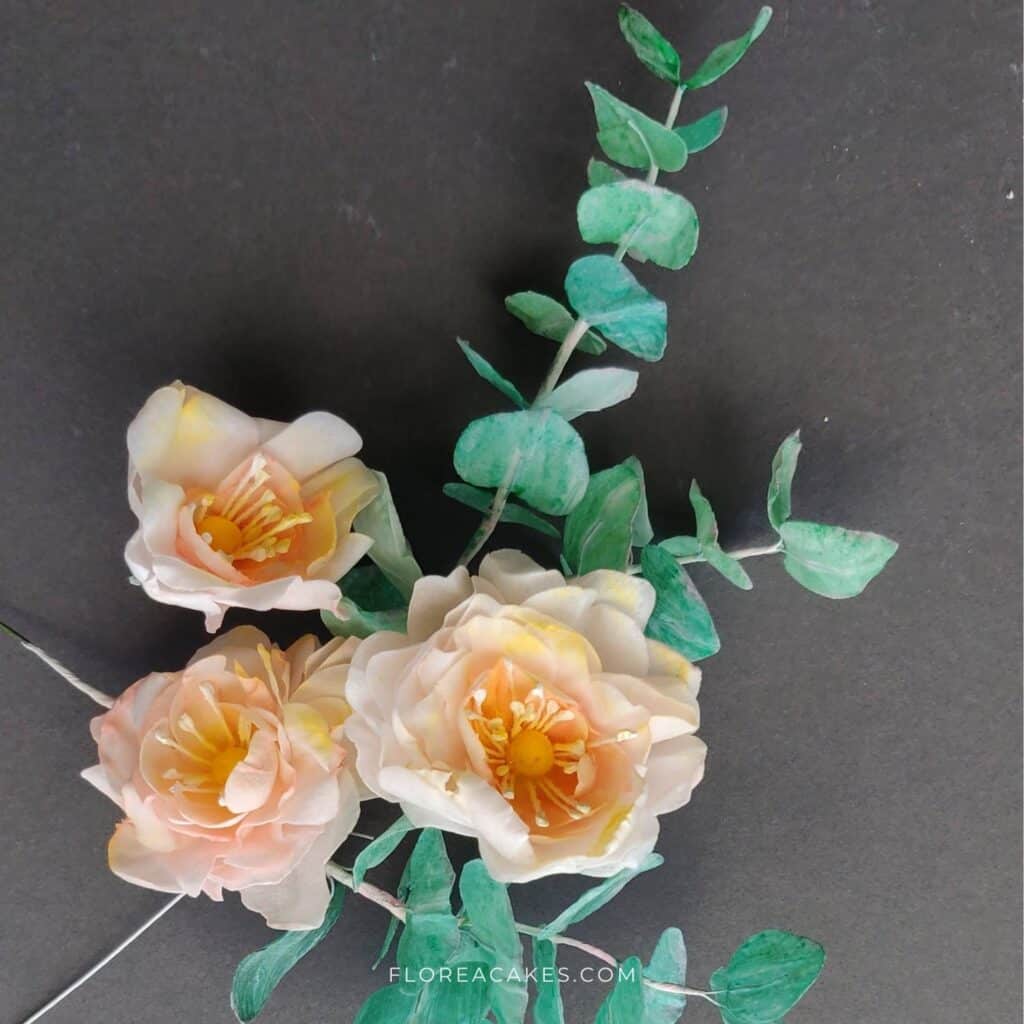
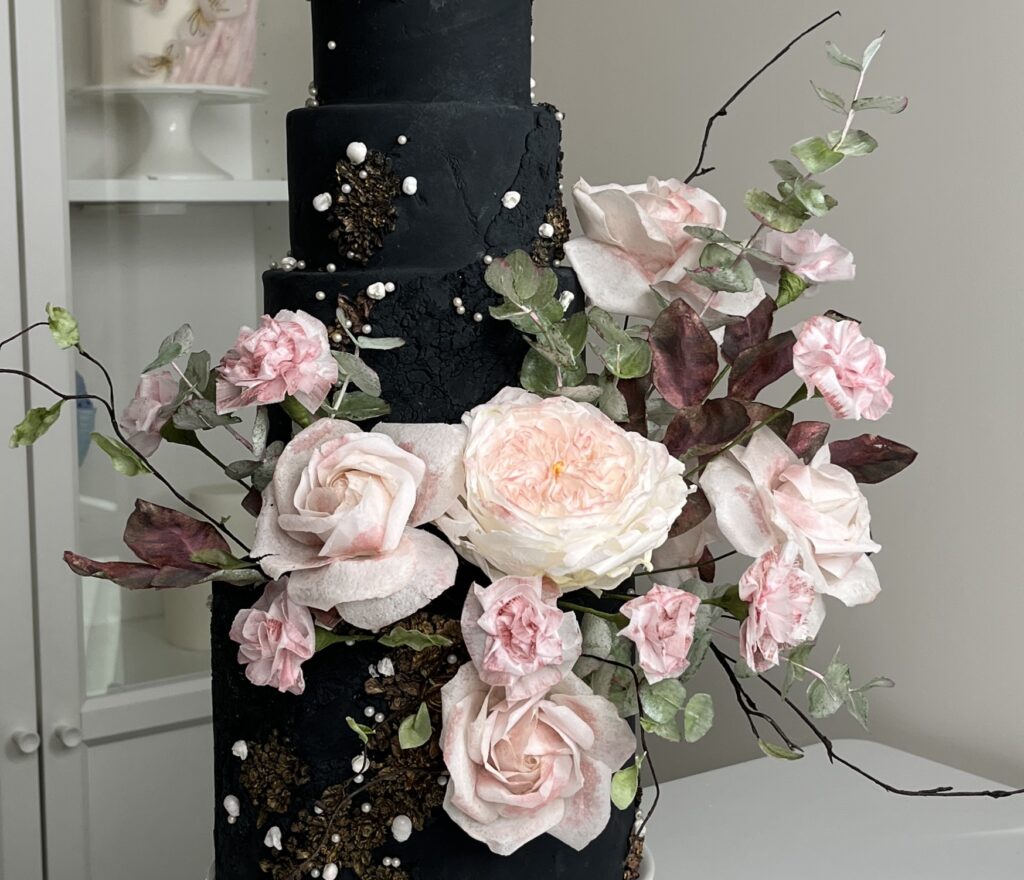
Welcome, home bakers and cake artists! I’m thrilled to share a super useful tutorial on creating beautiful edible eucalyptus branches using wafer paper. These elegant branches are the perfect touch to elevate your cake designs, whether you’re decorating a wedding cake or adding texture to your flower arrangements.
From adding and rustic, nature-inspired look to simply adding another greenery element, these wafer paper eucalyptus branches are not only pretty but also surprisingly easy to make with just a few simple tools and techniques.
Ready to elevate your cake designs with these lifelike eucalyptus branches? Here is your step-by-step guide to bring your edible eucalyptus to life!
Download Wafer Paper Eucalyptus Template
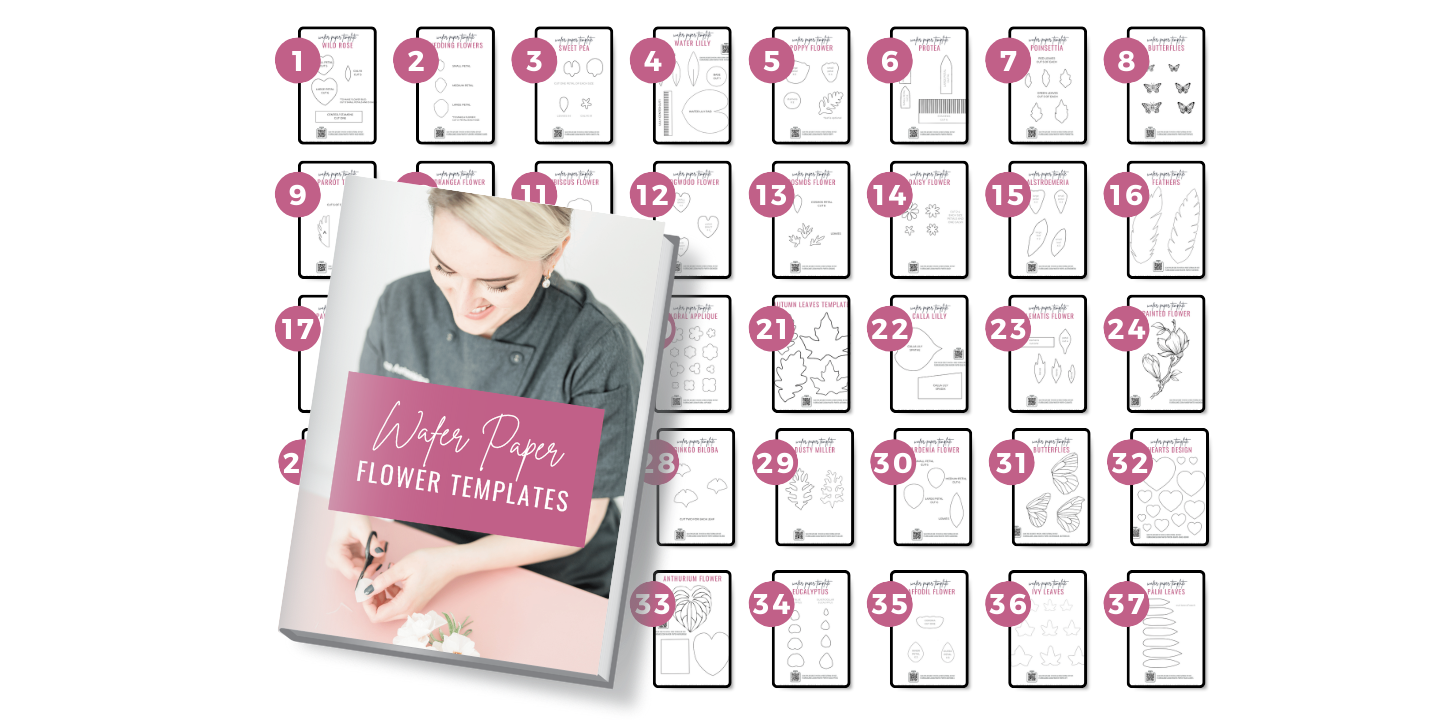
Get instant access to this and 37 more wafer paper flower tutorials and templates in my All-In-One Wafer Paper book!
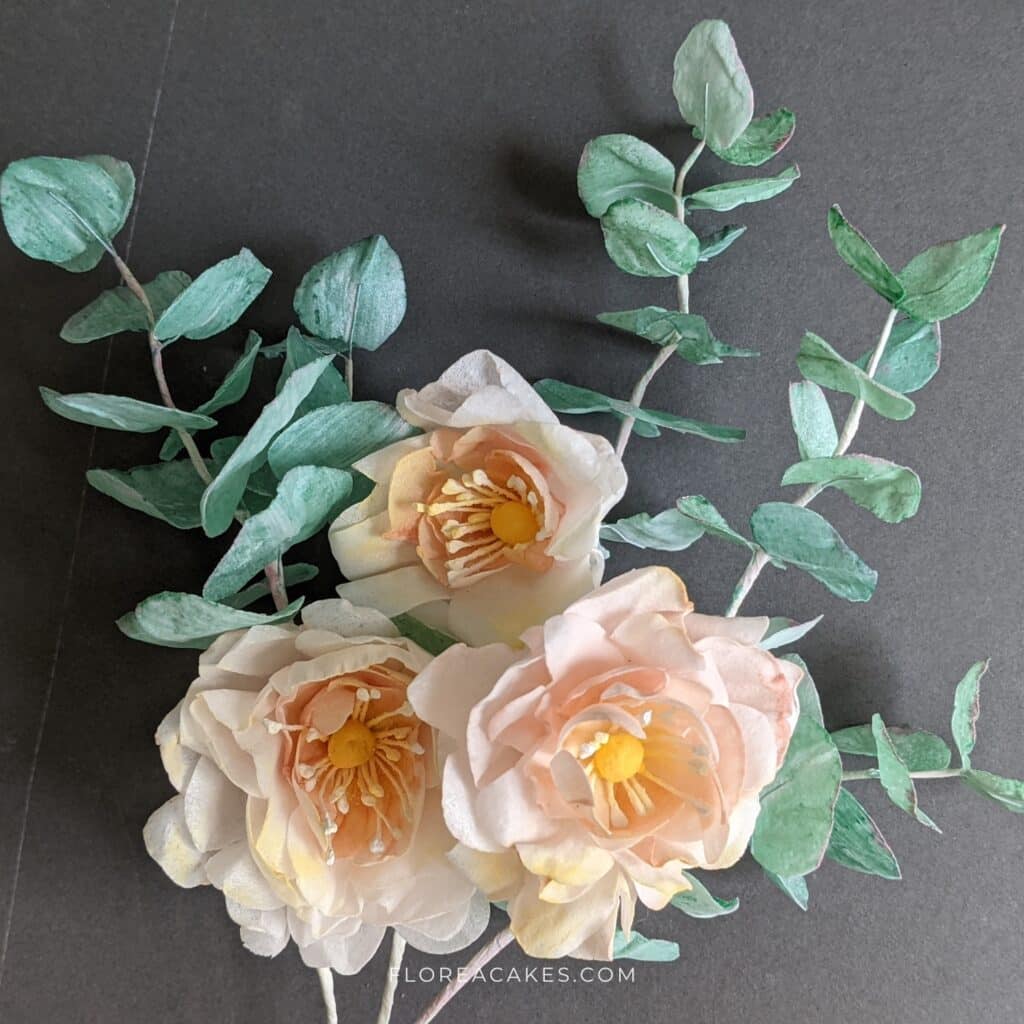
Materials & Tools You’ll Need
Before we start with the eucalyptus, gather the following materials and tools:
Materials:
- Wafer Paper (0.30 mm thickness)
- Food Grade Glycerin
- Green Gel Color (such as Juniper Green)
- Blue Gel Color (such as Delphinium Blue)
- Hot Pink Petal Dust
- Silver/Pearl Shimmer Dust
- 28-30 Gauge Floral Wire
- White Floral Tape
- Wafer Paper Glue
- Wafer Paper Eucalyptus Template
Tools:
- Sharp Scissors
- Flat Brush
- Fluffy Makeup Brush
- Wire Cutters
Steps to Create Wafer Paper Eucalyptus
Step 1: Prepare Your Wafer Paper
Start by downloading and printing the eucalyptus template (linked above). Cut the wafer paper to size using the template. I prefer to use the bumpy side of the wafer paper as the face side, but you can choose the side that works best for your design.
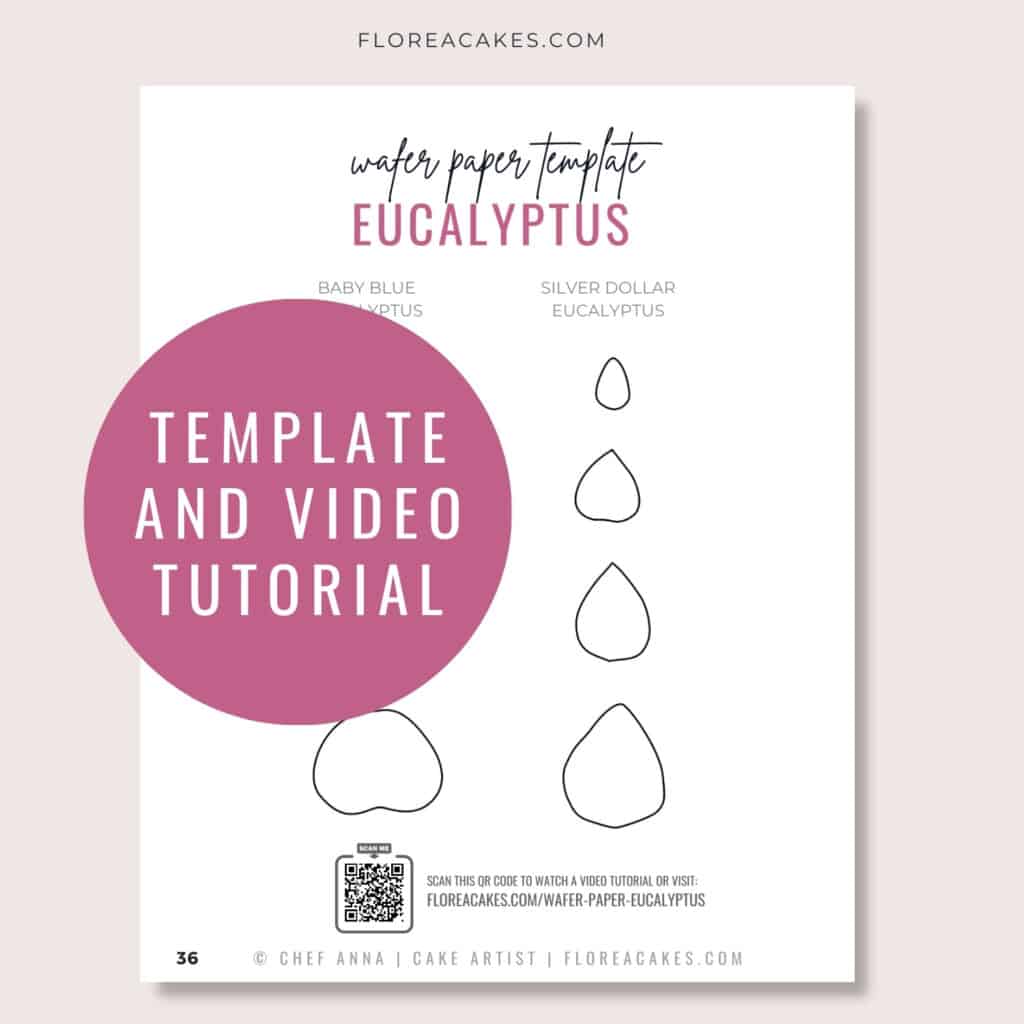
Step 2: Cut and Wire the Leaves
Layer three sheets of wafer paper together and cut out the leaves using sharp scissors. Attach 28-gauge floral wire to the back (shiny side) of each leaf using wafer paper glue. The glue is made from melted wafer paper scraps mixed with water to a gel-like consistency (you can find my step-by-step recipe in the template guide).
Step 3: Mix and Apply Color
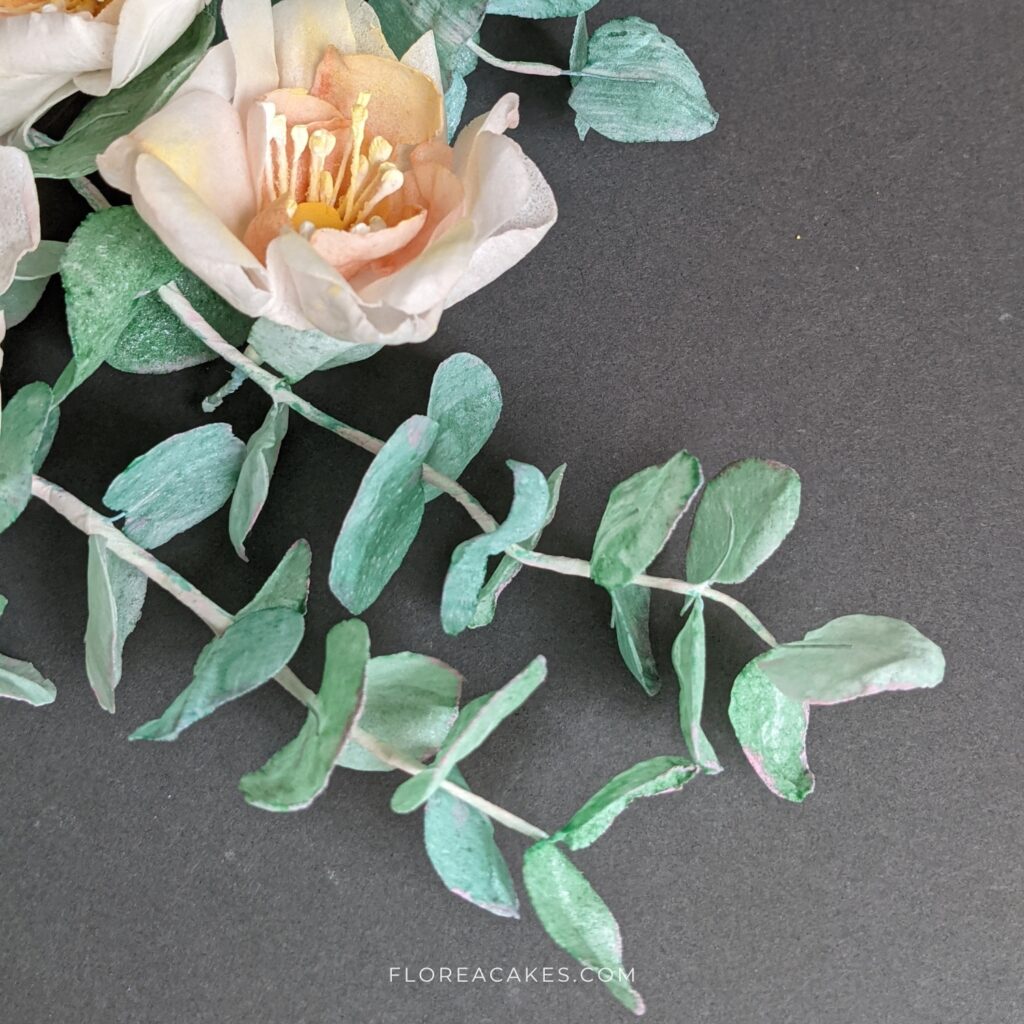
For a natural, watercolor effect, mix your green and blue gel colors with the AC Tonic conditioner. Paint the leaves lightly on both sides, starting with the shiny side. Adjust the color to your preference, checking on a paper towel before applying it to your leaves.
Step 4: Shape the Leaves
After coloring, shape the leaves using basic tools like a Dresden tool and a ball tool. Add veins by drawing a line down the center of each leaf, and then use your fingers to give the leaves a natural curve. Place the leaves in a former to dry, ensuring they don’t dry flat.
Step 5: Assemble the Eucalyptus Branch
Once your leaves are dry, begin assembling the branch. Start by attaching two leaves face-to-face using floral tape, then gradually add more leaves in descending sizes to create a natural-looking branch.
Stretch the floral tape as you wrap it around the wires to activate its adhesive properties
Step 6: Add Final Touches
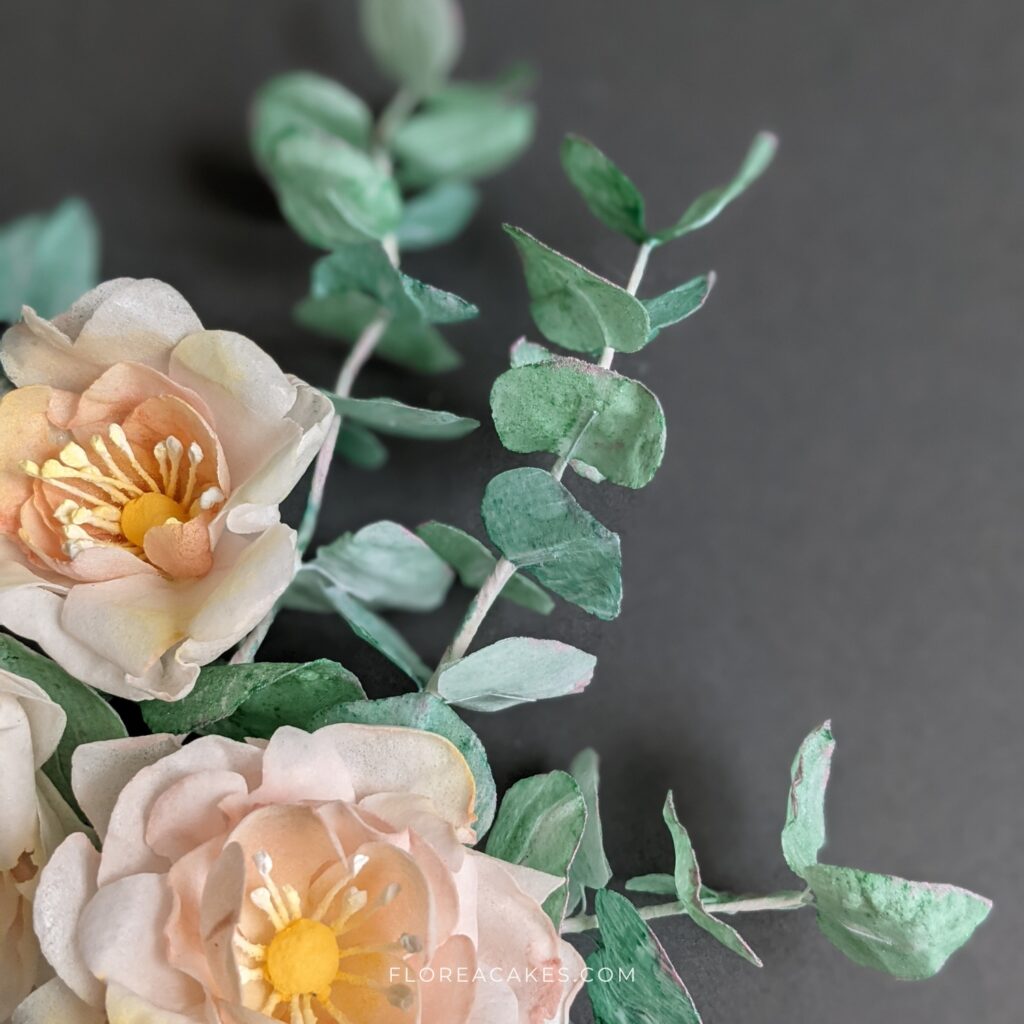
For a more realistic and detailed look, mix hot pink petal dust with vodka and lightly paint the edges of the leaves. This adds depth and makes your eucalyptus branch pop.
Finally, apply a small amount of silver shimmer dust to the tops of the leaves to give them a delicate, expensive-looking finish.
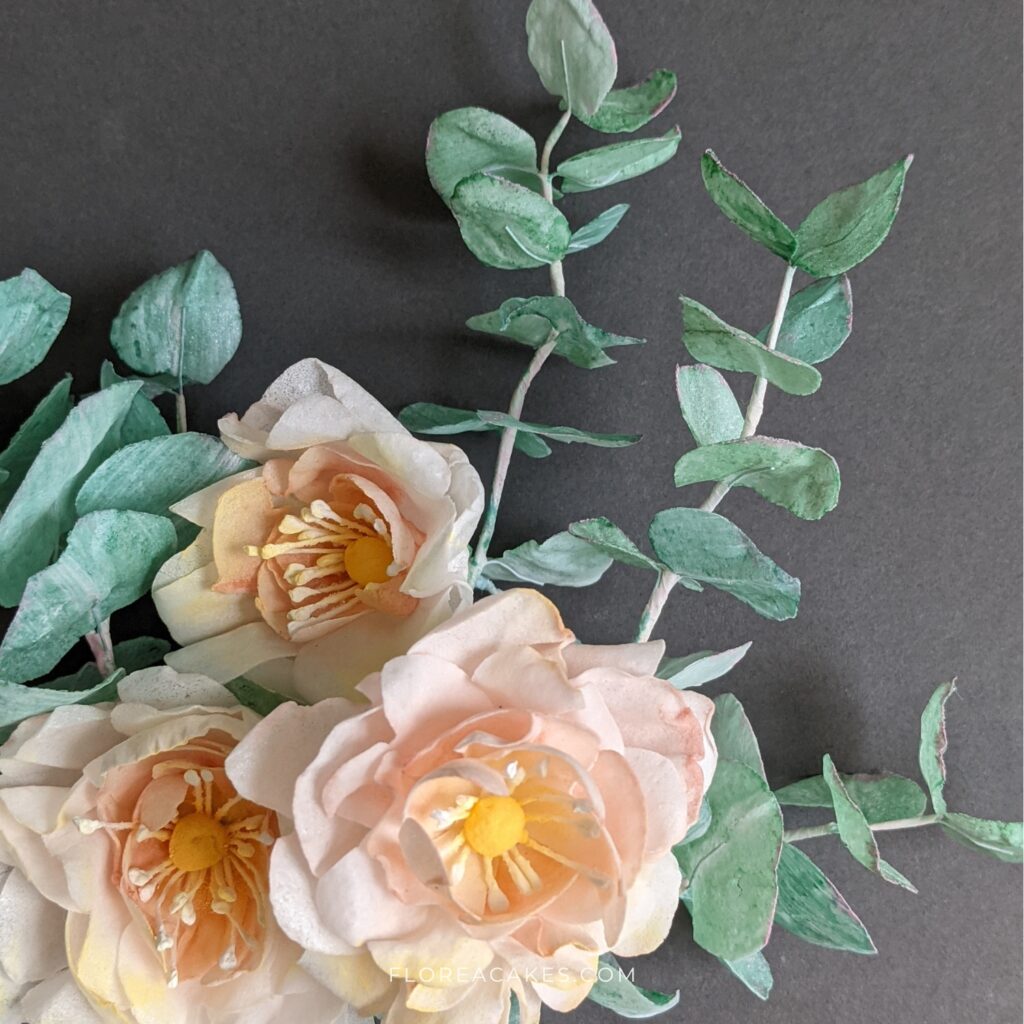
Give It a Try and Don’t Forget to Show Off Your Creations!
I can’t wait to see how you use these wafer paper eucalyptus branches in your cake designs. Whether you’re making a nature-inspired wedding cake or adding a touch of greenery to a dessert table, these branches are sure to impress.
Download the template to get started, and don’t forget to share your creations on social media! Tag me @FloreaCakes so I can feature your work.


2 Comments
I left name and email address on this tutorial for eucalyptus Template and received an email with template For Cala lily. Please send eucalyptus template. Thank you
Hello, Deanna. Please check your email, Eucalyptus template was delivered to your inbox on Nov 7 at 2:35pm