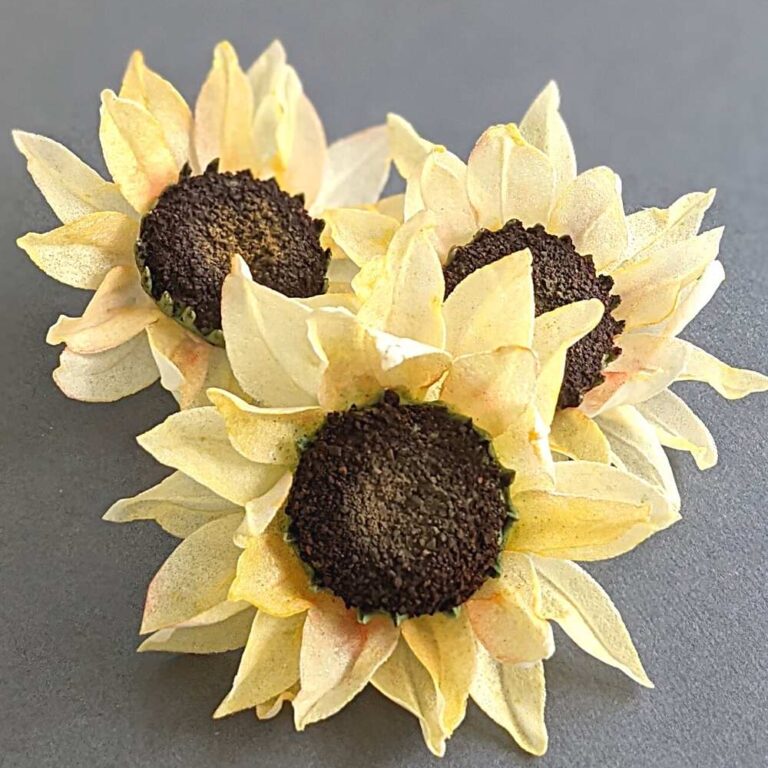
Inspired by the beauty of the Hellebore (also known as the Winter Rose), in this tutorial, I will guide you through creating stunning, lifelike flowers using wafer paper.
You’ll discover how to cut, condition, and assemble the Hellebore flowers, along with beautiful foliage to complement them.
Whether you’re decorating a winter-themed wedding cake or simply looking to expand your skill set, this tutorial is ideal for both beginners and seasoned cake artists alike.
Let’s get started! Follow along with the step-by-step guide below or watch the full video tutorial to see the process unfold in action.
Materials and Tools You’ll Need
Materials
Tools
- Sharp scissors
- Flat synthetic brush
- Foam floral pad
- Ball tool
- Dresden tool
- Petal dust: Cecylia Rose, Aubergine, and Foliage Green
- Cornstarch
- Floral tape (half-width and full-width)
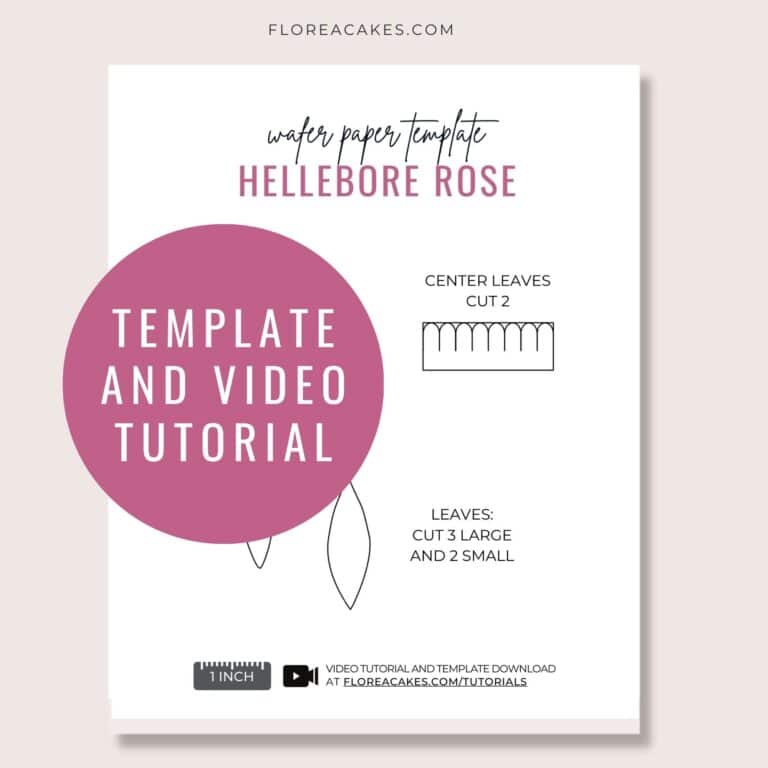
How to Create Wafer Paper Hellebore Step-by-step
Step 1: Prepare the Petals
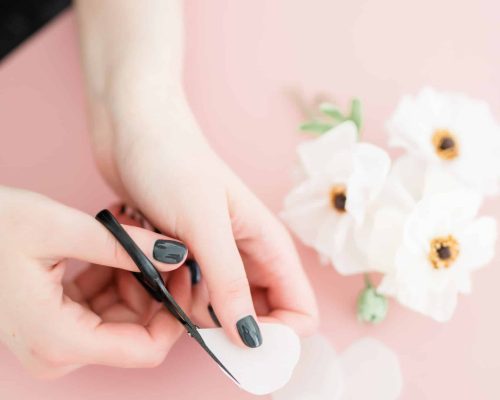
Begin by cutting the wafer paper according to the provided template. Fold each petal in half to create double-thickness petals to add structure and thickness. Use a ball tool with a bit of AC Tonic to shape and condition each petal, ensuring the bumpy side faces inward for added texture.
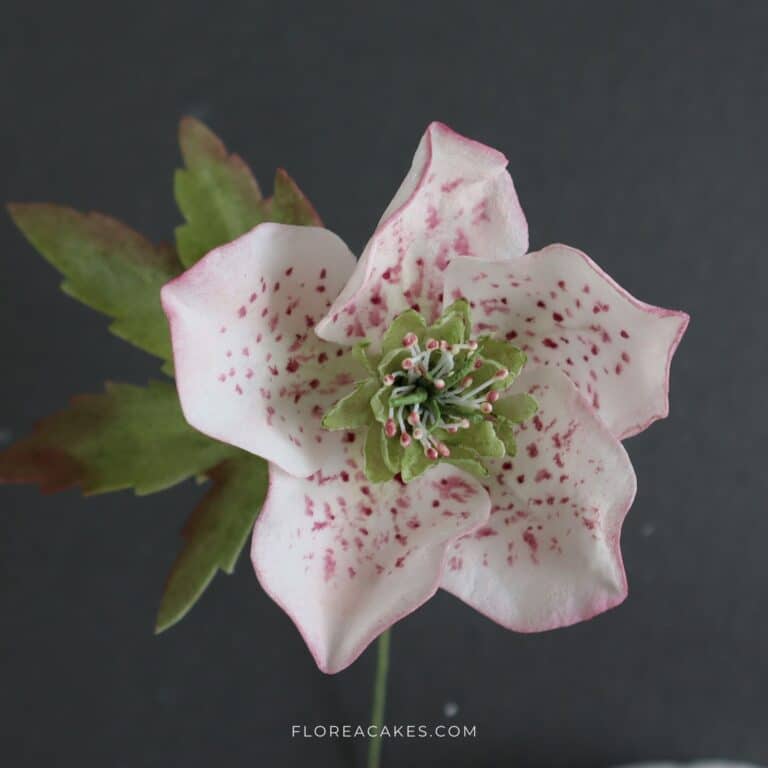
Step 2: Create the Center
Take a length of 20-gauge wire and wrap it with floral tape to form the flower center. Attach micro stamens to the top of the wire, varying their height for a more natural look.
Step 3: Shape and Attach Leaves
Cut leaves from wafer paper using a similar technique as the petals. Shape them with the ball tool, then dust with green petal dust for realism. Attach the leaves to the flower center with floral tape, positioning them around the center for balance.
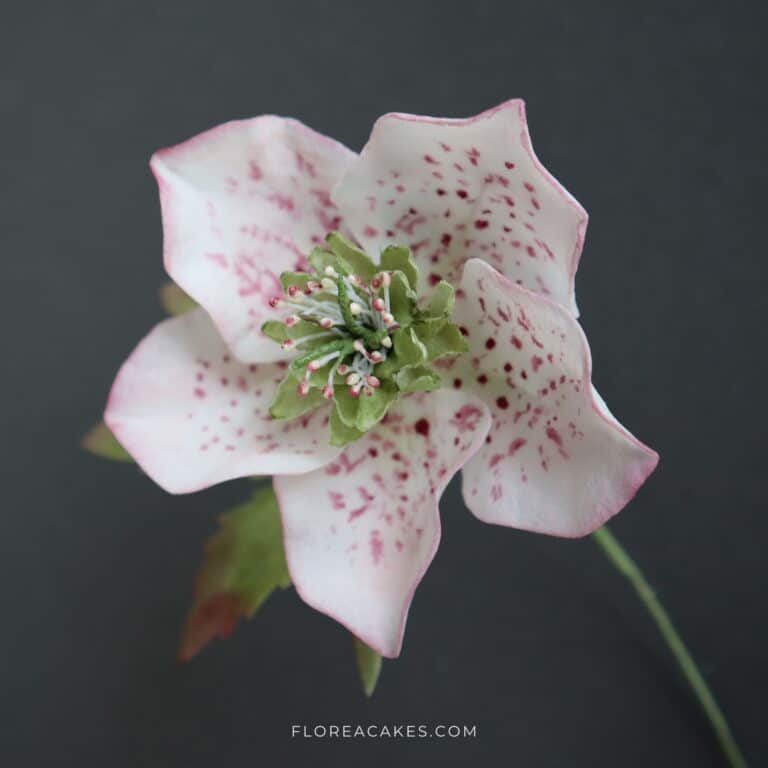
Step 4: Dust the Petals
Once the petals are dry, dust them with light pink, green, and aubergine petal dust. This will give the petals a lifelike appearance. Focus on the edges with light pink and blend in the other colors for depth.
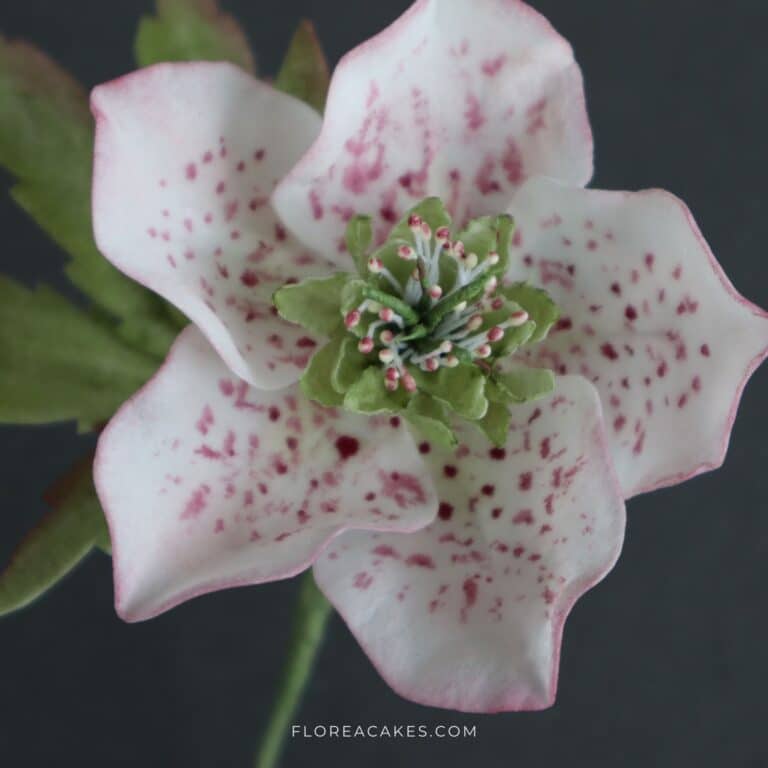
Step 5: Assemble the Flower
Using floral tape, secure the dusted petals around the flower center, starting from the outer petals and working inward. Adjust them to achieve your desired shape and ensure they are evenly spaced.
Step 6: Final Touches
Add any additional foliage or decorations as desired. Inspect your flower for any last-minute adjustments, and enjoy your beautiful wafer paper Hellebore!
Time to Create!
Now you know how to make beautiful Wafer Paper Hellebore flowers. So, go ahead, experiment with colors, mix in different techniques, and let your imagination wild!
I can’t wait to see your gorgeous creations – don’t forget to tag me on social media @FloreaCakes!
Happy decorating!

2 Comments
Hi Anna, thank you so much for your YouTube demos they are fantastic. Can I ask what conditioner you use please as we use Vodka and if it’s ok with you I would like to try yours as it look 100% better. I’m only a beginner so will definitely be following your posts. Thank you Julie Francis
Hello, Julie.
Thank you so much for your lovely comment.
You can download my AC Tonic – wafer paper conditioner free recipe here: https://astashkinacakes.com/recipe/