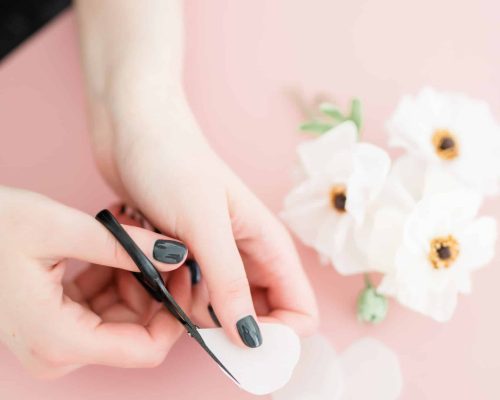
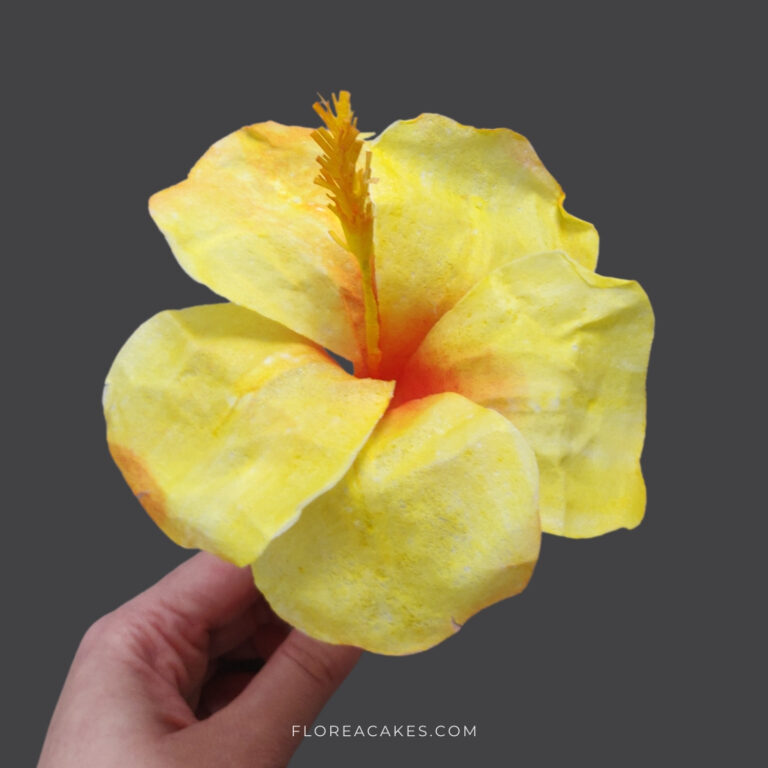
Summer cakes deserve flowers as bold and radiant as the season itself! In this tutorial, you’ll discover how to craft a stunning wafer paper hibiscus flower that’s visually striking, lightweight and flexible.
I’ll guide you through every step—from adding vibrant colors to wiring and shaping petals—ensuring your creations are as lifelike as they are show-stopping. Whether you’re an experienced cake artist or just starting your journey, this tutorial will help you bring a touch of tropical elegance to your designs.
Read the step-by-step instructions or follow along with the video guide for a more visual guide.
Materials and Tools You’ll Need
Materials
- AD-grade wafer paper (0.27mm)
- The Sugar Art Petal Dust in Poppy
- Yellow gel food color
- 20-gauge wire
- 26-gauge wire
- Floral tape (light green)
- Cornstarch
- AC Tonic™ Wafer Paper Conditioner (get the free recipe here)
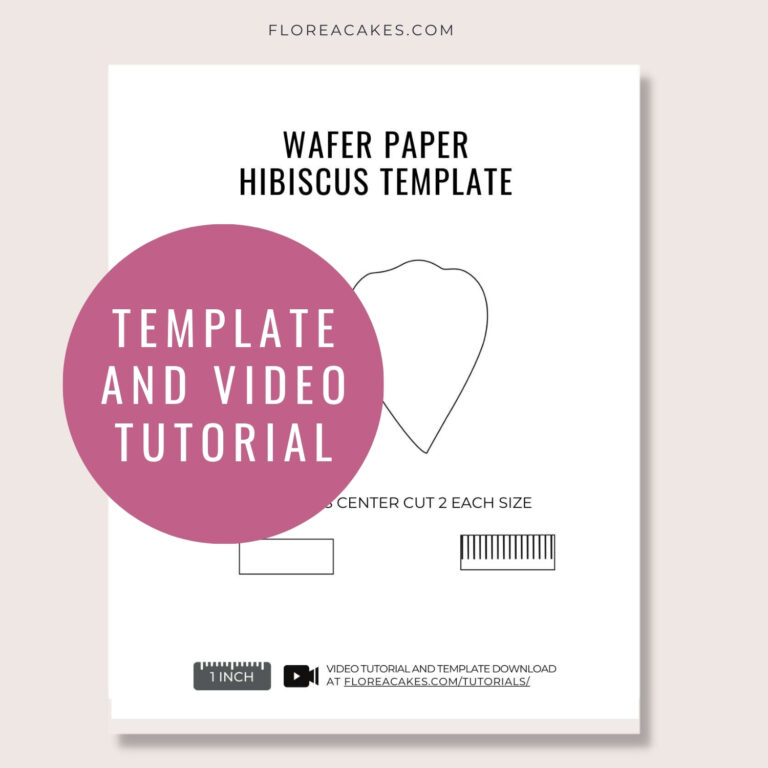
- Wafer Paper Hibiscus Template
Tools
How to Create Wafer Paper Hibiscus Step-by-step
Step 1: Prepare Your Wafer Paper Petals
Use AD-grade wafer paper (0.27mm). Cut out five petals using the provided template. You can stack and cut multiple layers at once to save time.
Save your wafer paper scraps to create glue for wiring the petals later.

Step 2: Add Wire to the Petals
Flip the petal, smooth side up. Cut a piece of 26-gauge wire twice the length of the petal.
Use wafer paper glue (made from wafer paper scraps melted with water) to sandwich the wire onto the back of each petal. Allow them to dry completely.
Step 3: Color and Shape the Petals
Mix yellow gel food color with AC Tonic™ for vibrant and flexible petals. Test the color on a wafer paper scrap to adjust the intensity.
Apply the color to each petal. Use cornstarch to prevent sticking and melting.
Shape the petals on a foam pad by pinching the top for texture and gently bending the wire to create a natural curve.
Step 4: Create the Hibiscus Center
Cut a piece of wafer paper for the stamens and paint both sides with yellow gel color. Allow it to dry for 10 minutes.
Cut the painted wafer paper into thin fringes. Attach these fringes to a 20-gauge wire using wafer paper glue. Wrap the base with yellow wafer paper strips to secure and shape.
Step 5: Assemble the Flower
Dust the petals with The Sugar Art Poppy petal dust, focusing on the center and edges for added dimension.
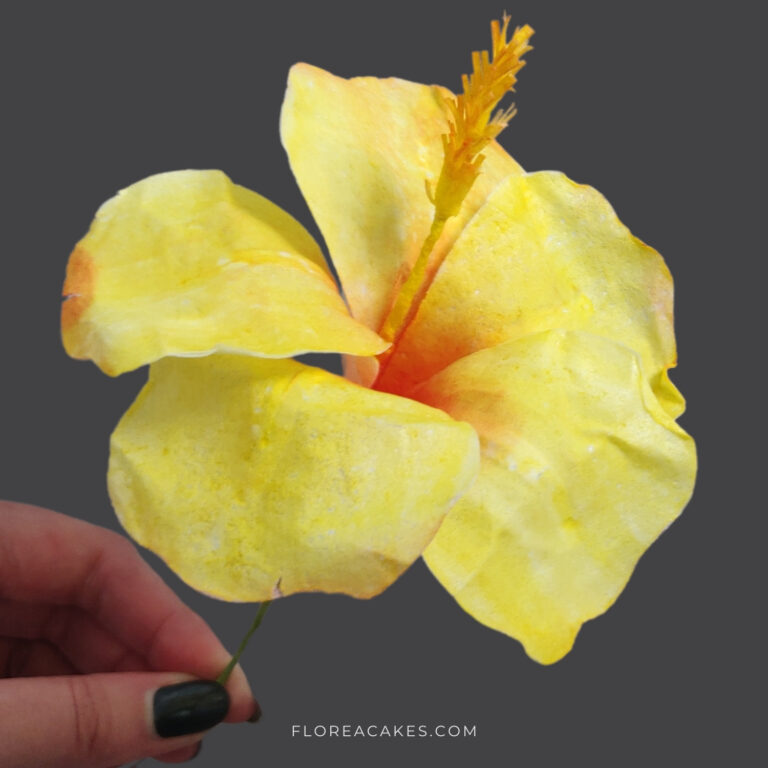
Arrange the petals around the center, securing them with light green floral tape. Overlap the petals slightly for a realistic look. Adjust the wires to create an open or closed appearance.
Ready to get started?
I hope this tutorial inspires you to create your own stunning wafer paper hibiscus flowers. Don’t forget to get the template.
If you enjoyed this tutorial, I hope you apply what you have learned and share it with me @FloreaCakes!

