Welcome to this exciting tutorial, where you’ll learn to create beautiful, lifelike wafer paper ivy leaves. I’ll walk you through each stage of crafting these delicate ivy leaves, from cutting the wafer paper to shaping and painting them to perfection.
Whether you’re a beginner just starting to explore the world of wafer paper or an experienced cake artist looking for fresh, creative ideas, this tutorial is packed with tips and techniques that will elevate your floral cake decorating skills.
You’ll discover how to mimic the natural veins, curves, and shading of real ivy leaves using simple materials, and by the end of this tutorial, you’ll have the confidence to incorporate this beautiful technique into your own cake creations.
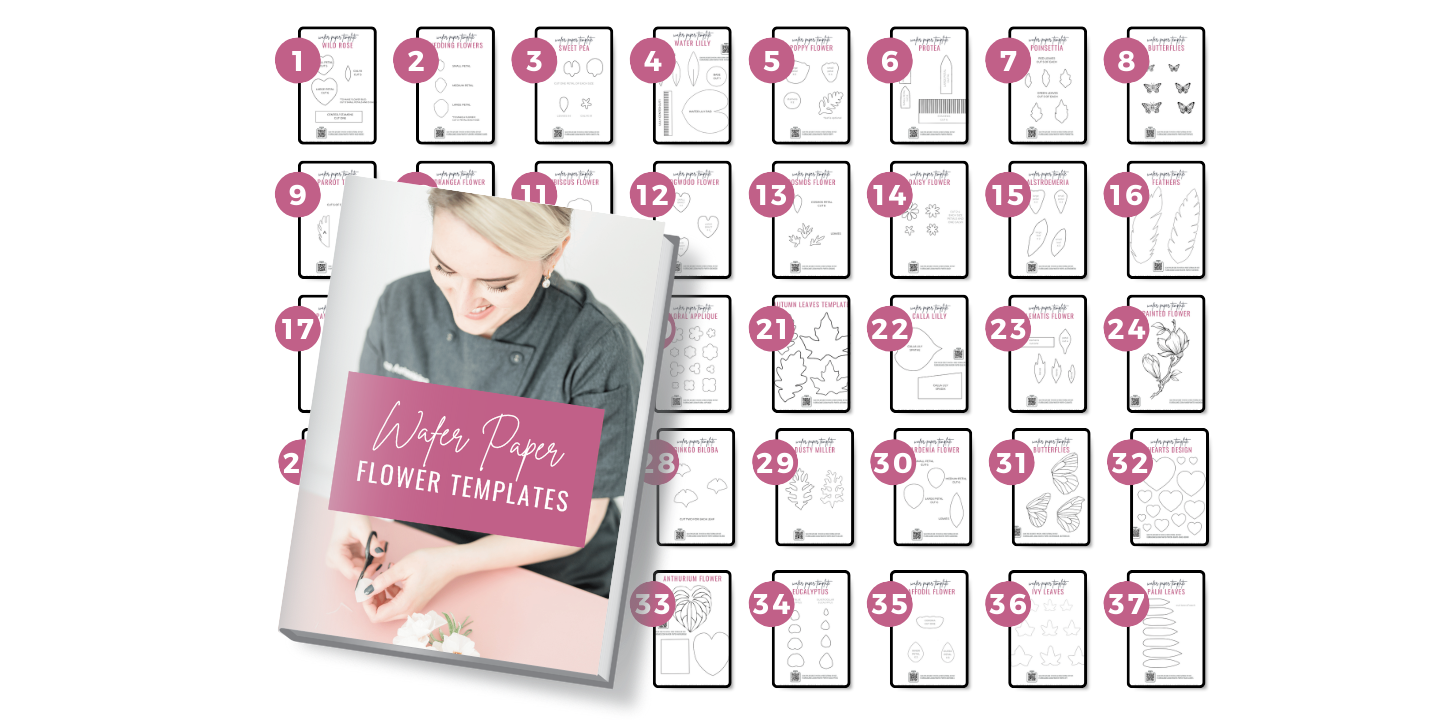
Download Wafer Paper Ivy Template
Get instant access to this and 37 more wafer paper flower tutorials and templates in my All-In-One Wafer Paper guide + 3 bonuses!
Materials and Tools You’ll Need
Materials
- Wafer Paper
- Edible Food Colors–I used Olive and Cypress
- Edible Glue or Gum Paste Adhesive
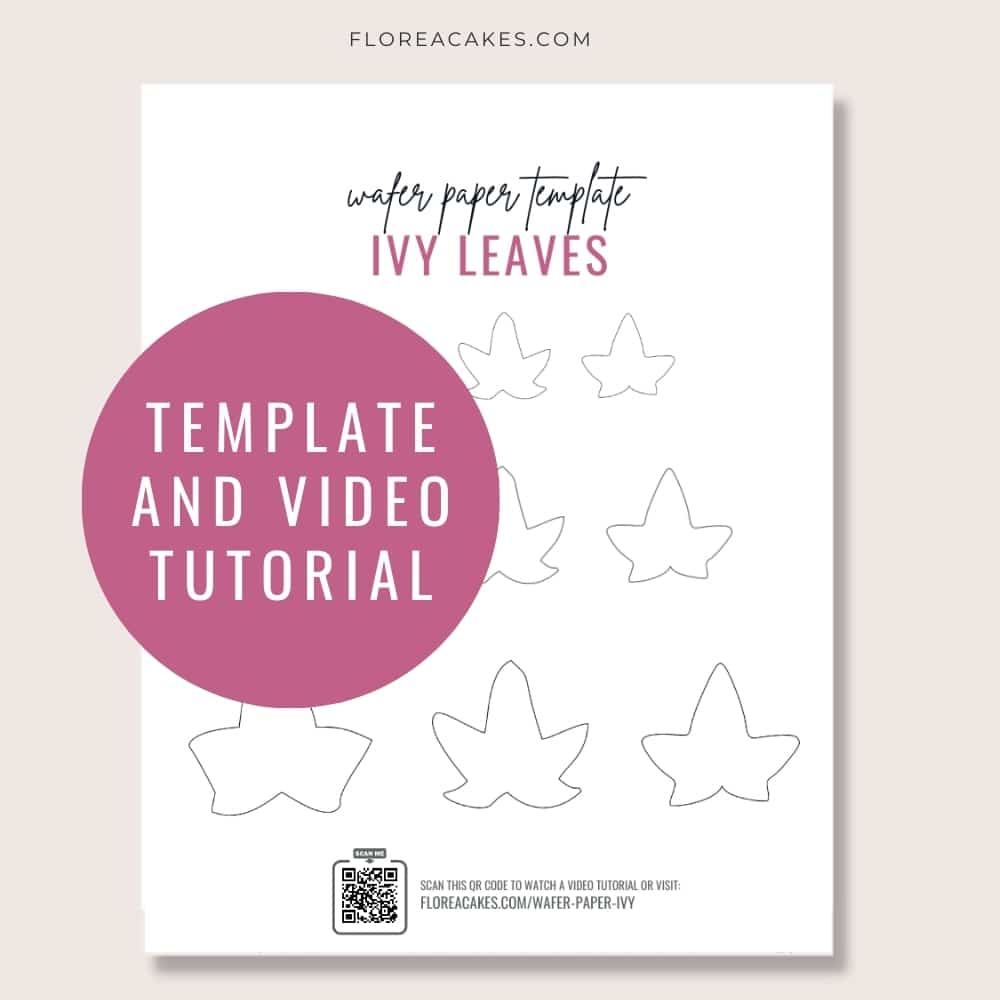
- My Wafer Paper Ivy Template (included in the All-In-One Wafer Paper Guide)
Tools
- Wafer Paper Scissors or a Fine Craft Knife
- Flower Molding or Veining Tool
- Small Paintbrush
- Floral Foam or Foam Pad
- Sharp Scissors
How to Create Wafer Paper Ivy Step-by-step
Step 1: Prepare the Wafer Paper Leaves
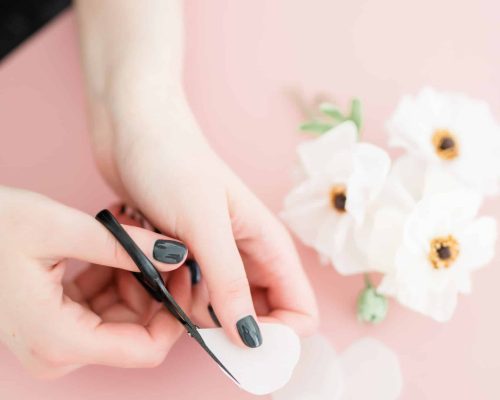
Begin by cutting your wafer paper into ivy shapes. You can use my template, as included in my guide, or sketch out ivy leaf shapes on a piece of paper and use that instead.
Gently curl the edges of each leaf using a bone folder to give them a natural, lifelike curve.
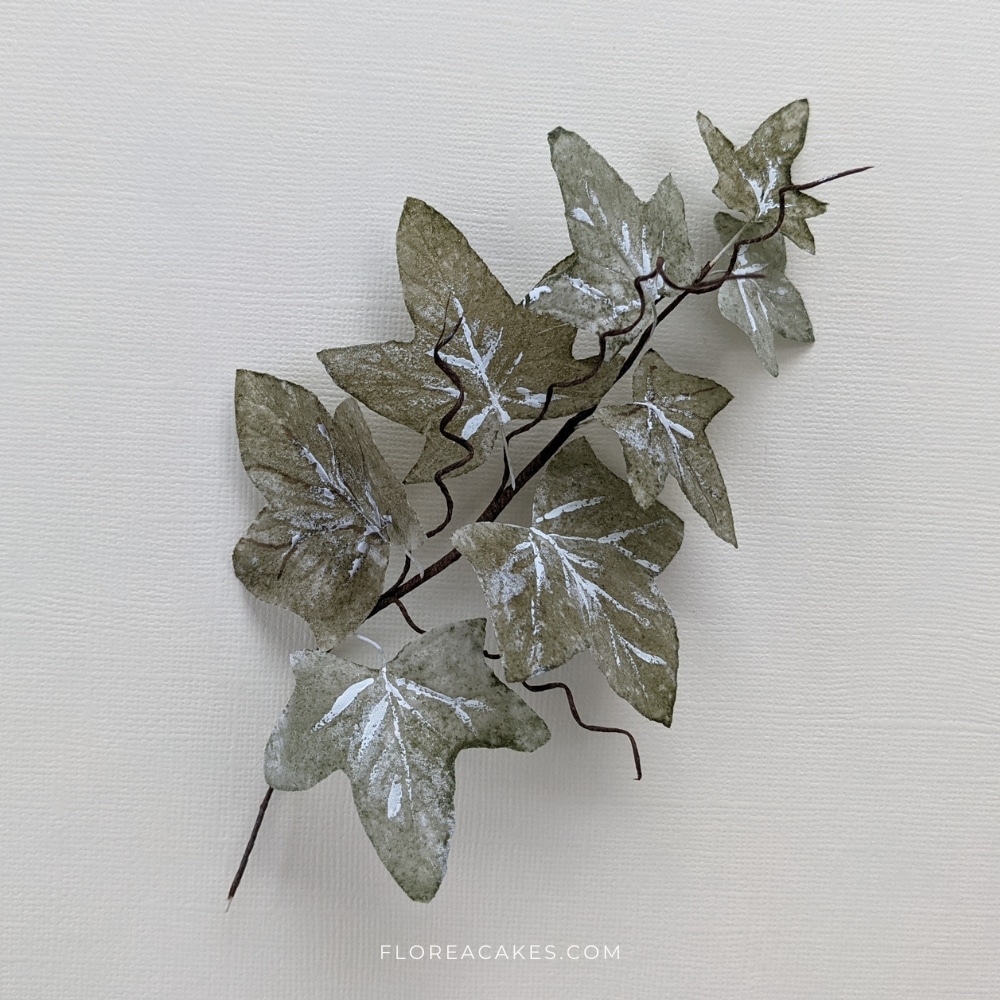
Step 2: Paint the Leaves
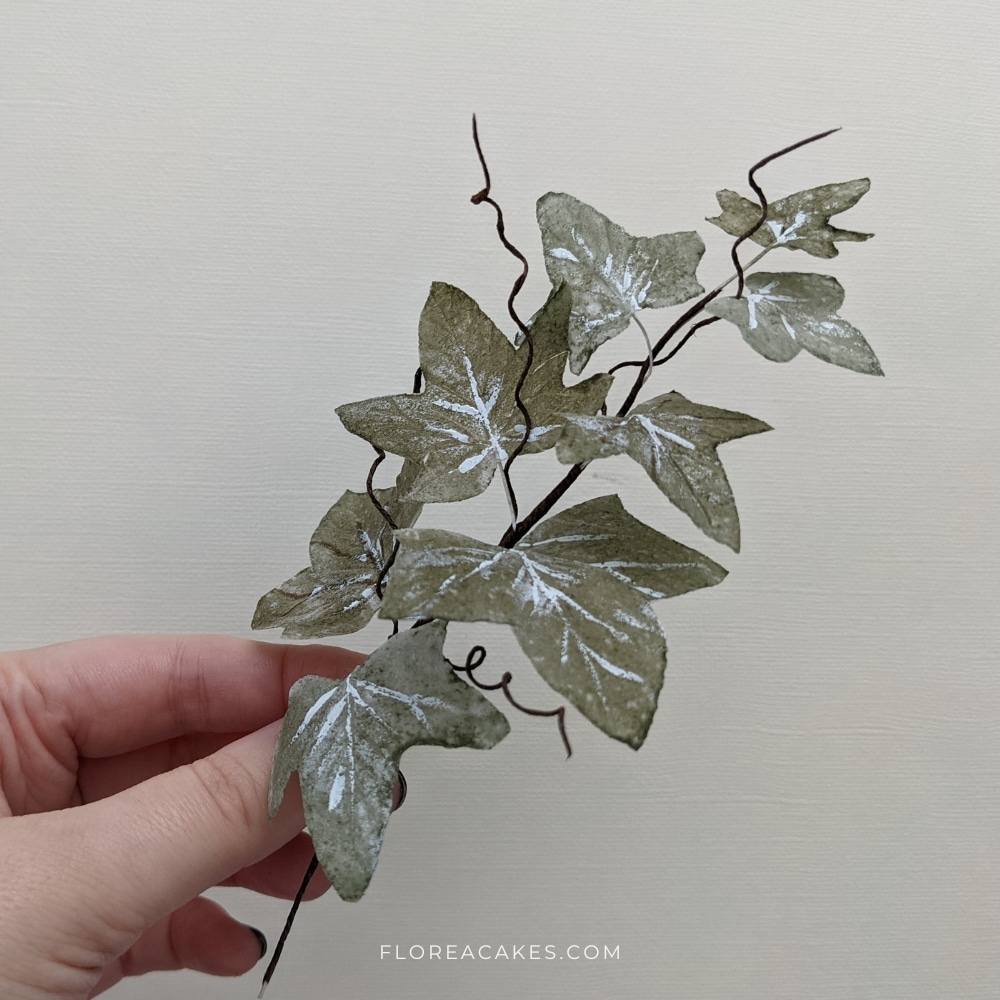
Using edible food colors, paint the leaves to achieve shading and texture. Darker shades can be added along the veins to enhance the detail, and lighter shades can go on the edges to give the leaves depth.
Step 3: Shape the Ivy Leaves
Use a veining tool or your fingers to press the details into the leaf. This step helps create a more realistic look by mimicking the veins of a natural ivy leaf.
Step 4: Assemble the Ivy Vine
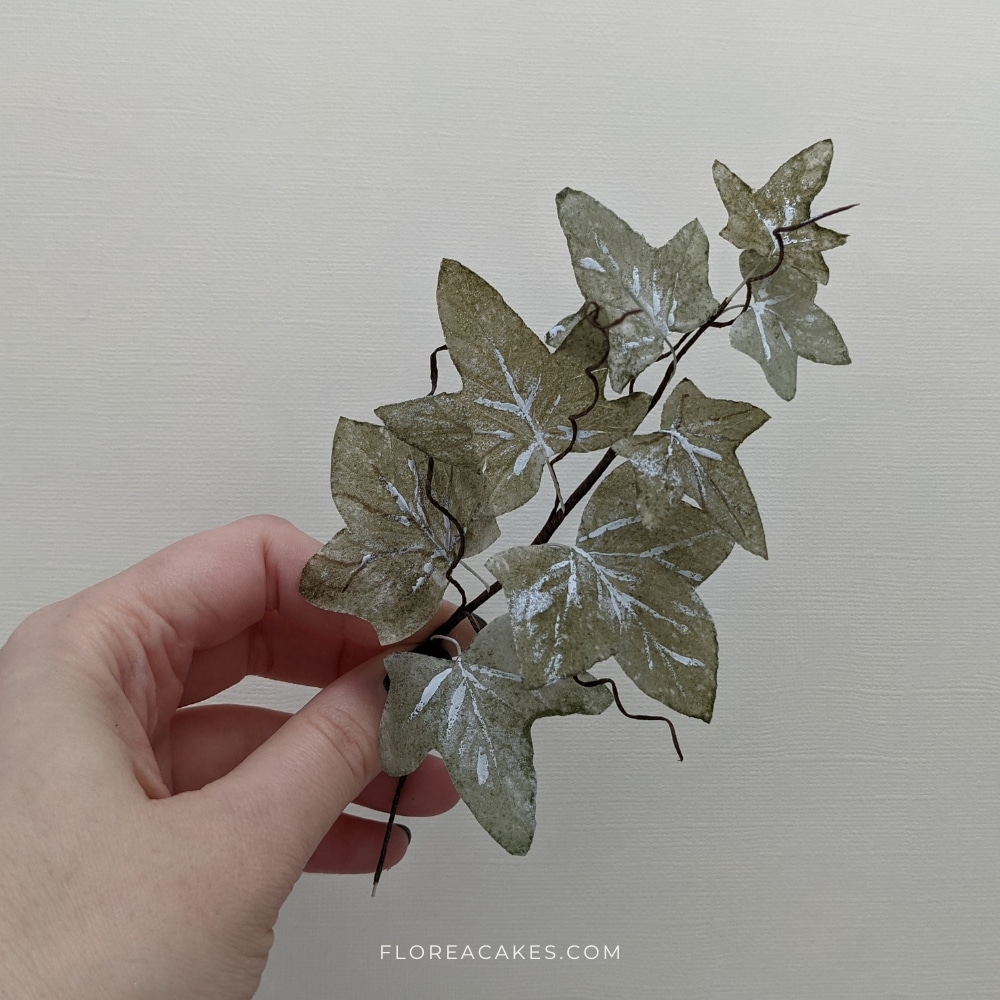
Once your leaves are dry and shaped, attach them to a piece of flower wire using piping gel. Arrange the leaves along the wire to form a vine, ensuring that they are placed alternately for a natural flow.
Step 5: Secure the Vine
Once all leaves are attached, secure the vine with floral tape to create the stem. You can also add extra detail by curling the vine slightly for added realism.
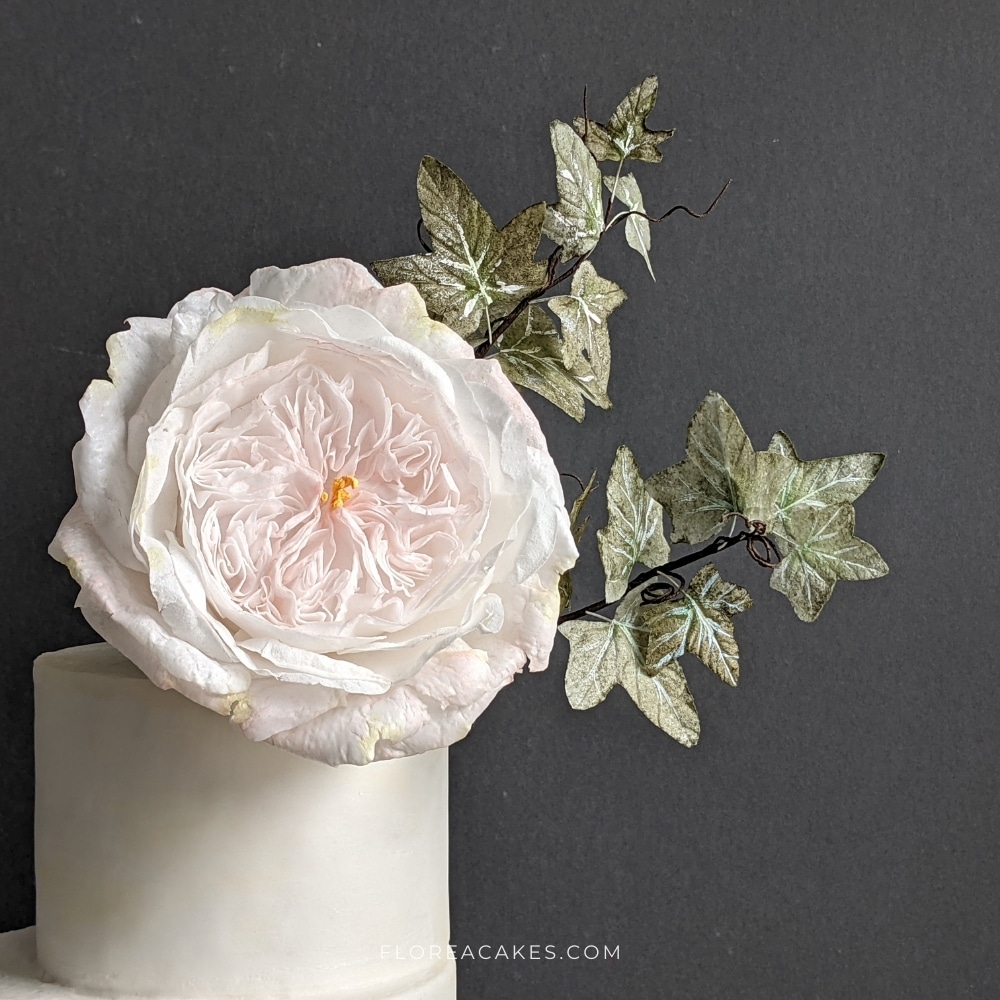
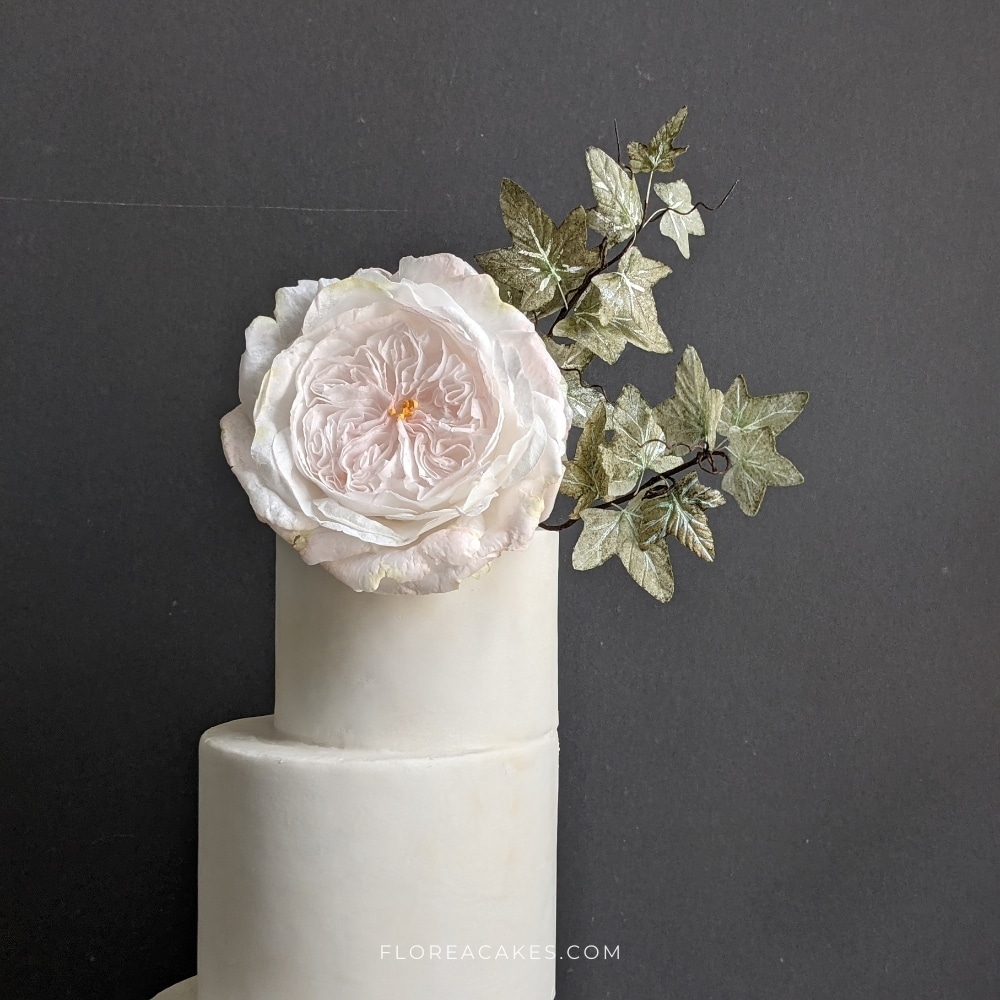
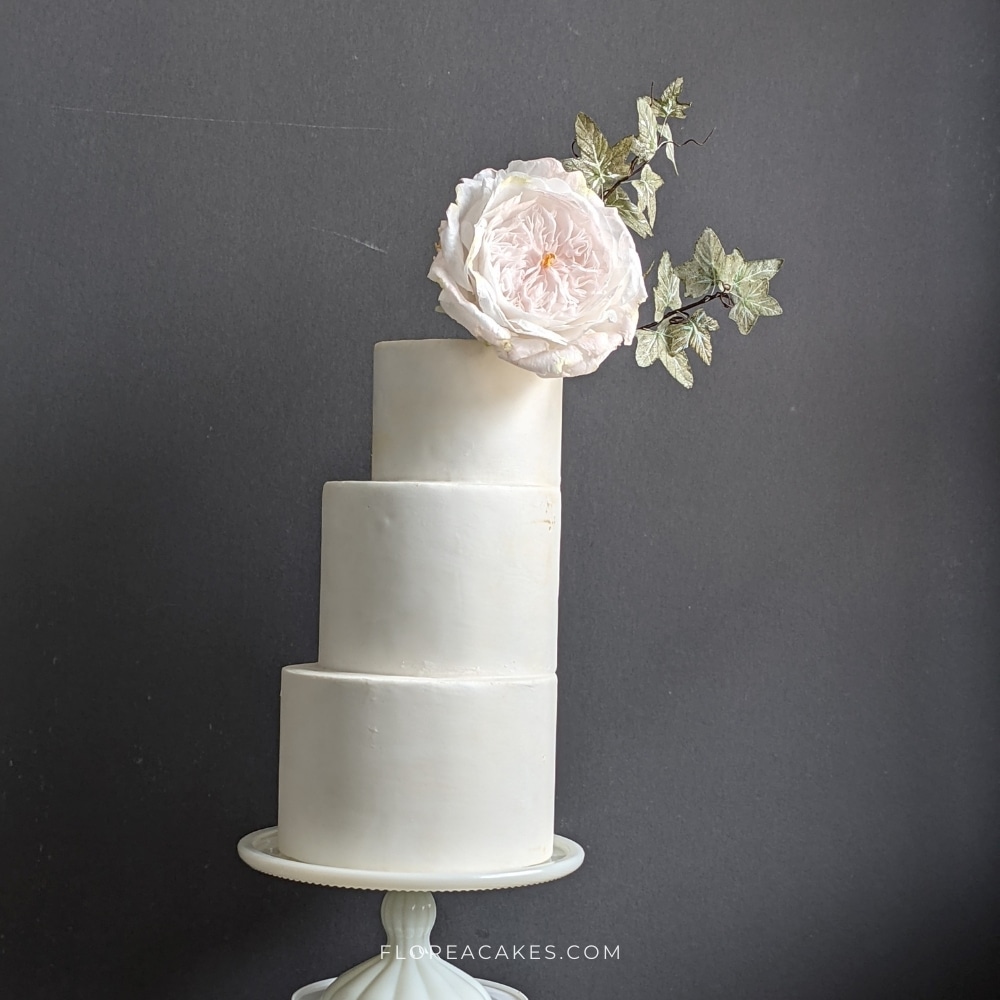
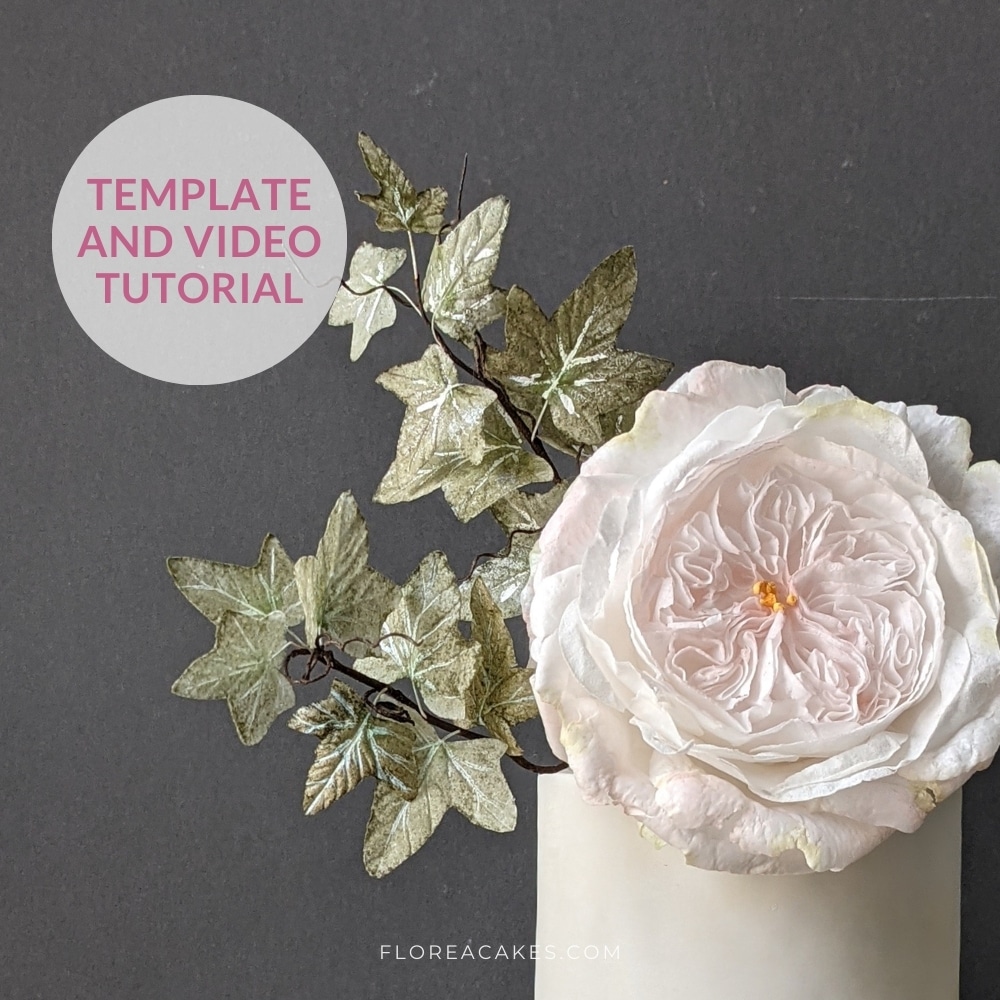
Cake Arrangements Featuring Wafer Paper Ivy to Inspire You
Ready to Create?
Now you know everything about creating realistic and beautiful wafer paper ivy and can add it to your cake-decorating repertoire. Go ahead and make your own and don’t forget to share your creations with me on social media @FloreaCakes – I’d love to see your work!

