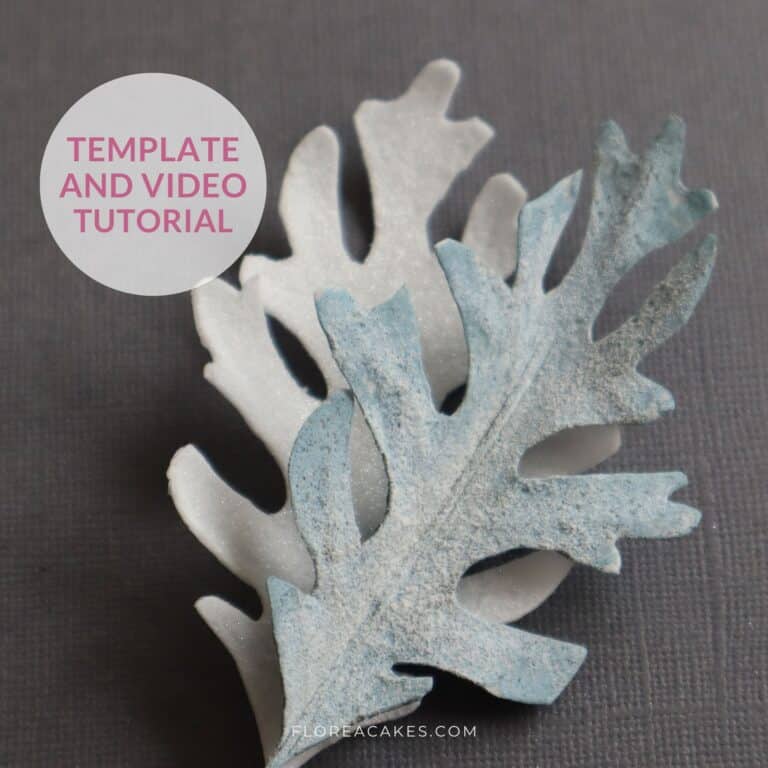
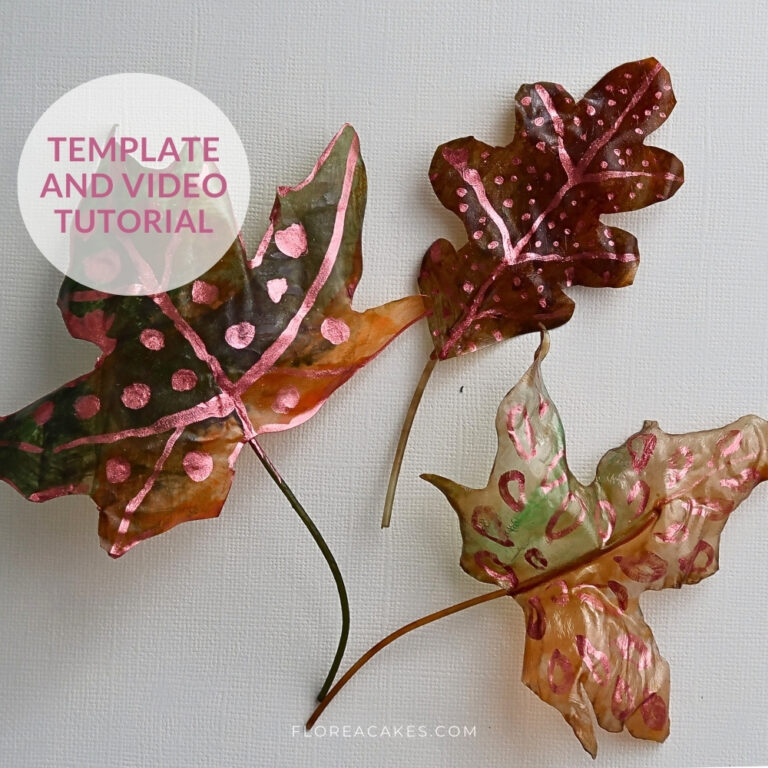
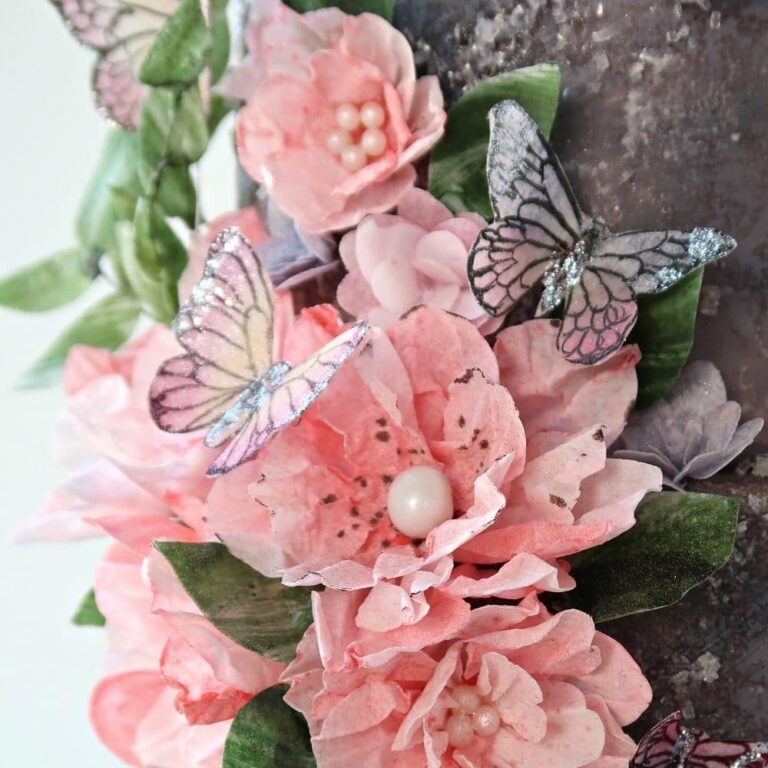
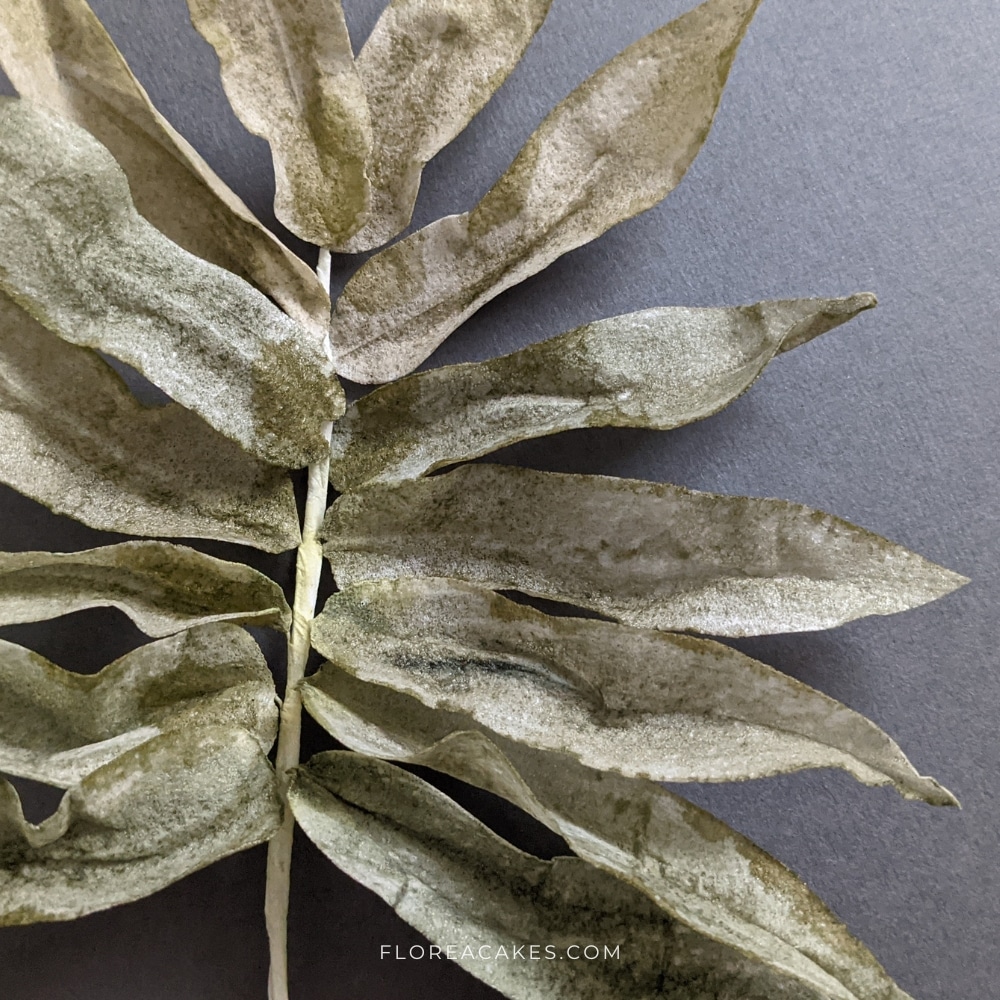
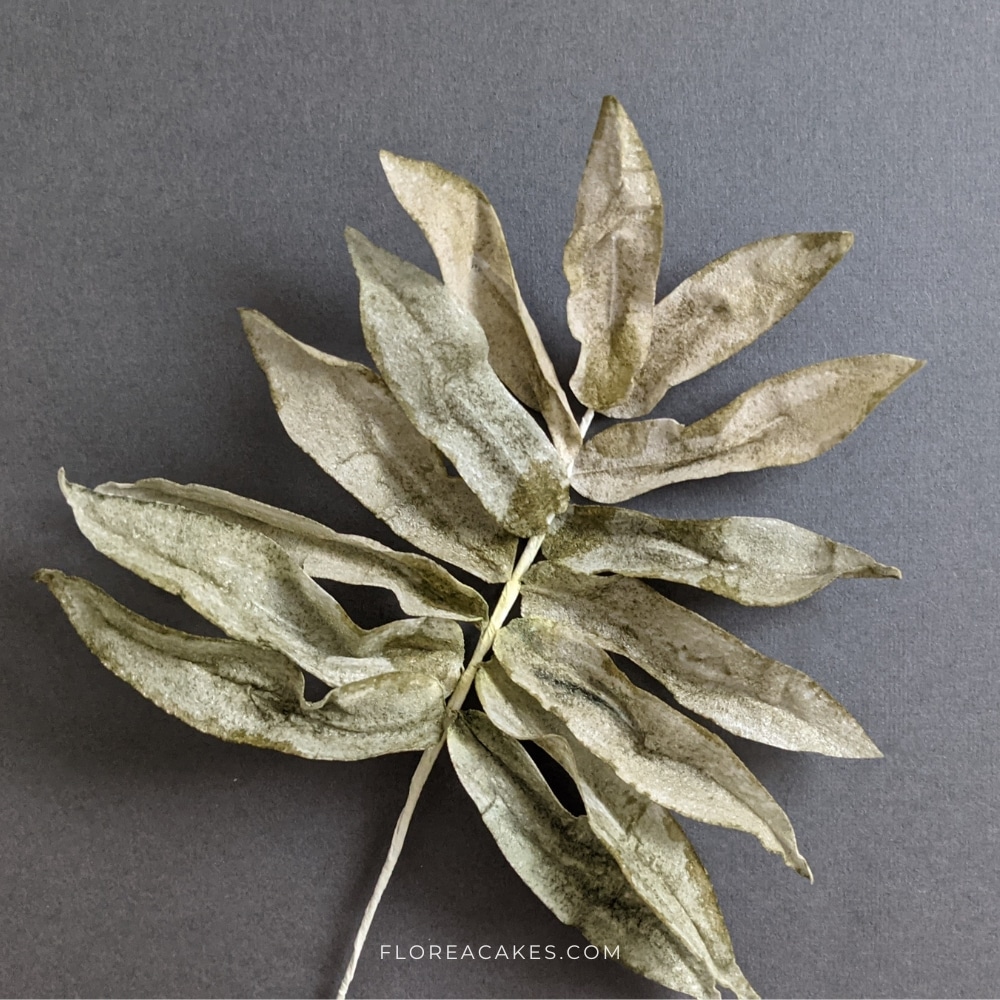
Looking to add beautiful Wafer Paper Palm Leaves to your cake decorations? In this tutorial, you’ll learn techniques for shaping, wiring, and coloring wafer paper to create realistic tropical leaves that make a bold statement on any cake. I’ll also guide you through using wafer paper glue and conditioners for durable, flexible leaves—all without needing chemicals or fragile dried palms.
These palm leaves add a touch of elegance to beach-themed and boho cake designs, embodying a natural, earthy look. While store-bought palms are often bleached with harsh chemicals, these wafer paper versions are safe for cake decoration and easy to customize.
Whether you’re a beginner or an experienced decorator, this tutorial provides all the details to create unique, lightweight leaves that last. You can follow the video tutorial or scroll down for step-by-step instructions. Let’s get started!
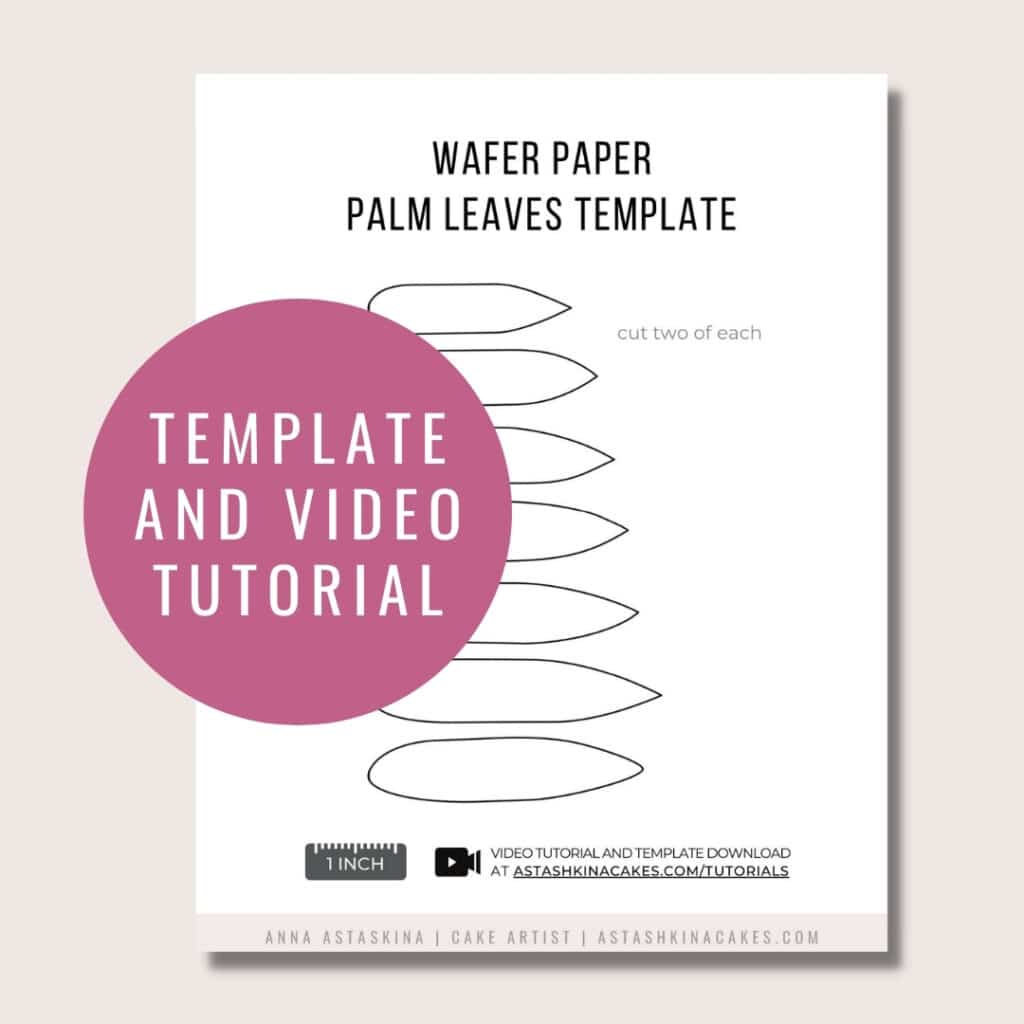
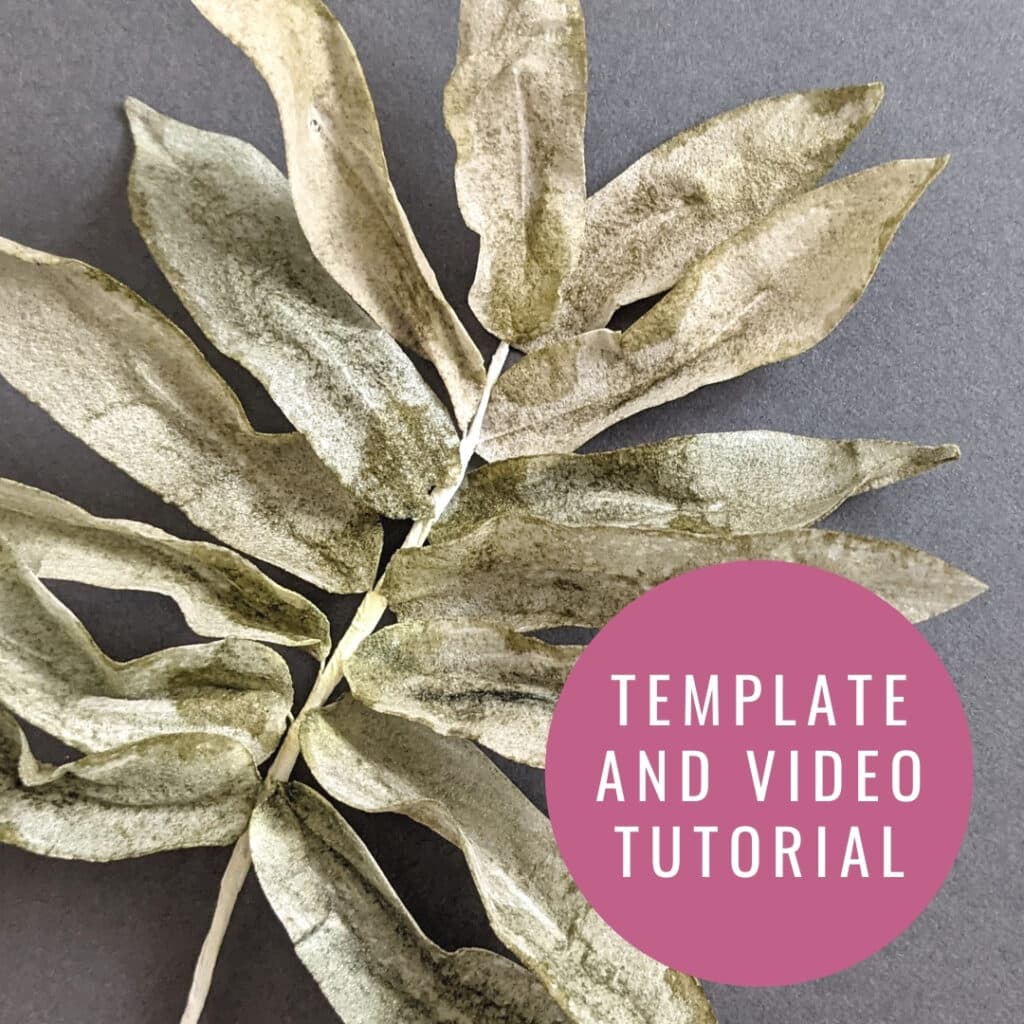
Download Wafer Paper Palm Leaves Template
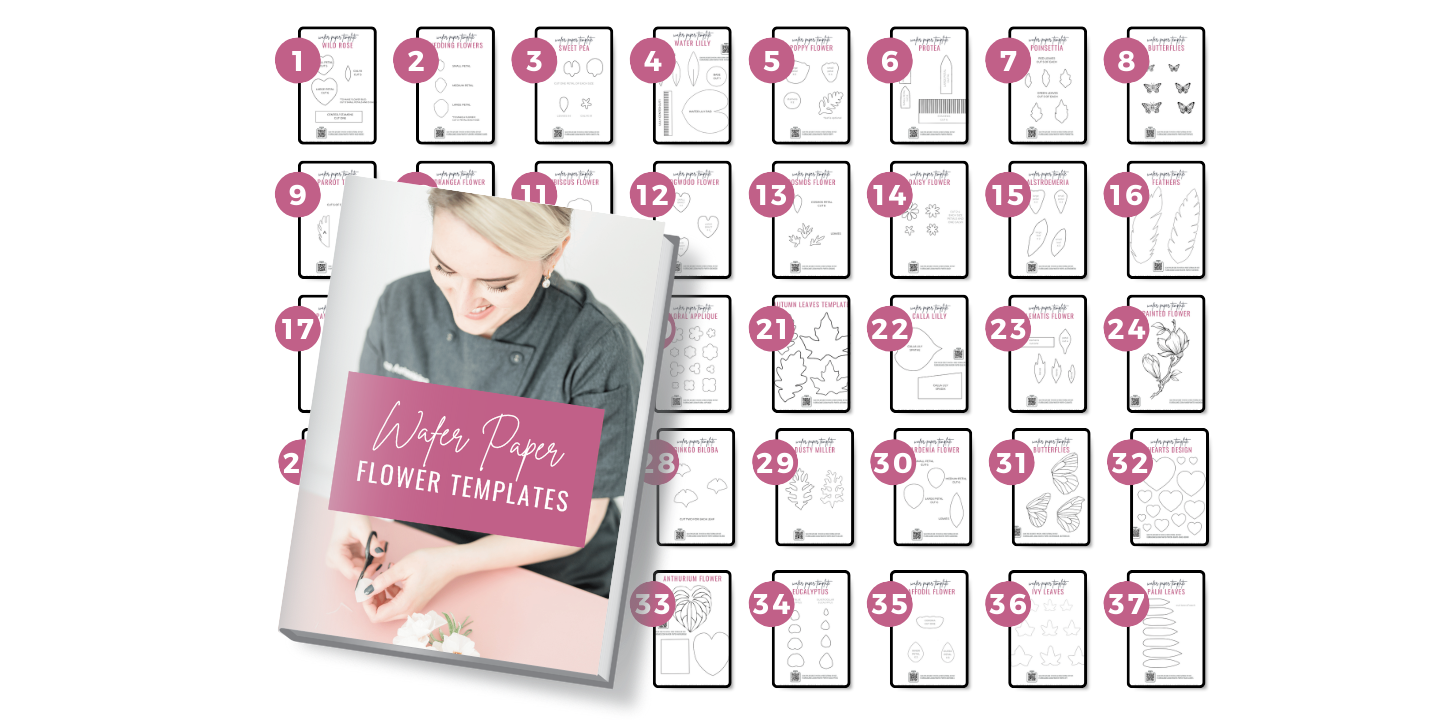
Get instant access to this and 37 more wafer paper flower tutorials and templates in my All-In-One Wafer Paper guide + 3 bonuses!
Materials and Tools You’ll Need
Materials
- Wafer Paper (0.27 mm thickness)
- Olive Green and Cypress gel colors
- Fern petal dust
- White 28-gauge wires
- White floral tape
- My Palm Leaves Template here
Tools
Step-by-Step Instructions for Wafer Paper Palm Leaves
Step 1: Cut and Shape Your Wafer Paper
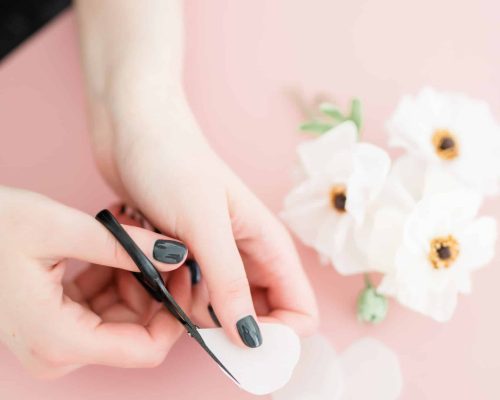
Take a half-sheet of wafer paper for each leaf. Fold it in half and either use the template provided or freehand cut the leaf shape. Then, cut the leaf into half-inch strips and round each strip into an elongated teardrop shape. This gives the leaf its characteristic pointed top and rounded bottom.
Step 2: Prepare Your Wafer Paper Glue
To make wafer paper glue, place wafer paper scraps in a small bowl, add water to cover the wafer paper, and microwave in 5-second intervals until a gel-like consistency forms. This glue will be used to attach the wires to each leaf.
Step 3: Attach Wires to Your Leaves
Cut 28-gauge wire into quarters. On the back (smooth side) of each leaf, paint a thin line of wafer paper glue about three-fourths of the way up. Press the wire into the glue line, ensuring it is secure. Let the leaves dry for about 10 minutes.
Step 4: Condition and Color the Leaves
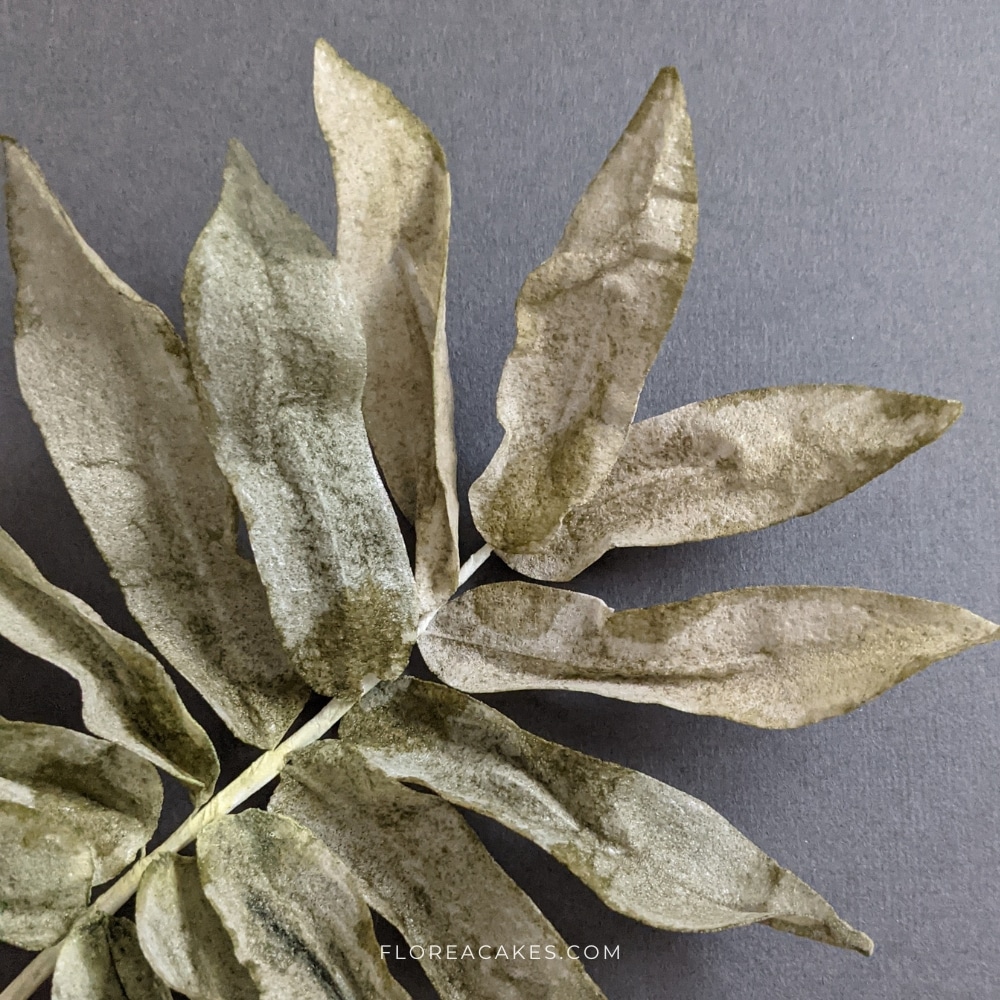
Prepare the AC Tonic, mixing it with a small amount of olive gel color. Brush the back of each leaf with this mixture, then allow it to dry before lightly dusting with cornstarch to reduce stickiness. Repeat on the front side, then dust to keep the wafer paper from melting.
Step 5: Shape and Assemble
Use a Dresden tool and floral foam pad to shape each leaf, giving it a natural curl. Attach the leaves to a thicker 20-gauge wire with floral tape, layering them from smallest to largest for a full look. Add visual interest by dusting the stem with fern petal dust and accenting leaves with deeper colors.
Your Turn!
Now you’re ready to create stunning wafer paper palm leaves that will bring a beautiful tropical vibe to any cake. These leaves are easy to make, customizable, and perfect for adding that unique touch to your designs!
Download the template to start crafting, and don’t forget to share your creations—I’d love to see what you make! Tag me @FloreaCakes on social media so I can feature your amazing work. Happy decorating!

