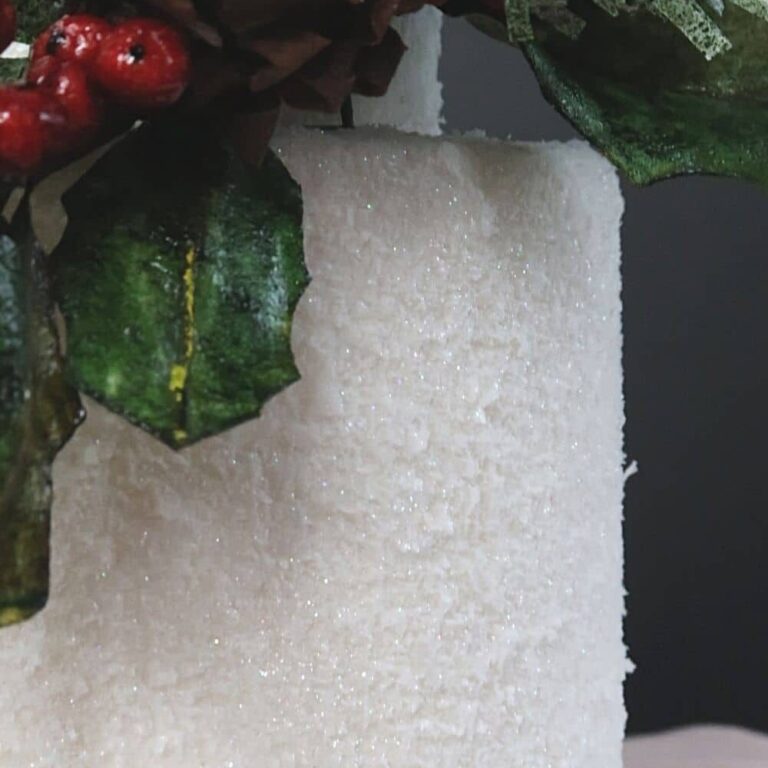
Pine cones are a festive favorite when it comes to decorating your house for the holidays, and these wafer paper versions will look great grouped together on a cake, as a topper, or in a wreath.
These wafer paper pine cones are so fun to make and I’m sharing a cool way of making your cone centers out of wafer paper (yey for an edible center, right?). Once you’ve created your first one, I can guarantee you’ll want to make a whole forest’s worth!
You will need:
- Wafer paper
- Brown gel color
- AC Tonic (recipe is in your class materials)
- Foil or styrofoam ball
- 20 gauge wire
- 26 gauge wire
How to:
- Form center using foil or wafer paper
- Cover with wafer paper
- Paint dark brown
- Cut wafer paper 2 inch x 6 inch
- Paint brown gel on both sides
- Cut strips 3/8 inch x 2 inch
- Fold to a pine seed (scale)
- Assemble pine cone
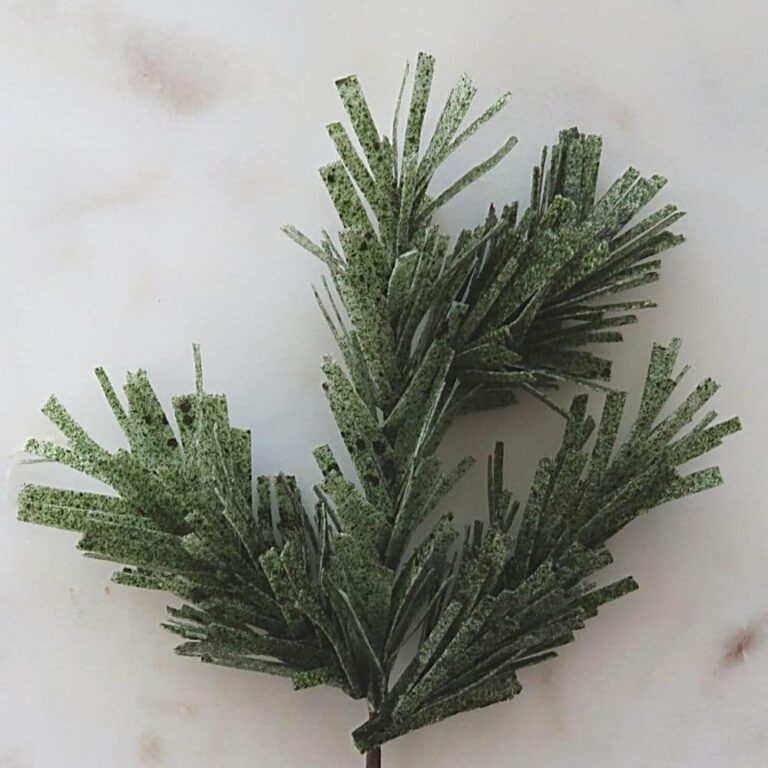
If you’re looking for Christmas cake topper decorations to make with your wafer paper pine cones, I love these wafer paper pine branches!
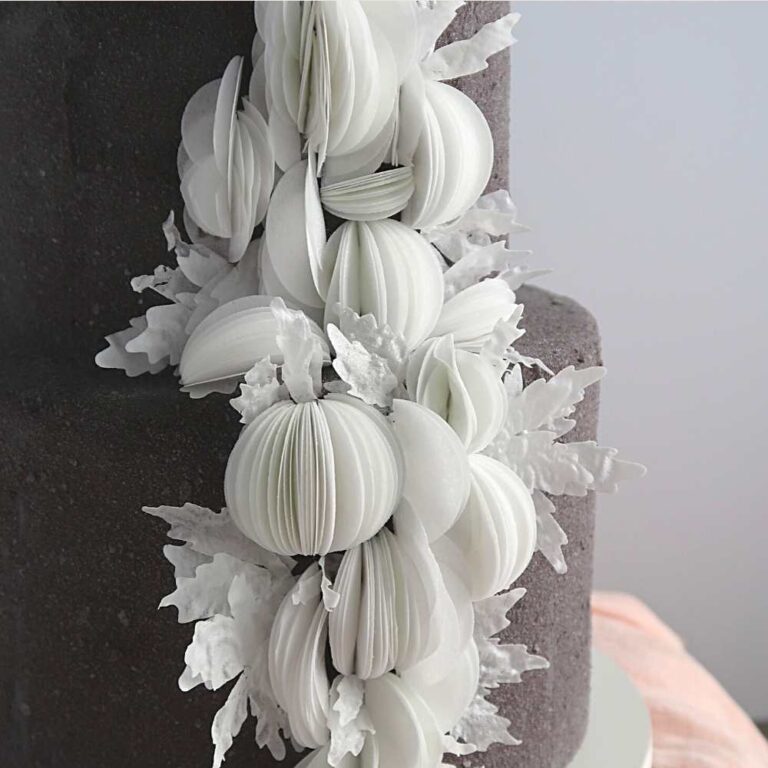
Put your own spin on the project by choosing different colors, adding your own personal touch, or creating cake decoration arrangement with your wafer paper pine cones!
I can’t wait to see what you do with it. When you make your own wafer paper pine cones, post on social media and tag me @astashkinacakes, so I can share.
