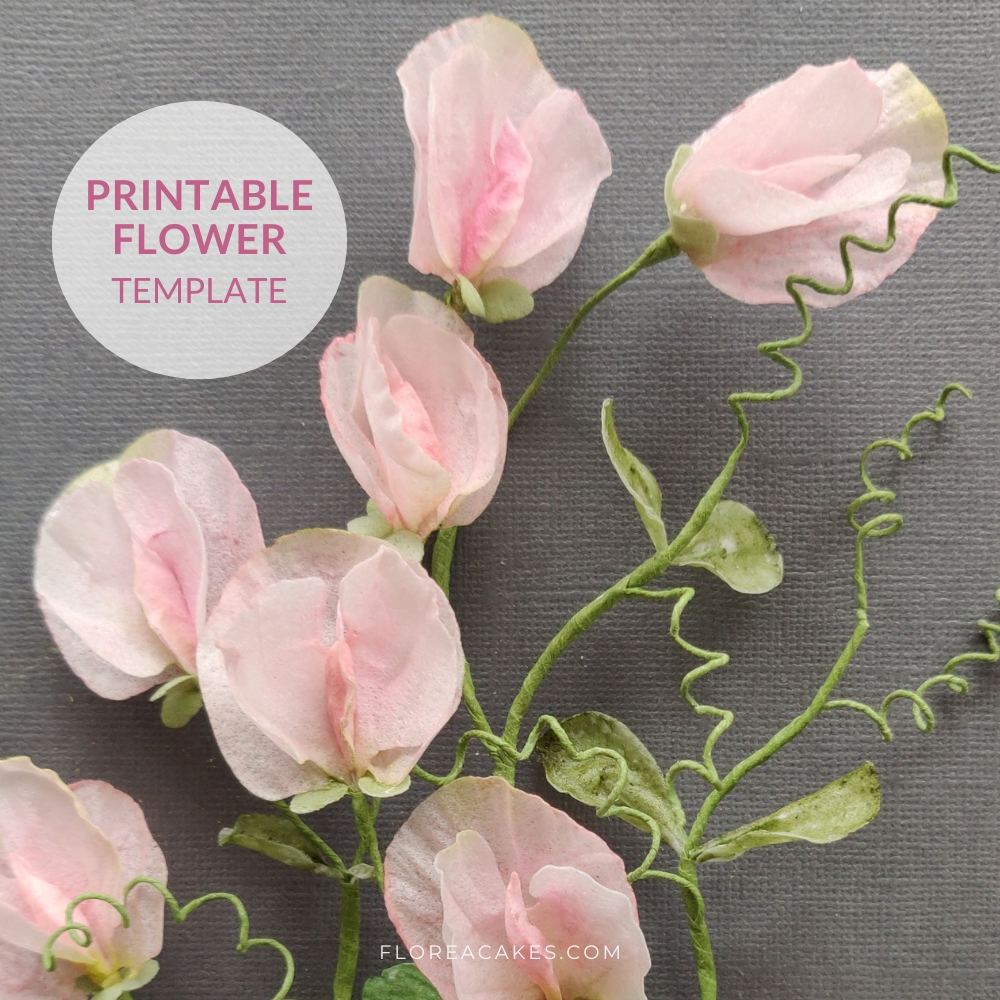
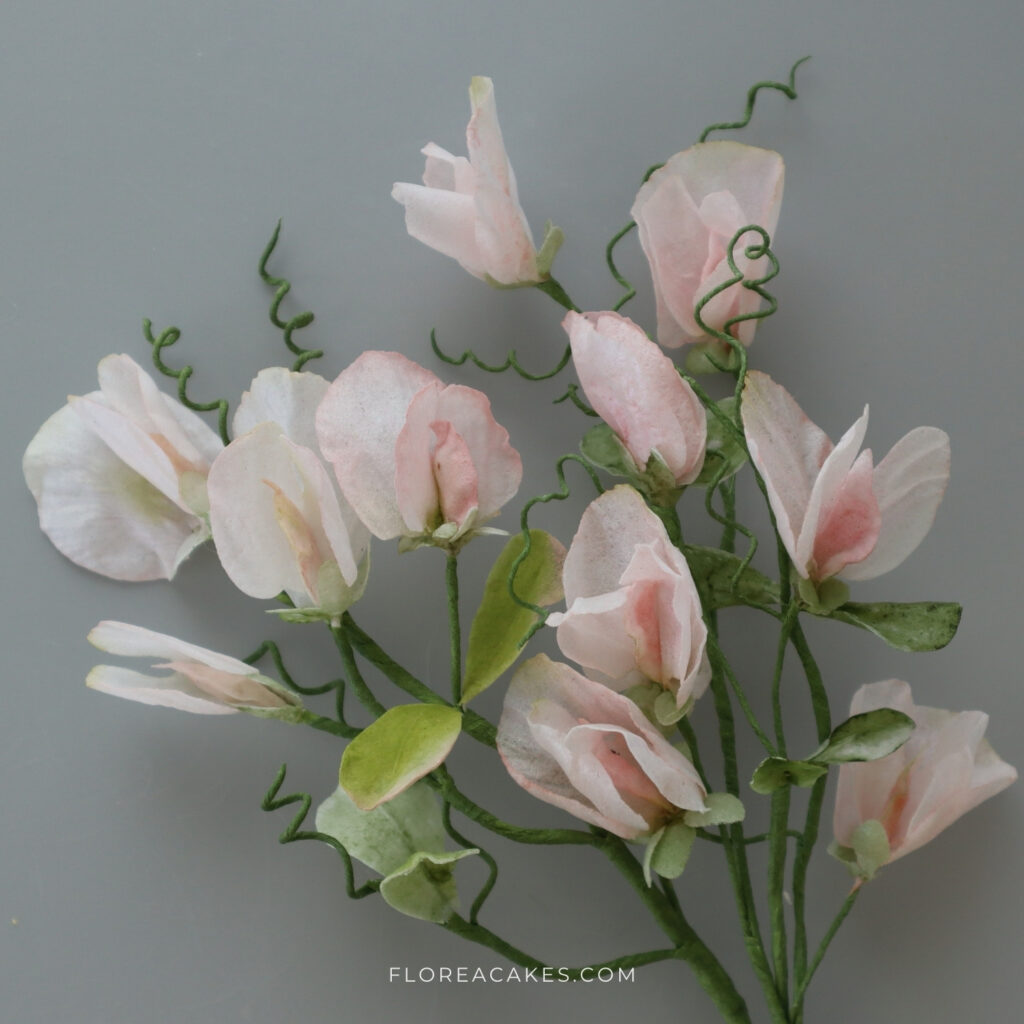
Hello cake lovers! In this tutorial, we’re diving into the art of crafting stunning Sweet Pea branches using wafer paper. If you’re looking for a way to achieve lifelike flowers without the need for intricate veining on each petal, this technique is perfect for you.
Whether you’re decorating a wedding cake, enhancing a floral-themed dessert, or simply adding a touch of elegance, these Sweet Peas will bring a fresh and sophisticated look to your creations.
Ready to get started? Follow the step-by-step guide below or watch the video tutorial for a visual walkthrough on how to make these beautiful wafer paper Sweet Peas!
Materials and Tools You’ll Need
Materials:
- Wafer Paper (0.27mm thickness)
- AC Tonic™ Wafer Paper Conditioner (download the recipe)
- The Sugar Art Petal Dust: Cecilia Rose, Forget-me-not, Foliage Green
- 20 gauge wire
- 26 gauge wire
- Floral Tape
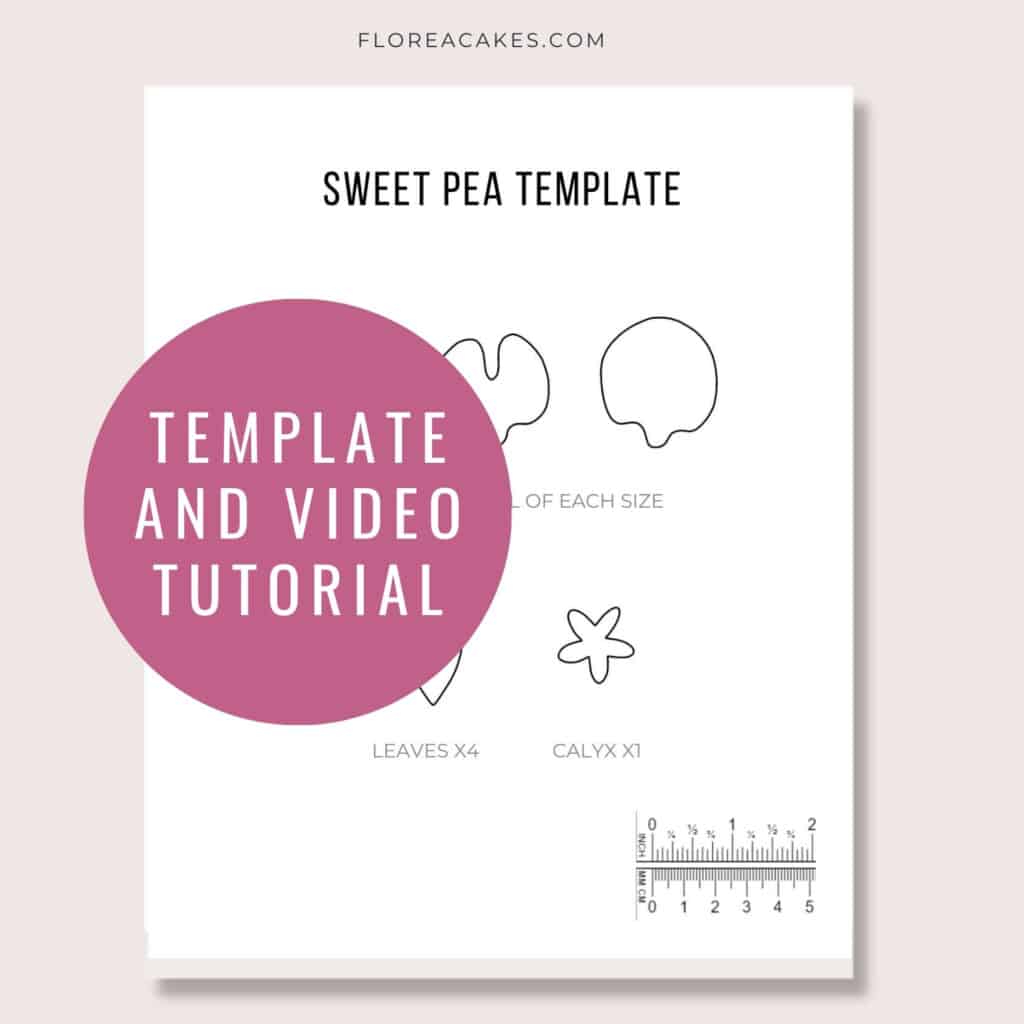
- My Wafer Paper Sweet Pea Template
Tools:
- Sharp Scissors
- Ball Tool
- Foam Pad (for shaping)
- Brush (for applying conditioner)
- Petal Dusts
Download Wafer Paper Sweet Pea Template
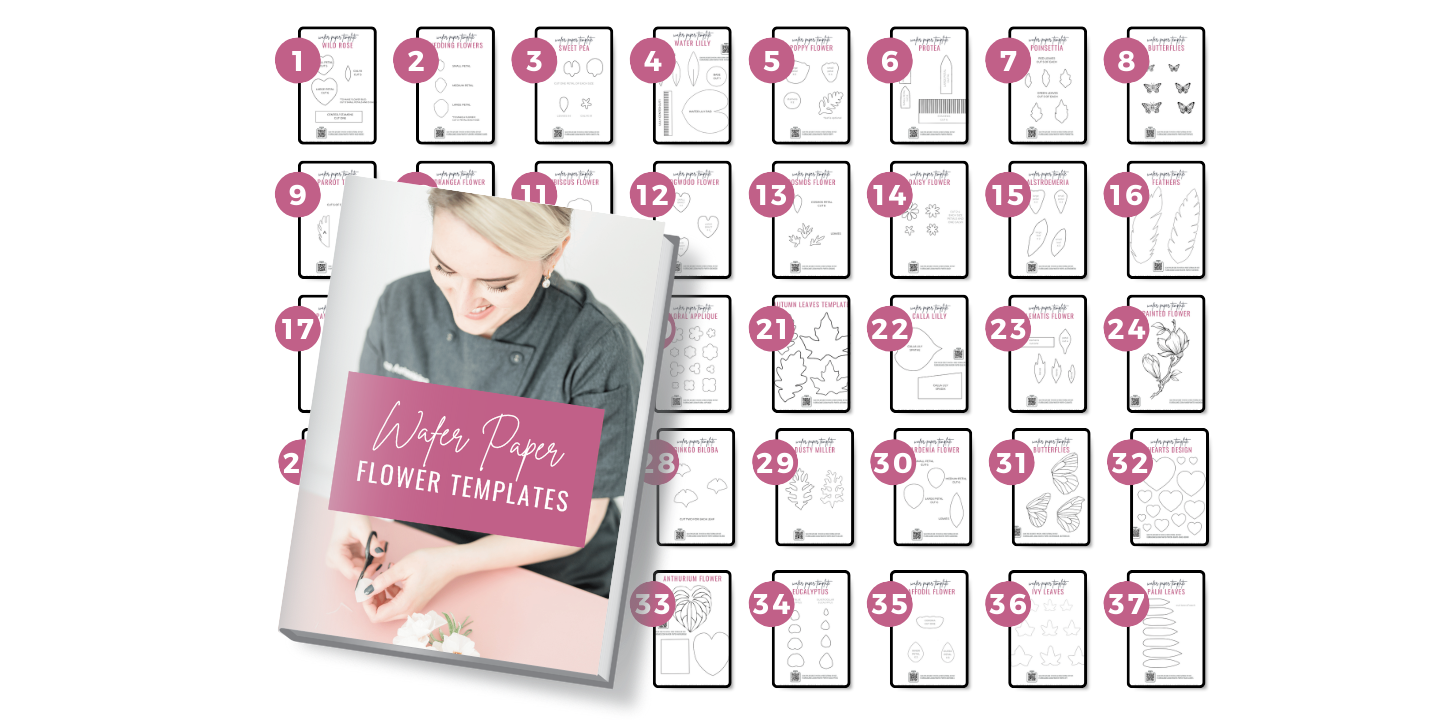
Get instant access to this and 37 more wafer paper flower tutorials and templates in my All-In-One Wafer Paper guide + 3 bonuses!
Steps to Create Wafer Paper Sweet Peas
Step 1: Prepare Your Materials
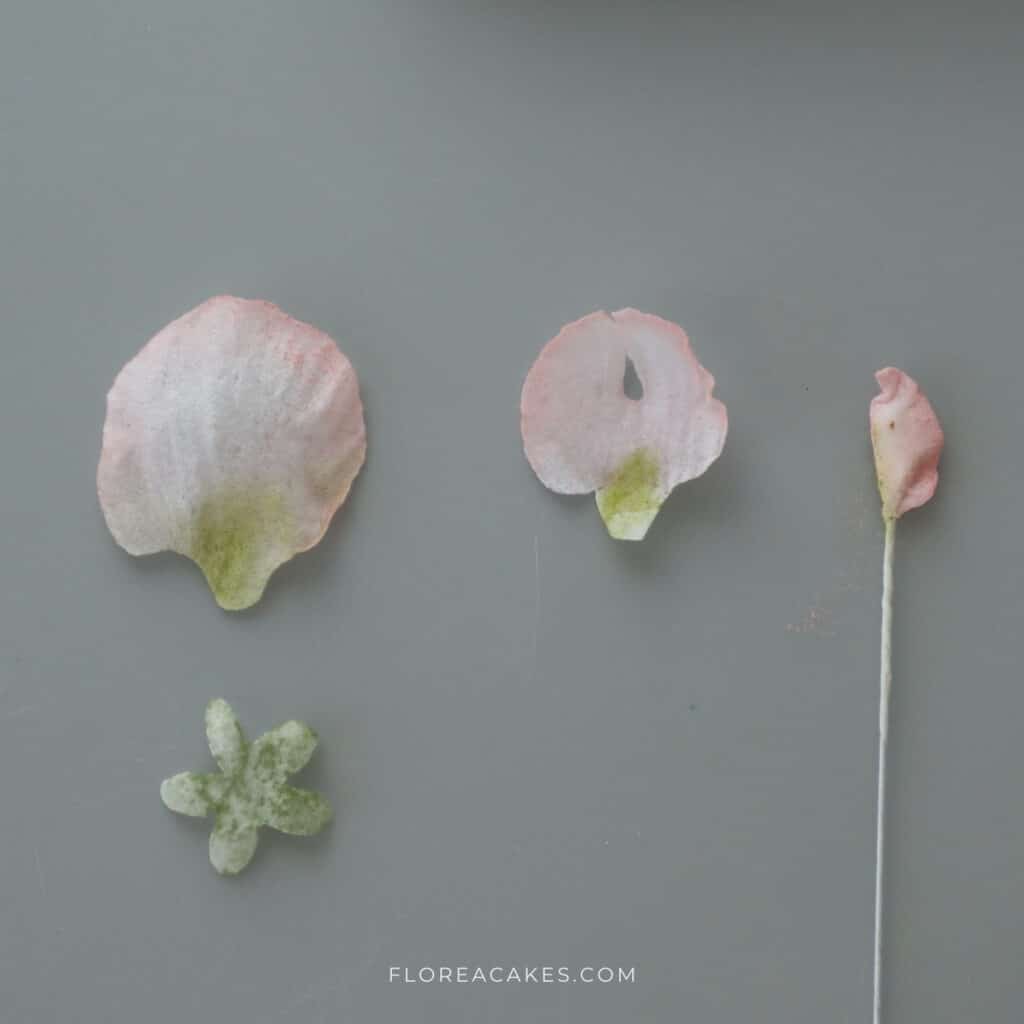
- Download and print the Sweet Pea template (linked above). Cut your wafer paper using this template. For best results, use the bumpy side of the wafer paper as the face side.
- Prepare your wires by cutting them into thirds. Form hooks with the wires and wrap with white floral tape to create the centers.
Step 2: Shape the Petals
- Use the AC Tonic™ to condition the shiny side of the wafer paper. Apply a small amount of conditioner to make the paper pliable.
- Shape the petals with a ball tool, creating an S-curve effect. Set each petal aside to dry on a foam pad.
Step 3: Assemble the Flower
- Once the petals are dry, use wafer paper glue (you can find my recipe in the template guide) to attach them together around the center. Start with the smaller petals and layer with the larger petals, pinching and shaping as you go to achieve a natural look.
Step 4: Add Color
- Dust the petals with a combination of Cecilia Rose, Forget-me-not, and Foliage Green petal dust. Apply the green dust in the center, pink or rose dust as blush accents, and blue dust on the outer edges for a realistic, dimensional effect.
Step 5: Create the Calyx and Assemble the Branch
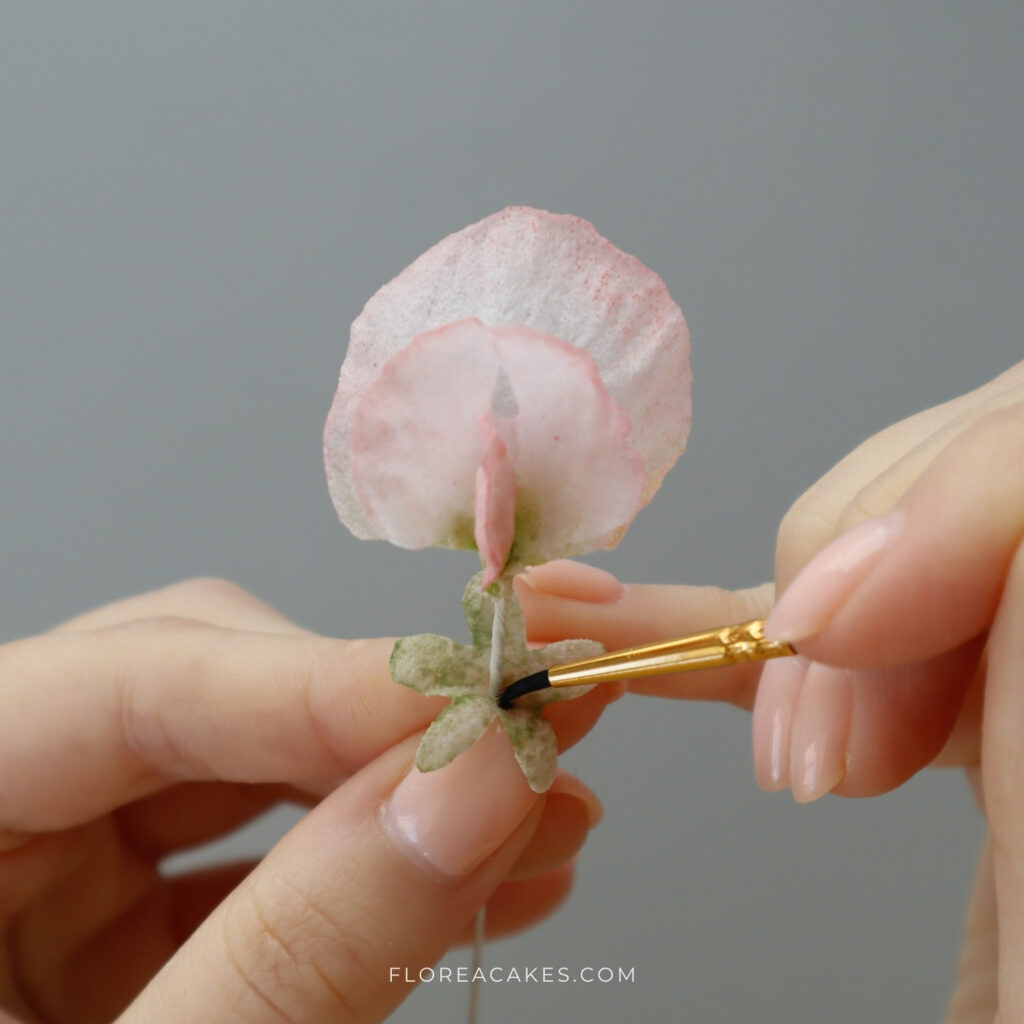
- Cut out calyx shapes from pre-colored wafer paper and shape using the AC Tonic™ conditioner. Attach the calyx to the base of the flower with wafer paper glue.
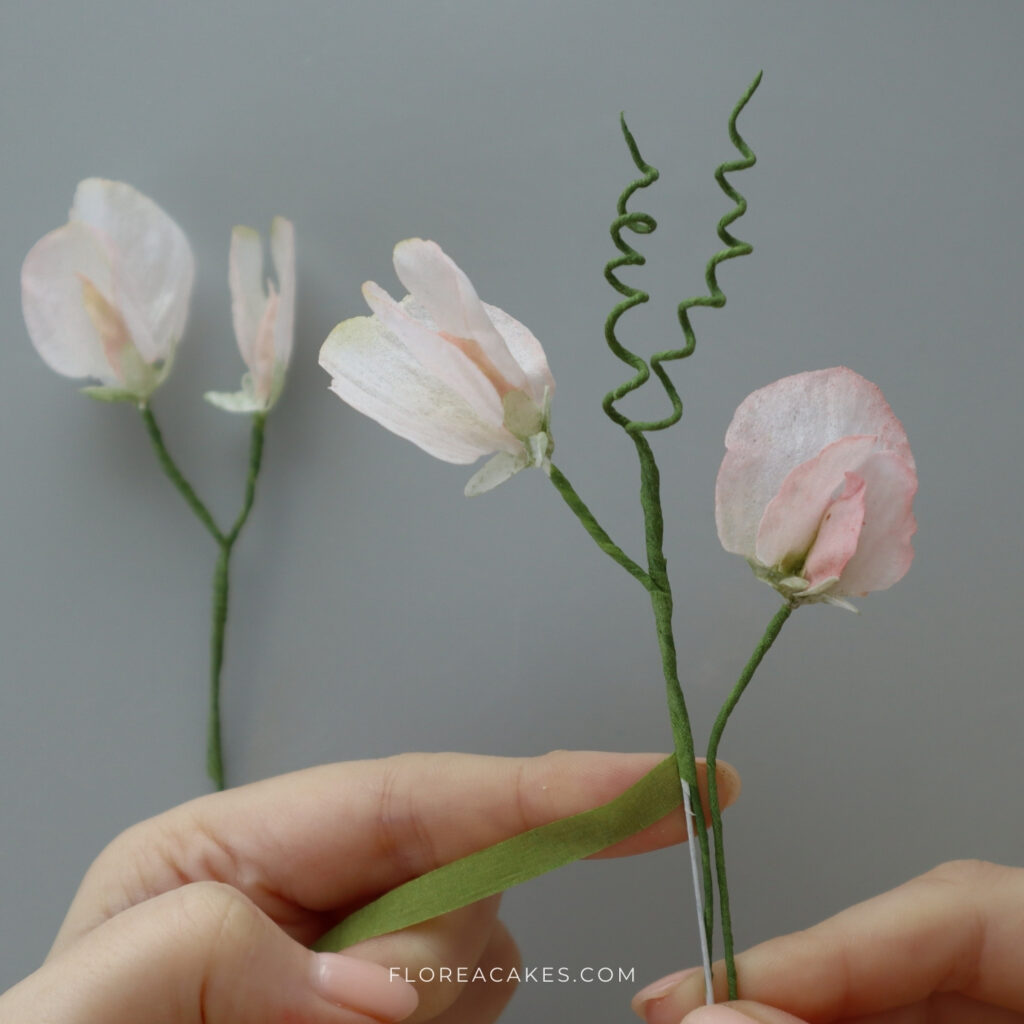
- Wrap the stems with light green floral tape, creating swirly shapes for visual interest. Assemble the flowers on a 22 gauge wire base, arranging them as desired.
Want some inspiration on how to use these Sweet Peas in an arrangement?
Here are a few of my favorite cakes:
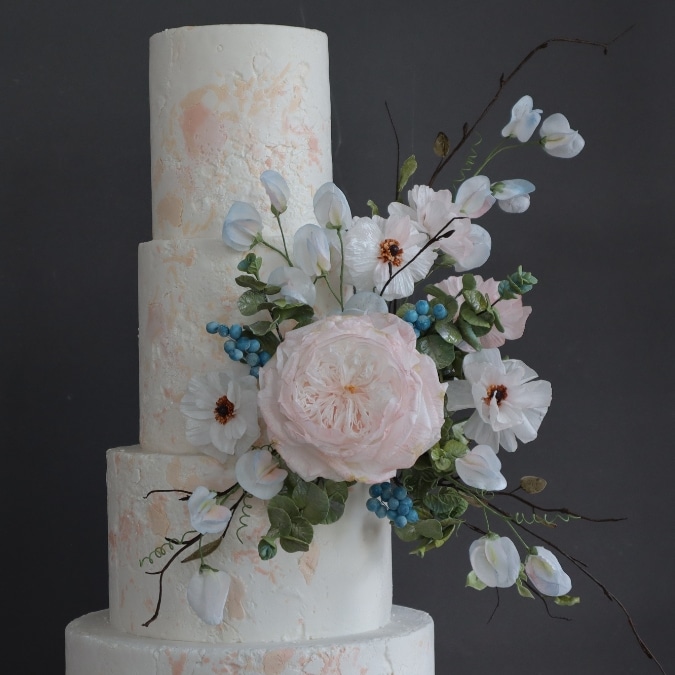
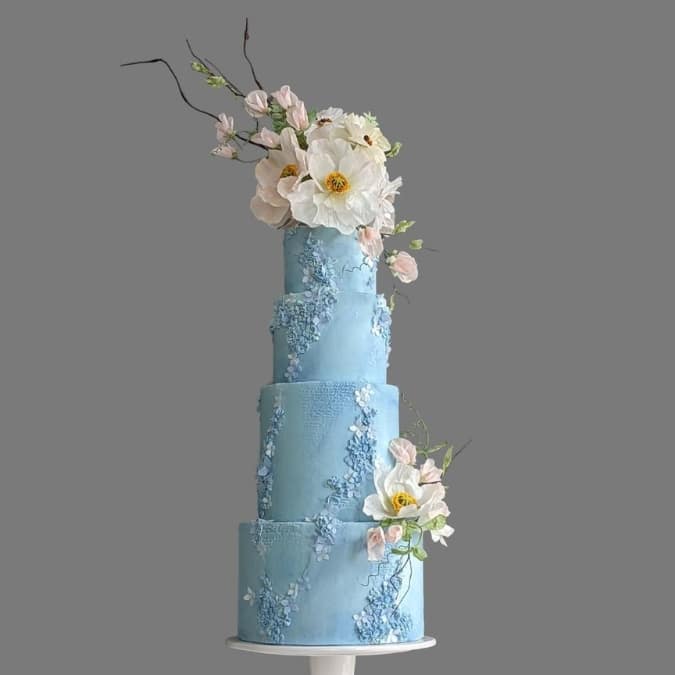
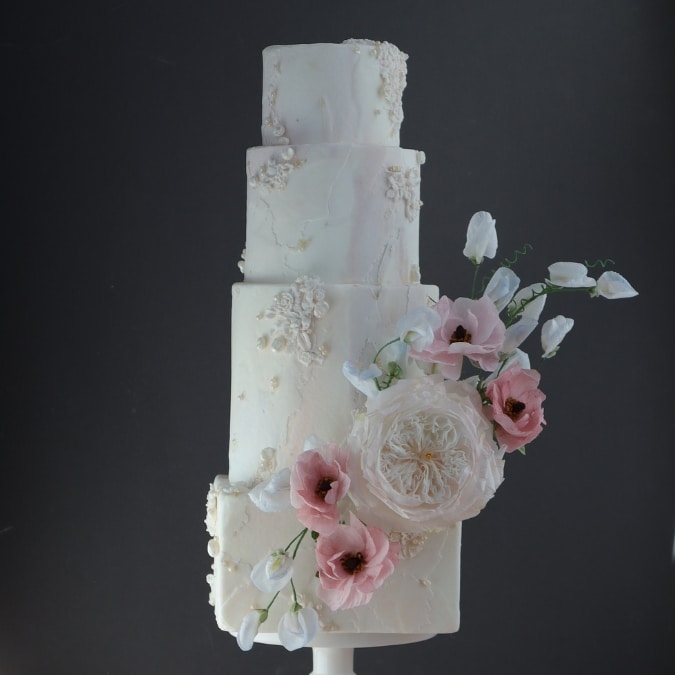
Ready to Create? Don’t forget to share!
I hope you enjoyed this Sweet Pea tutorial and that these flowers add a touch of elegance to your next cake or dessert.
Download the Template to get started, and don’t forget to share your creations on social media! Tag me @FloreaCakes so I can feature your work.



2 Comments
Please send me the sweet pea template
Hello, Noleen. Here is the link to get Sweet Pea Template https://floreacakes.com/book/