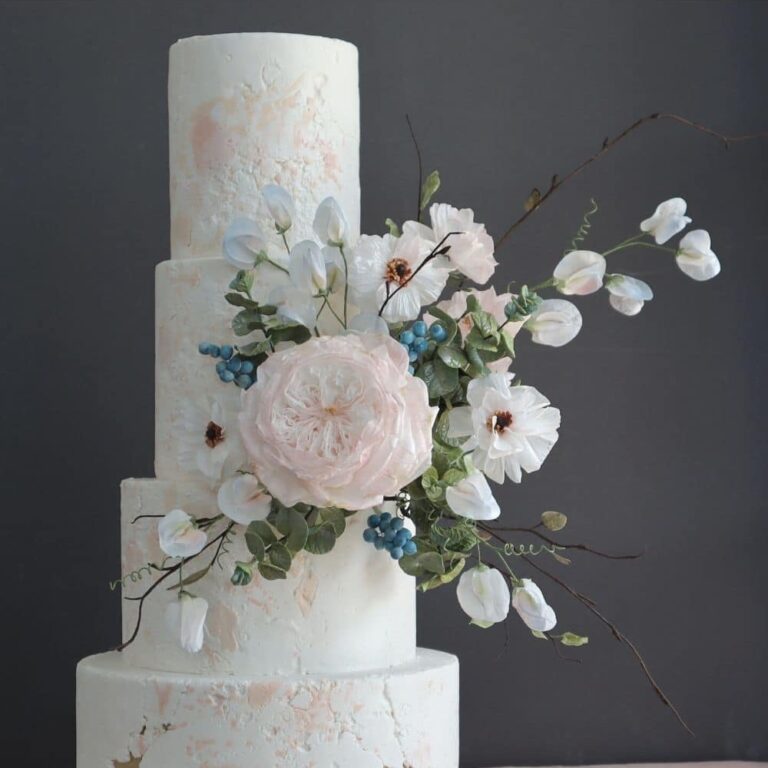
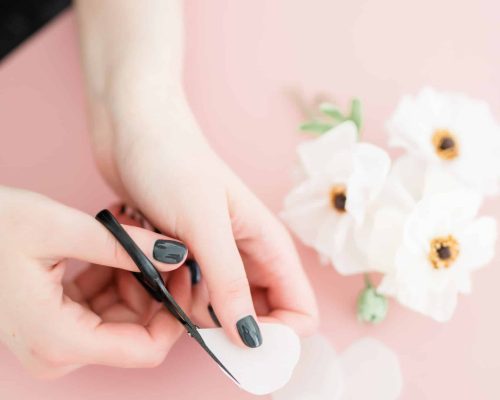
Ready to create a stunning Wafer Paper Parrot Tulip? In this tutorial, you’ll learn techniques for shaping, wiring, and painting wafer paper petals, allowing you to design lifelike tulips for cake decorations. I’ll also guide you through creating the tulip center and decorating stamens—all without using gumpaste, saving you time and money.
The parrot tulip, with its unique, frilled petals and vibrant colors, carries rich symbolism. Tulips generally symbolize love, beauty, and new beginnings, but the parrot tulip’s flamboyant appearance adds a layer of uniqueness, extravagance, and creativity.
Whether you’re a beginner or a seasoned decorator, this tutorial provides all the details to make beautiful, lightweight tulips perfect for any cake arrangement. You can watch my video tutorial or read the step-by-step instructions below. Let’s dive in!
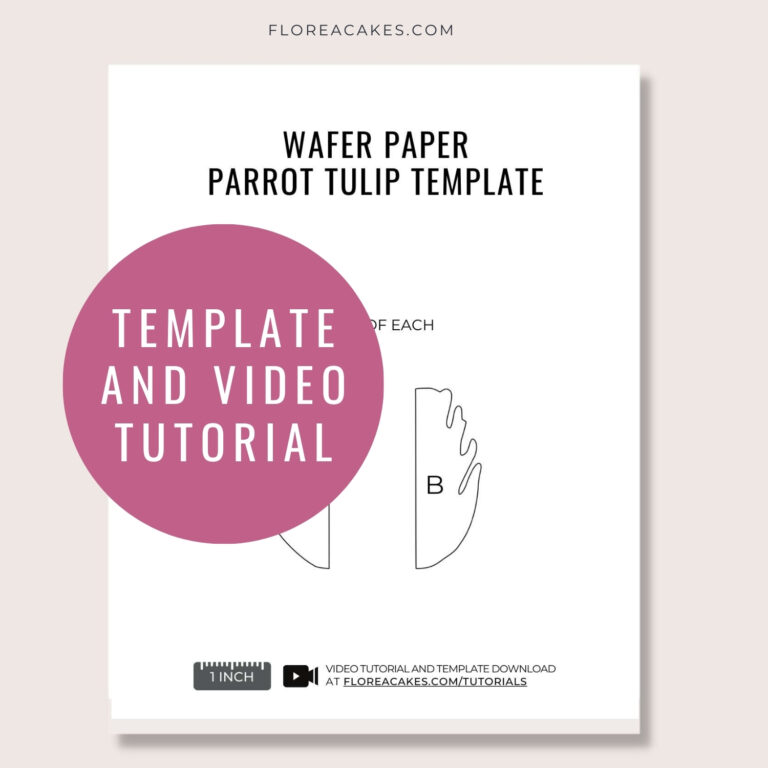
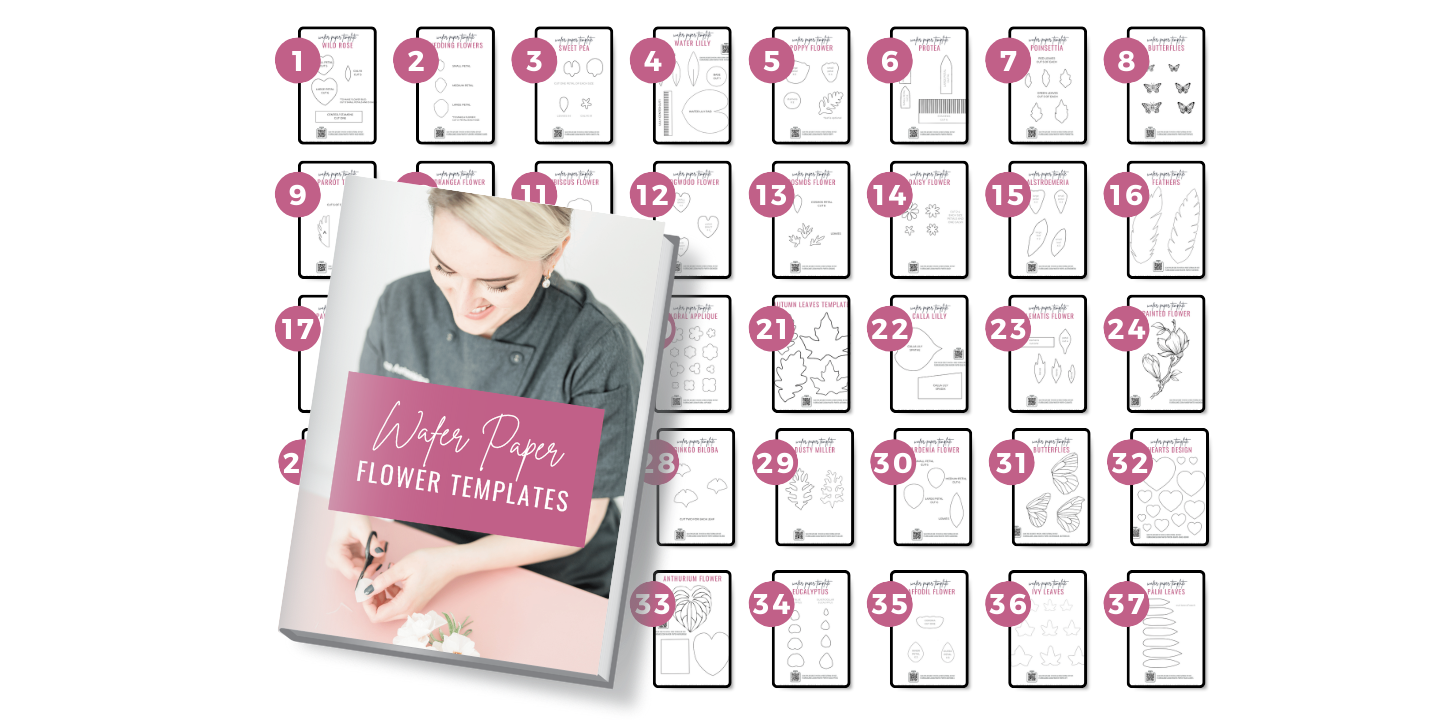
Download Wafer Paper Parrot Tulip Template
Get instant access to this and 37 more wafer paper flower tutorials and templates in my All-In-One Wafer Paper guide + 3 bonuses!
Materials and Tools You’ll Need
Materials:
- Wafer Paper – Oasis Supply or Saracino 0.27mm
- 26-gauge white floral wire
- Cecylia Rose, Yellow, and Moss Green petal dust
- High-proof alcohol
- Wilton stamens
- White and light green floral tape
- Black food marker
- Face tissue
- My Wafer Paper Parrot Tulip Template
Tools:
How to Create a Wafer Paper Parrot Tulip – Step-by-Step Guide
Step 1: Prepare the Petals and Wire
Start by cutting out your petal shapes using the template. For each petal, you’ll need one Part A and one Part B. Then, cut your 26-gauge wire in half and use wafer paper glue to secure each piece between two layers of wafer paper, creating a realistic, vein-like effect.
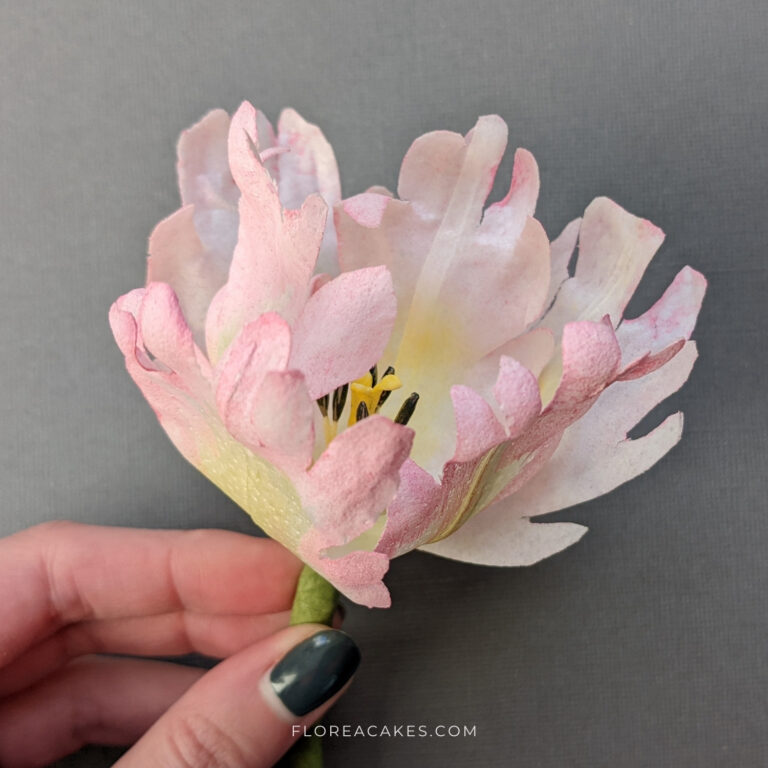
Step 2: Shape and Color the Petals
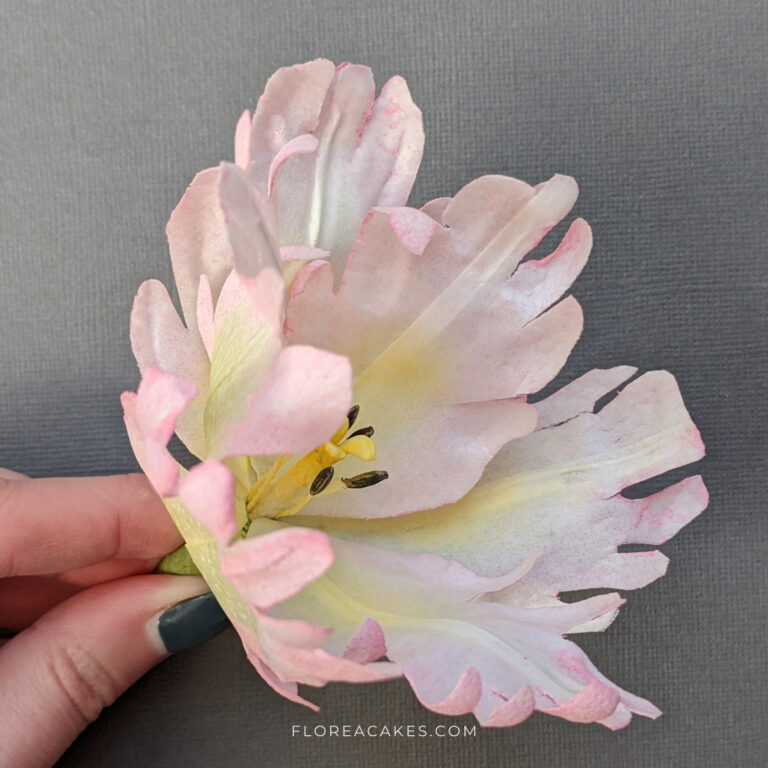
Using a mix of petal dust and high-proof alcohol, color the petals. Start with dry brushing for a soft effect, and shape the petals using the ball and Dresden tools to achieve realistic texture and depth.
Step 3: Create the Tulip Center and Stamens
Using 24-gauge wire, form the tulip center by twisting three pieces together. Add Wilton stamens, which you can color using an edible black marker for contrast. Secure them with floral tape, shaping the pieces for a lifelike effect.
Step 4: Assemble the Flower
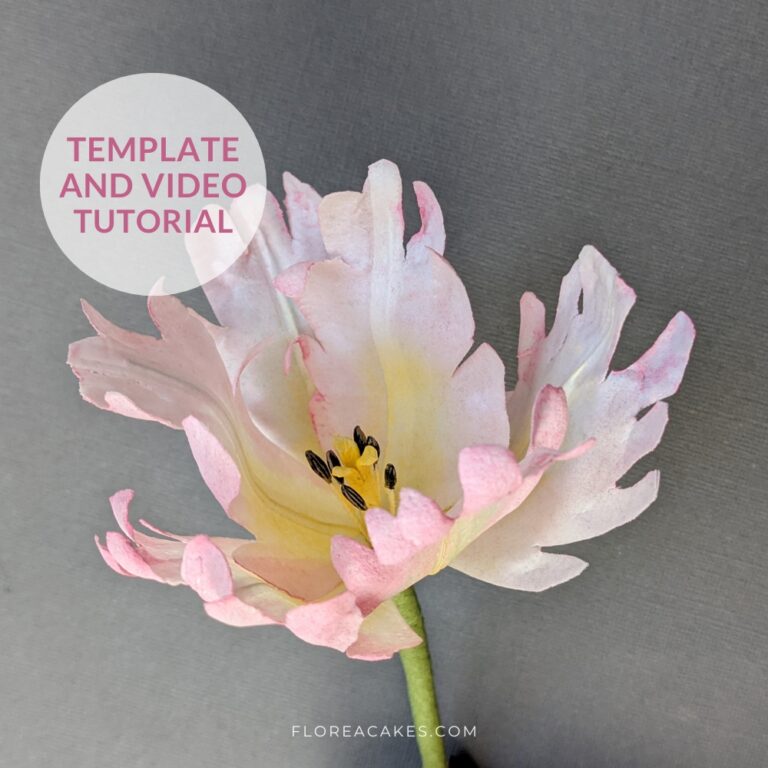
Attach your petals to the center wire with light green floral tape, starting with three inner petals, followed by three more to create fullness. Add floral tape down the stem, wrapping tissue around the stem to add realistic thickness.
Step 5: Final Touches
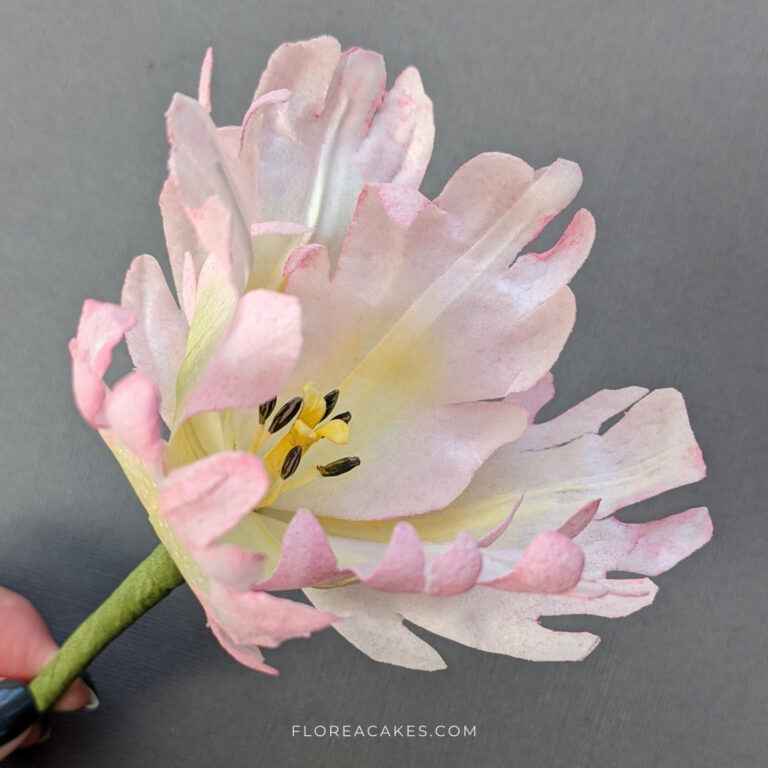
Adjust petal positioning, bend the wire to shape, and smooth out your floral tape to give the stem a polished finish. Your wafer paper parrot tulip is ready!
Ready to Create Your Own Edible Parrot Tulips
Ready to craft your own stunning wafer paper parrot tulips? I hope this tutorial has inspired you to give it a try and add a distinctive flair to your cakes!
When you’re finished, share your gorgeous creations with me on social media @FloreaCakes—I’d love to see how you bring these elegant flowers to life!

