Preparing a wedding cake tasting as a home baker might sound like a big task, especially when you’re managing everything from baking to business on your own. But you don’t need a storefront or a team to create a professional, memorable experience that impresses couples and helps you book more wedding cakes.
In this guide, I’ll walk you through how I prepare my tasting boxes at Florea Cakes, from choosing the right flavors to packaging everything beautifully. Whether you’re just starting or looking to refine your process, you’ll find tips to help you create a tasting experience that’s both efficient and impressive.

Why Wedding Cake Tastings Matter (Even for Home Bakers)
Offering a wedding cake tasting isn’t just about letting couples try your flavors – it’s a powerful way to promote your brand, even if you’re baking from home. Here’s why tastings are worth the effort:
Creating a Memorable First Impression
Your tasting box is often your client’s first real experience of your cake, your style, and your attention to detail. A thoughtful presentation can go a long way in showing that you take your work seriously – no storefront required.
Want to make that first impression even better? Here’s how to build a wedding cake portfolio that attracts clients.
Helping Clients Choose With Confidence
Tastings help couples narrow down flavor combinations and finalize their wedding cake with confidence. It also gives you a chance to introduce signature fillings or seasonal specials they might not have considered.
Building Trust and Showcasing Your Professionalism
When your samples arrive beautifully packaged, labeled, and easy to enjoy, it immediately shows that you care about the full experience. That level of polish helps build trust and often leads to more bookings and glowing referrals.
What to Include in Your Wedding Cake Tasting Box
Number of flavors per tasting
When I offer wedding cake tastings, I find it important to limit the number of flavors to avoid overwhelming my clients. In my experience, 12 flavors are plenty to choose from. For the tasting menu, I give them the option to pick up to six flavors.
In general, you could include basic flavors like vanilla with vanilla buttercream, chocolate with chocolate buttercream, and something fruity, like lemon with blueberry. The rest you can get creative with, using local ingredients or your favorite flavors.
Pro tip: Be careful when offering seasonal flavors because tastings are usually 6 months before the wedding, and you would need to make a fall-flavored cake in the middle of spring.

Sample sizes and portion ideas
When preparing cake tastings, it’s not necessary to offer large slices. Instead, focus on providing manageable, bite-sized portions that are still satisfying.
Flavor pairing tips
Pairing flavors thoughtfully can make a huge difference in the overall tasting experience. I recommend choosing complementary fillings, frostings, and jams that match well with the cakes.
For example, a rich carrot cake can be paired with a tangy orange marmalade, while a lighter cake like lemon or vanilla might go well with a fruity buttercream. Don’t forget to offer a mix of both bold and delicate flavors to cater to different preferences.
To come up with interesting flavors, I go back to my favorite book: The Flavor Thesaurus: A Compendium of Pairings, Recipes and Ideas for the Creative Cook
How to Prepare the Cake Samples
Bake extra and freeze ahead for efficiency
To streamline the process, I recommend baking extra cakes in advance and freezing them. This ensures you’re always ready for tastings and can save time by prepping in batches. Freezing also helps preserve the cakes’ freshness, making it easier to cut and serve them when needed.
Cut and layer with square cutters for a neat look
For a professional presentation, I cut my cakes into one-inch-thick layers using square cutters. That makes the portions neat, uniform, and easy to handle.
Choose fillings and frostings that travel well
When selecting fillings and frostings for cake samples, consider their ability to withstand transportation. Opt for options that hold up well during travel, such as stable buttercreams and fillings that won’t melt or spill easily.
Use square dessert cups or jars for assembly
To create a stylish and easy-to-serve presentation, I like using square dessert cups or jars for cake samples. These containers not only keep the portions neat and compact but also allow for a clear view of the layers.
Layer thoughtfully: cake, fillings, buttercream
When assembling the samples, it’s important to layer with intention. Start with a layer of cake, followed by a generous layer of filling and buttercream. Repeat the process for multiple layers, ensuring that each layer complements the others.
Smooth the top and seal with a lid or clear sticker
Once the layers are assembled, smooth the top to create a clean, professional look. To keep everything secure and fresh, seal the container with a lid or a clear sticker.
Assembling the Tasting Box
Use tall cupcake boxes
I prefer using tall cupcake boxes to hold the assembled dessert cups. These boxes are the perfect height, keeping everything upright and preventing shifting during delivery.
Line with tissue paper
To give the tasting box an elegant touch, you can line the inside with tissue paper. It adds a layer of softness and makes for an elegant unboxing experience.
Include napkins, utensils, and a labelled layout
I always include a few thoughtful extras, like napkins and utensils, so clients can dive into their tasting right away. I also add a printed layout or label guide to clearly identify each flavor. It’s a small detail that makes the tasting more enjoyable and organized.
Pro tip: Throw in a couple of business cards to stay top-of-mind and make it easy for clients to refer you. After all, word of mouth is one of the best ways to book more wedding cakes.

Add a Personal Touch to Stand Out
Include your business cards and custom labels
Including your business cards and custom labels is a great way to stay top-of-mind and make your tasting experience more personal. It adds a professional touch and makes it easier for clients to get in touch or recommend you to others.
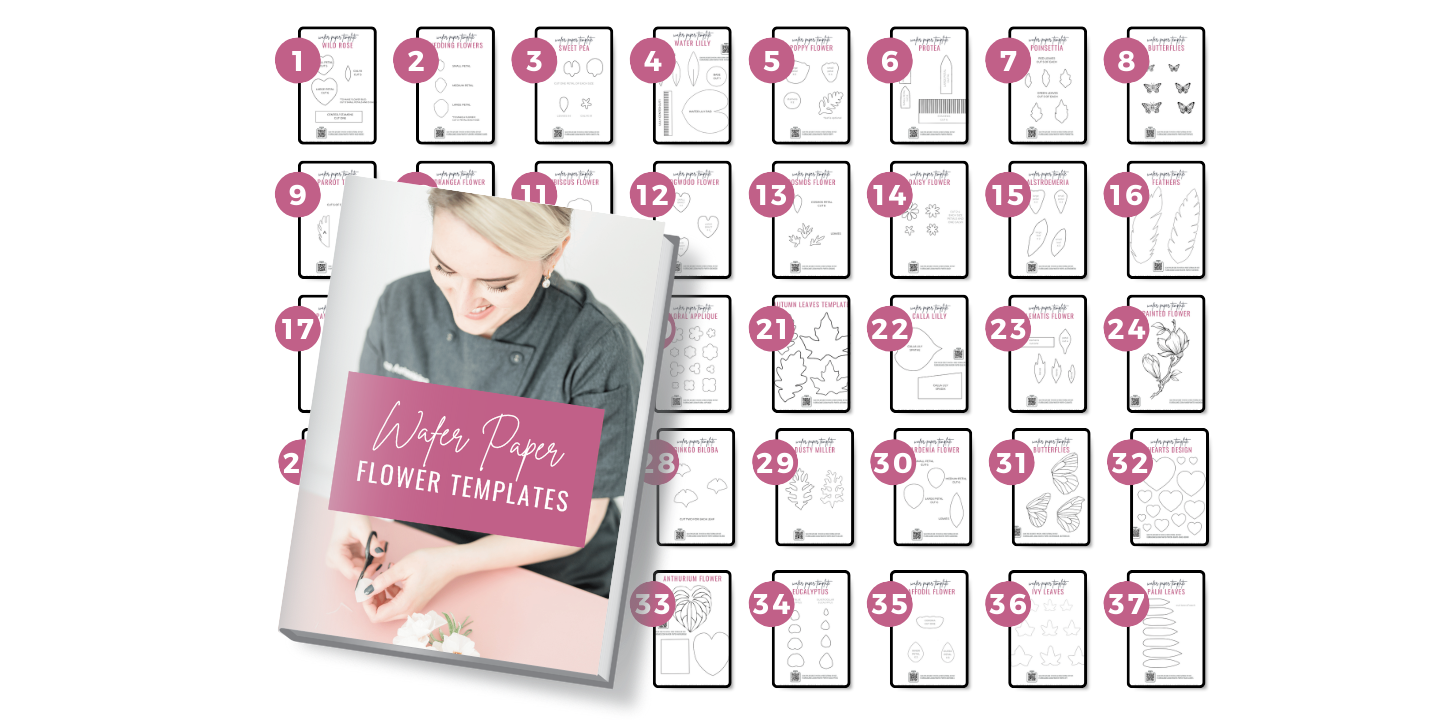
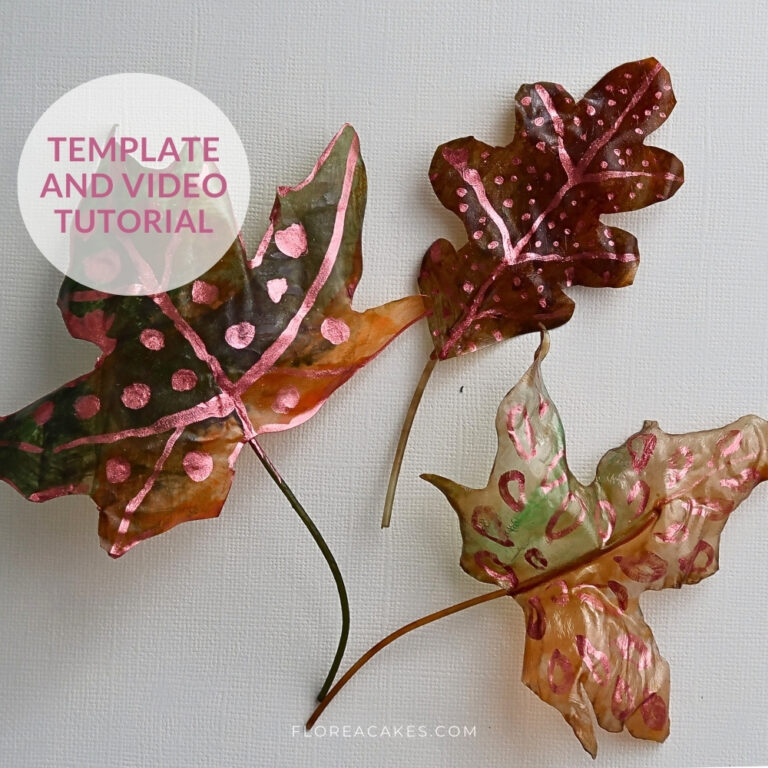
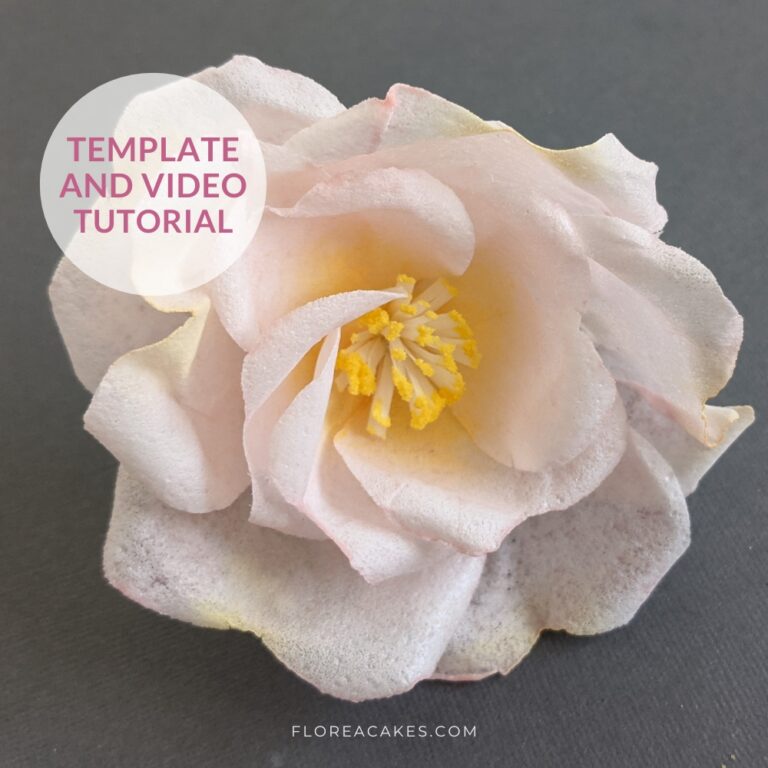
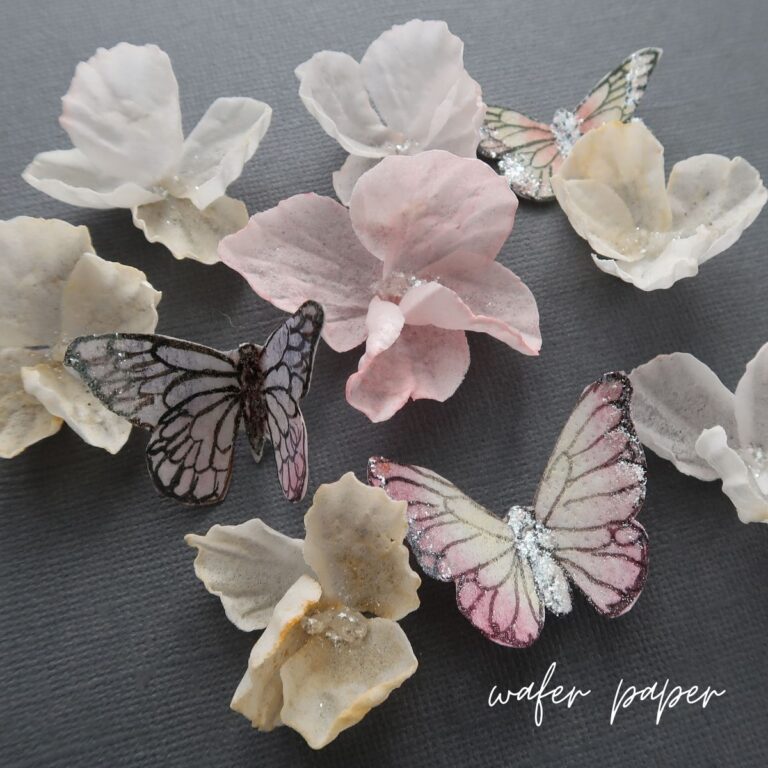
Optional: Add a wafer paper flower sample
For those seeking a luxurious experience, consider adding a wafer paper flower sample to your tasting.

Include an info booklet with menu, pricing, and process
Adding an info booklet with your menu, pricing, and process not only provides clients with essential details but also helps them feel more confident in their decision-making. It’s a great way to present your offerings in a clear, professional manner and guide clients through the next steps.
If you’re still figuring out how to price wedding cakes, click here to read my post on the topic.
Streamlining Your Wedding Cake Tasting Process
Remember, it’s not just about offering great flavors – it’s about presenting them in a way that showcases your skills, attention to detail, and dedication to quality. Every step of the process, from choosing the right flavors to the final touches on packaging, is an opportunity to build trust and make a lasting impression on your clients.
With the tips shared here, you can refine your tasting process to not only showcase your talent but also position yourself as a professional who takes every detail seriously. Whether you’re a seasoned baker or just starting out, putting extra effort into your wedding cake tastings will pay off.
 ()")

")