In this tutorial, you’ll learn how to create beautiful rice paper leaves perfect for seasonal cake decorations. We will make them in warm fall colors, but feel free to use them for any season and pick the color you like. With a combination of delicate textures, vibrant fall colors, and a touch of pearl shimmer, these leaves will bring a natural and artistic flair to your designs.
Whether you’re a beginner or a seasoned cake artist, this guide will show you how to achieve stunning results step by step.
Read the step-by-step instructions or watch the video below for a visual guide!
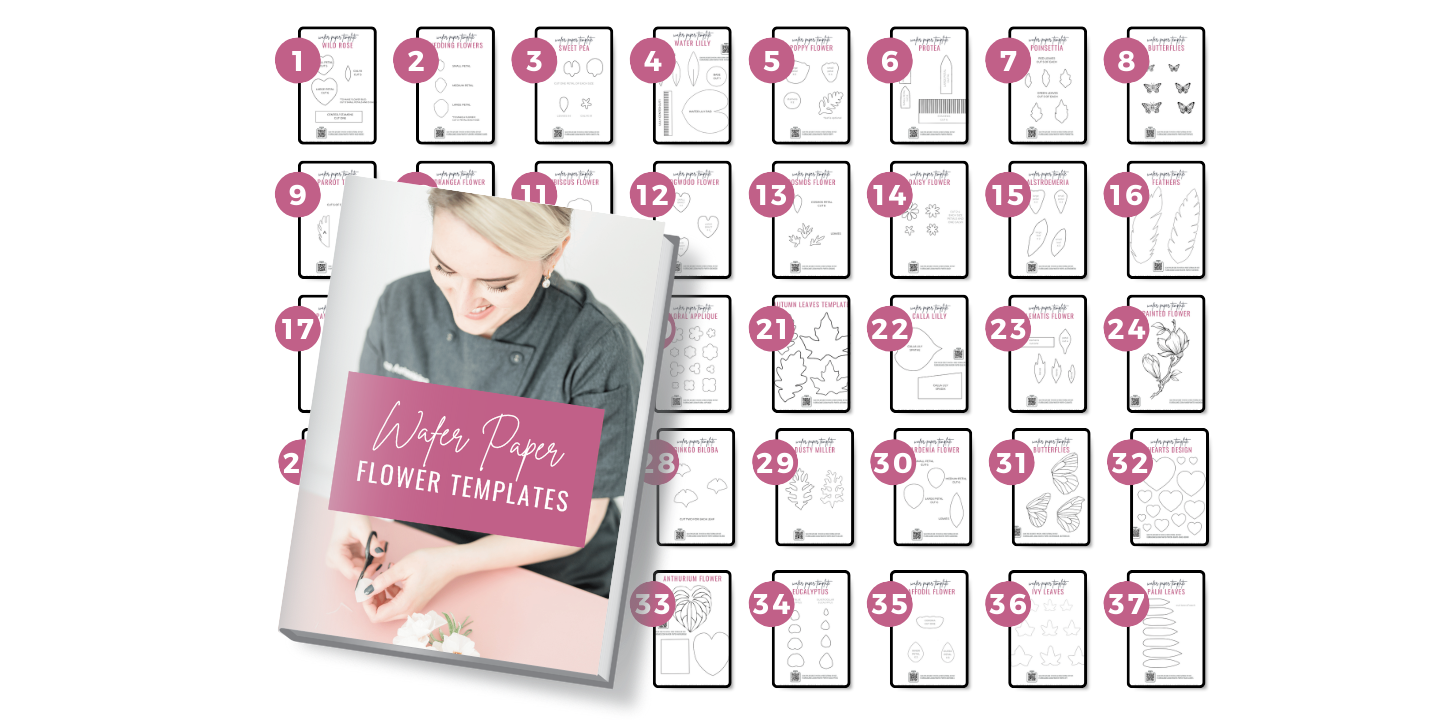
Download Rice Paper Leaves Template
Get instant access to this and 37 more wafer paper flower tutorials and templates in my All-In-One Wafer Paper guide + 3 bonuses!
Materials and Tools You’ll Need
Materials
- Wafer Paper
- Rice Vermicelli Noodles
- Gel Colors – Green, Brown, Orange
- Saracino Ruby Pearl Powder
- Alcohol (to mix with pearl powder)
- Parchment Paper
- Rice Paper Leaves Template
Tools
- Sharp Scissors
- Brushes
- Large Brush
- Foam Pad or Floral Foam
- Alcohol-safe Paint Palette or Small Mixing Dish
How to Create Rice Paper Autumn Leaves Step-by-Step
Step 1: Preparing the Rice Paper
Use premium-quality rice paper for the best results. If it’s not flexible, dampen it using the following method:
Place the rice paper on parchment paper. Use a large brush to lightly dampen one side with water. Flip it over, moisten the other side, and let it rest for 10-15 minutes until it becomes pliable.
Use the Rice Paper Leaves Template to trace your leaf shapes with an edible marker directly onto the rice paper. Cut out the shapes with fine craft scissors.
Step 2: Creating the Stems
Break rice vermicelli noodles into smaller pieces to match the size of your leaves. Soak the noodles in almost boiling water for 10-15 minutes until they’re soft and flexible.
Step 3: Assembling the Leaves
Lay the rice paper leaves on parchment paper. Lightly dampen one side of the leaf with water.
Place a softened rice noodle along the center as a stem. Cover with another piece of rice paper (or dampen the leaf further to attach the noodle firmly).
Step 4: Painting the Leaves
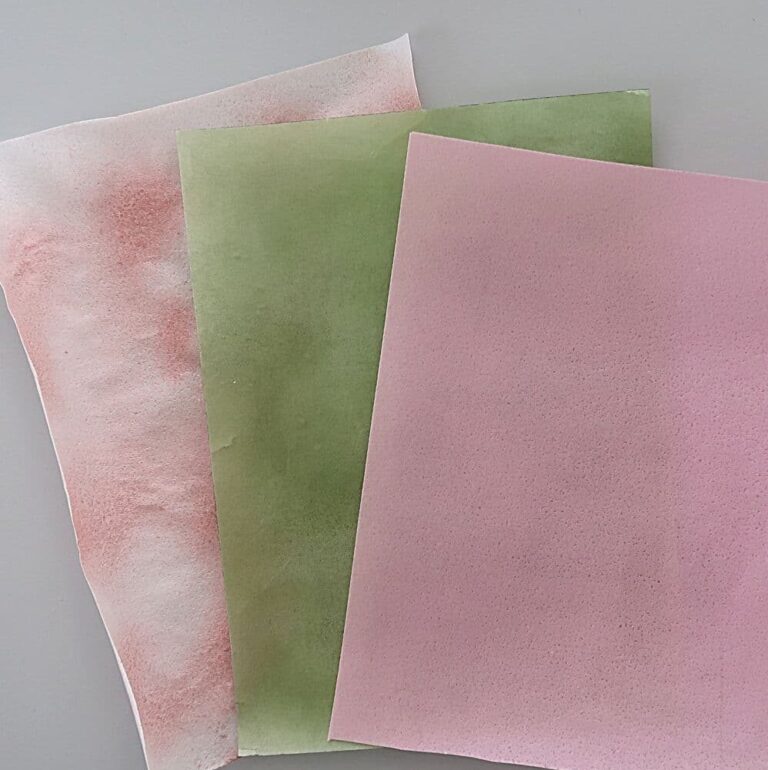
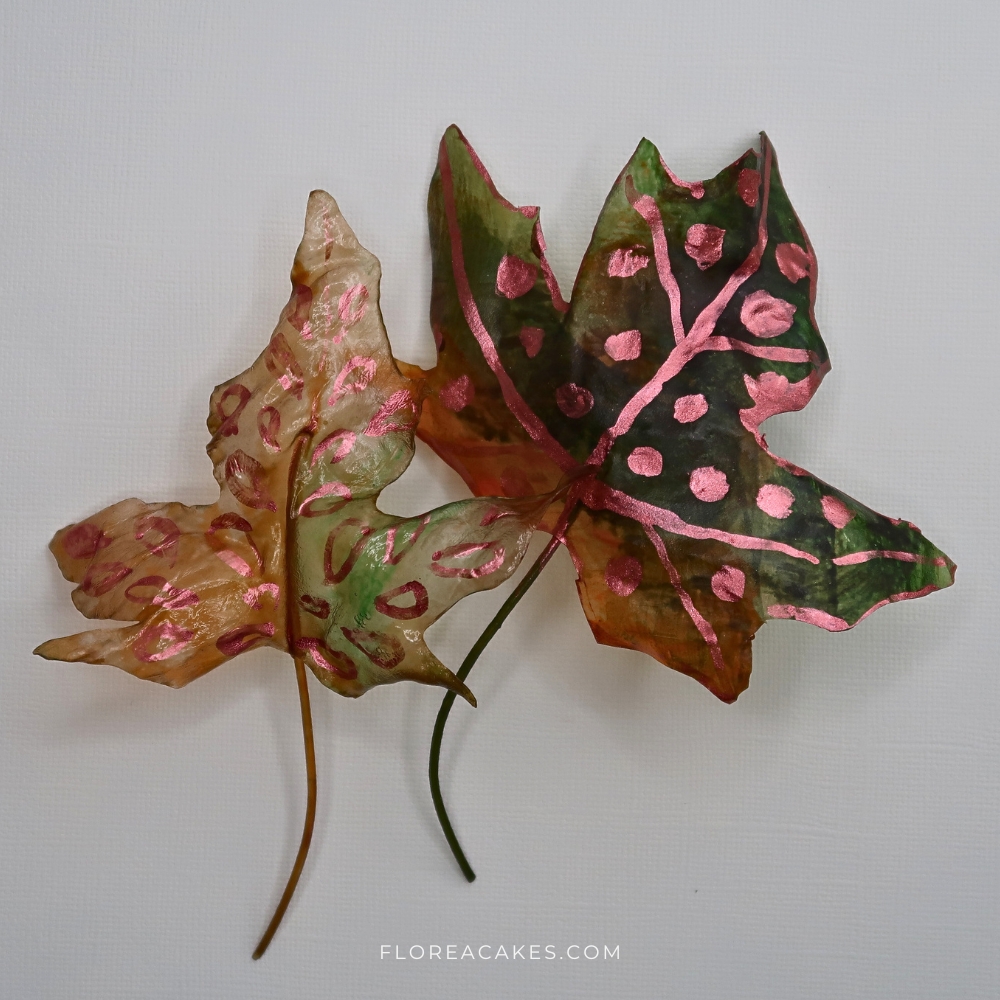
Mix your gel colors (Green, Brown, and Orange) with a bit of water to create a watercolor-like consistency. Adjust the shades to your liking. For example, mix green with a touch of brown for a muted, natural tone.
Use a small brush to gently dab and blend colors onto the leaves, creating a fall-inspired gradient. If the leaf becomes too wet, gently blot it with a paper towel.
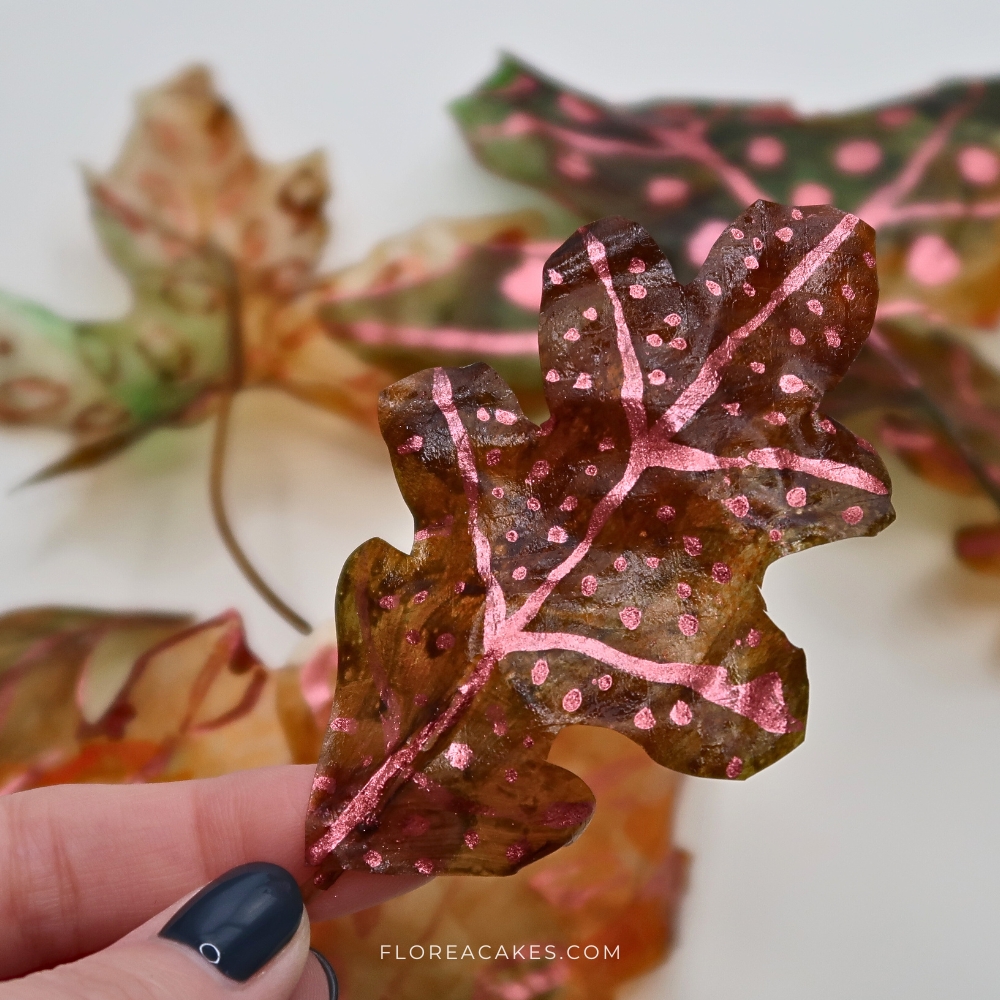
Step 5: Adding Shimmer and Details
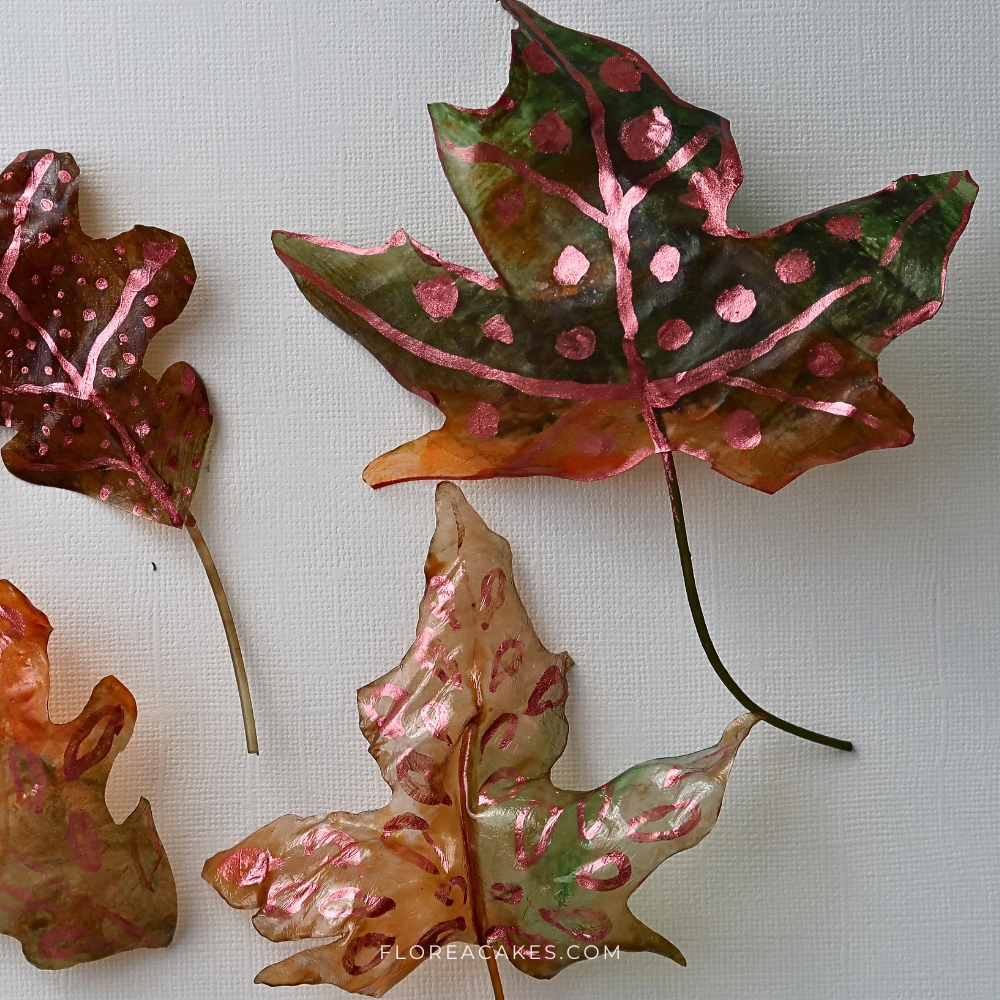
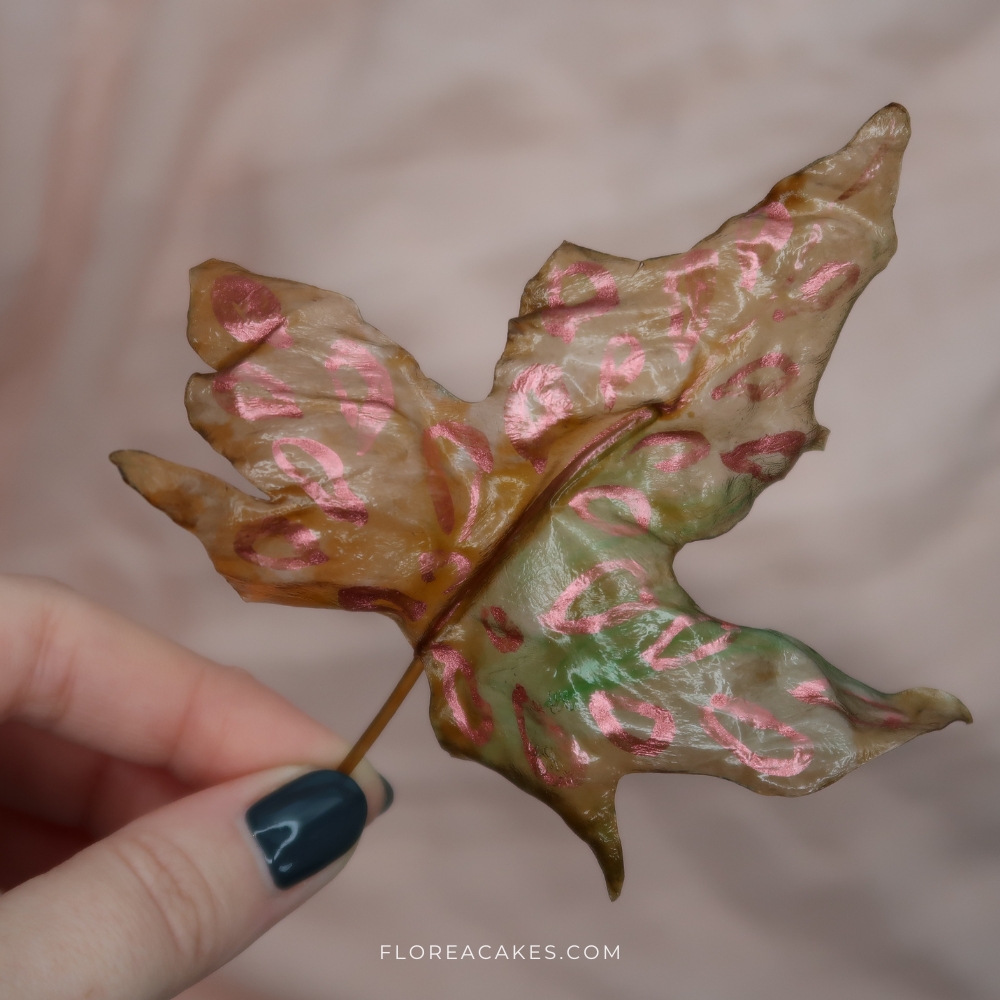
Mix Saracino Ruby Pearl Powder with a few drops of edible alcohol to create a thick, paintable consistency. Use a fine brush to add veins or abstract accents to the leaves. For added dimension, paint the stems with a darker shade of brown or the pearl mixture.
Step 6: Drying the Leaves
Place the painted leaves on parchment paper to dry. If needed, bake them in the oven at the lowest setting for 10-15 minutes.
Ensure the leaves are completely dry before removing them from the parchment. If any areas remain sticky, let them air dry for another hour.
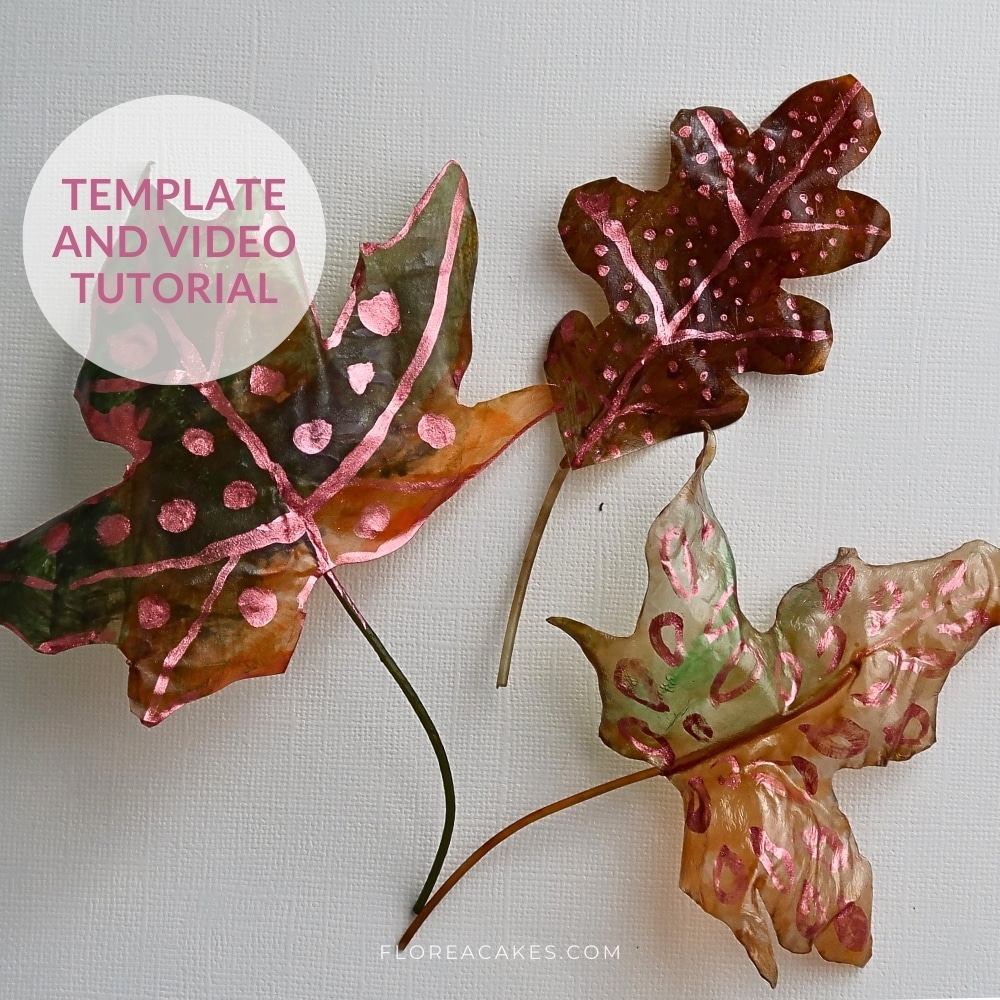
You are ready to create!
Now you know how to create stunning rice paper autumn leaves that will bring your cake designs to a whole new level! Which color combination or design is your favorite? Let me know in the comments below, and don’t forget to tag me on social media @FloreaCakes when you share your creations.

