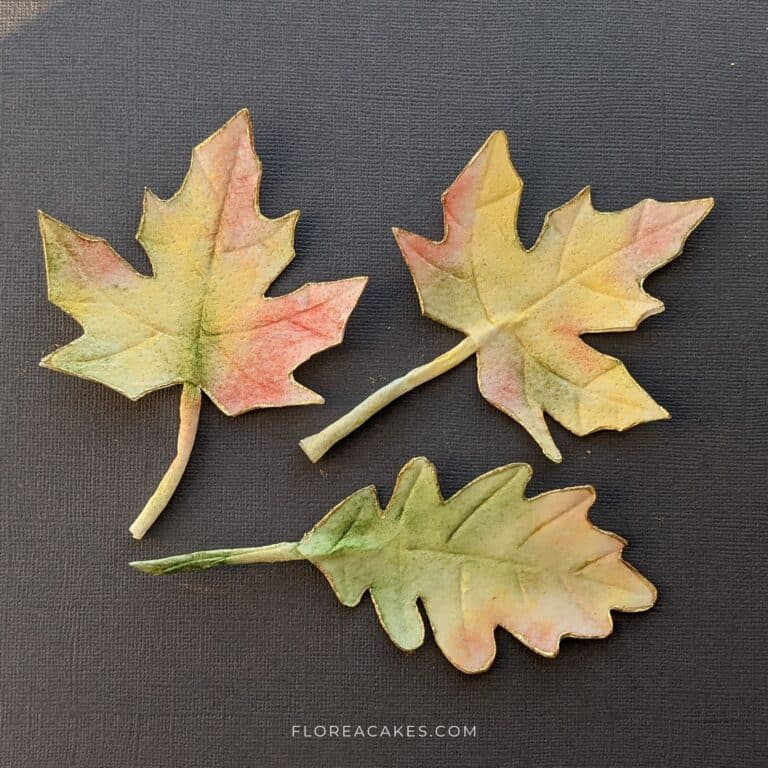
Welcome to another exciting wafer paper tutorial! In this one, I’ll guide you through creating stunning, realistic, and fully edible autumn leaves.
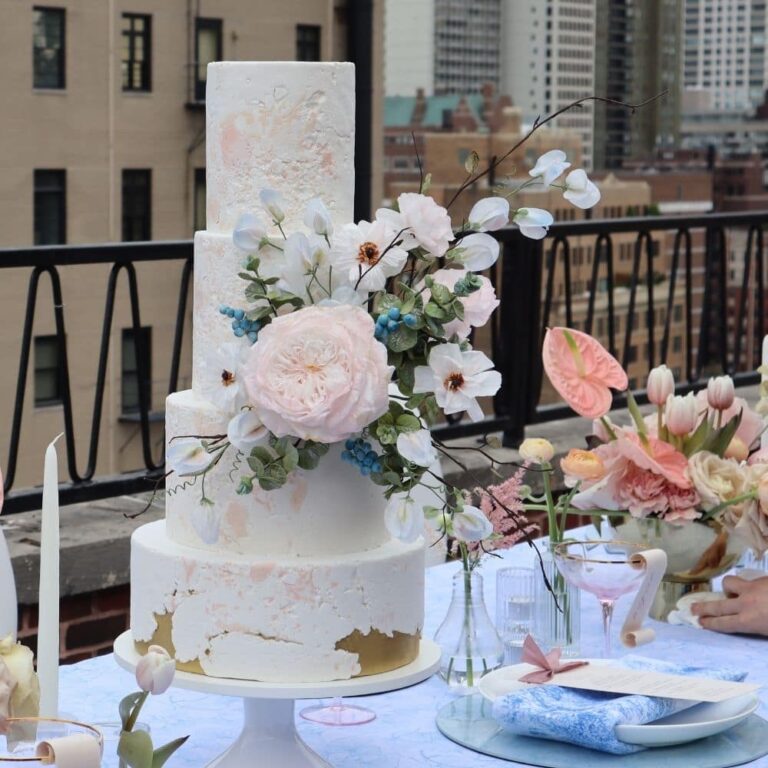
These wafer paper leaves are perfect for adding a seasonal touch to your fall-themed cakes and desserts, bringing warmth and vibrant colors to your edible creations.
Whether you’re preparing for Thanksgiving or just love the beauty of autumn, this step-by-step guide will help you craft beautiful, lifelike leaves that will impress and inspire.
Let’s get started! You can check out the step-by-step instructions or watch my video tutorial below.
To make these wafer paper leaves, download free template, prepare AC Tonic, and enjoy the process.
Materials and Tools You’ll Need
Materials
- Wafer Paper (I use 0.27mm)
- AC Tonic Recipe (included with the template or download here)
- The Sugar Art petal dust: Daffodil, Poppy, Fern, Foliage green
Tools
How to create edible autumn leaves: step-by-step
Step 1: Cut Your Leaves
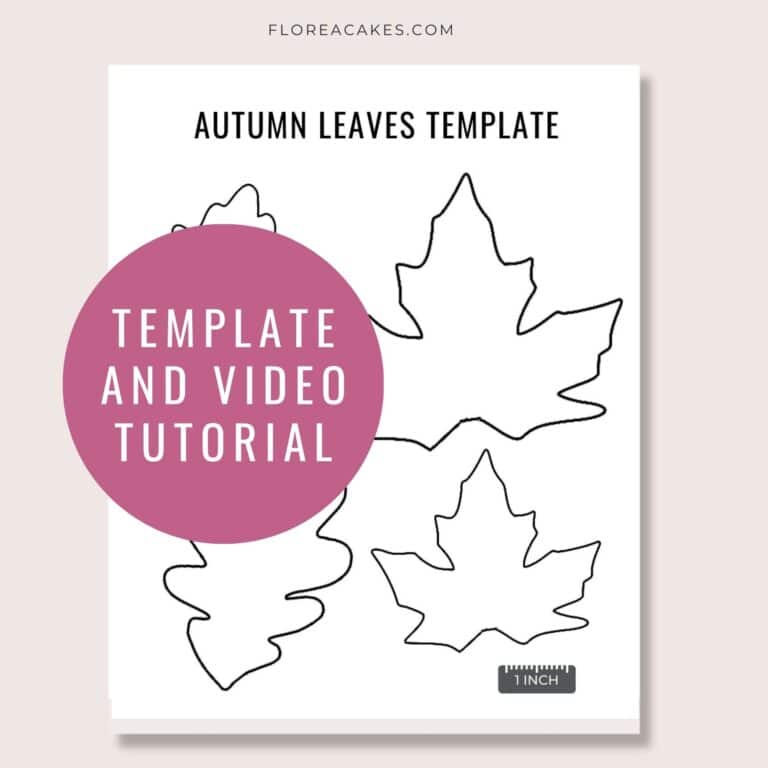
First, download the free Autumn Leaves template from my website. Use the template to cut out the leaf shapes from your wafer paper. Fold the wafer paper sheet in half, making sure the bumpy side is on the outside and the smooth side remains on the inside. This texture from the bumpy side will give your leaves a more realistic look.
Step 2: Create the stem
For the stem, cut a small strip of scrap wafer paper twice the thickness you want your stem to be.
Using a brush, apply AC tonic solution to condition the bumpy side of the stem piece.
Next, shape the stem into a tube, using a thin brush for assistance if needed. Don’t worry about making it perfectly cylindrical—a little twist or pinch will add a more natural, realistic look to the stem.
Pinch one end of the stem, which will go between the two layers of the leaf. Set the stem aside while you prepare the leaf.
Step 3: Create the leaf
Now, take two cutouts of wafer paper for the leaf. Condition the shiny side of one of the pieces with AC tonic solution.
Place the stem you created at the bottom of the conditioned leaf. Then, take the second wafer paper leaf and place it on top, sandwiching the stem in between. Don’t worry if the edges don’t line up perfectly—you can trim the excess later.
Step 4: Shape the leaf
To give your leaf a realistic texture, use a Dresden tool to gently press veins into the leaf. Start by creating the main vein from top to bottom, then add smaller veins branching out from the sides. Feel free to reference real autumn leaves for inspiration.
Once you’ve added the veins, lightly fold the leaf along the lines you created to give it a natural shape. Place the leaf on a bumpy foam surface to dry completely. Once dry, trim any excess wafer paper and adjust the length of the stem if needed.
Step 5: Color your leaves
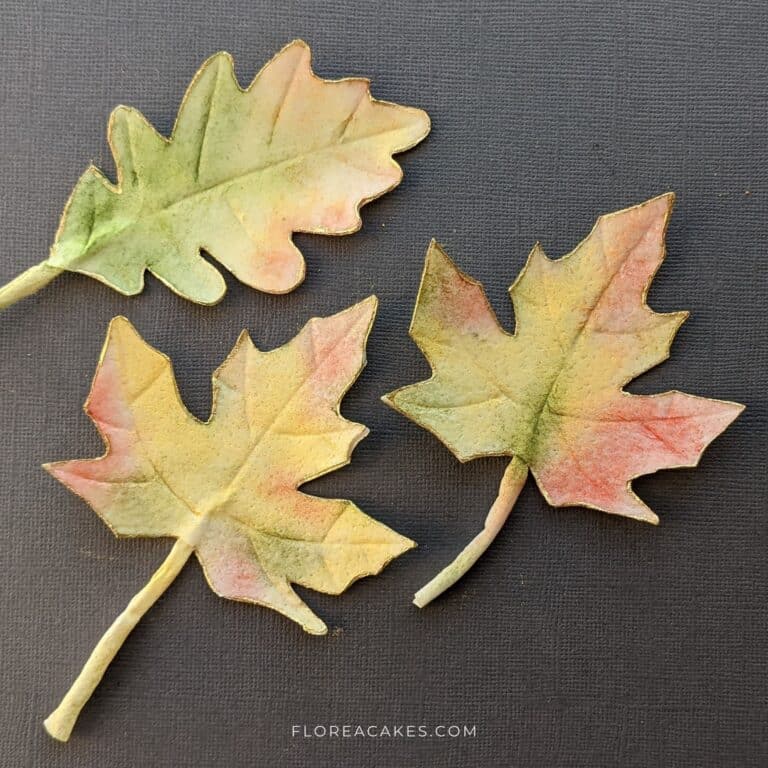
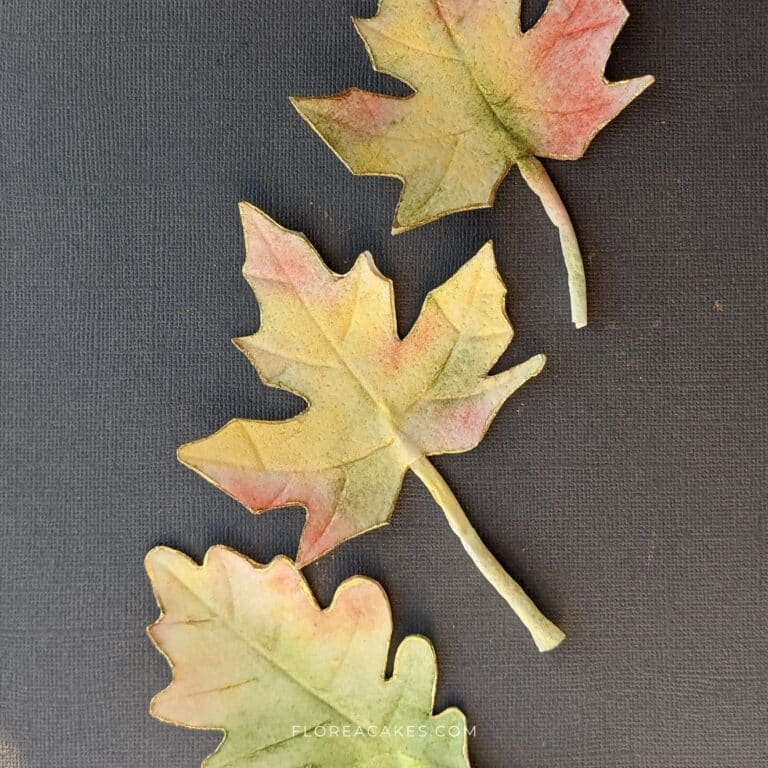
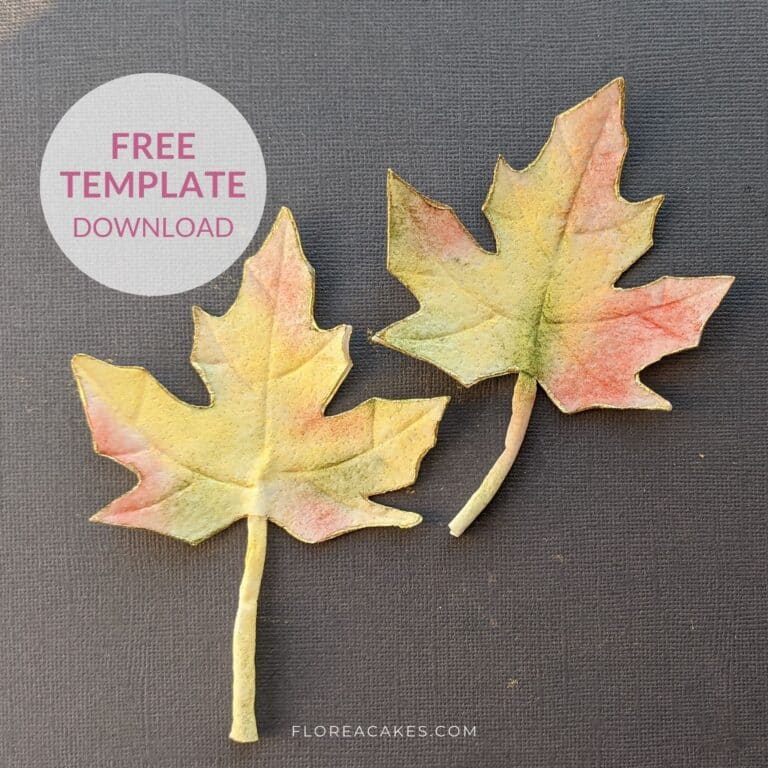
Begin by applying your lightest color dust using a circular motion with a soft brush. Gradually layer darker shades to replicate the rich, warm tones of real autumn leaves. You can use reference images of fall foliage for inspiration.
For a more vibrant look, lightly steam the leaf after applying the first layer of color, then add a second layer of dust color. You can build up as many layers as you like or opt for using gel colors for a different effect.
Time to Give These Autumn Leaves a Try!
I hope you enjoyed this edible Autumn Leaves tutorial and that these vibrant leaves bring the perfect seasonal touch to your next cake or dessert.
Make sure to Download the Free Autumn Leaves Template to get started, and don’t forget to share your creations on social media! Tag me @FloreaCakes so I can feature your amazing work.
