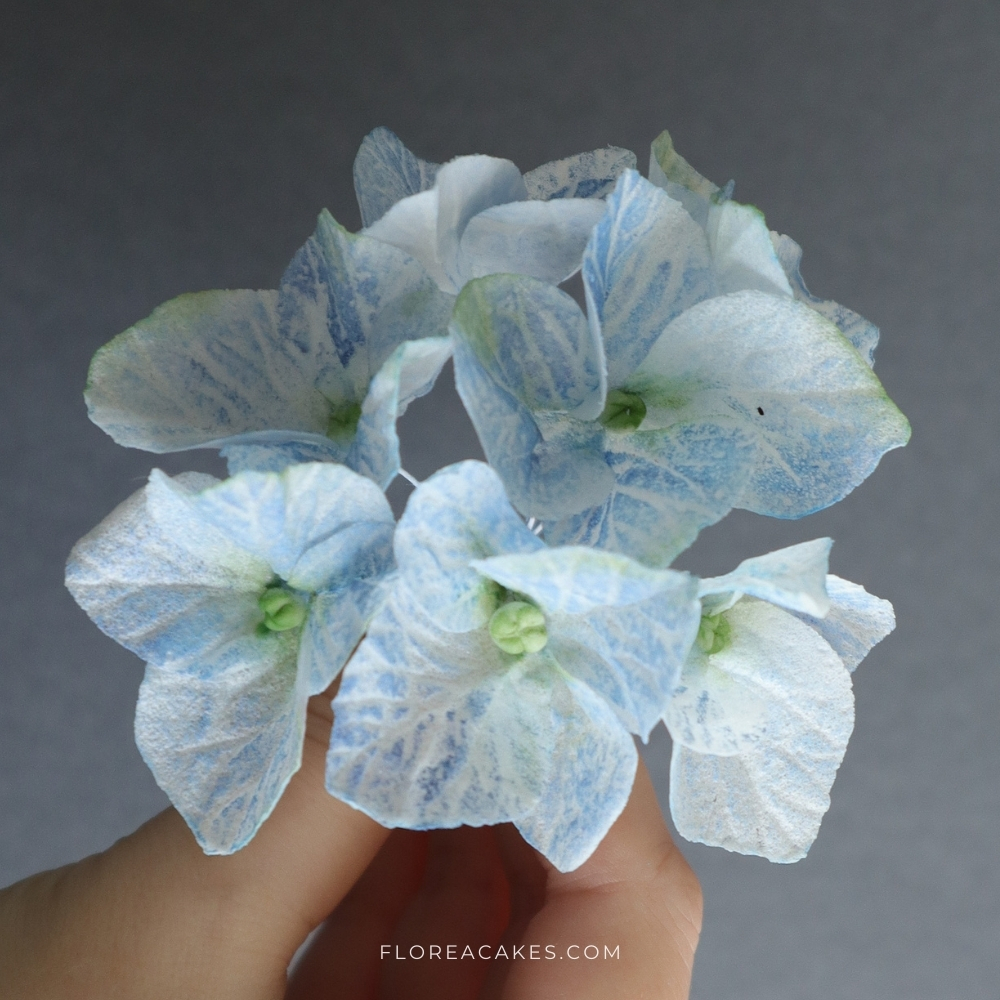
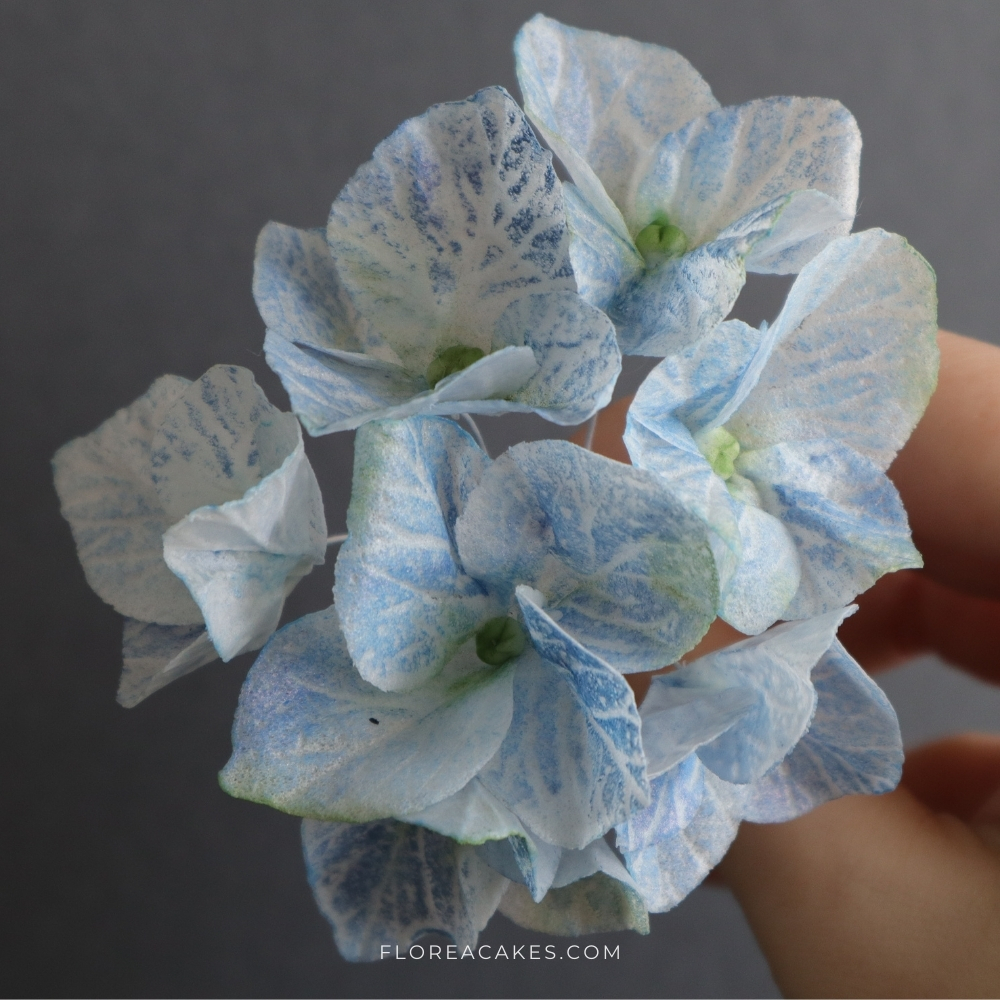
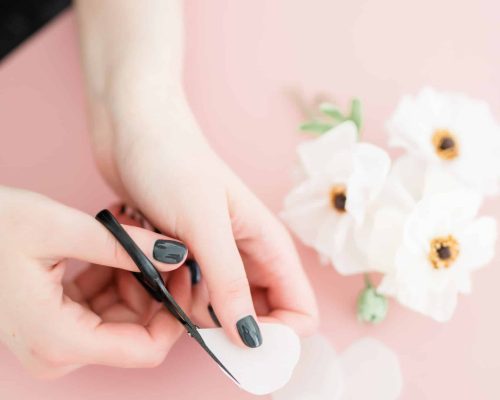
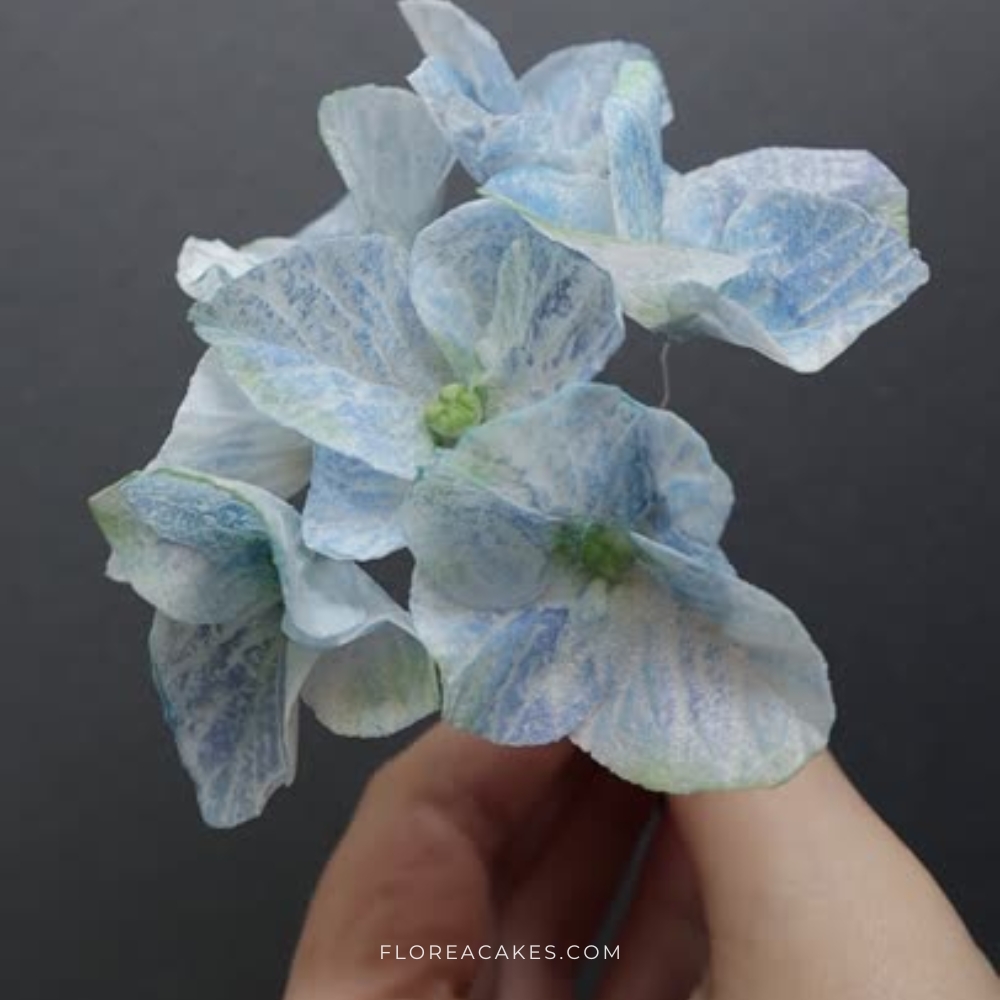
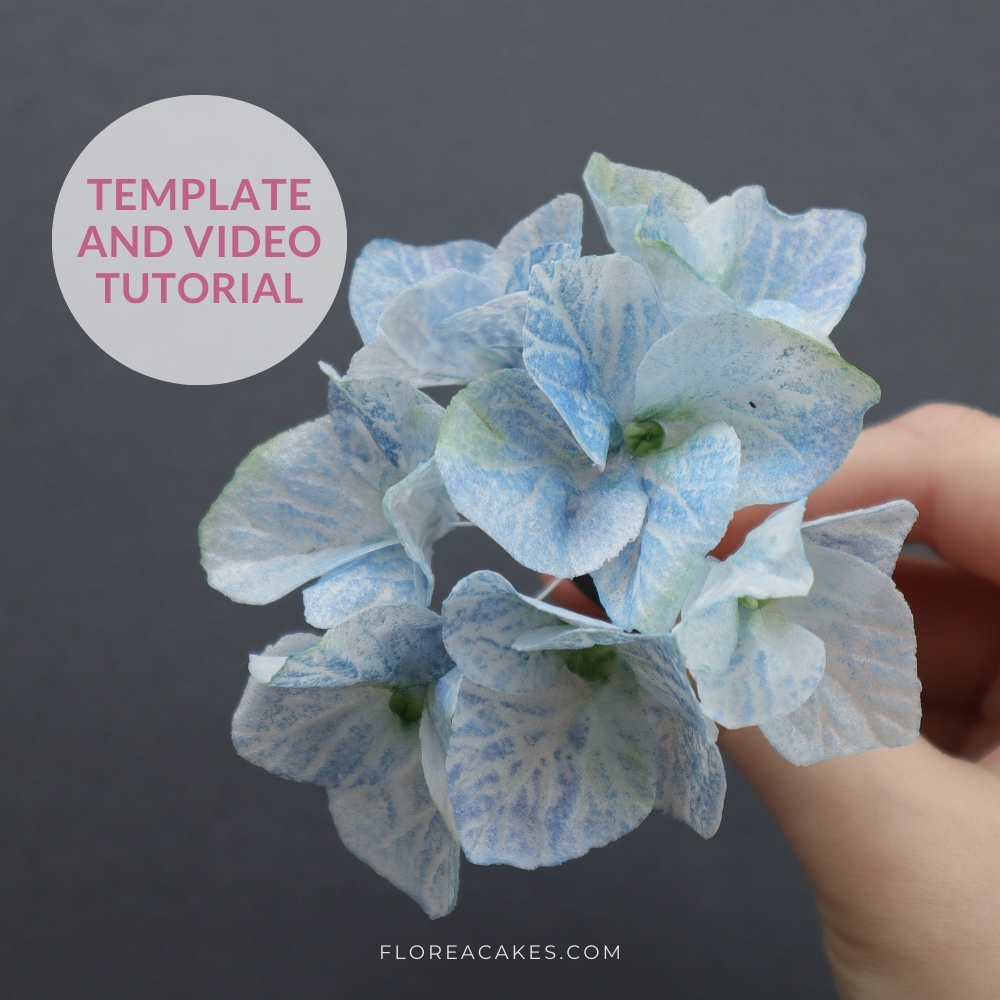
Learn how to make delicate and realistic wafer paper blue hydrangeas! They are one of my favorite flowers to add to wedding cake arrangements. Their versatility and the beautiful blues and purples of their blooms make them a stunning choice for many designs.
In this tutorial, you’ll discover how to give hydrangea petals their signature soft texture and vibrant color. Whether you’re looking for an accent flower or a main star for your arrangement, these hydrangeas will be a beautiful addition to your cake creations.
Read the step-by-step instructions or watch the video below to get started!
Download Wafer Paper Hydrangea Template
Get instant access to this and 37 more wafer paper flower tutorials and templates in my All-In-One Wafer Paper guide + 3 bonuses!
Materials and Tools You’ll Need
Materials
- Wafer Paper (I use 0.27mm)
- Wilton Delphinium Blue Gel Color
- Forget-me-not Dust by Crystal Colors
- Iris Pearl Dust by The Sugar Art
- White 26-Gauge Wires
- White Floral Tape
- Cornstarch
- Platinum Gum Paste
- AC Tonic, wafer paper conditioner (get the free recipe here)
- My Wafer Paper Blue Hydrangeas Template
Tools
- Dresden Tool
- Foam Floral Pad
- Small and Medium Veiners (e.g., CK Brand or Hydrangea Veiner)
- Sharp Scissors
- Mini Spray Bottles
- Brush for Petal Dusting
How to Create Wafer Paper Blue Hydrangeas: Step-by-Step
Step 1: Prepare the Centers
Use any gum paste to create small centers for your hydrangeas.
Cut a 26-gauge wire into sections and form small closed hooks at the end. Attach a piece of gum paste to the hooked wire, shaping it into a small center.
Use the sharp end of your Dresden tool to press a cross-section pattern into the gum paste.
Allow the centers to dry for at least 15 minutes.
Step 2: Cut the Petals
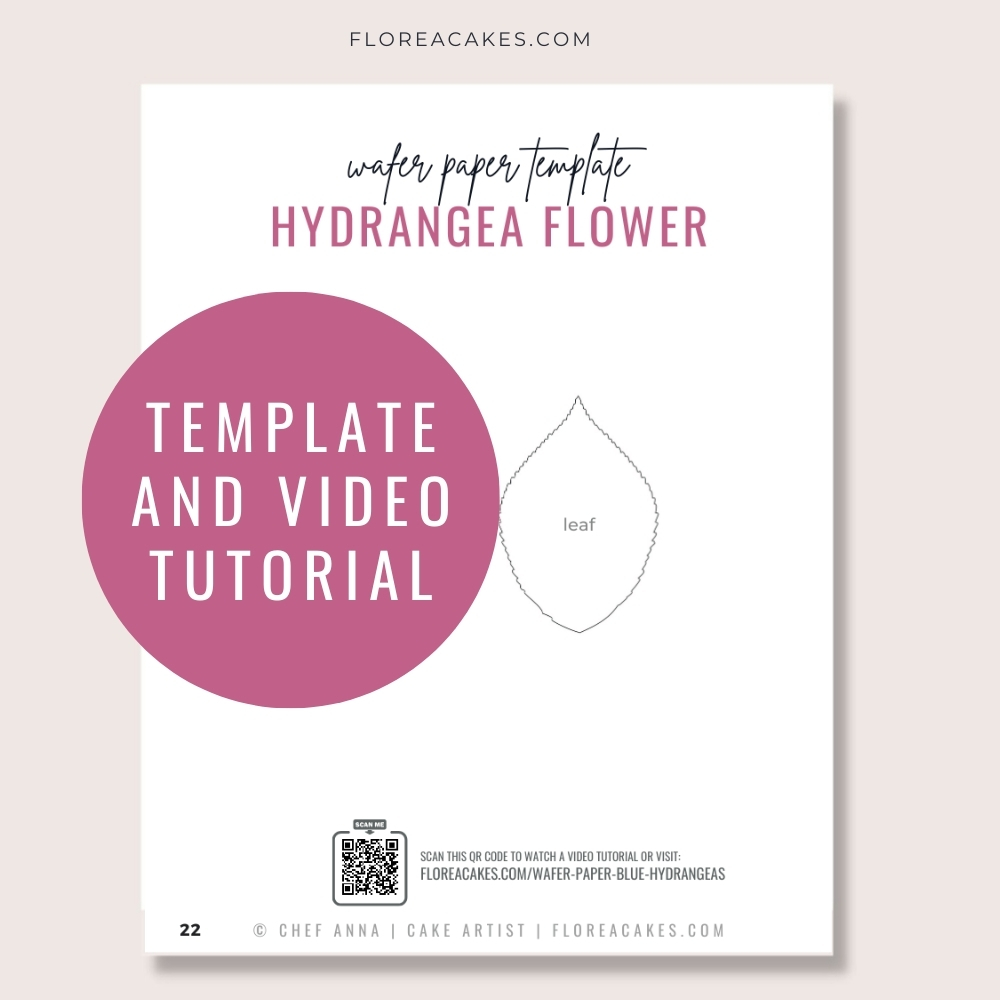
Download and print the hydrangea template. If you don’t have my Templates Guide you can try sketching out the shapes on a piece of paper and using that instead.
Use the wafer paper to cut out two large and two small petals for each flower. For efficiency, fold the wafer paper into three layers and cut multiple petals at once.
Step 3: Condition and Vein the Petals
Mix a small amount of Wilton Delphinium Blue gel color into your AC Tonic (glycerin-based conditioner).
Apply the conditioner to one side of each petal using a brush, ensuring it’s fully absorbed. Place the conditioned petal into a veiner, press firmly, and shape it slightly to add interest.
Allow the petals to dry completely.
Step 4: Dust and Assemble the Flowers
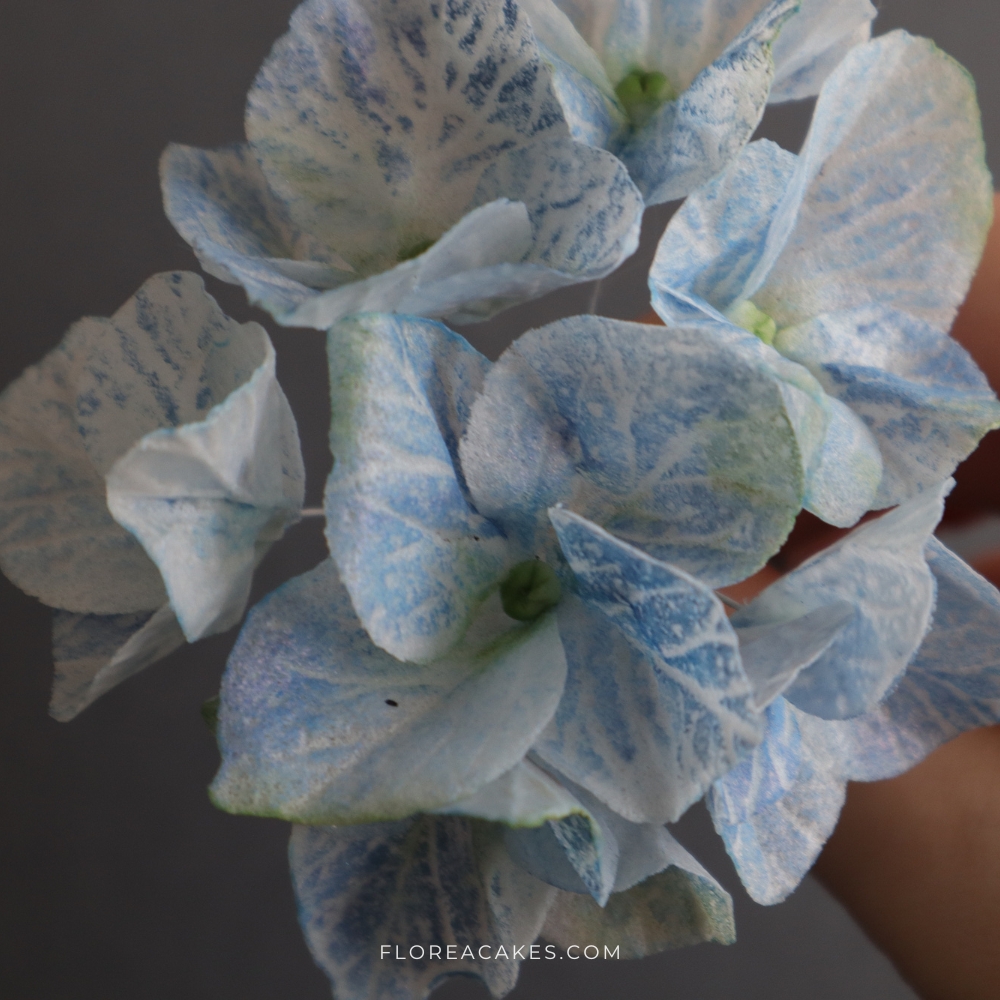
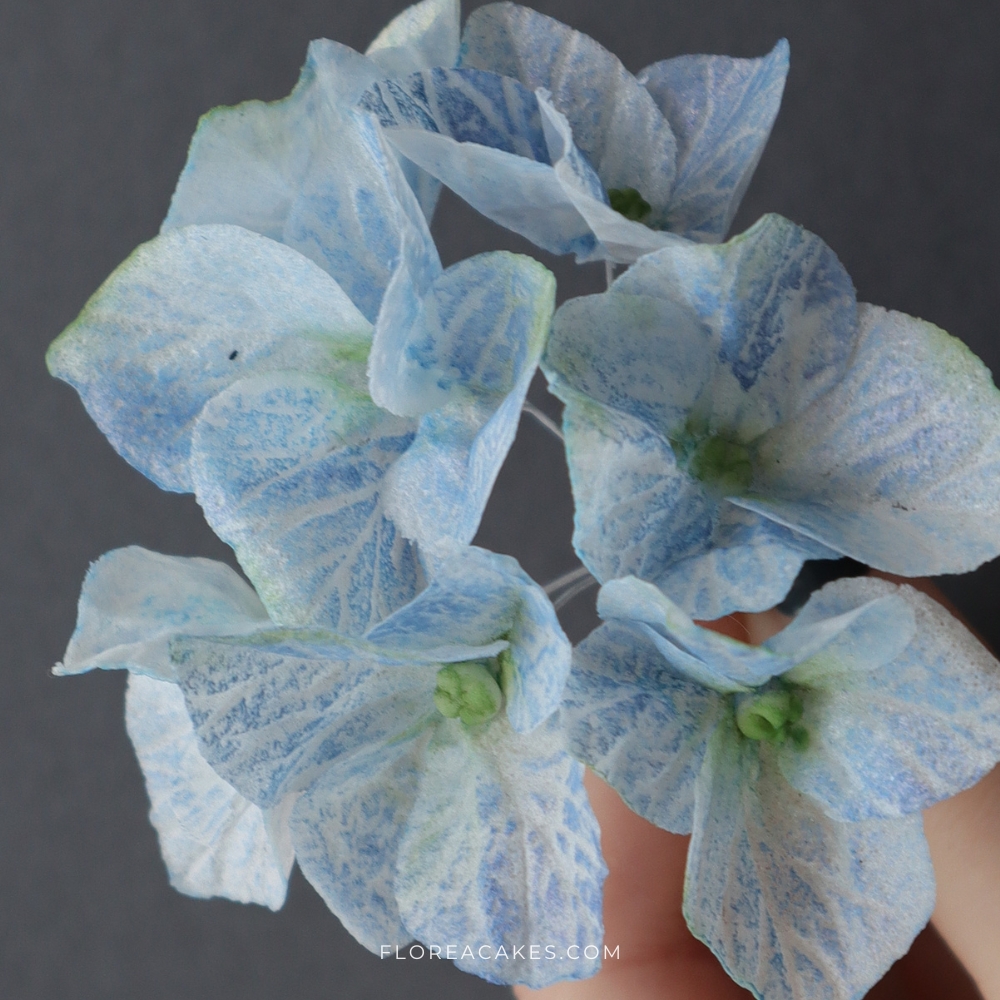
Mix Forget-me-not and Iris Pearl dusts to create a soft, pearlescent finish. Gently rub the dust mixture onto the raised textures of the petals for a natural look.
To assemble:
- Attach the large petals to the gum paste center using wafer paper glue or a small amount of water.
- Overlap the edges of the petals for a realistic arrangement.
- Add the smaller petals, pinching them slightly for more dimension.
Step 5: Final Touches
Dust the centers with a mix of foliage green and champagne petal dust to achieve soft, natural tones.
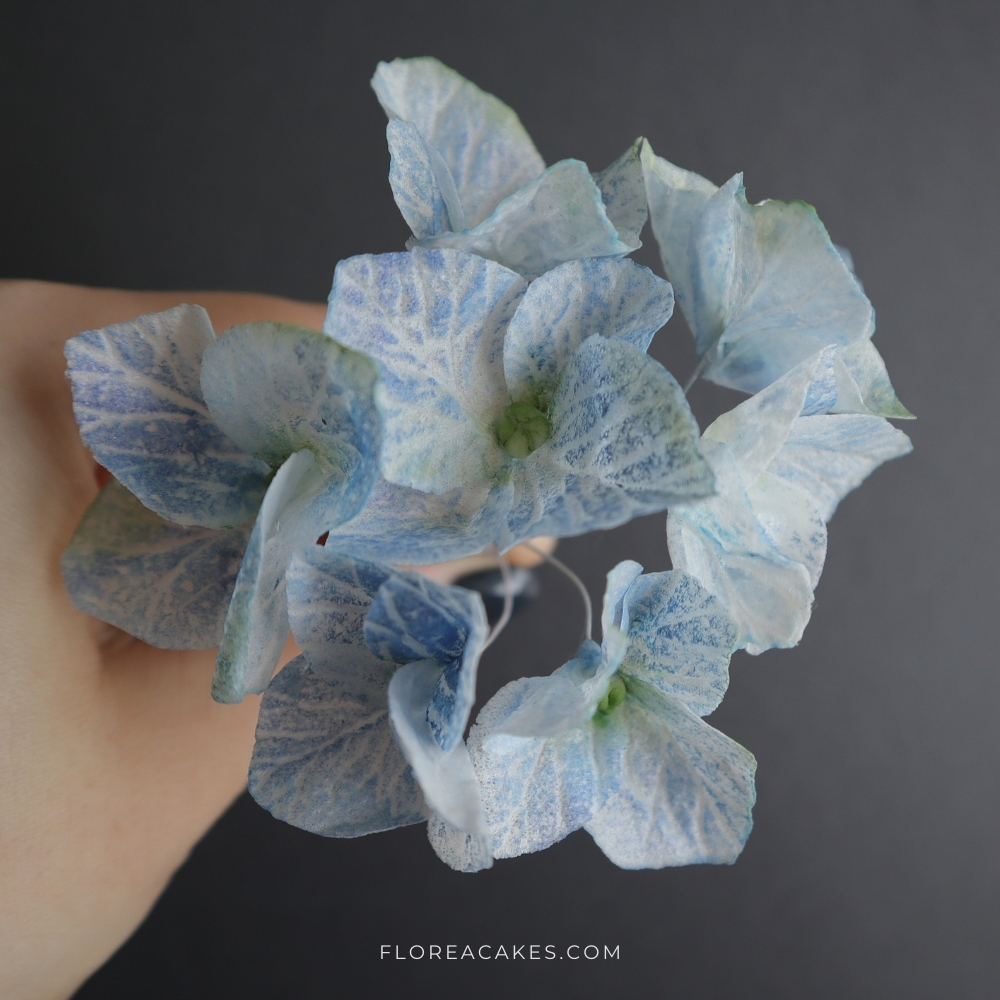
Wrap the wired flowers with white floral tape, grouping them into small bunches or using them individually as accents.
Ready to create?
Wafer paper hydrangeas are a stunning addition to any cake design, bringing a touch of elegance and charm with their blue hues and textures. Whether you use them as statement flowers or subtle accents, they are perfect for multiple occasions.
Now that you’ve mastered the technique, it’s time to let your creativity bloom! Try experimenting with different colors, and arrangements, or even mixing these hydrangeas with other wafer paper flowers for unique combinations.
Don’t forget to share what you create with me on social media @FloreaCakes so I can feature your work!
