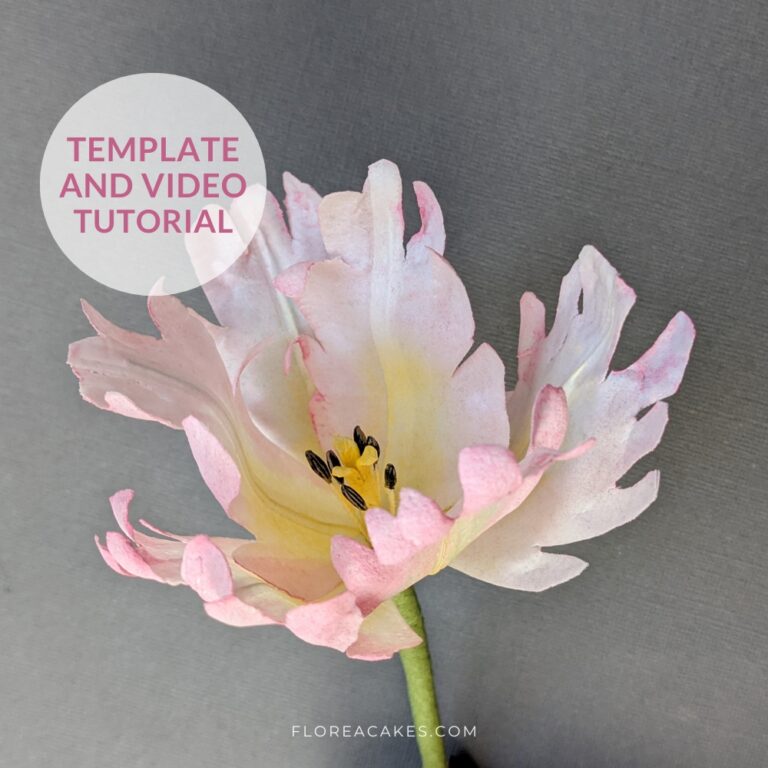
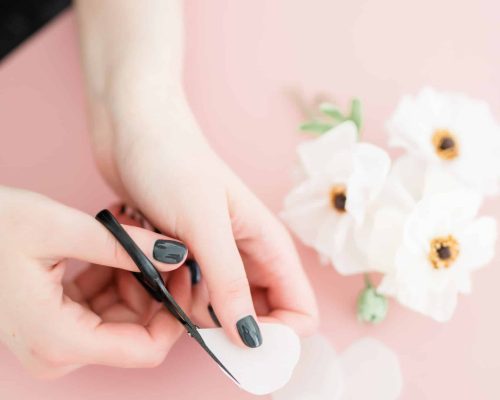
In this tutorial, you will learn how to craft elegant Calla Lily flowers entirely from wafer paper. These flowers are perfect for modern cake designs and are beginner-friendly! No special tools are needed!
You’ll discover how to condition and shape wafer paper, create a realistic flower center, and assemble a beautiful Calla Lily. Plus, I’ll share my secret trick to make your flower stems look fuller without adding multiple layers of floral tape.
Let’s get started! Watch the video below, or scroll for the step-by-step instructions.
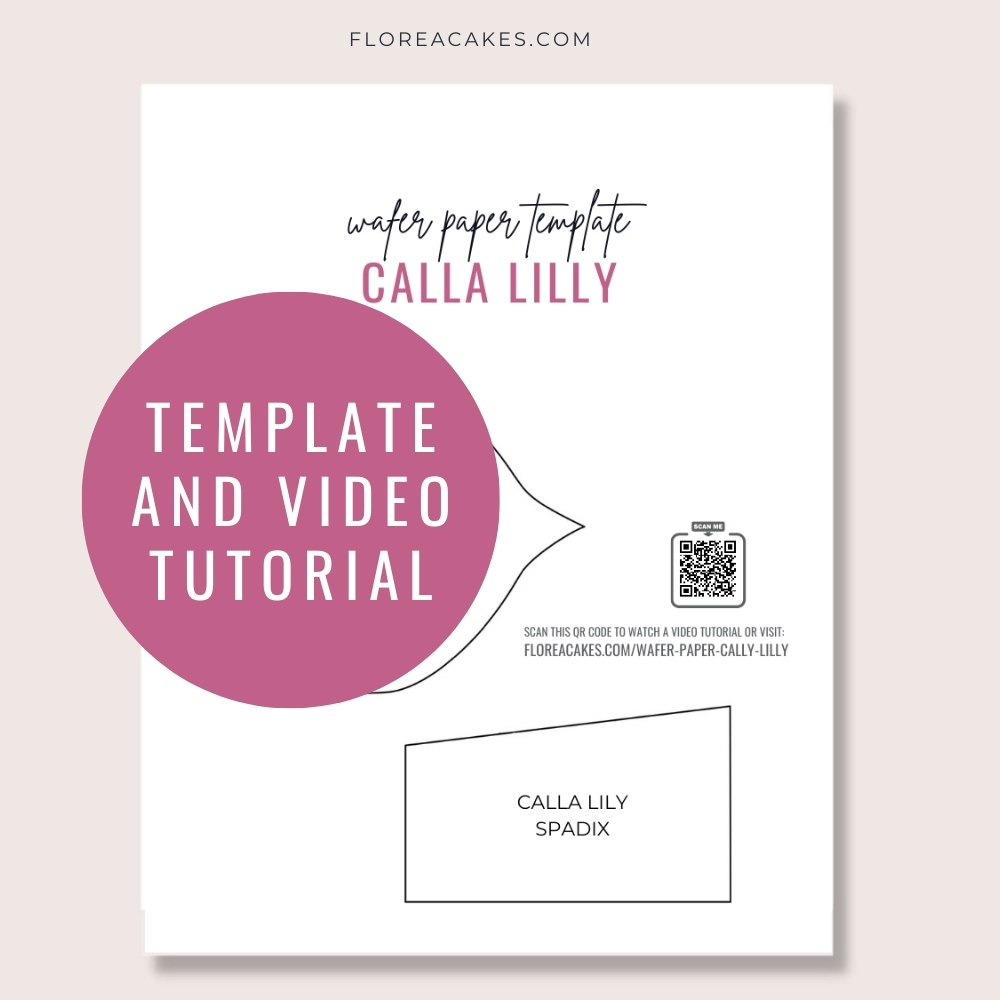
Download Wafer Paper Calla Lilly Template
Get instant access to this and 37 more wafer paper flower tutorials and templates in my All-In-One Wafer Paper guide + 3 bonuses!
Materials and Tools You’ll Need
Materials
Tools
- Flat synthetic watercolor brush
- Foam floral pad
- Ball tool
- Dresden tool
- Sharp scissors
- Cecylia Rose and Foliage Green petal dusts
- Cornstarch
How to Create a Wafer Paper Calla Lily Step-by-step
Step 1: Prepare the Wafer Paper
Fold a piece of wafer paper in half to create double thickness for the flower.
Apply AC Tonic evenly between the layers to condition and bond them together.
If desired, tint the conditioner with a small amount of airbrush color to customize the Calla Lily’s color.
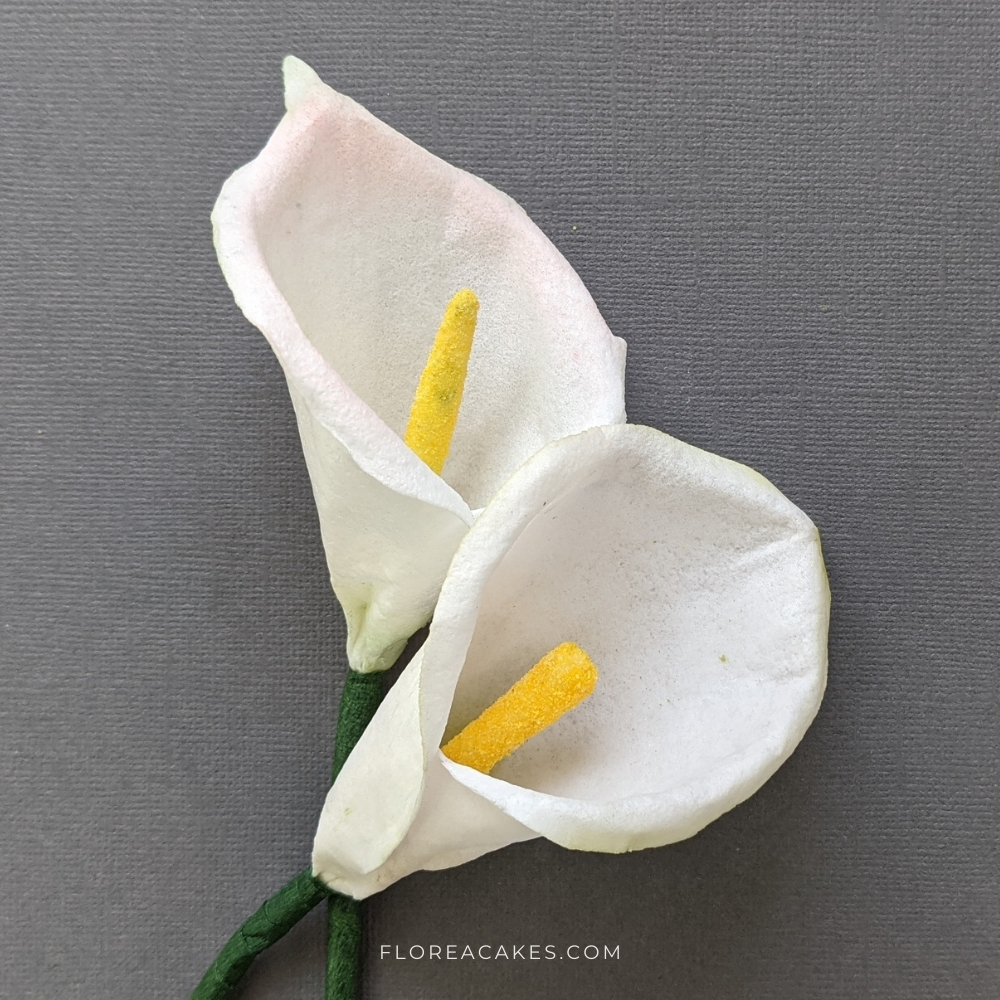
Step 2: Cut the Flower Template
Once the wafer paper is conditioned, use my template to cut out the Calla Lily shape. If you don’t have the ebook you can try to sketch out the flower shapes on a piece of paper and use that instead.
Lightly brush the edges with cornstarch to prevent sticking.
Step 3: Shape the Flower
Use a ball tool on a foam floral pad to gently curl and shape the flower’s edges. For added dimension, use a Dresden tool to curl outward edges further.
Form a cone shape by overlapping one side of the flower onto the other and press gently to secure. Set the flower aside to dry, using a small bottle to hold its shape.
Step 4: Make the Center
Cut the center piece from the template. Apply AC Tonic to a single layer of wafer paper to condition it.
Place a 20-gauge floral wire at the longer end of the piece, then roll and twist the wafer paper around the wire to form the center. Apply a thin layer of confectioner’s glaze to the center and dip it into the pollen mixture.
Allow it to dry, then repeat for a thicker effect if desired.
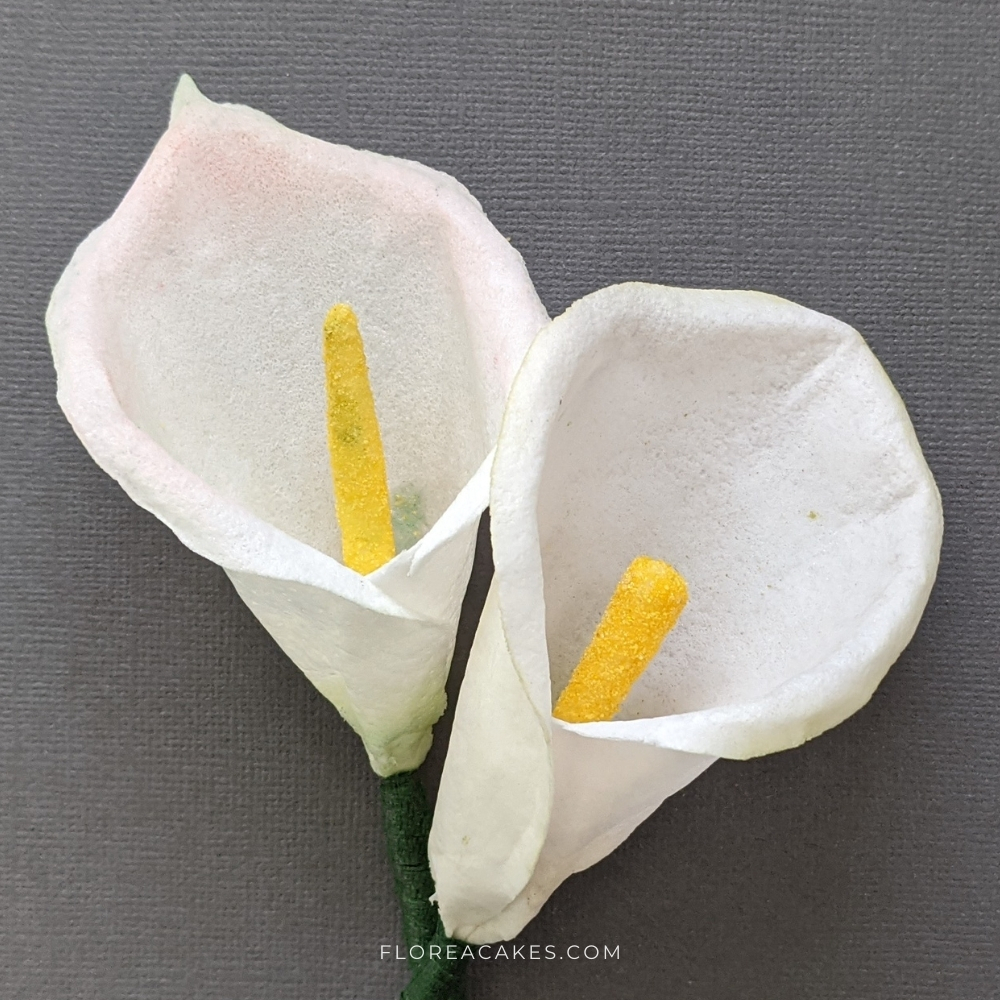
Step 5: Assemble the Flower
Soften the bottom part of the flower cone with a touch of AC Tonic. Insert the prepared center into the cone and gently pinch the flower base to secure it.
Hang the assembled flower upside-down to dry completely.
Step 6: Dust the Flower
Use Cecylia Rose petal dust to lightly shade the top of the Calla Lily for a soft, realistic look.
Mix Foliage Green dust with cornstarch to create a lighter green and dust the base and stem area.
Add a touch of green to the flower’s center for added depth.
Step 7: Create the Stem
Wrap the floral wire with light green floral tape to create the initial layer.
To make the stem thicker, wrap strips of facial tissue or kitchen paper around the wire, then cover it with another layer of floral tape. Ensure the stem is evenly covered and secure by stretching and tightly wrapping the tape.
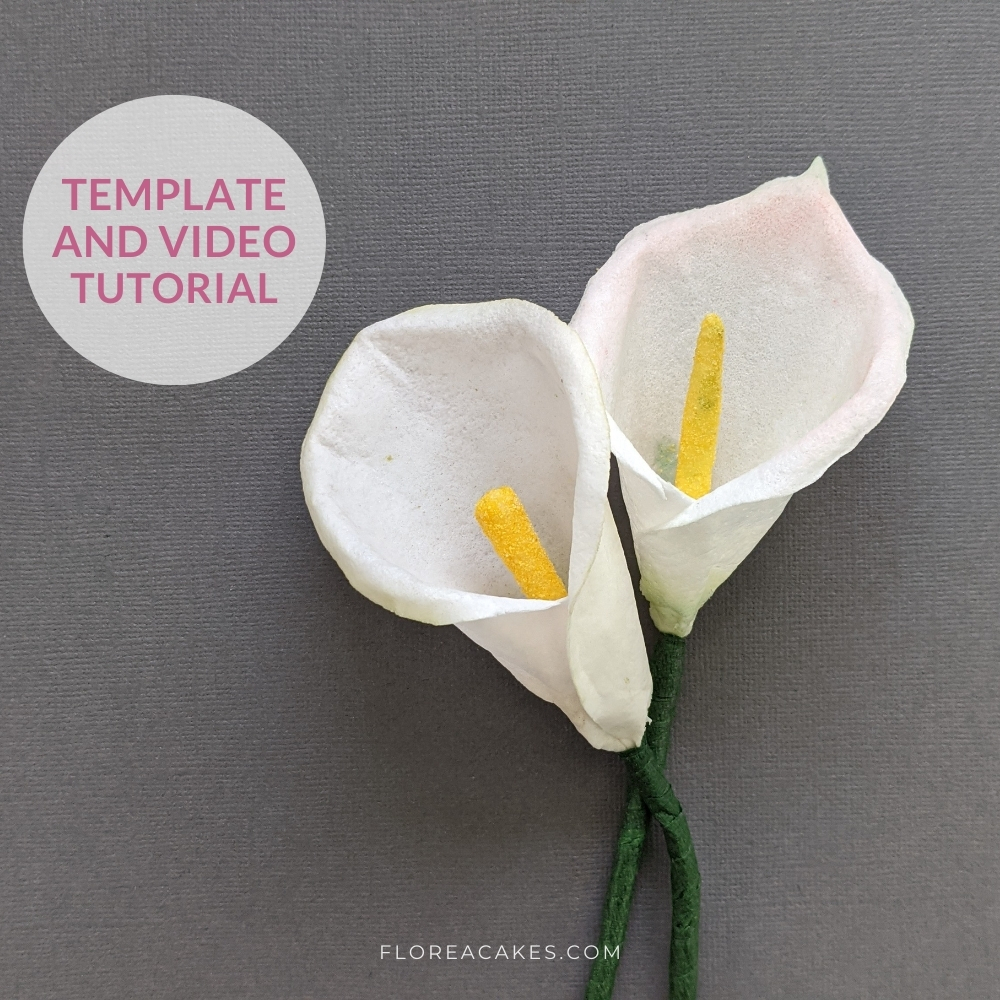
Now Make Your Version of a Calla Lilly
You’ve just learned how to make a stunning wafer paper Calla Lily flower using simple tools and materials. This elegant design is perfect for decorating cakes or creating sophisticated floral arrangements.
Ready to try it yourself? Get the Calla Lily template from my Guide and start creating today! If you enjoyed this tutorial and will put it to the test, don’t forget to share your creations with me on social media @FloreaCakes.

