In this tutorial, I’m excited to show you how to create delicate edible wafer paper feathers. These beautiful decorations are perfect for wedding cakes and birthday desserts.
Whether you want a more sophisticated look or a fun and playful design, these wafer paper feathers are incredibly versatile. With just a few simple tools and techniques, you can create stunning, edible decorations that will wow your clients and guests.
Follow the guide below or watch my YouTube video with these easy steps to cut, shape, and steam your wafer paper to create stunning edible feathers.
Materials & Tools You'll Need
-
Wafer paper (0.27 mm or premium)
- 22-gauge wire (white to match the wafer paper)
- Wafer paper glue (download free recipe)
- A steamer (or an alternative like a kettle or pot of boiling water)
- A Dresden tool (optional, but helpful)
- Scissors (these are my favorite)
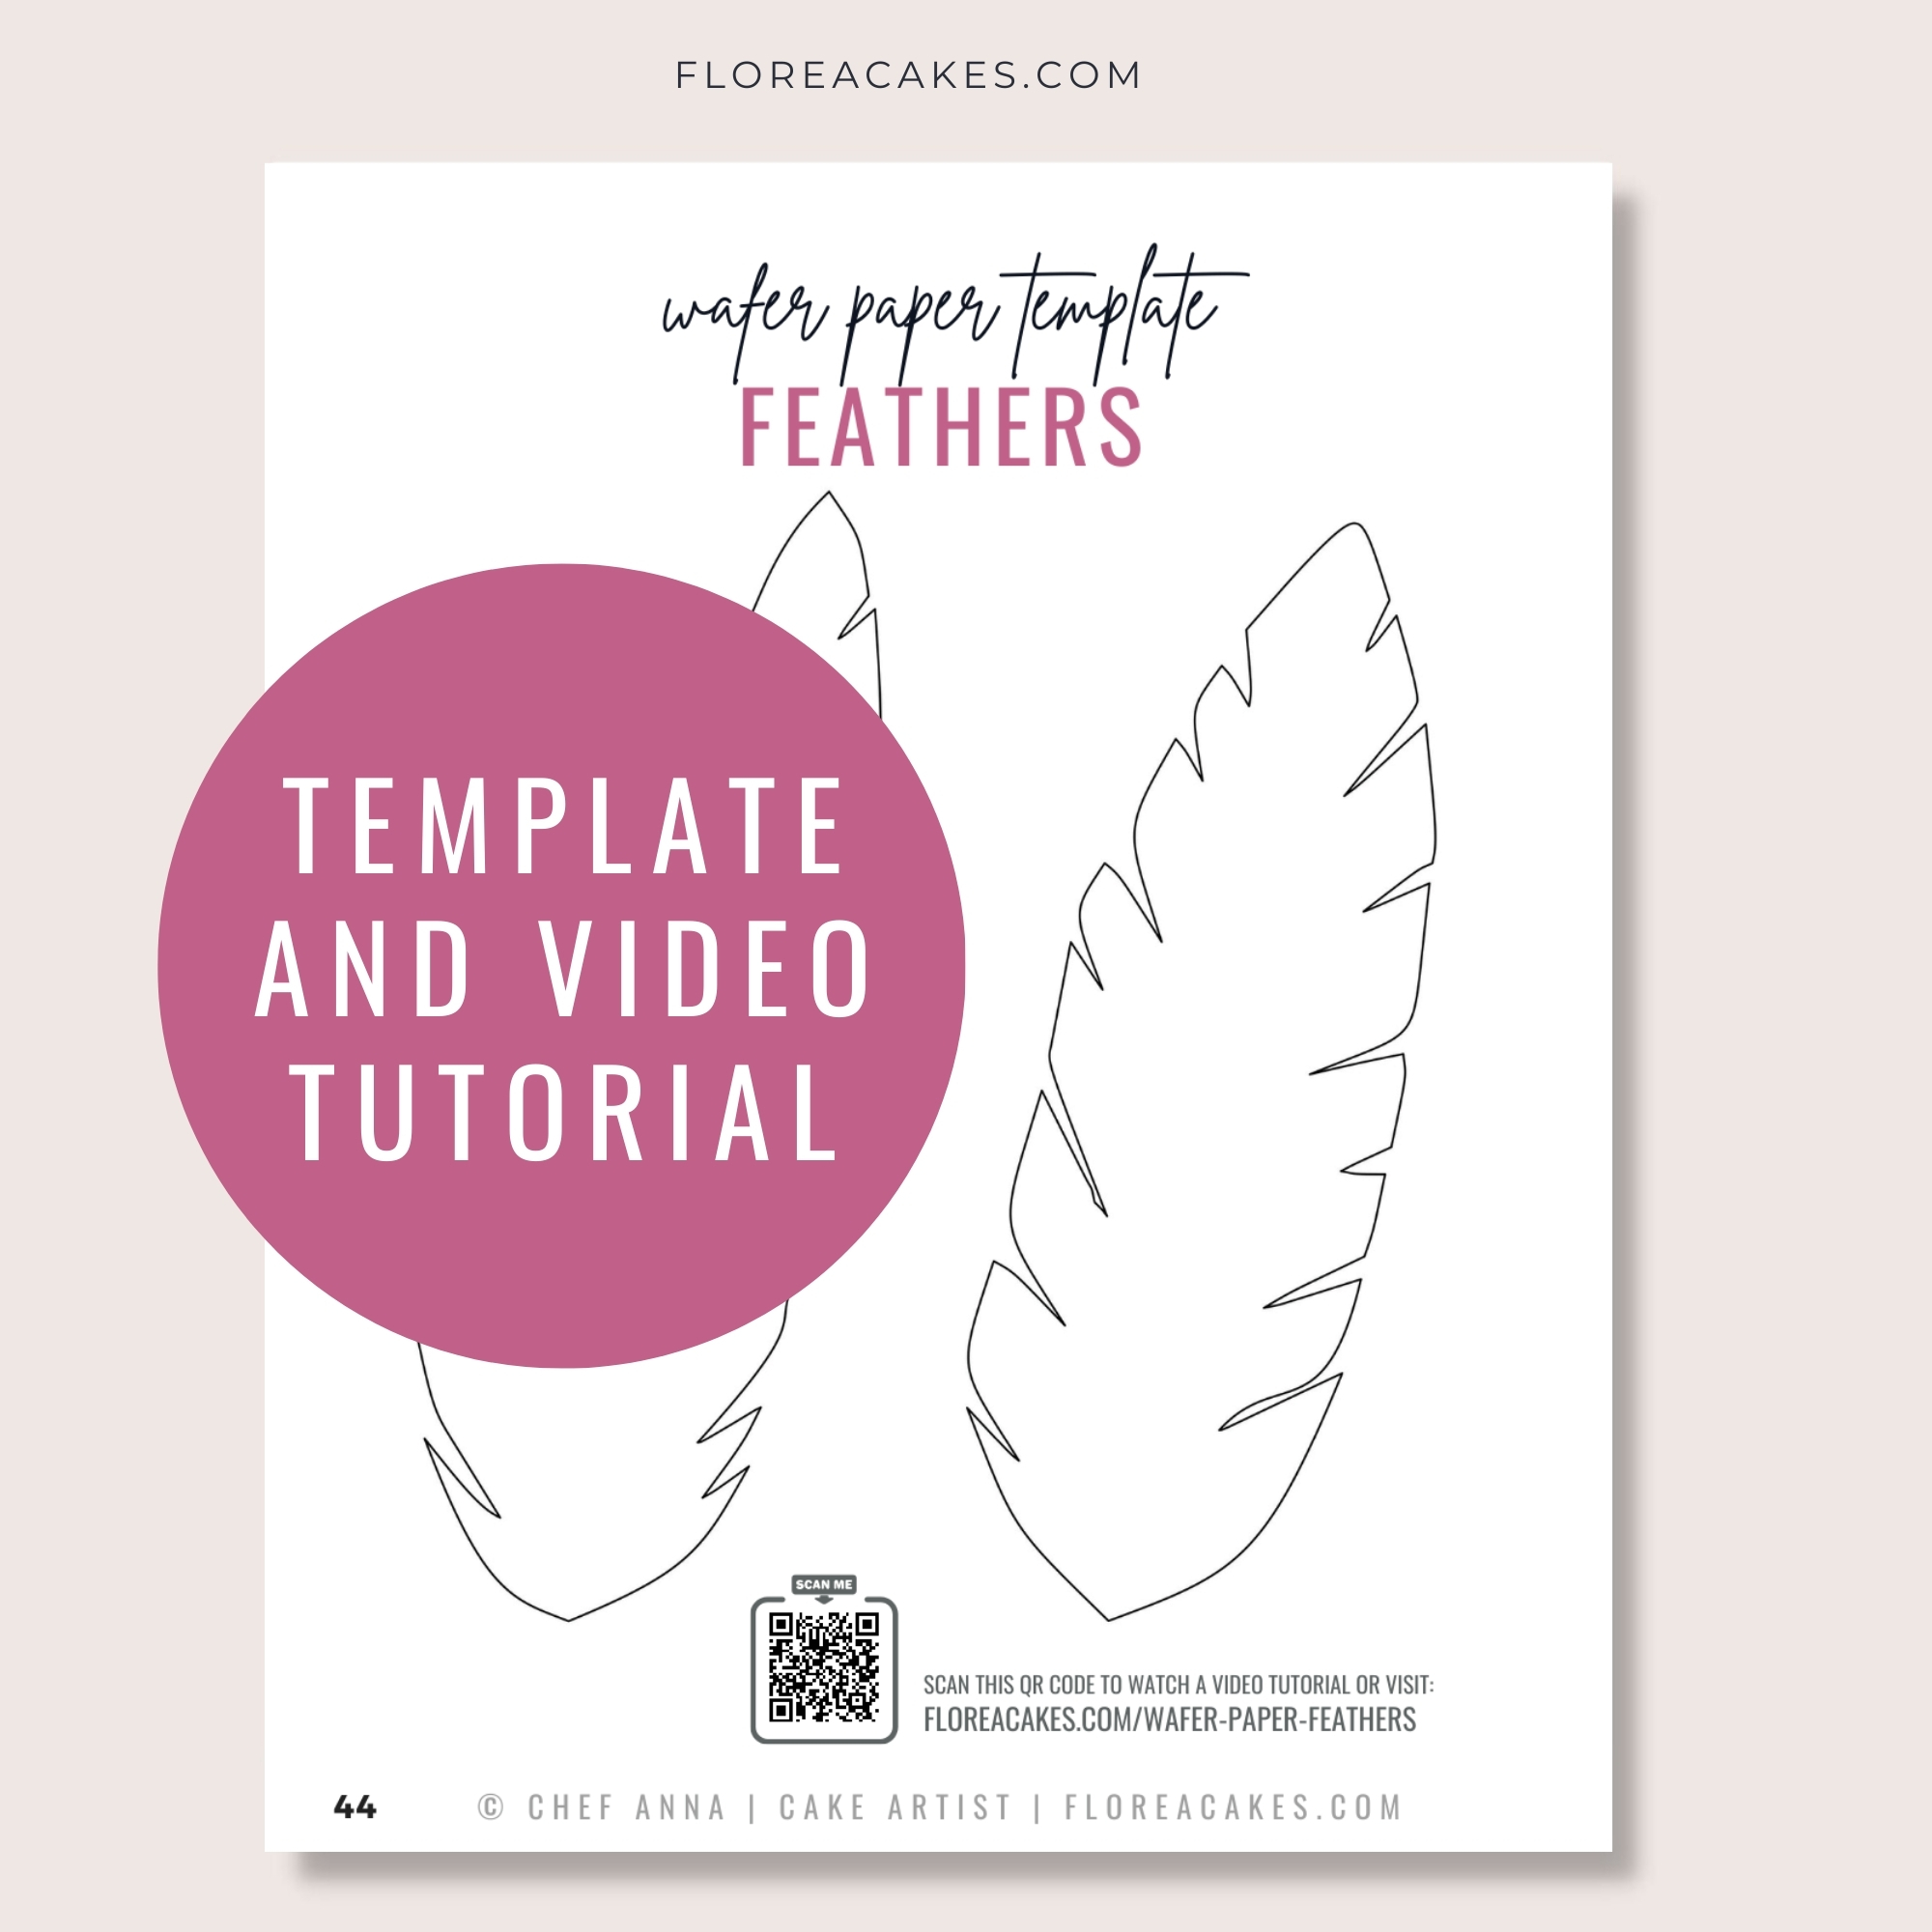
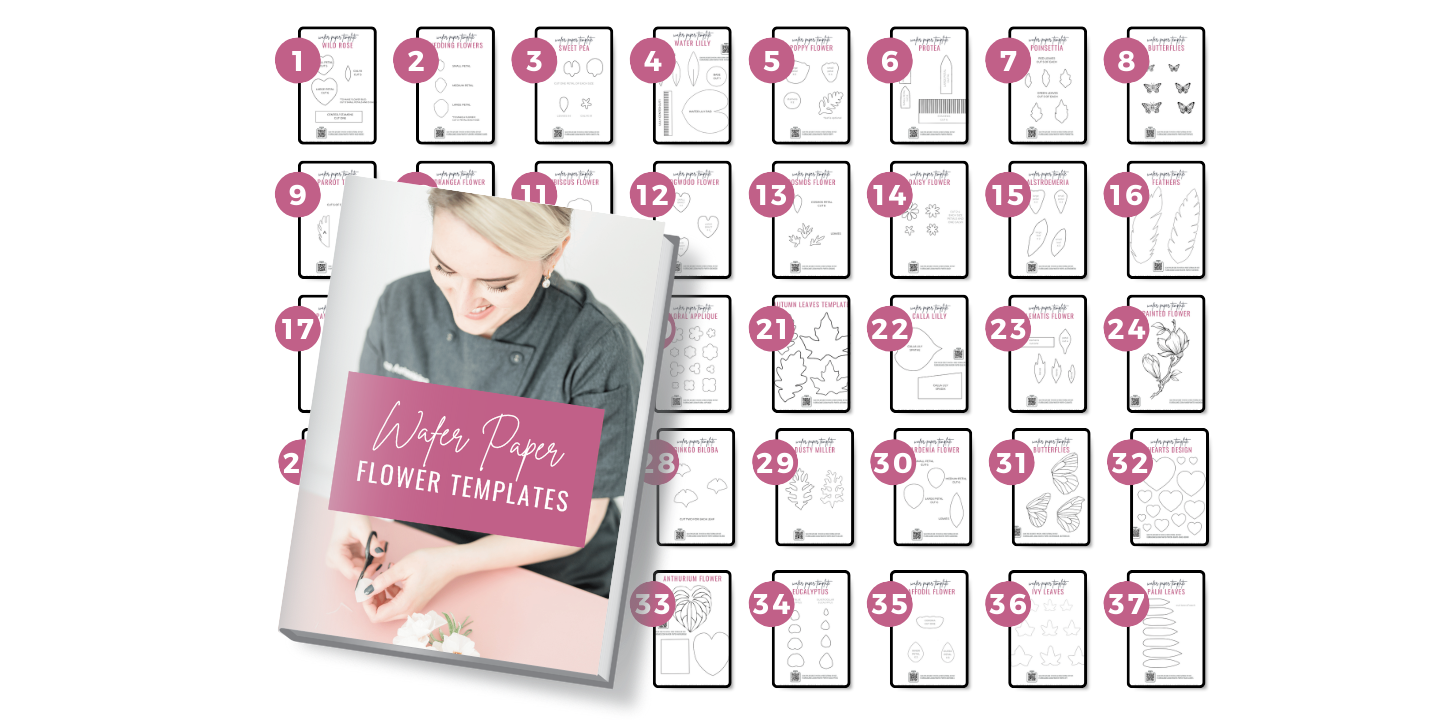
- My Wafer Paper Feather Template (download below)
Steps to Create Wafer Paper Feathers
Step 1: Preparing the Wafer Paper
Wafer paper has two sides: a bumpy side and a smooth side. For this project:
- The bumpy side curls more, which can create a narrower feather.
- The smooth side is less likely to curl.
To start, you’ll want to cut three layers of wafer paper. Stack the paper and draw the shape of your feather on it. When cutting, make sure to alternate smooth and bumpy side to ensure your feathers look interesting from all angles.
Step 2: Cutting and Shaping the Feathers
Place all 3 layers together.
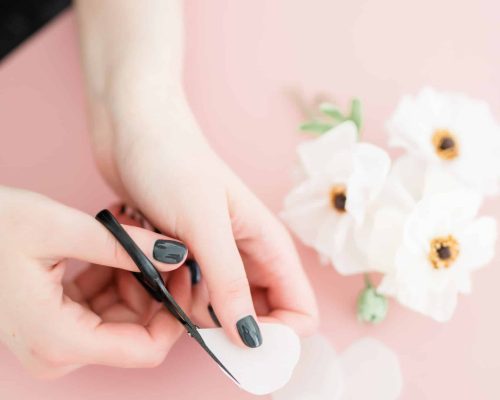
Use a template to cut your feathers to the desired shape.
Cut a piece of 22-gauge wire and shape it to fit the feather. The wire should run through the middle of the feather.
Brush the wire with wafer paper glue and press it down between the wafer paper layers, ensuring it holds its shape.
Apply more glue along the wire and stack the three layers of wafer paper, pressing them down gently.
Step 3: Adding Texture and Final Shaping
After the glue dries (about one minute), begin cutting tiny slits along the sides of the feather. Cut about a quarter inch away from the wire, and curve the slits slightly to add texture.
Feel free to remove small sections of the feather to create a more natural look.
Step 4: Steaming the Feather
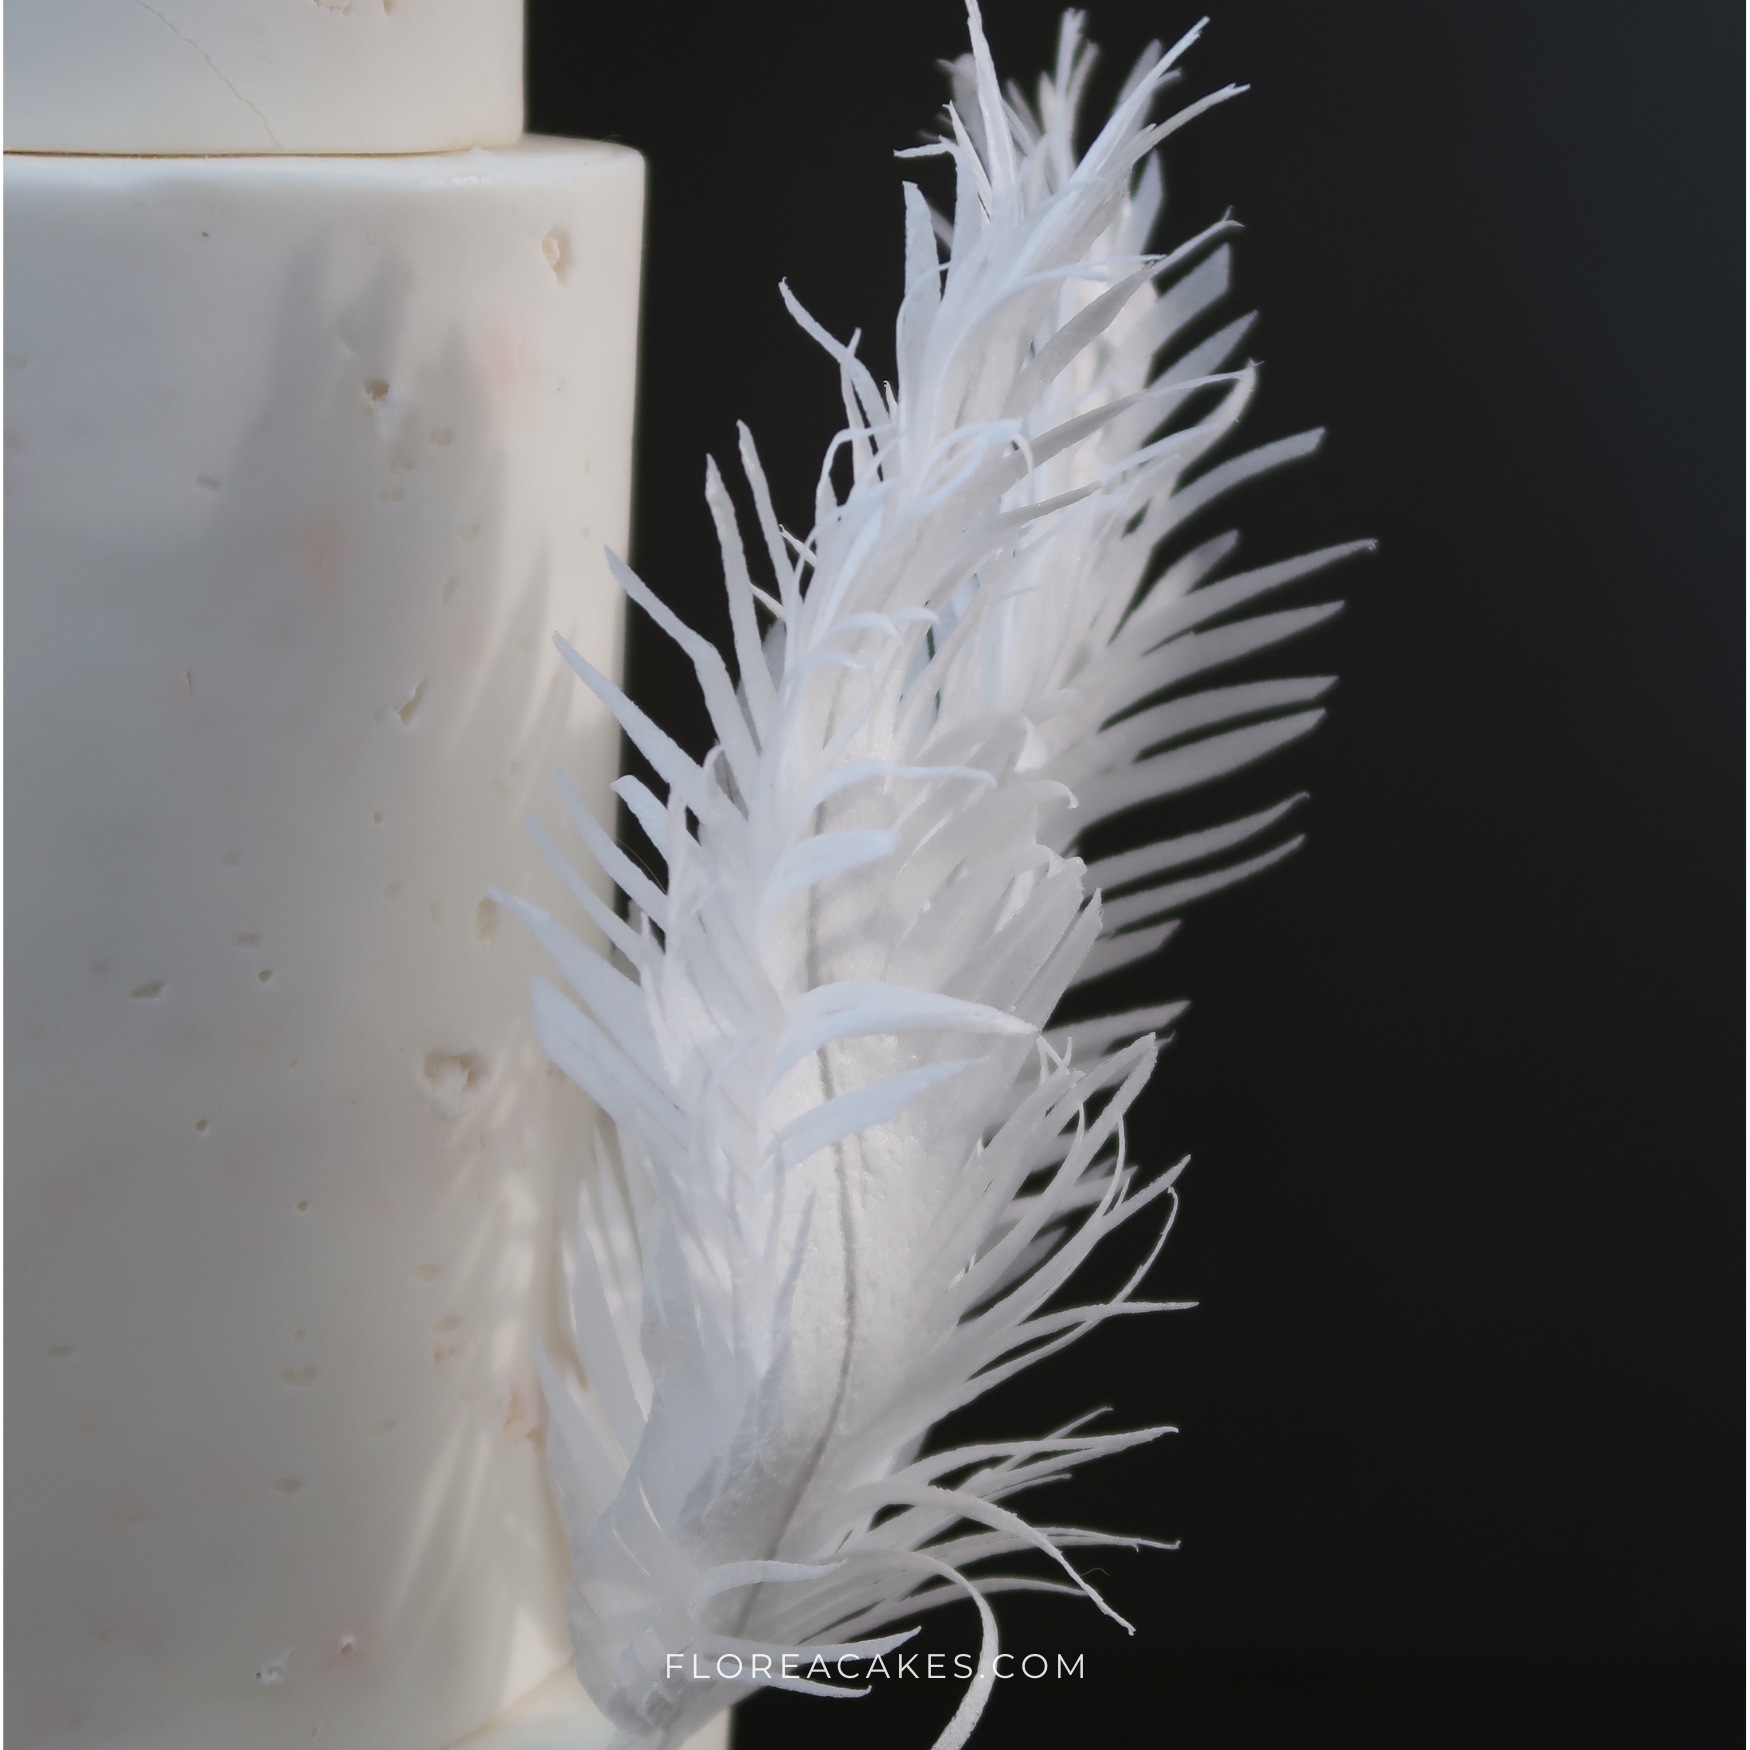
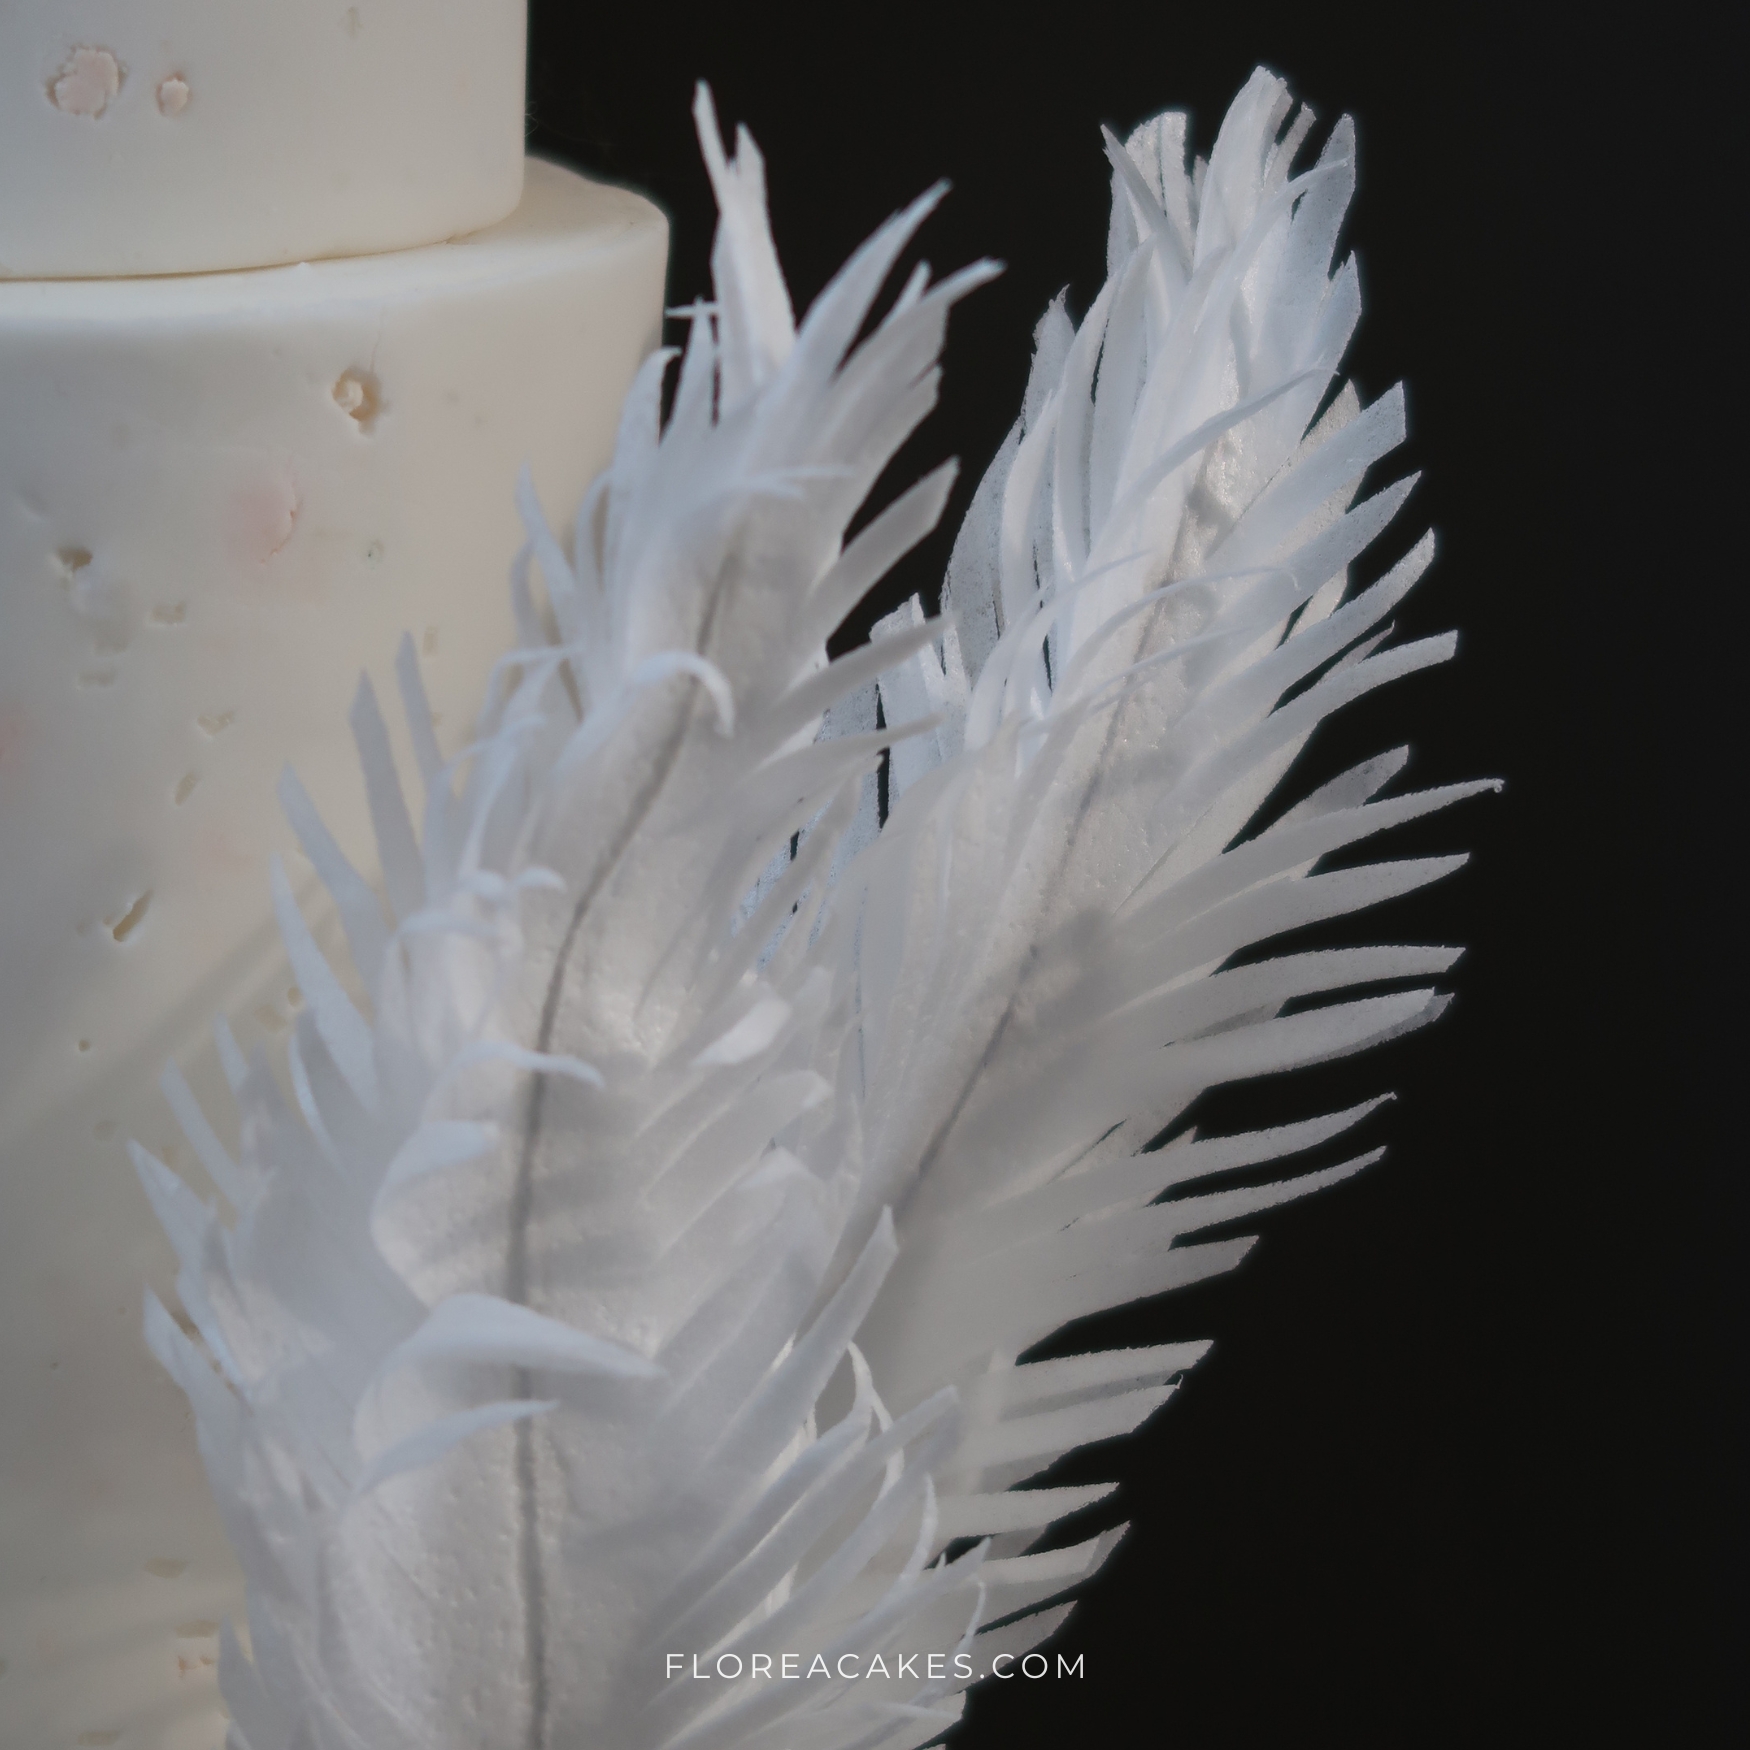
Use a steamer or kettle to apply steam to the feather on all sides. The wafer paper will absorb the moisture and start to curl, creating a fluffy texture.
Carefully separate the layers with a Dresden tool or the end of a paintbrush to enhance the feather’s volume.
Helpful tip: If you don’t have a steamer, a pot of boiling water will work just as well. Hold the feather above the steam and watch it curl!
Step 5: Adjusting and Finalizing
Continue steaming and adjusting the shape of the feather until you achieve the desired look. The thinner you cut the slits, the more movement and curl the feather will have.
Since the feather has a wire inside, you can easily shape it to fit your cake or design.
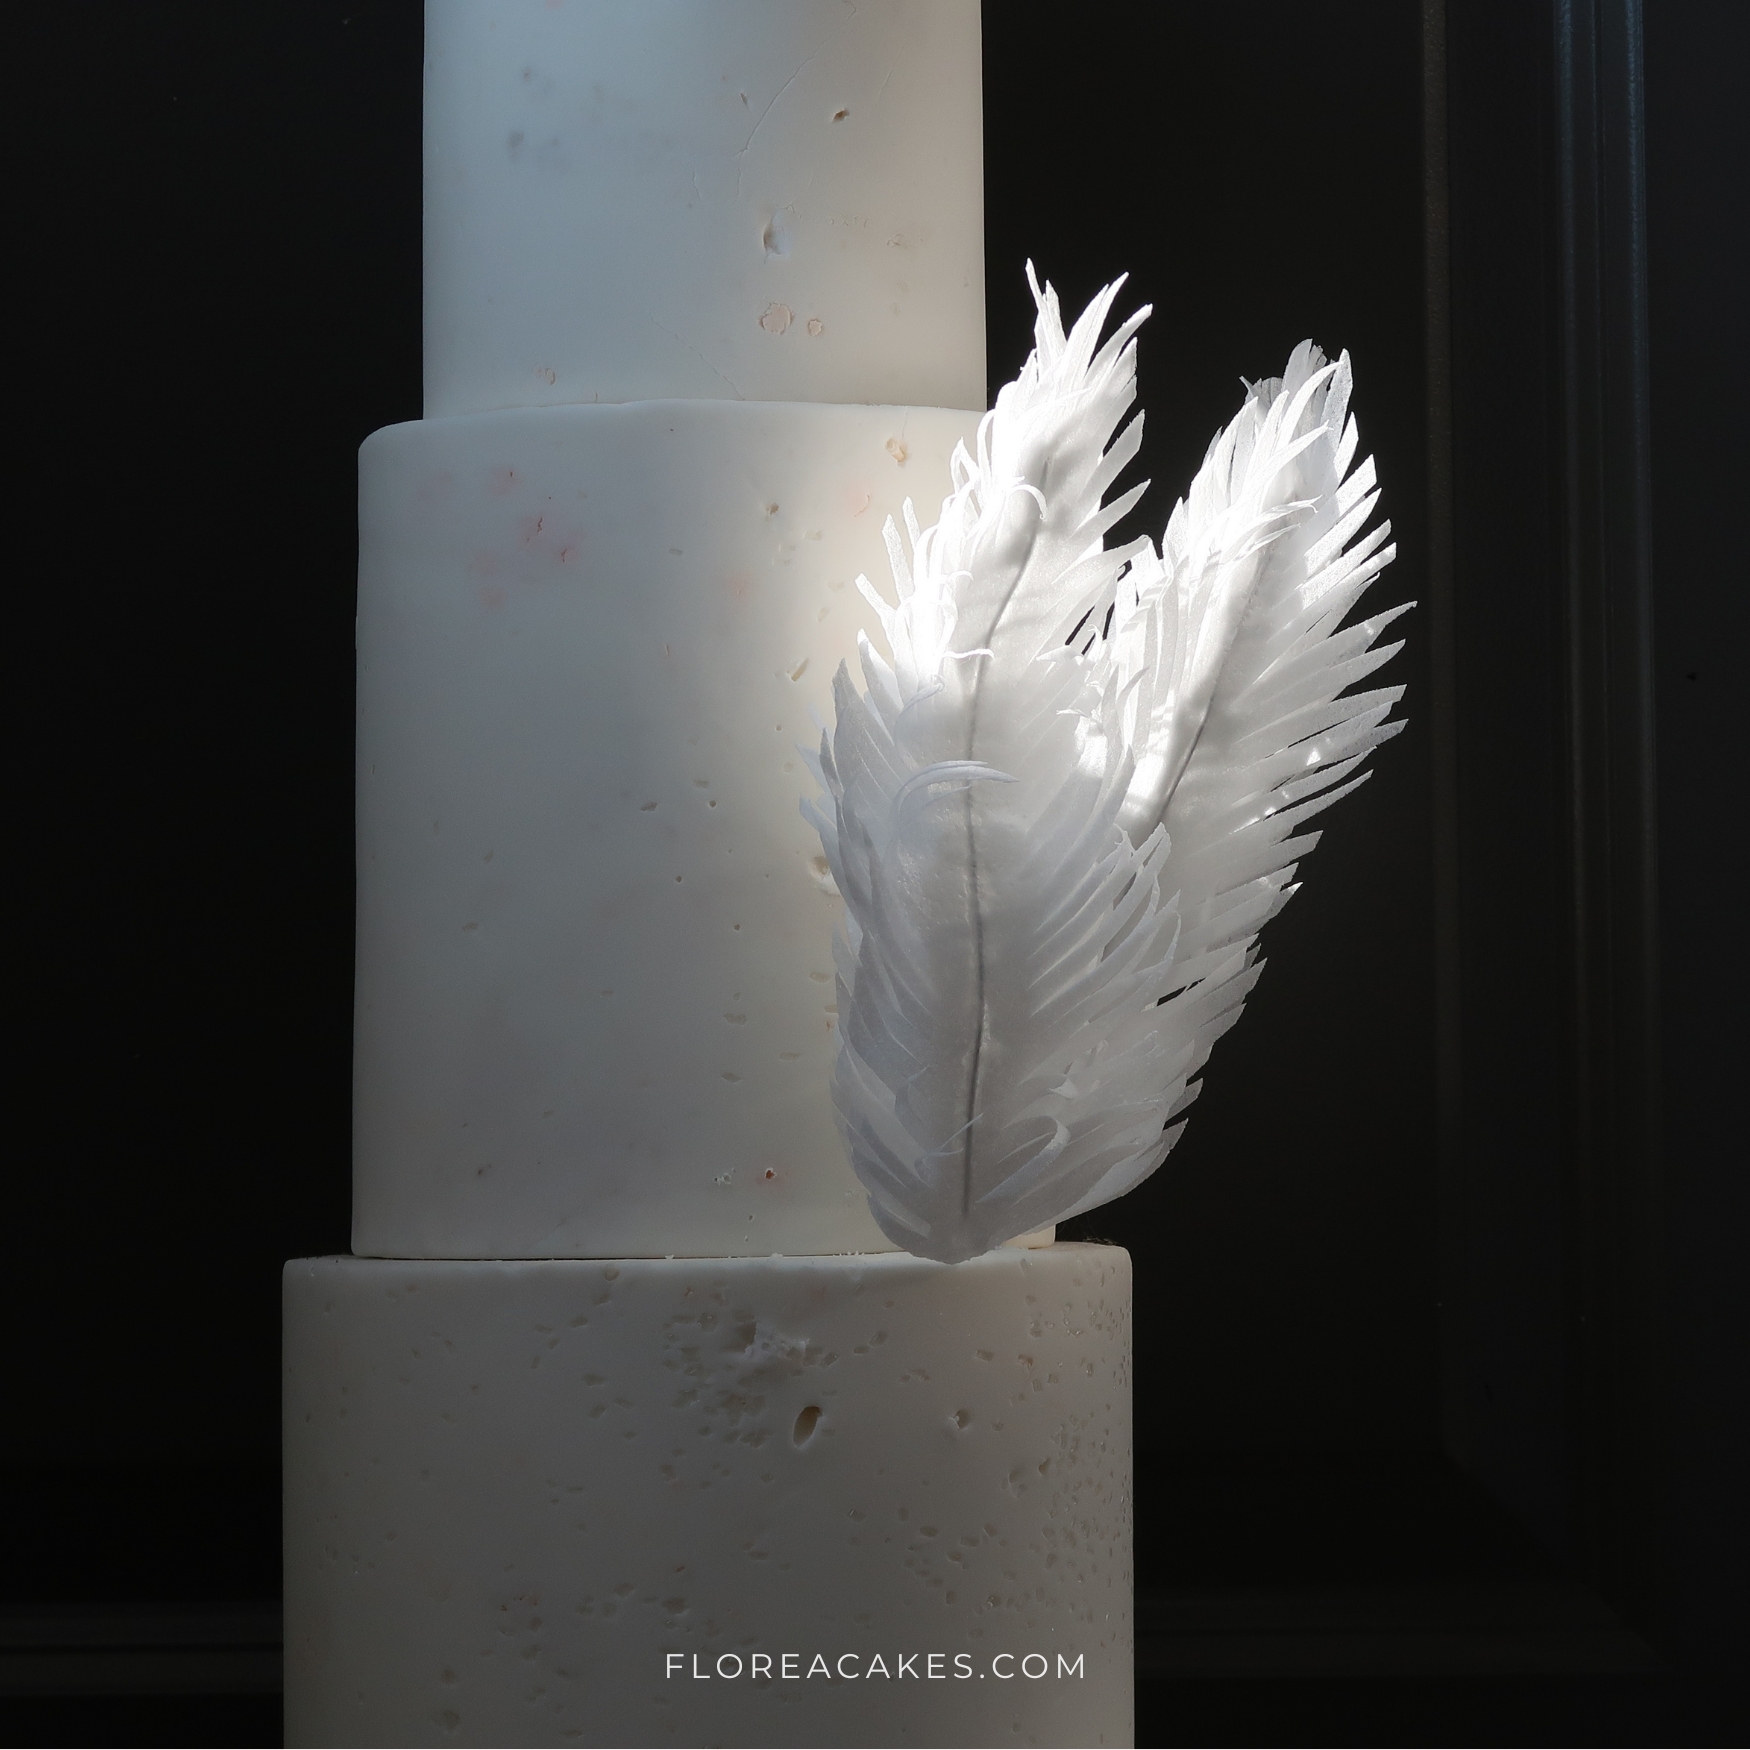
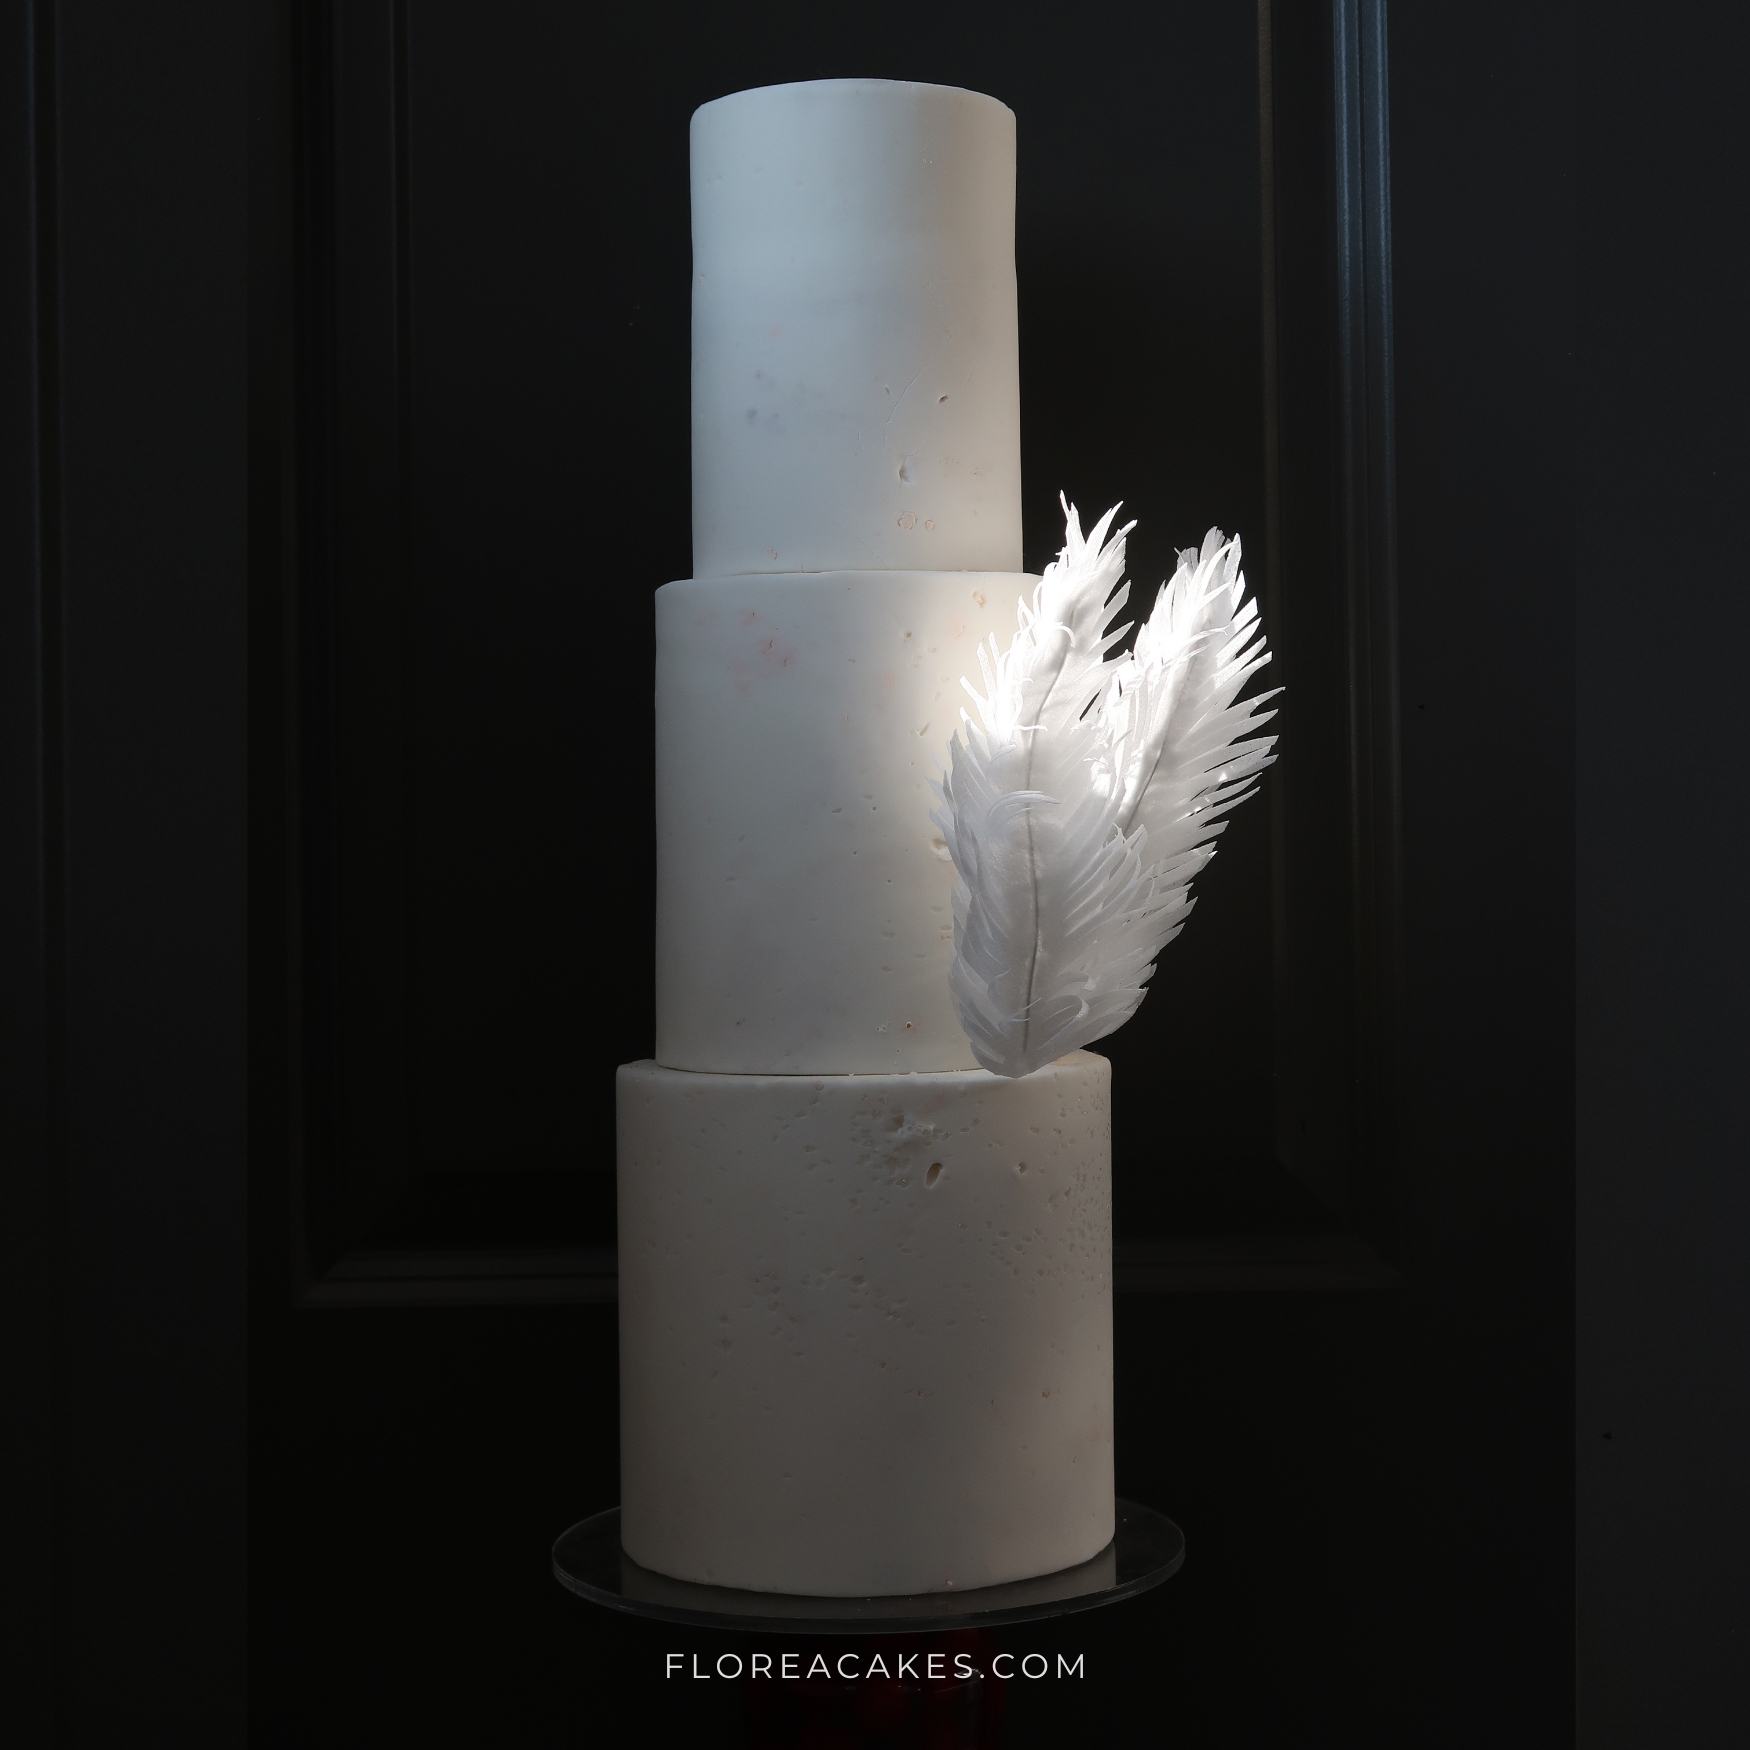
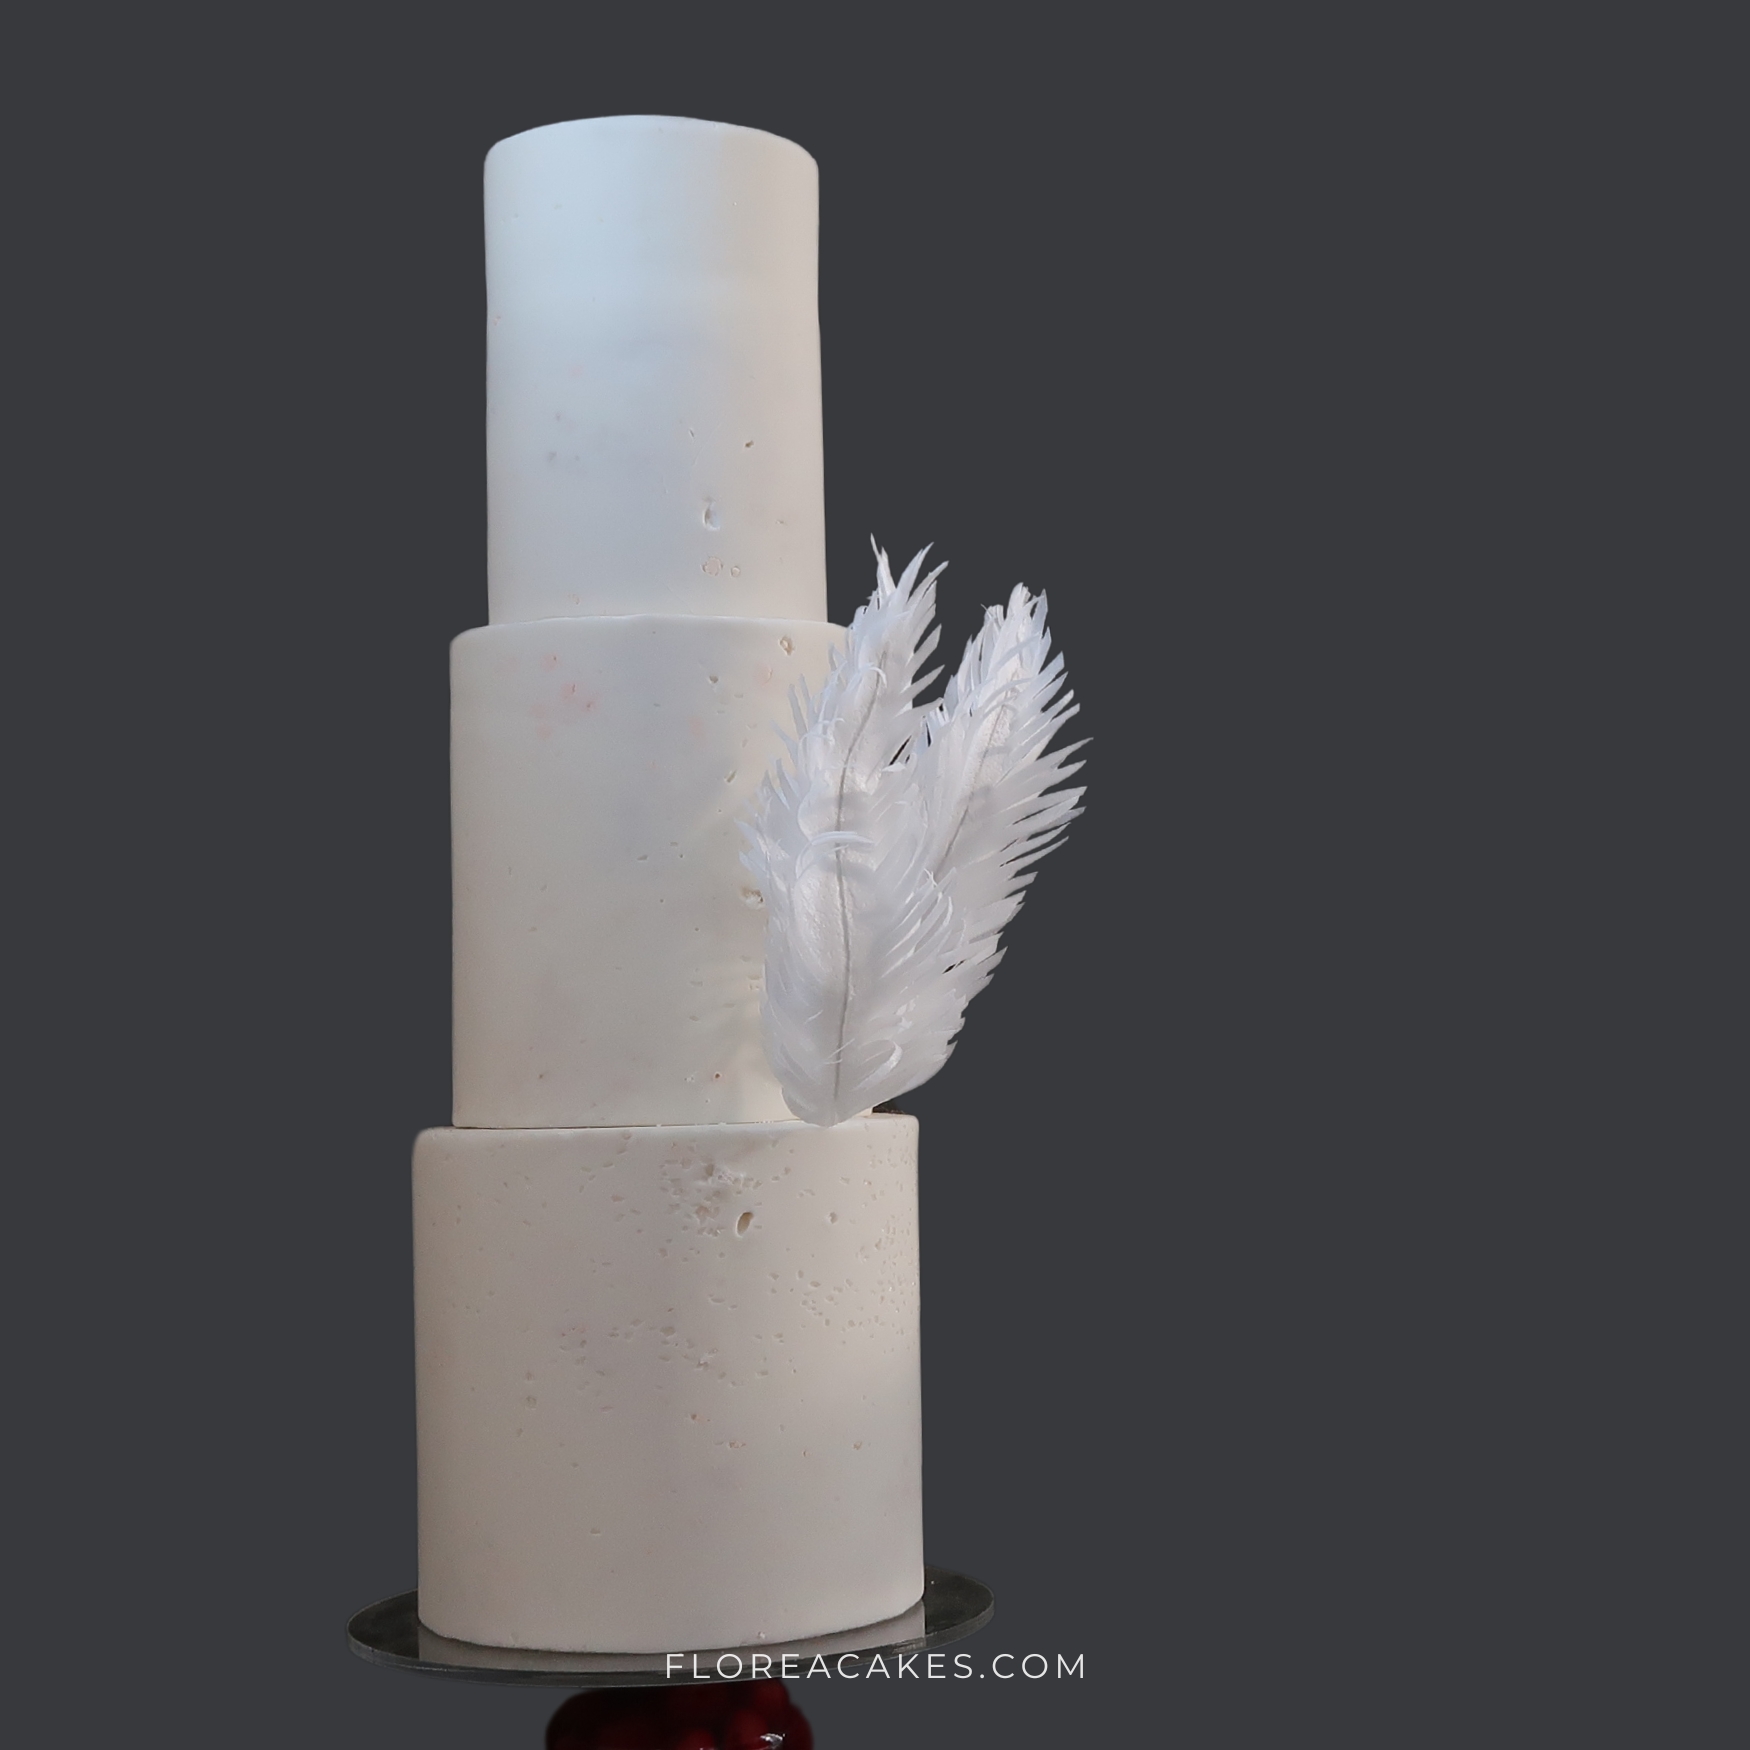
Cake Arrangements Featuring Feathers
Your Turn!
Now you know how to create beautiful wafer paper feathers that will add a touch of elegance to any dessert. These feathers are easy to make and can be customized to your liking. They’ll stay soft and retain their shape as long as needed.
Download the Free Template to get started, and don’t forget to share your creations on social media! Tag me @FloreaCakes so I can feature your work.

6 Comments
Thank you so much for all your videos on wafer paper I have learnt so much from you since I followed you from icing images.thank you and be blessed 💕💕❤️❤️❤️ watching from Nairobi,kenya🥰🥰🙏🏼🙏🏼
Thank you so much, Rukia
Wonderful work. Good teacher. Thank you Anna
You’re the best Anna. I have learnt so much from you. You’re a great teacher with a sweet heart. Thank you so much. More blessings. Watching from Nigeria.
Must try this. Thank you, you make it so easy & it looks beautiful
Your work is phenominal. Thanks so much for your awesome tutorials.