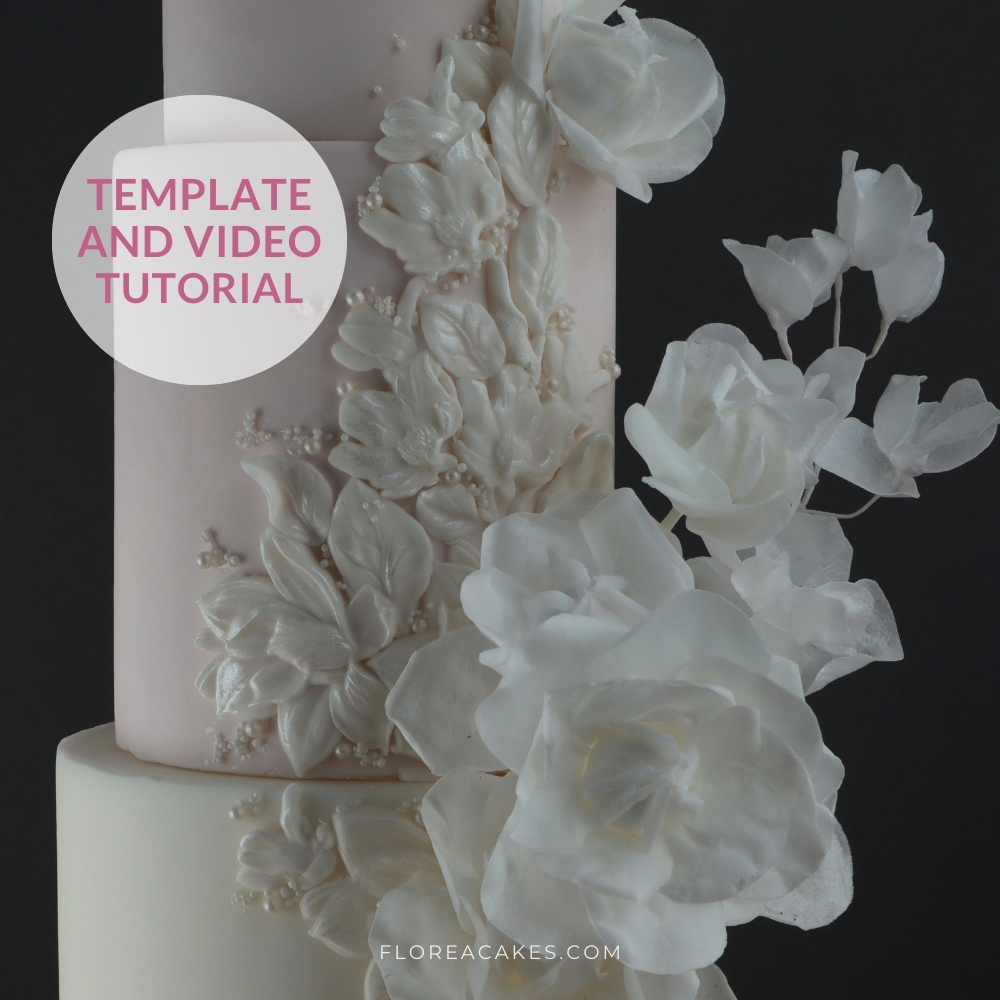
I’m excited to show you how to create a stunning wafer paper gardenia—a timeless flower perfect for wedding cakes and elegant displays. In this tutorial, you’ll learn simple techniques for cutting, conditioning, and shaping wafer paper to make lifelike blooms.
Gardenias are known for their pure, graceful beauty, making them an ideal choice for any floral design.
This project is beginner-friendly but includes pro tips to help you achieve realistic results. Let’s dive in! Watch the video below, then check out the materials list and step-by-step instructions to create your own beautiful gardenias.
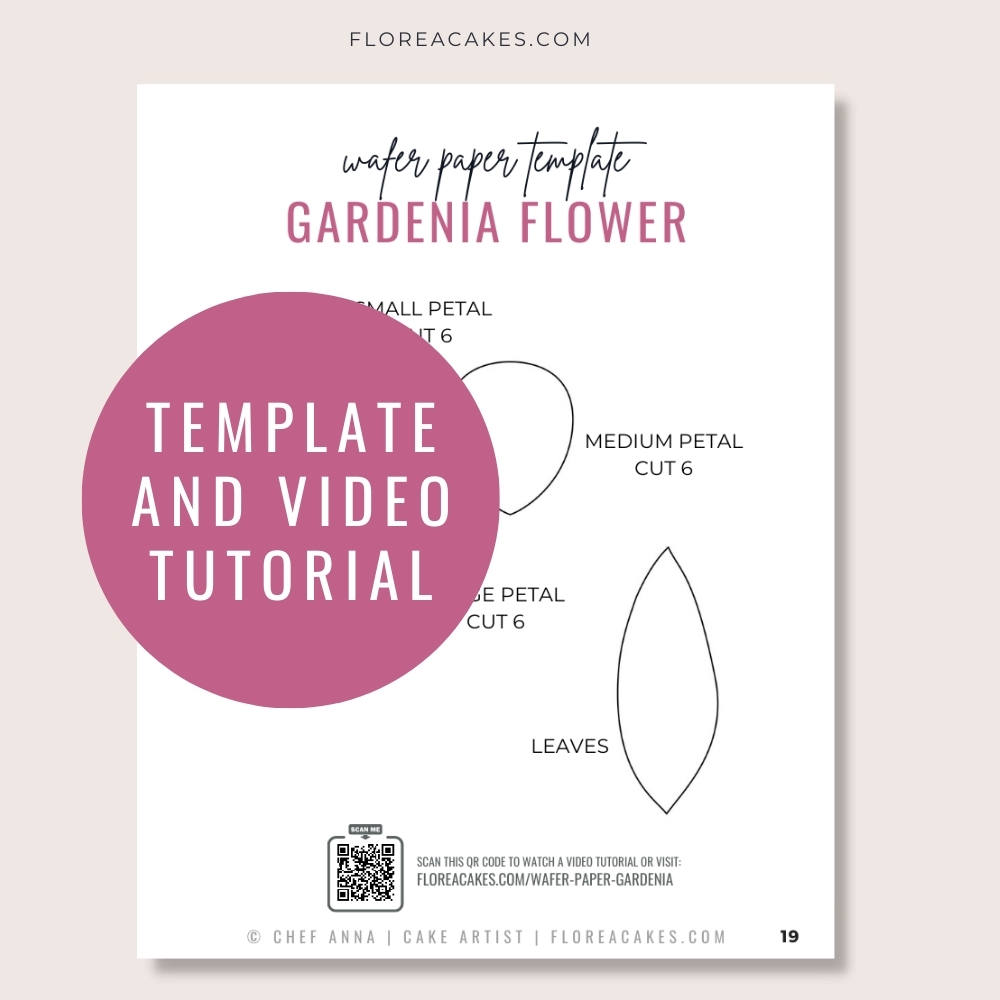
Download Wafer Paper Gardenia Template
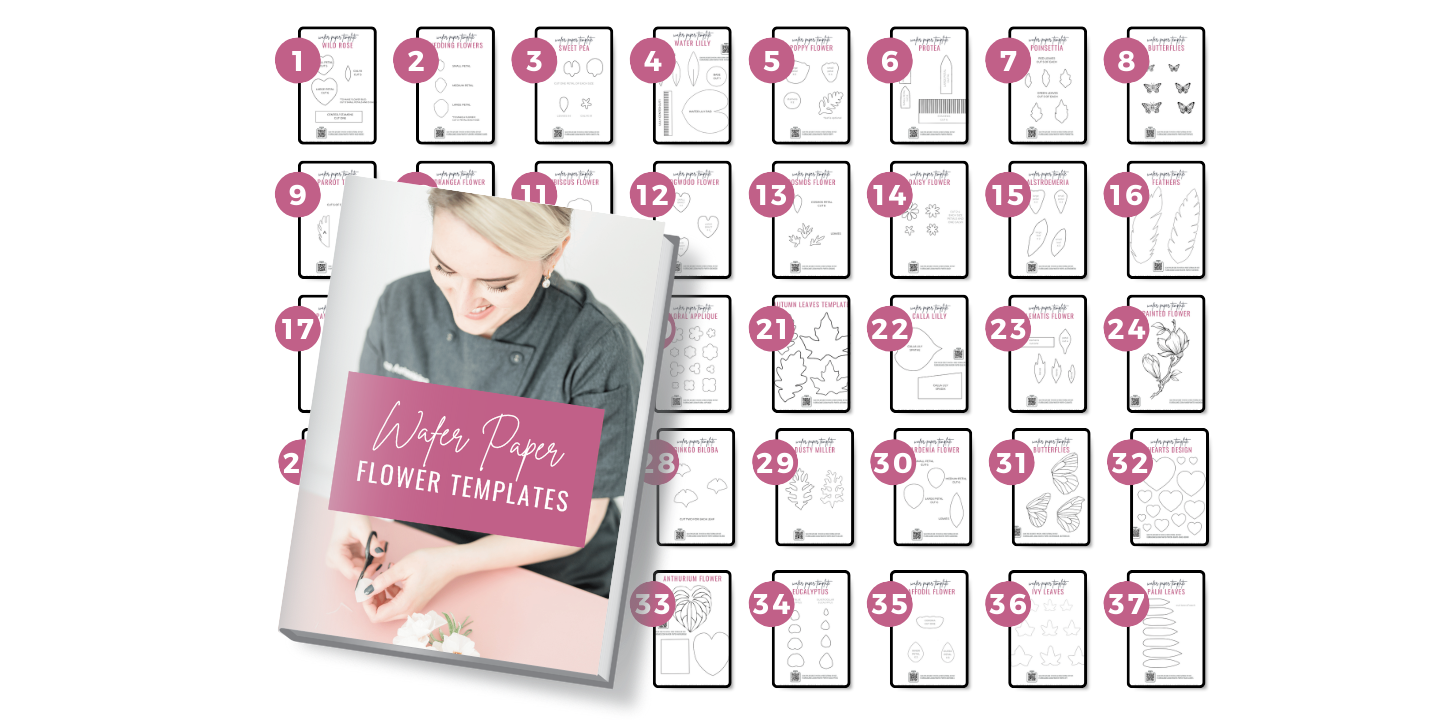
Get instant access to this and 37 more wafer paper flower tutorials and templates in my All-In-One Wafer Paper guide + 3 bonuses!
Materials and Tools You’ll Need
Materials
- Wafer paper (0.27mm thickness)
- Floral wire (20 and 26 gauge)
- Airbrush colors: Forest Green and Ivory
- Cornstarch (for shaping)
- Wafer paper conditioner (glycerin-based) and wafer paper glue
- Wafer Paper Gardenia Template (included in the All-In-One Wafer Paper Guide)
Tools
How to Create Wafer Paper Gardenias Step-by-step
Step 1: Prepare and Cut the Petals
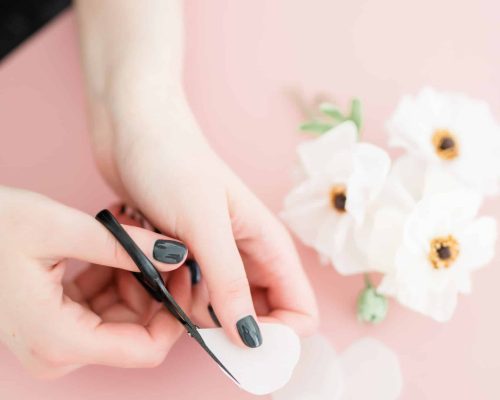
Begin by folding your wafer paper in three layers. Place the gardenia template over the wafer paper and cut through all layers for precision. If you don’t have a template, sketch freehand petal shapes in small, medium, and large sizes—gardenia petals are slightly irregular, so a freehand approach works well!
Step 2: Condition the Wafer Paper
Apply a thin layer of wafer paper conditioner to each petal with a clean brush. If you’re in a dry climate, apply conditioner to both sides to maintain flexibility. Add a light dusting of cornstarch to prevent sticking, using just enough to keep the paper manageable.
Step 3: Shape the Petals
With the bumpy side up, gently shape each petal using a ball tool to give it a natural curl. For larger petals, cut a small slit at the bottom and cross the edges over to create a slightly cupped effect. Use a toothpick for more defined curls, varying the direction for a natural look.
Step 4: Assemble the Flower Center
Take a 20-gauge wire, create a hook at one end, and insert it into a small styrofoam ball (20 mm). Secure the wire with a dab of hot glue. For the gardenia’s center, apply wafer paper glue on the rough side of each small petal, positioning them around the styrofoam ball in a spiral, with the curled edges facing outward.
Step 5: Attach Medium and Large Petals
For the next layer, apply six medium petals around the center, offsetting each petal slightly to create a balanced, layered look. Continue with the large petals, adhering them with wafer paper glue near the base. Vary the spacing between petals for a natural effect. Insert small foam pieces between petals for added dimension.
Step 6: Create and Color the Leaves
Sandwich a 26-gauge wire between two pieces of wafer paper, conditioned with wafer paper conditioner. Trim the leaf to a tapered shape, then color it with a mix of forest green and ivory airbrush colors for a realistic finish. Use a veiner to press an imprint on each leaf, enhancing texture.
Step 7: Final Assembly and Drying
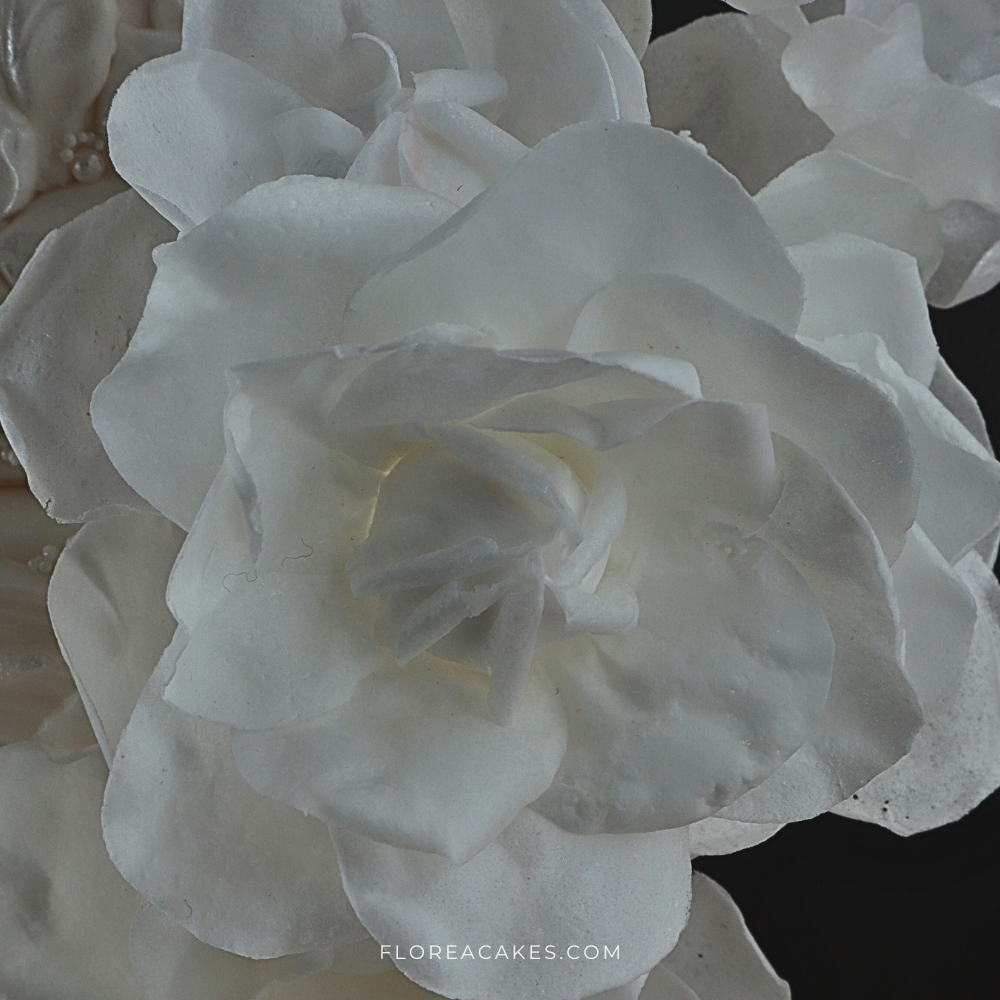
Position the petals and leaves around the flower’s center. To keep the shape intact, dry the flower upside down or hang it from a hook. Allow ample time for drying, especially in humid conditions.
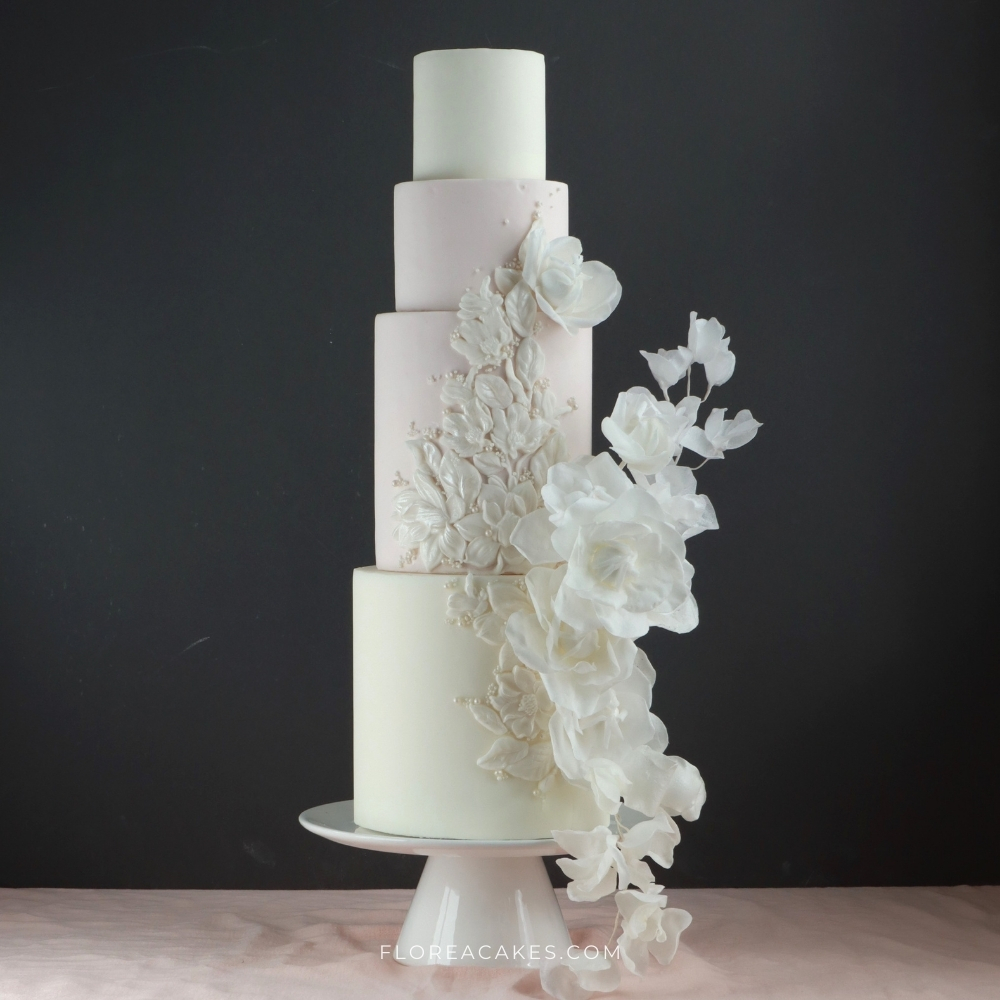
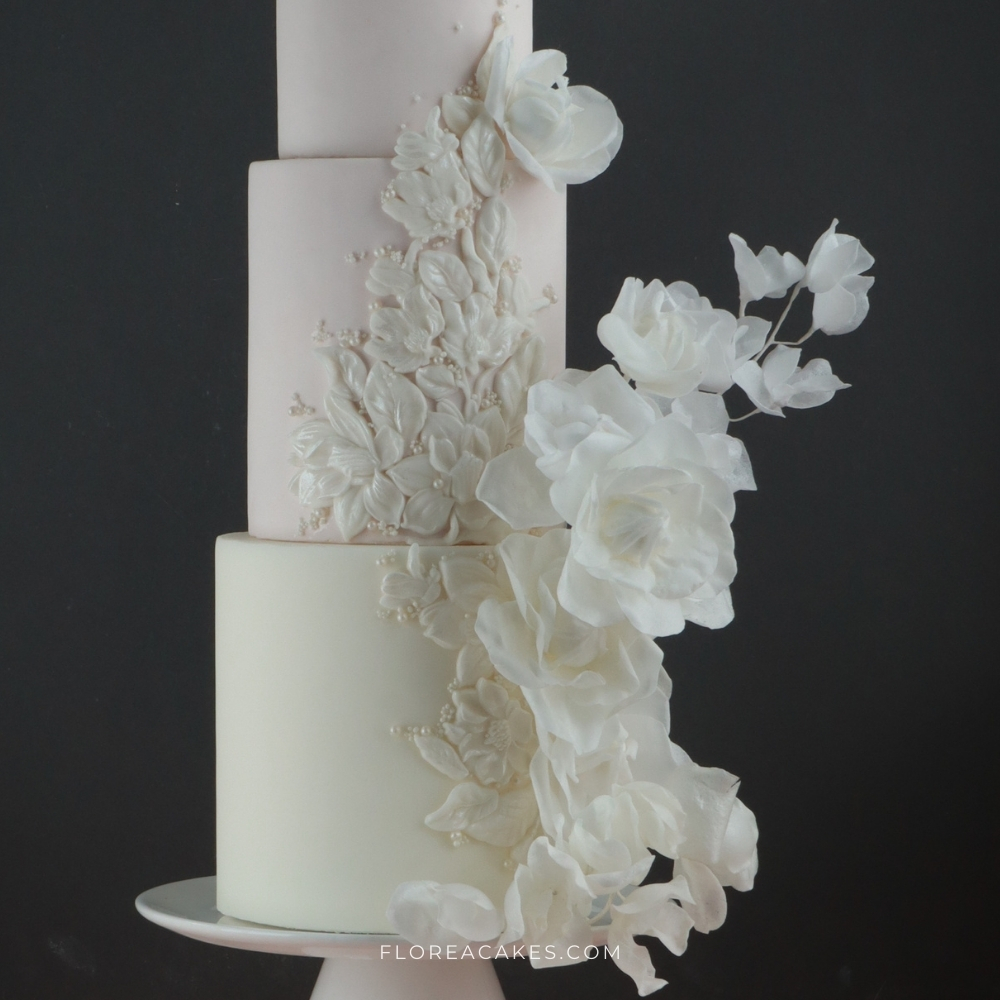
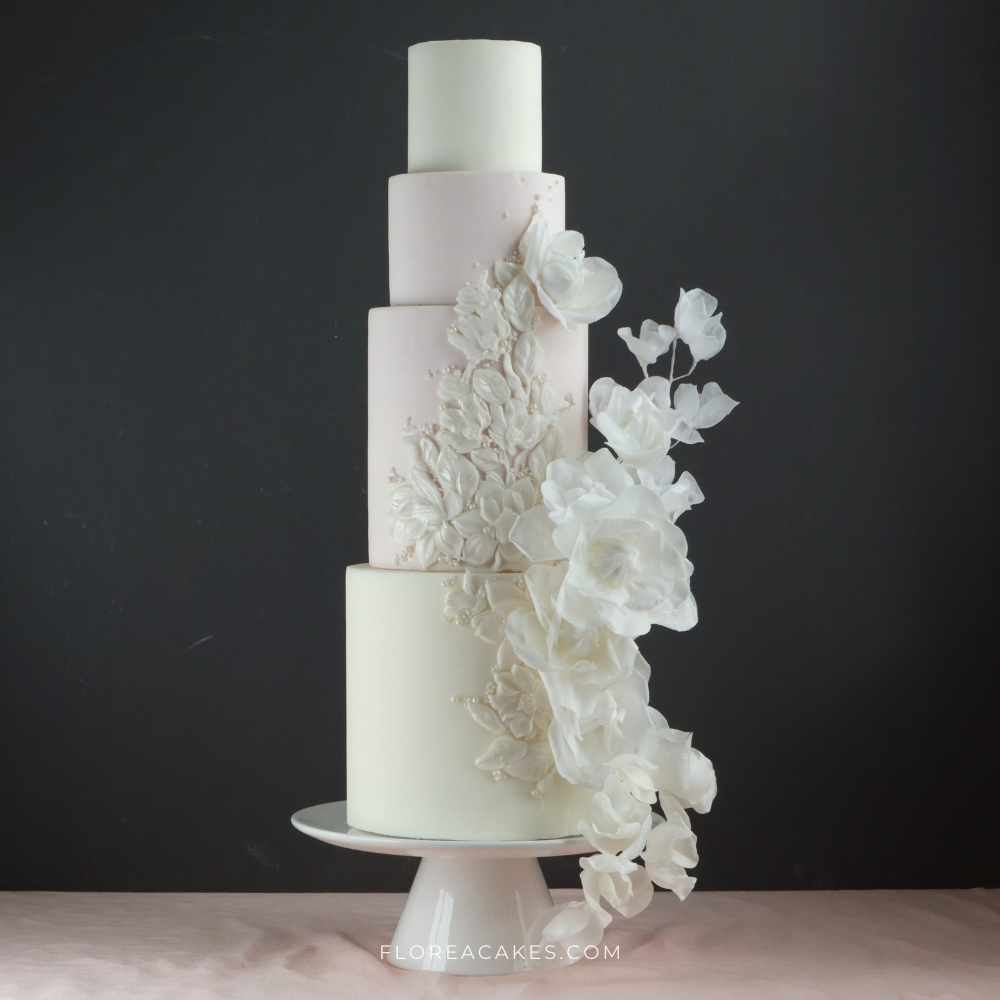
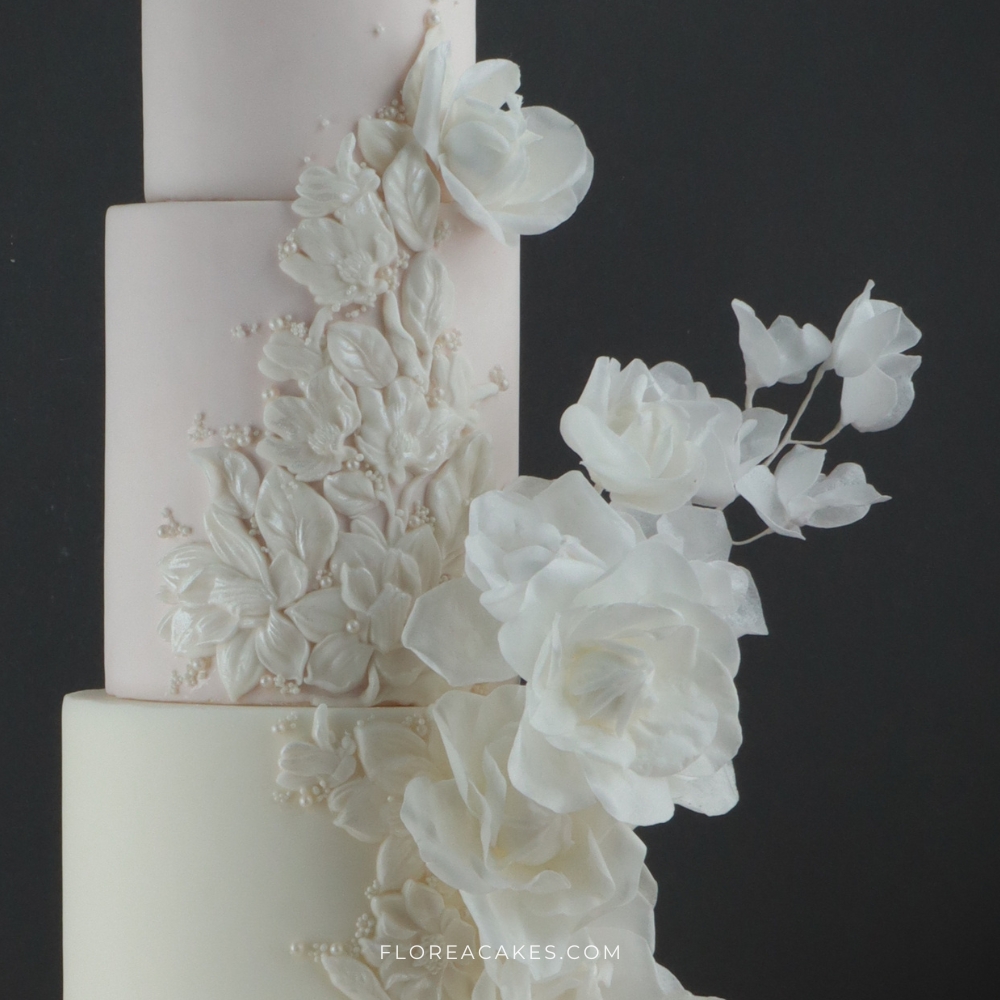
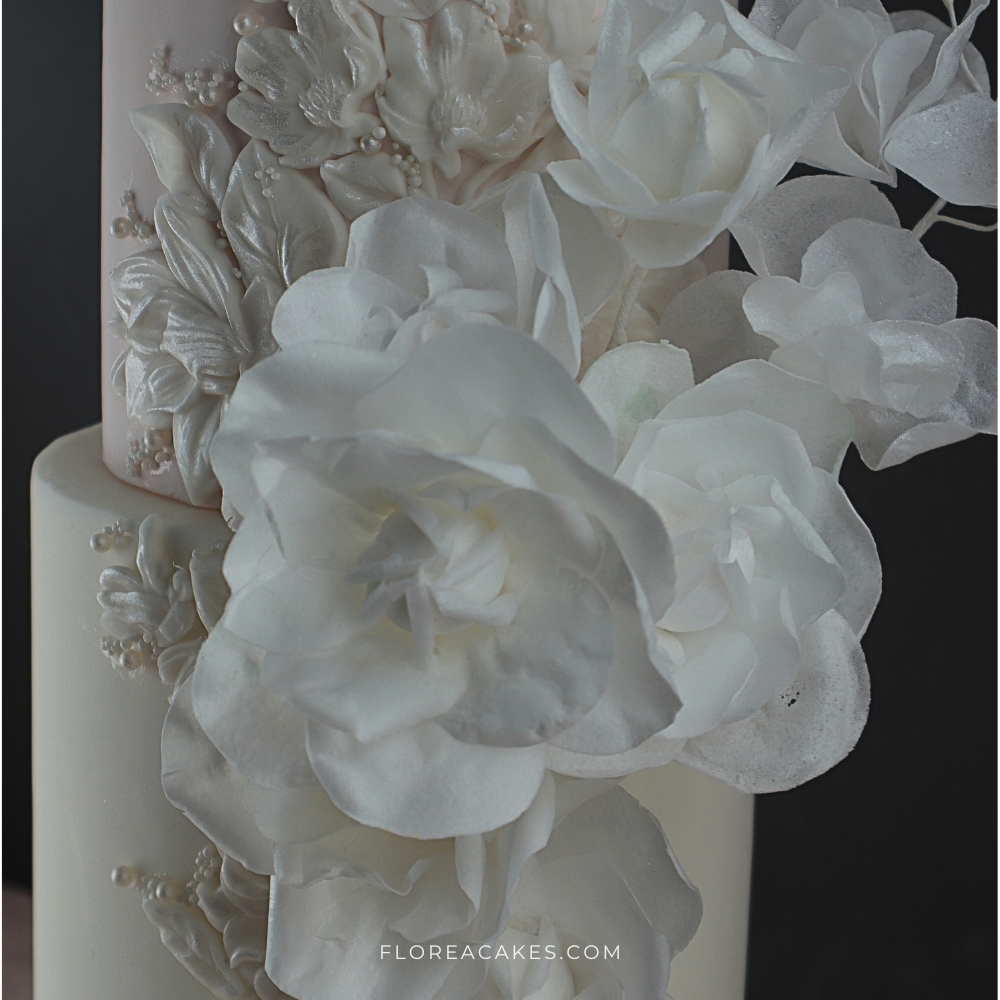
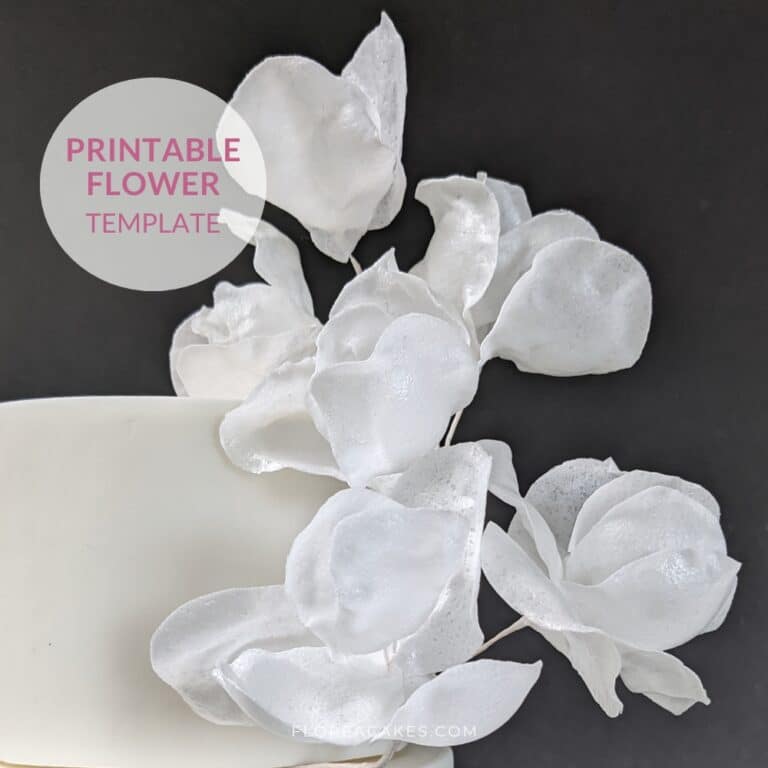
Cake Arrangements Featuring Wafer Paper Gardenia to Inspire You
Your Turn!
Now you’re ready to craft your own elegant wafer paper gardenias that will add timeless beauty to any cake. These flowers are easy to make and can be customized with different sizes and colors to suit any design.
Download the template to get started, and don’t forget to share your creations on social media! Tag me @FloreaCakes—I’d love to see and feature your beautiful blooms!



2 Comments
How do you keep your petals and leaves from curling too much?
Add a touch of cornstarch to stop wafer paper from absorbing the moisture.