Transform your Valentine’s Day cake and dessert decorations with beautiful, hand-crafted wafer paper heart decorations. In this tutorial, you’ll learn how to cut, shape, and layer edible wafer paper hearts for cakes, cookies, and cupcake toppers. Whether it’s a gift or a centerpiece for your Valentine’s celebration, these delicate decorations add a personal, artistic touch!
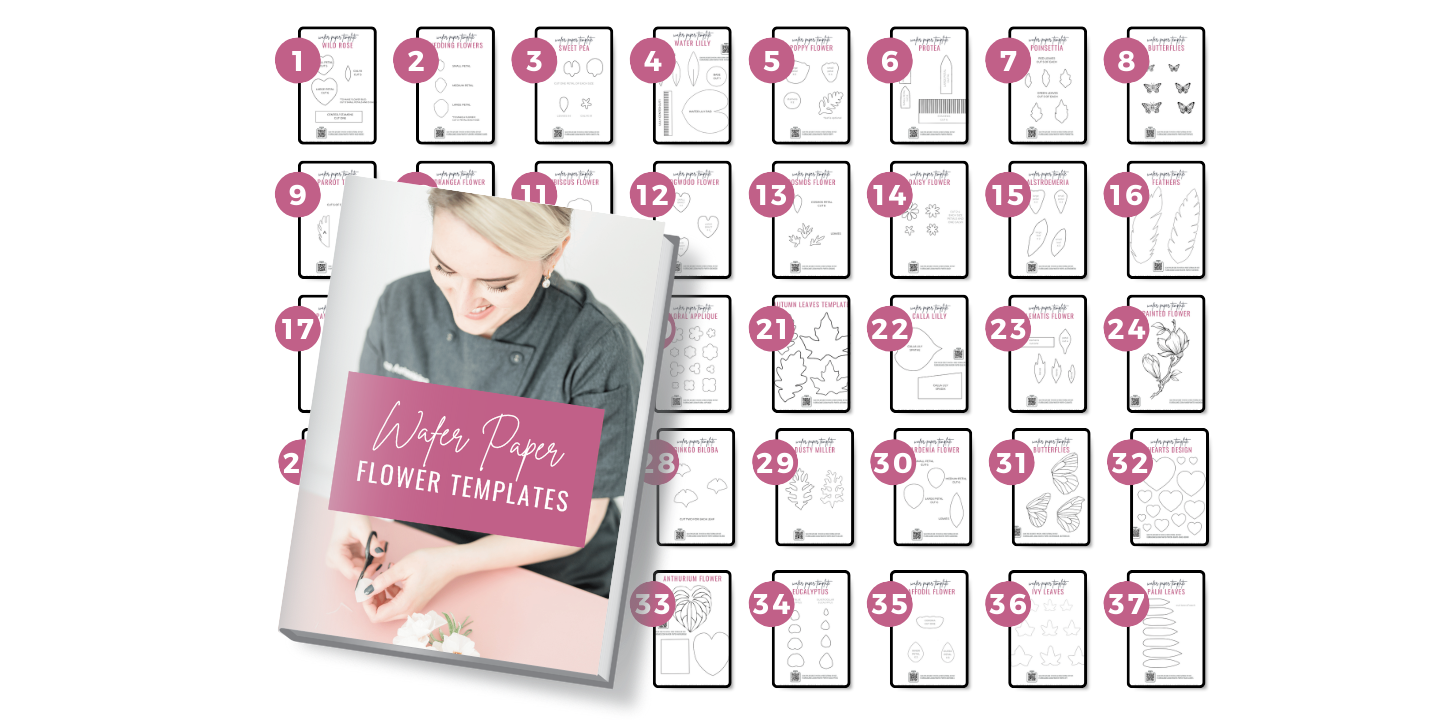
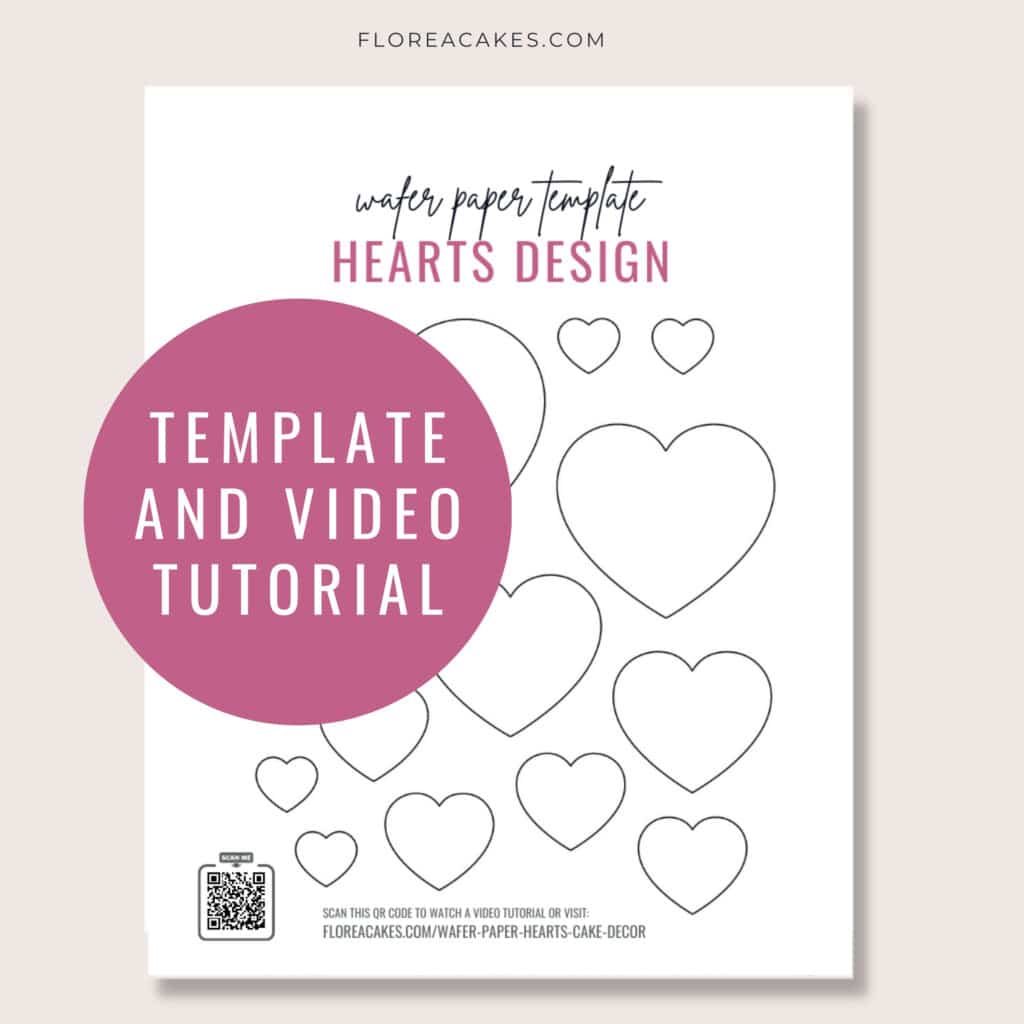
Get started with the free hearts template below, and follow along with the step-by-step video tutorial to master the techniques. Customize your design by experimenting with colors, adding gold or silver leaf, or layering textures for a unique, festive look.
Materials and Tools You’ll Need
Materials
- Saracino Wafer Paper (0.27 mm thickness recommended)
- Edible Silver or Gold Leaf (optional for metallic effects)
- Piping Gel for adhering wafer paper
- Food-grade glycerin for blending color
- Americolor Dusty Pink Gel Color (or color of choice)
- CK Edible Glitter Flakes (for added sparkle)
- Fondant for cupcakes or cookie toppers
Tools
- Mini Spray Bottle
- Sharp Scissors
- Flat Brushes
- Flower Pad
- Mini Steamer
- Dresden Tool
- Mini Rolling Pin
- Medium Ball Tool
Step-by-Step Instructions for Wafer Paper Hearts
Step 1: Prepare Wafer Paper Hearts
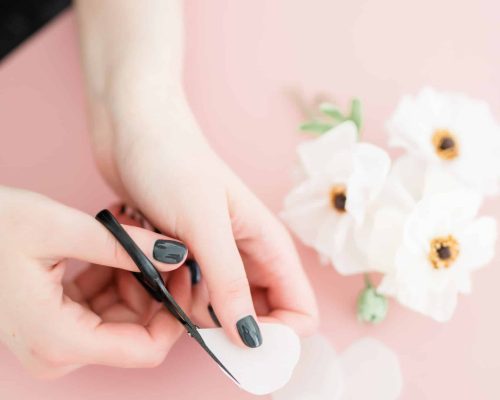
Start by downloading and printing the free hearts template. Cut out the hearts from wafer paper, using the template as a guide. To add depth to your decorations, consider stacking and cutting multiple layers of wafer paper at once, making it easier to shape and style later on.
Step 2: Apply Edible Silver or Gold Leaf
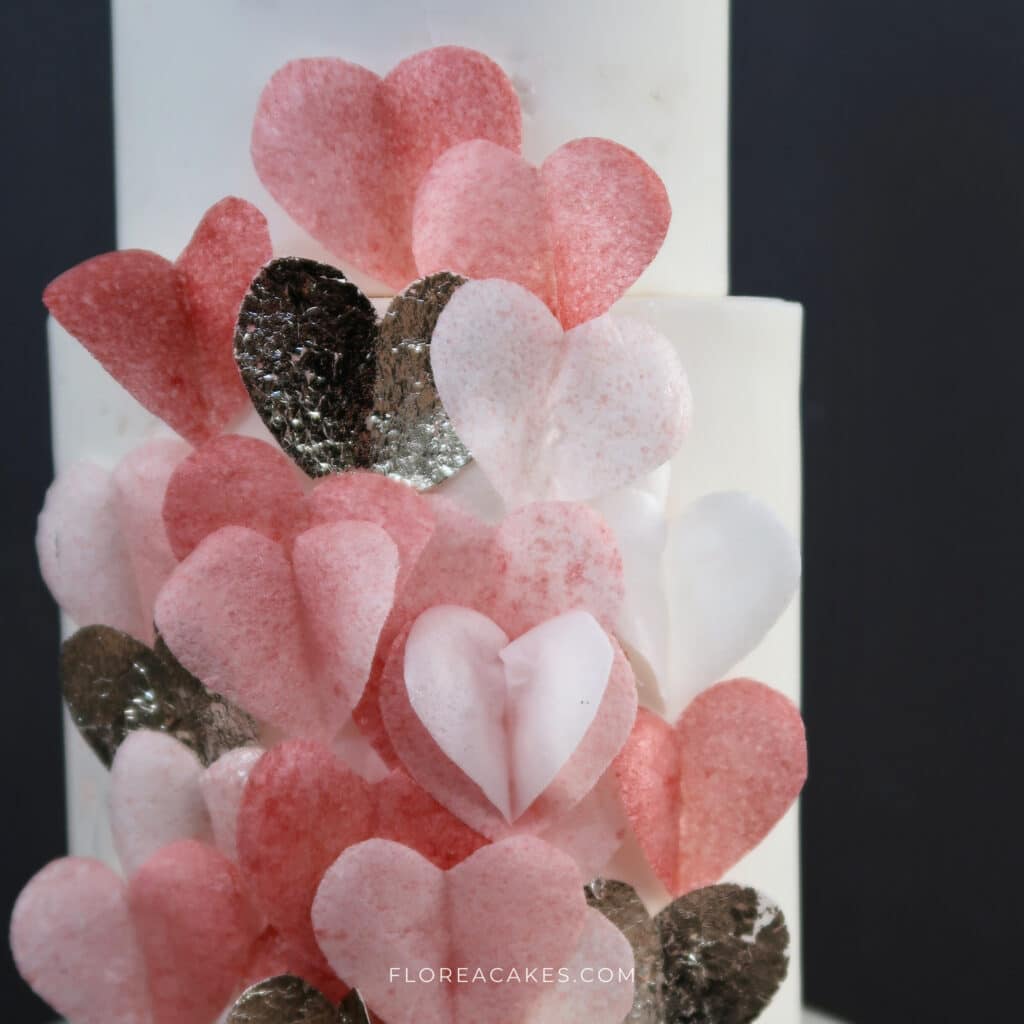
For a touch of metallic shine, lightly brush the wafer paper hearts with a thin layer of piping gel. Carefully place the silver or gold leaf on top and press gently to adhere. If the decorations are meant for eating, use edible-grade leaf; for display-only pieces, craft-grade silver or gold leaf is fine.
Step 3: Color the Wafer Paper
In a mini spray bottle, mix your preferred gel color with a small amount of food-grade glycerin and alcohol. Spray the wafer paper hearts evenly, allowing them to dry between coats to build up vibrant color. For a marbled effect, vary the intensity by layering multiple light sprays, creating a unique, textured look on each heart.
Step 4: Shape the Hearts
Once the wafer paper is fully dry, place each heart on a flower pad. Using a ball tool, gently press down the sides to create a three-dimensional shape. If the wafer paper feels too brittle, lightly steam it to soften before shaping, ensuring you achieve a delicate, dimensional finish.
Step 5: Create Fondant Toppers
Knead a small piece of fondant with a drop of pink gel color, and add edible glitter flakes for sparkle. Roll out the fondant, then cut out bases for your cupcake or cookie toppers. You can add textures or patterns to the fondant bases to enhance the visual appeal.
Step 6: Assemble the Decorations
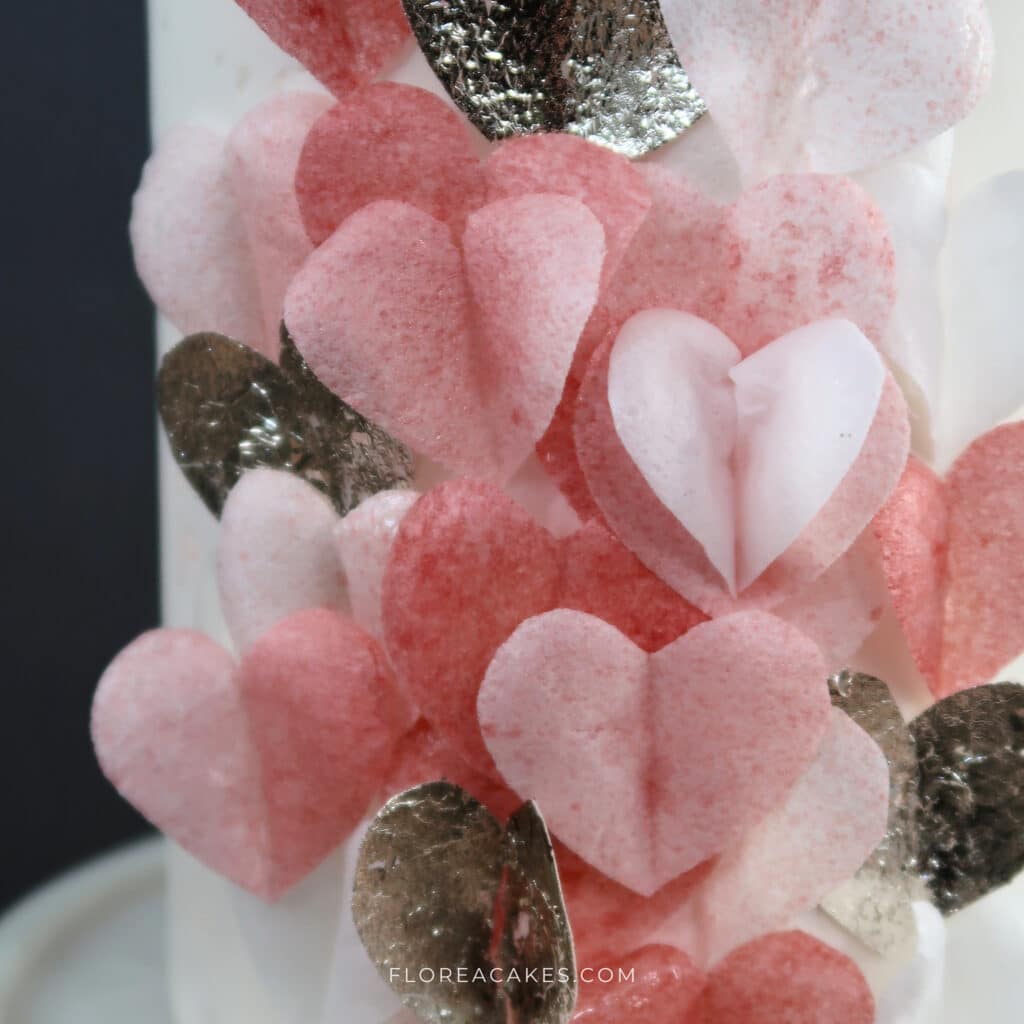
Dab a small amount of piping gel on the back of each wafer paper heart, then press it onto the fondant topper. To create a more layered look, stack multiple hearts on each topper, adding depth and dimension. These toppers can be used to decorate cakes, cupcakes, or cookies.
Step 7: Final Touches and Drying
Allow the decorations to dry for at least an hour before handling. This ensures they stay intact and ready to impress when added to your baked creations.
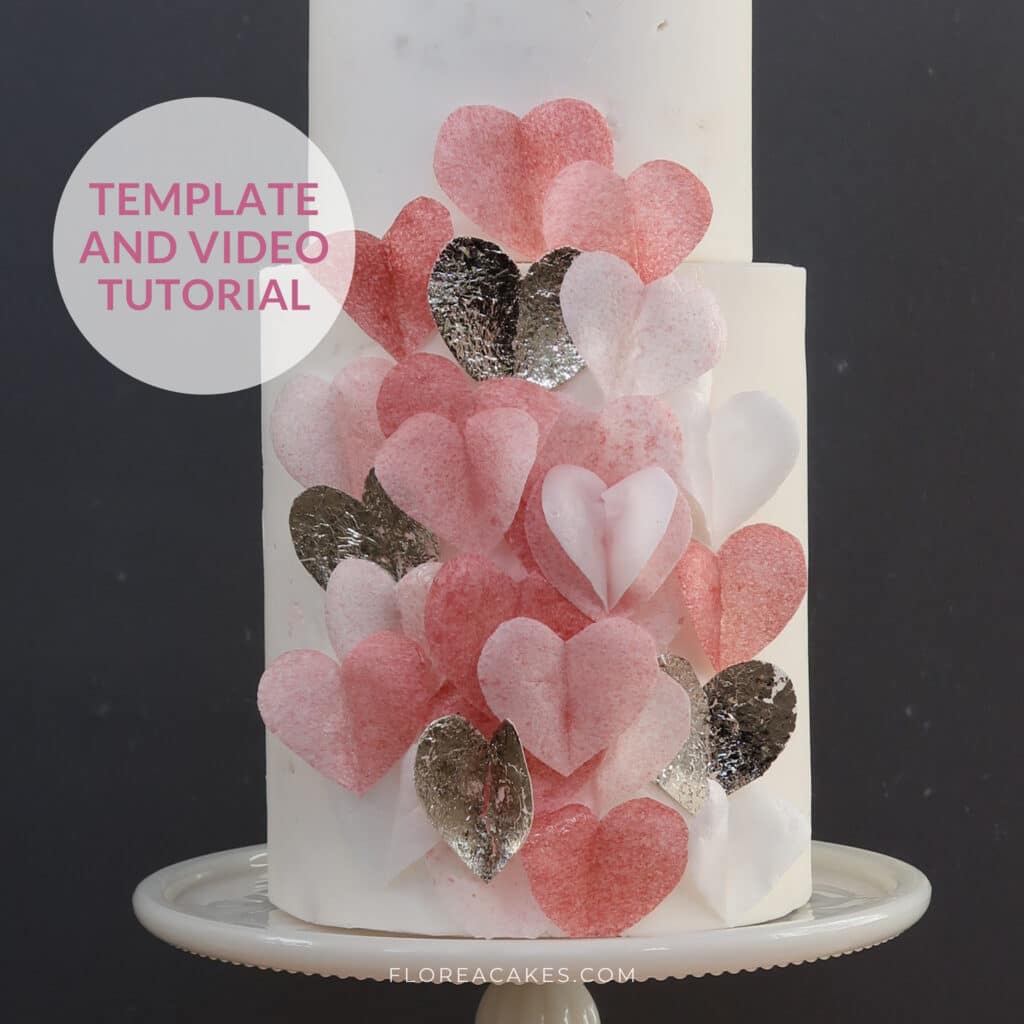
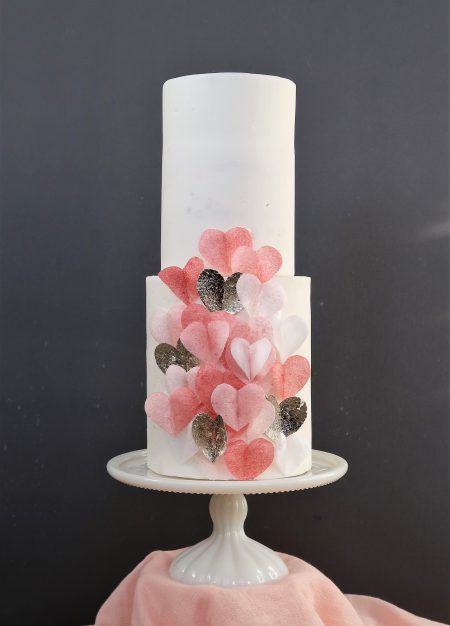
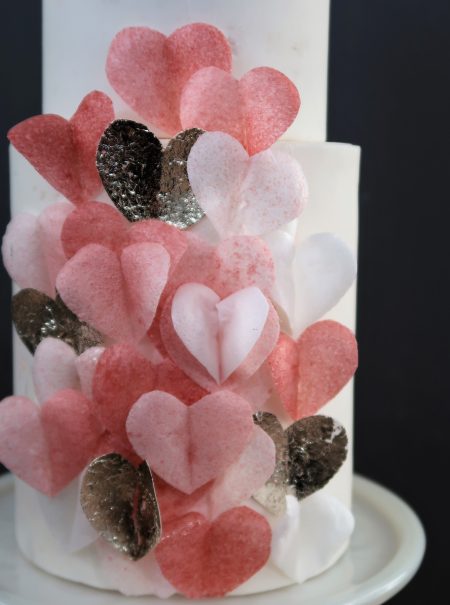
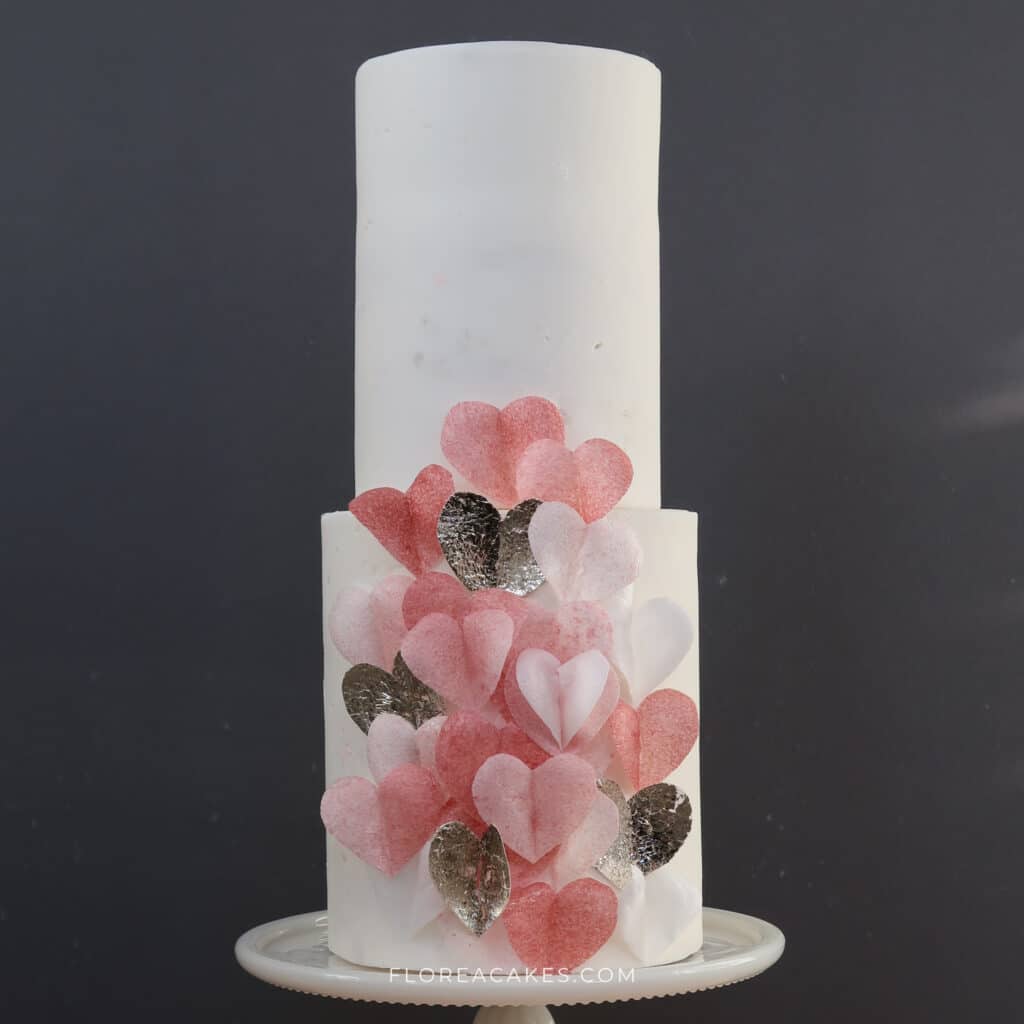
Cake Arrangements Featuring Wafer Paper Hearts
Your Turn!
Now you know how to create charming wafer paper hearts for Valentine’s Day or any celebration! These easy-to-make toppers will bring a whimsical, romantic feel to cakes, cupcakes, and cookies, and they’re perfect for personalizing with your favorite colors and textures.
Ready to make your own? Download the free template above and start crafting! I’d love to see your unique designs—share your creations on social media and tag me @FloreaCakes so I can feature your work!
