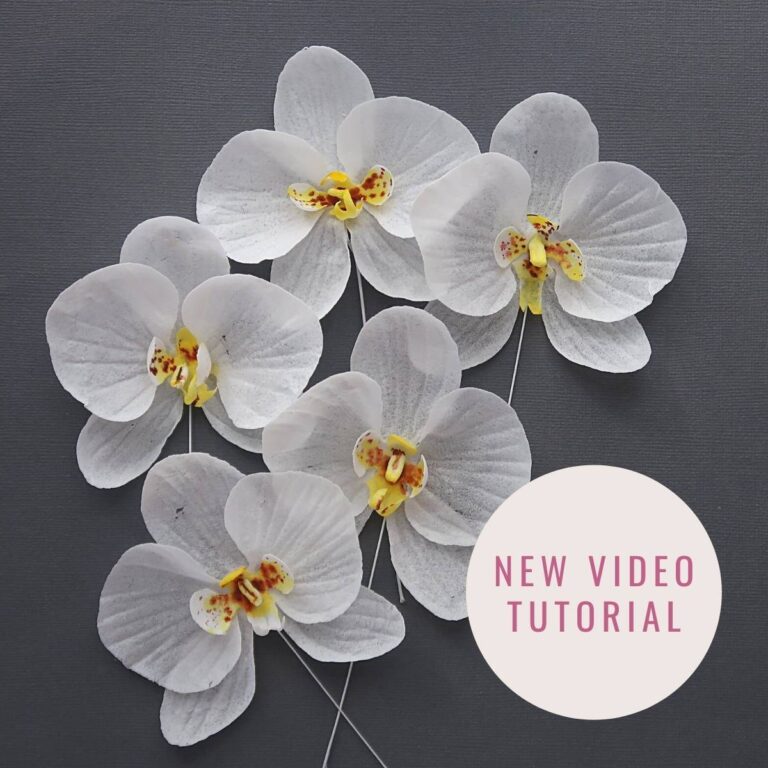
Ready to create these stunning wafer paper orchids for your wedding cakes? Elegant and edible orchids are perfect for a tropical themed wedding or as a touch of sophistication for a romantic white design.
The Phalaenopsis orchid, also known as the moth orchid, is a symbol of beauty and femininity and wafer paper is the perfect medium to create these elegant flowers.
In this tutorial, I’ll show you the easiest way to create a delicate wafer paper orchid using just a few simple tools and my special AC Tonic (a non-alcoholic conditioner recipe).
Let’s get started! You can follow my step-by-step guide or watch my YouTube video below for a more visual approach.
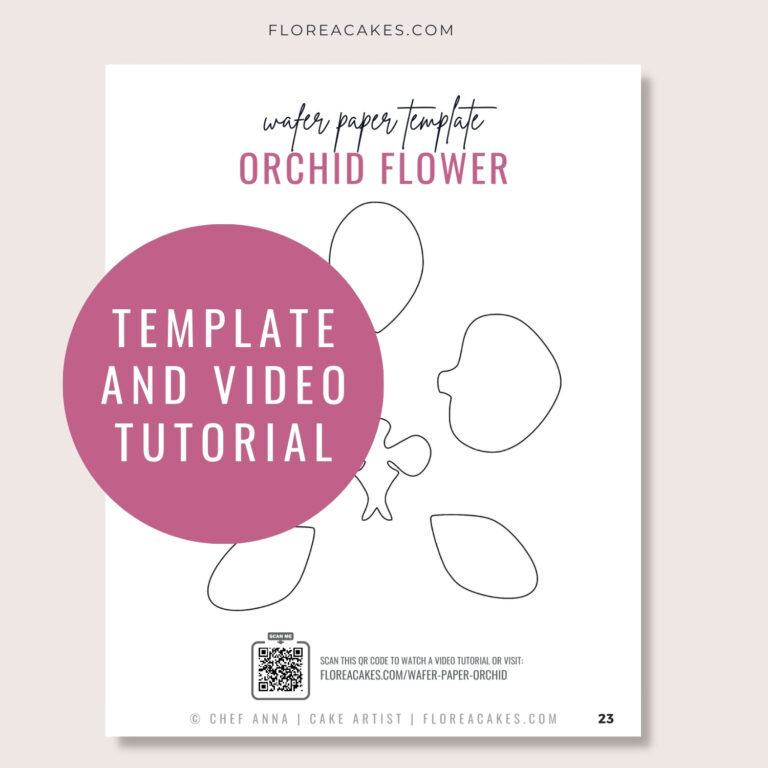
Download Wafer Paper Orchid Template
Get instant access to this and 37 more wafer paper flower tutorials and templates in my All-In-One Wafer Paper guide + 3 bonuses!
Materials and Tools You’ll Need
To make your wafer paper orchid, you’ll need the following materials and tools:
Materials
- Premium Wafer Paper (0.27 mm thickness)
- Food-grade glycerin
- Americolor Airbrush Maroon
- Yellow gel color
- 22-gauge floral wire – optional, for wiring the flower
Tools
- Sharp Scissors
- Flat Brushes
- Flower Pad
- Medium Ball Tool
- Dresden Tool
- My Wafer Paper Orchid Template, downloadable here
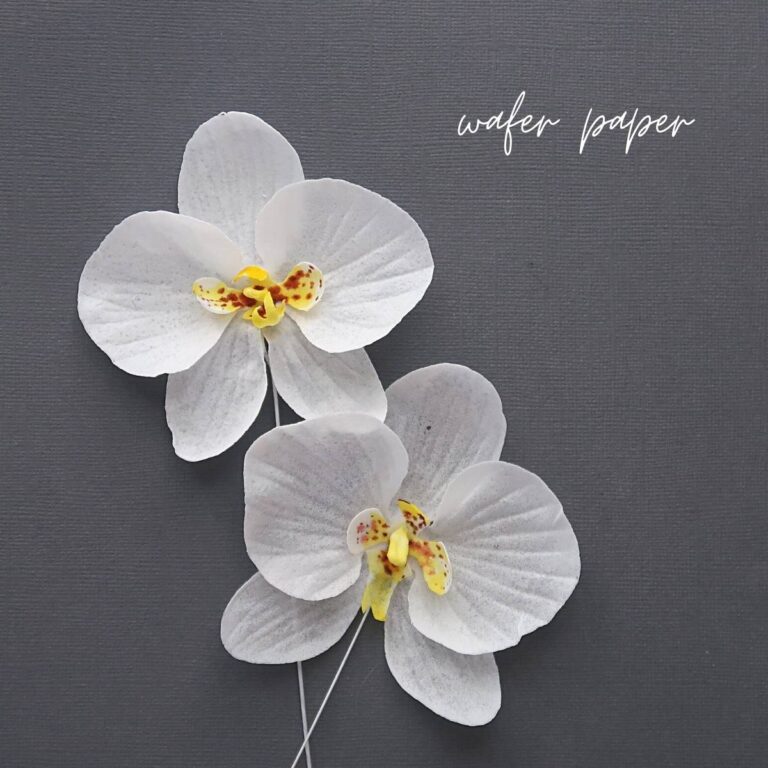
Wafer Paper Orchids Process
Step 1: Prepare and Cut Your Wafer Paper
Start by selecting your wafer paper. I recommend using 0.27 mm thick wafer paper, as it provides a beautiful texture. If you can’t find that, use 0.22 mm wafer paper, which works just as well.
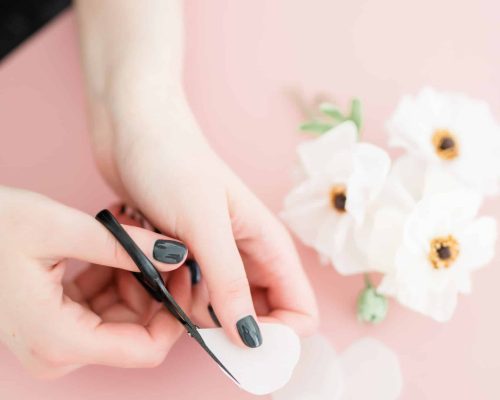
Begin by folding the paper and cutting out the petal shapes using the template provided. For a more efficient process, you can use a cutting machine
Step 2: Condition the Wafer Paper
Apply a thin layer of AC Tonic, a mixture of food-grade glycerin and water, to both sides of each petal. This will soften the wafer paper, making it easier to shape without cracking. To avoid wafer paper melting, stick each petal to your flower pad, ensuring it stays flat.
Step 3: Shape the Petals
Using your ball tool, gently press and curl the edges of each petal to give them a natural, lifelike appearance. For added texture, use the sharp side of the Dresden tool to score lines radiating from the center of each petal. Leave petals to dry on a petal former.
Step 4: Assemble the Orchid
Once all the petals are shaped and dried, start assembling the orchid. If you choose to wire your orchid, insert a 22-gauge floral wire through the center of the base petal.
Apply a small amount of wafer paper glue (a mixture of wafer paper scraps dissolved in water) to attach the petals together, arranging them in the iconic moth orchid shape.
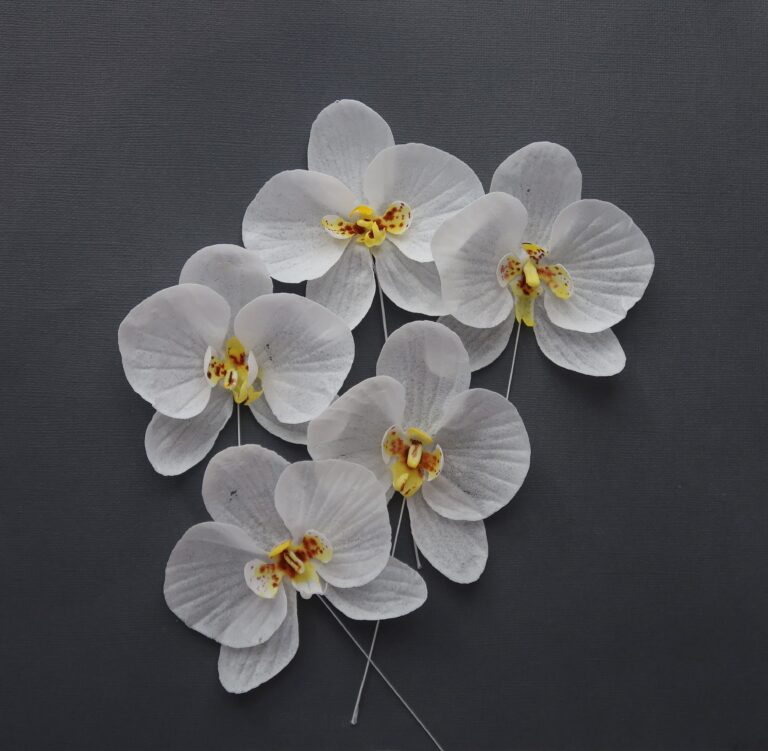
Step 5: Add Color
Mix the yellow gel color with a few drops of high-proof alcohol (like vodka) to create a light wash.
Using a fine brush, apply the color to the petals, adding depth and realism. For the center and any darker spots, use the maroon airbrush color. Remember to be gentle, as too much moisture can cause the paper to weaken.
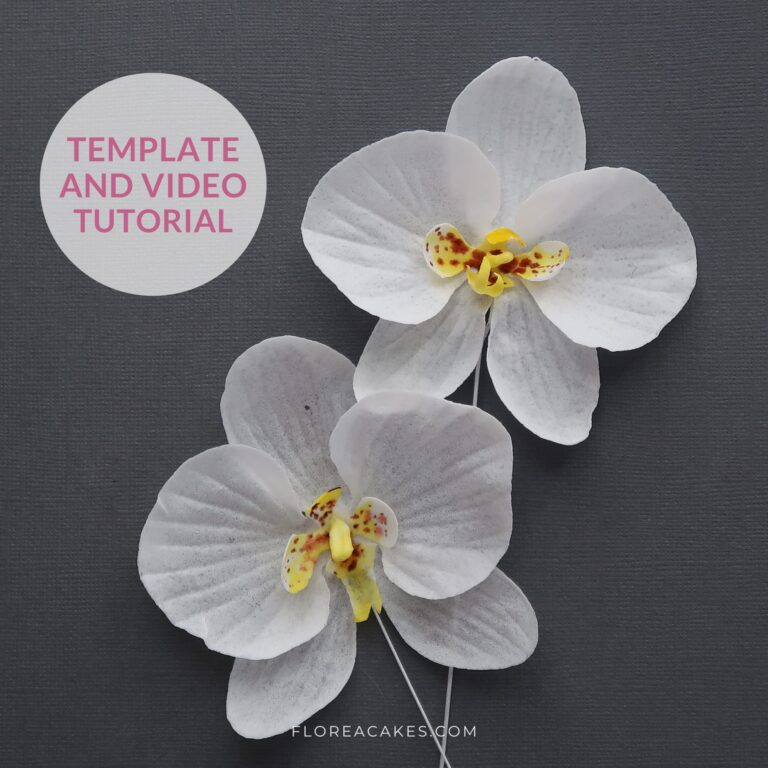
Ready to Create Wafer Paper Orchids? Don’t Forget to Share!
I hope you enjoyed the process and feel inspired to create your own. Don’t forget to put your spin on it—try different colors, arrangements, and styles to make your orchids truly unique.
I’d love to see what you come up with, so be sure to share your creations on social media and tag me @FloreaCakes.




8 Comments
Thank you. I love all of your tutorials. You are a joy to watch and I’m thrilled to be learning new skills from you.
Thank you so much, Sandy!
Hello mam….
How to make that conditioner for wafer paper orchid plz revert
You can download AC Tonic – wafer paper conditioner recipe here: https://astashkinacakes.com/recipe/
I thoroughly enjoy your tutorials Ann, thank you so much
I really enjoy your tutorials. Do you have a regular rose or rose bud?
Hi just bought this but can’t seem to be able to find where to print templates ,when aye click on the link it wants me to pay again ,
Hello, Catherine. You should have an email with the link to download the ebook that you can print. Or send me an email and I’ll take a look!