Have you seen those trending dry edible flowers? I have an idea! Let’s make our own wafer paper pansies (fully edible) to decorate cakes, cupcakes and even cookies?
In this tutorial, I’ll teach you how to make delicate, hand-painted wafer paper pansy flowers.
Pansies, also known as Viola flowers have very vibrant colors and intricate petal patterns. And very easy to make!
Let’s get started! You can follow the step-by-step guide below or watch my YouTube video for a more hands-on approach.
Learn how to work with edible wafer paper (also known as rice paper) and create delicate hand-painted Wafer Paper Pansy Flowers. In this video tutorial, Anna will teach you step-by-step how to cut, condition, and color wafer paper to achieve a realistic look on Wafer Paper flowers. Download Wafer Paper Pansy template and follow easy instructions.
Materials and Tools You’ll Need
Materials
- Wafer Paper
- Gel Colors (in shades of burgundy, violet, and black)
- Cornstarch
- Edible Gold Powder
- Wafer Paper Conditioner (download recipe here)
Tools
- Floral Foam Pad
- Brushes (liner brush #0, angled brush)
- Ball Tools (small and medium)
- Dresden Tool
- Airbrush Color or Edible Marker (optional)
- Wafer Paper Glue (included with the AC tonic recipe)
- Shaping Tools (toothpick, awl, etc.)
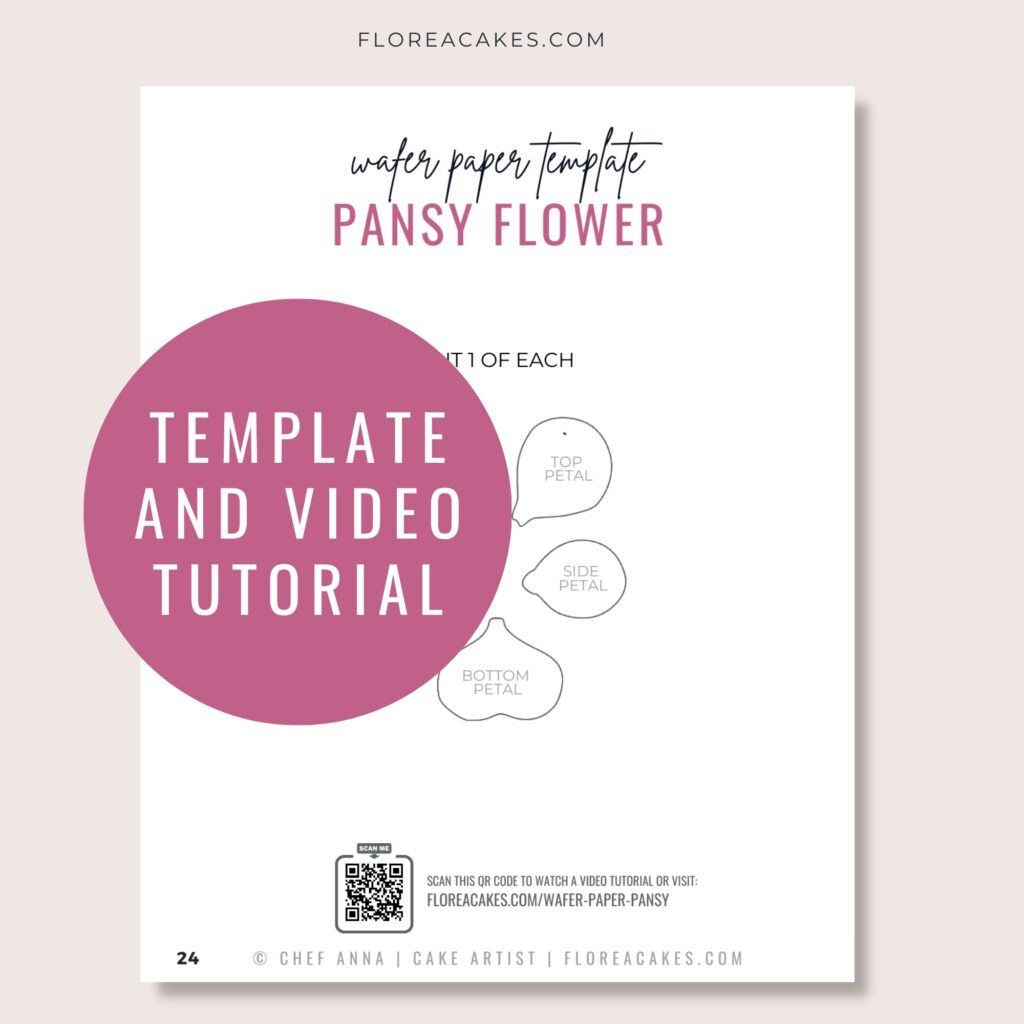
- My Wafer Paper Pansy Template (included in the All-In-One Wafer Paper Guide)
Download Wafer Paper Pansy Template
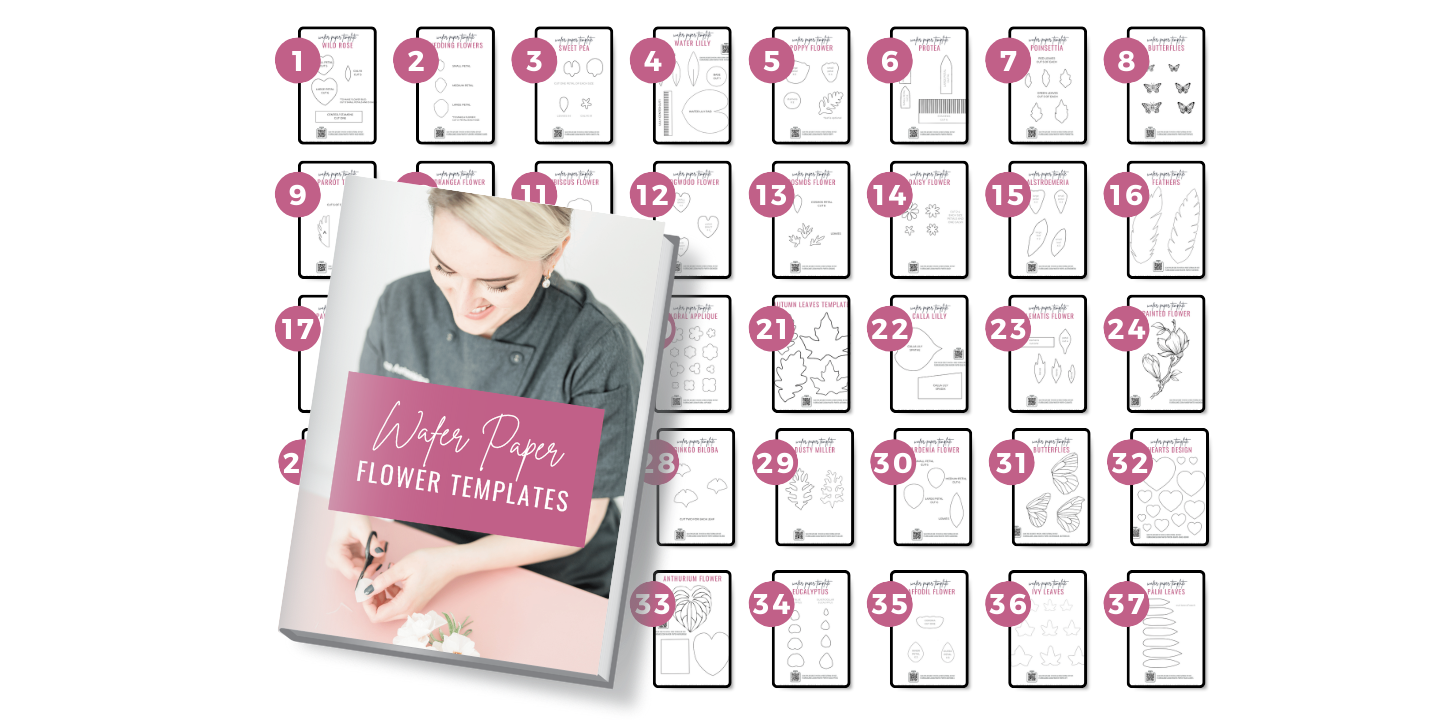
Get instant access to this and 37 more wafer paper flower tutorials and templates in my All-In-One Wafer Paper guide + 3 bonuses!
Step 1: Prepare and Cut the Wafer Paper
Start by downloading the pansy template. Using your wafer paper, cut out the flower petals following the template. Stack up to three layers of wafer paper for quicker cutting.
Don’t forget to save your scraps for making wafer paper glue later!
Step 2: Condition and Color the Petals
Mix your wafer paper conditioner with gel colors to create two different shades of burgundy. Lightly brush the conditioner mixture on both sides of the petals, starting with the lighter shade for the top petals.
Use cornstarch to prevent the wafer paper from sticking and to help maintain its shape.
Step 3: Shape the Petals
Once the petals are conditioned with AC Tonic, use your shaping tools to add texture and dimension.
For a realistic look, pinch the base of the petals and create vertical lines with a Dresden tool.
Place the petals on a floral pad to dry.
Step 4: Add Final Color Details
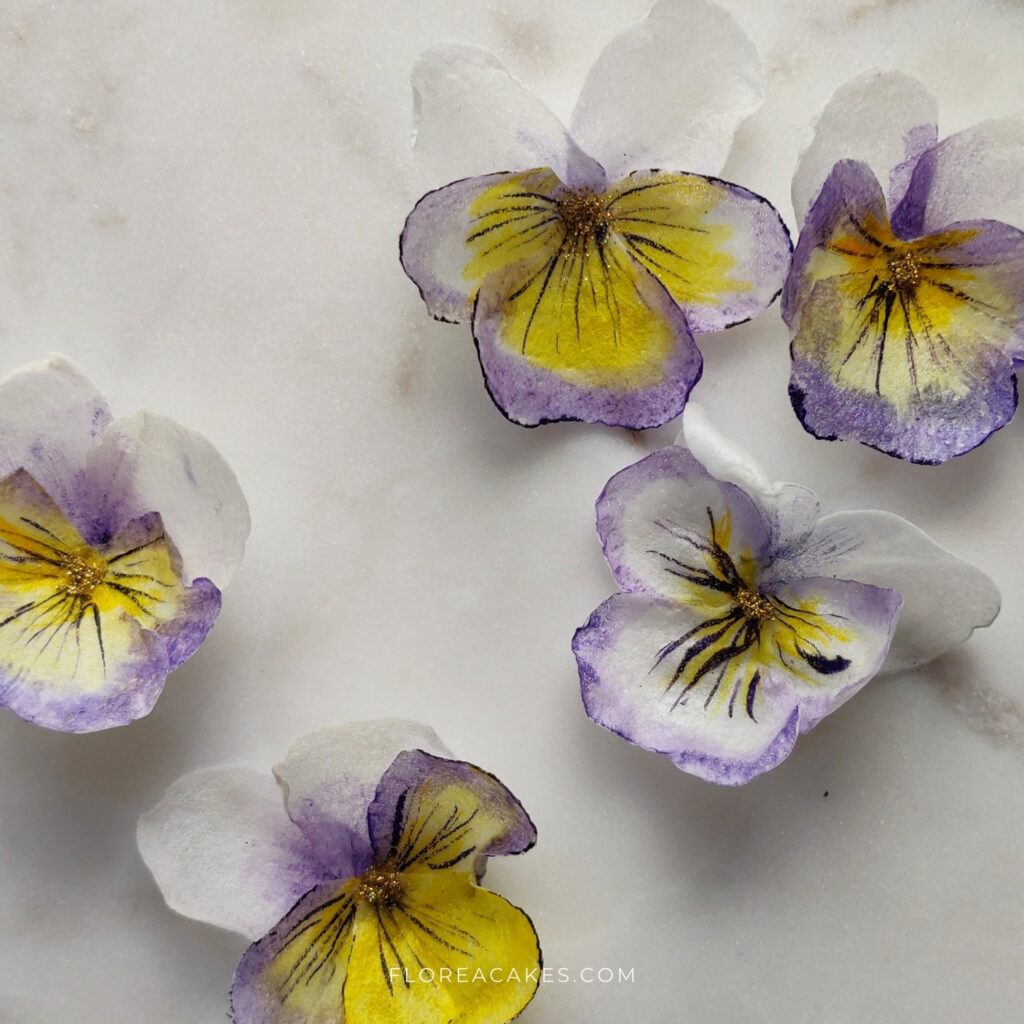
After the petals have dried, use a fine liner brush and black gel color to paint distinct lines on the petals. This adds depth and brings out the natural patterns of the pansy flower.
Step 5: Assemble the Pansy Flower
Use wafer paper glue to attach the petals together, starting with the top two petals, followed by the side and bottom petals. Arrange them to create a full, realistic flower.
Step 6: Add Gold Accents
Mix the edible gold powder with a small amount of alcohol or water to create a paste. Apply it to the center of the flower to give it a luxurious finish.
Ready to Create Your Edible Pansies?
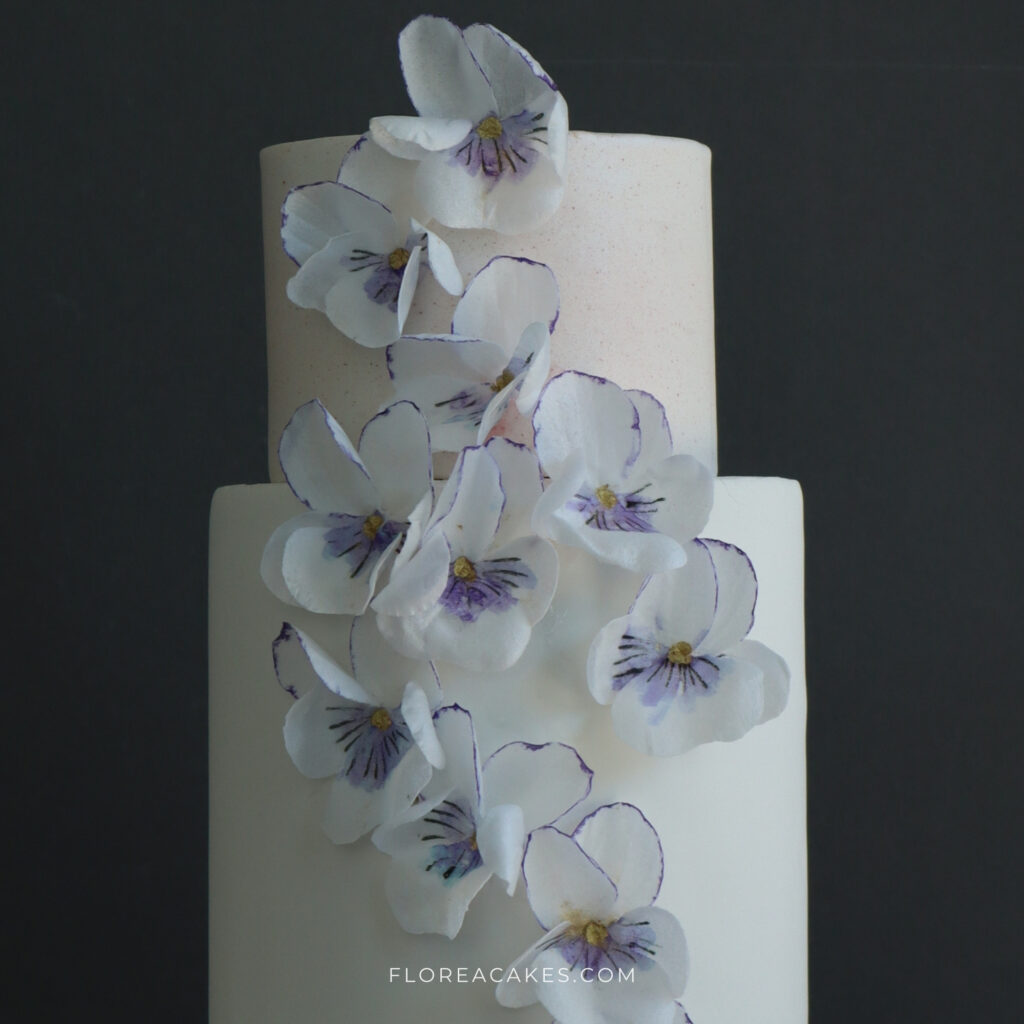
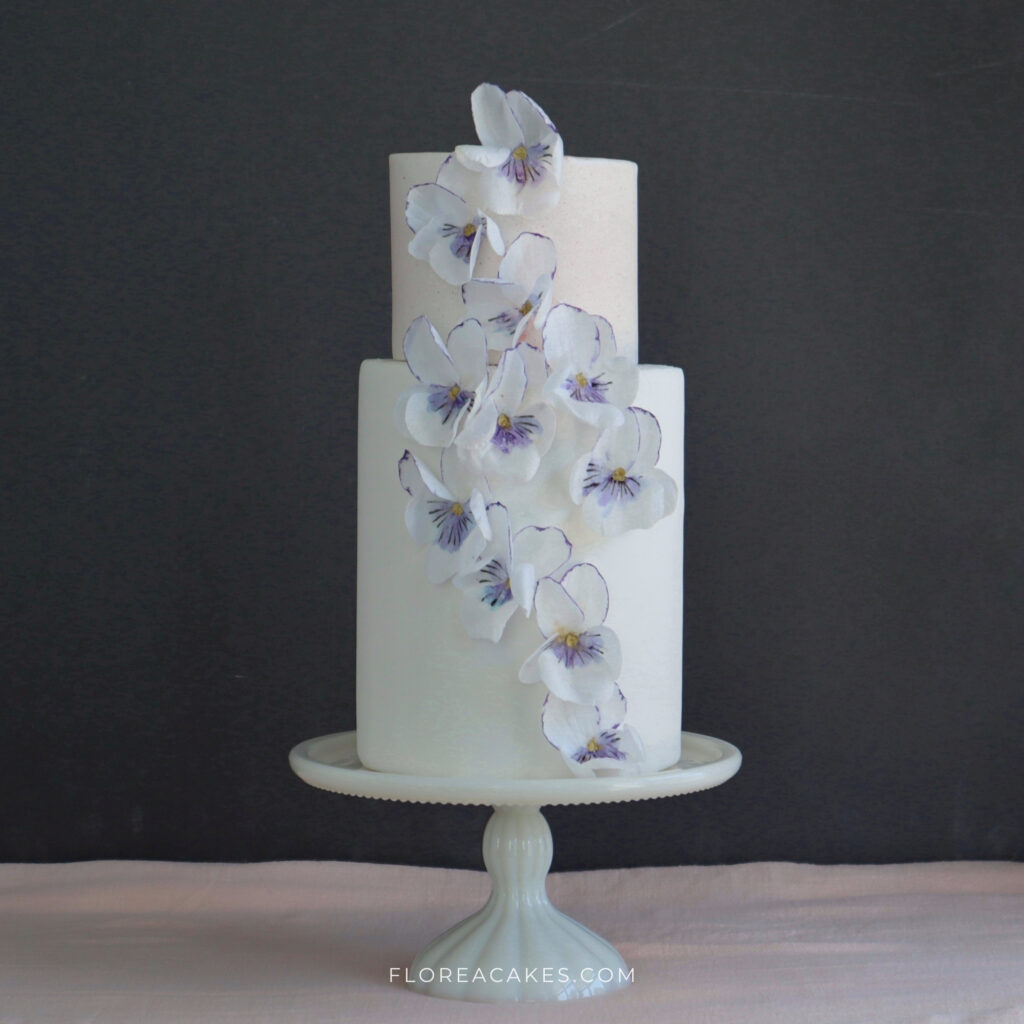
I hope you enjoyed this tutorial and give it a try! Creating wafer paper pansies is a fun and rewarding process that adds a unique touch to your cake designs.
I can’t wait to see what you create—be sure to share your work with me on social media @FloreaCakes!


4 Comments
Thank you sooo much for the free tutorial and the templates. It helps me a lot in decrating my cakes❤️❤️❤️
Thanks.
l am not good in English.
Thanks for the templates.
I have always wanted to try and make flowers. With your templates and video tutorials I think I will try them.
Amazing! Have fun!