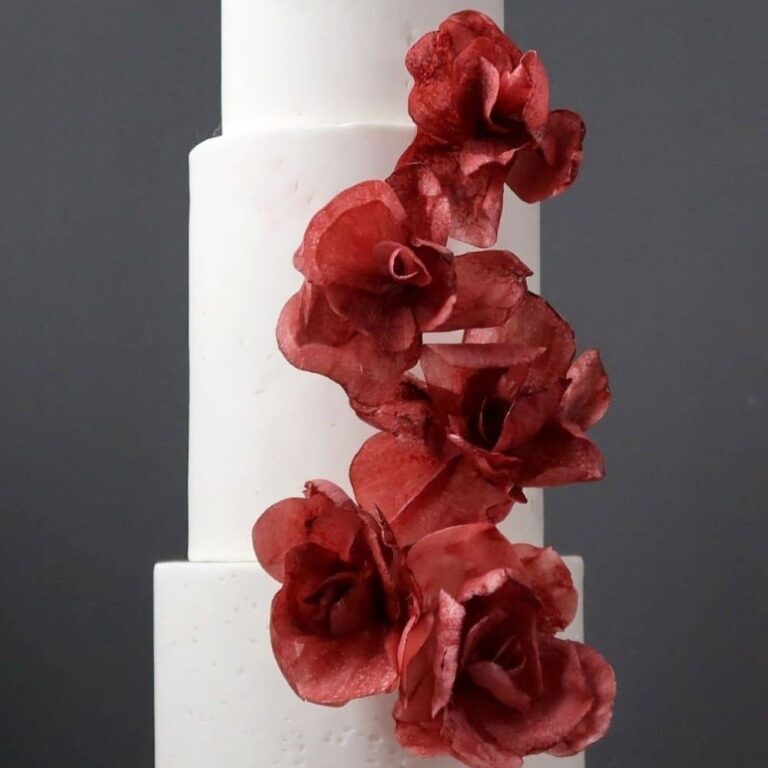
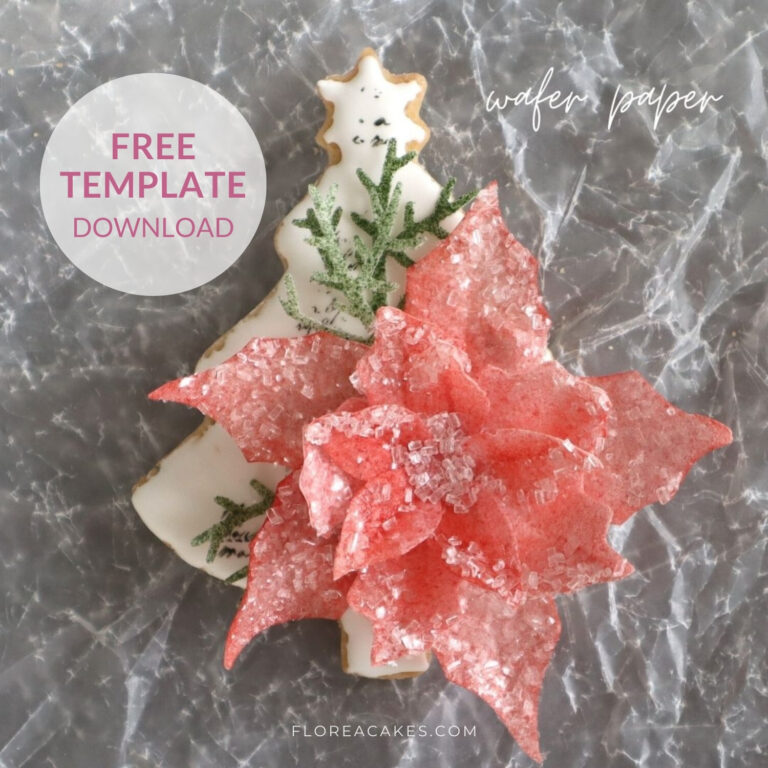
Did you know that poinsettias are not flowers but plants with colorful leaves? Poinsettias make festive and bright decorations for holiday cakes.
In this tutorial, you will learn how to paint wafer paper dark red color, embellish poinsettia leaves with sugar, and assemble a fully edible flower without any wires.
Let’s get started! Watch the video below, or scroll for the step-by-step instructions.
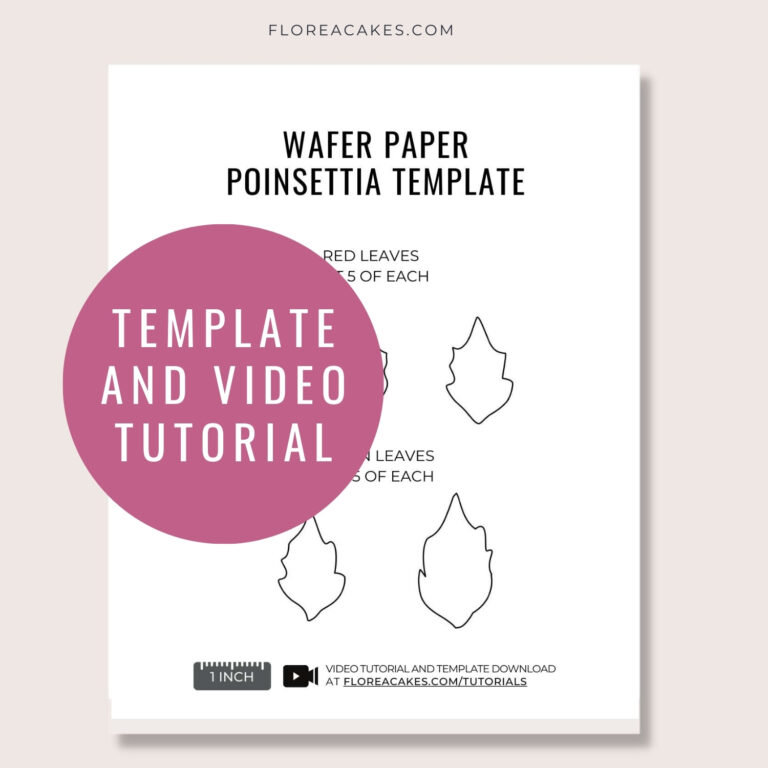
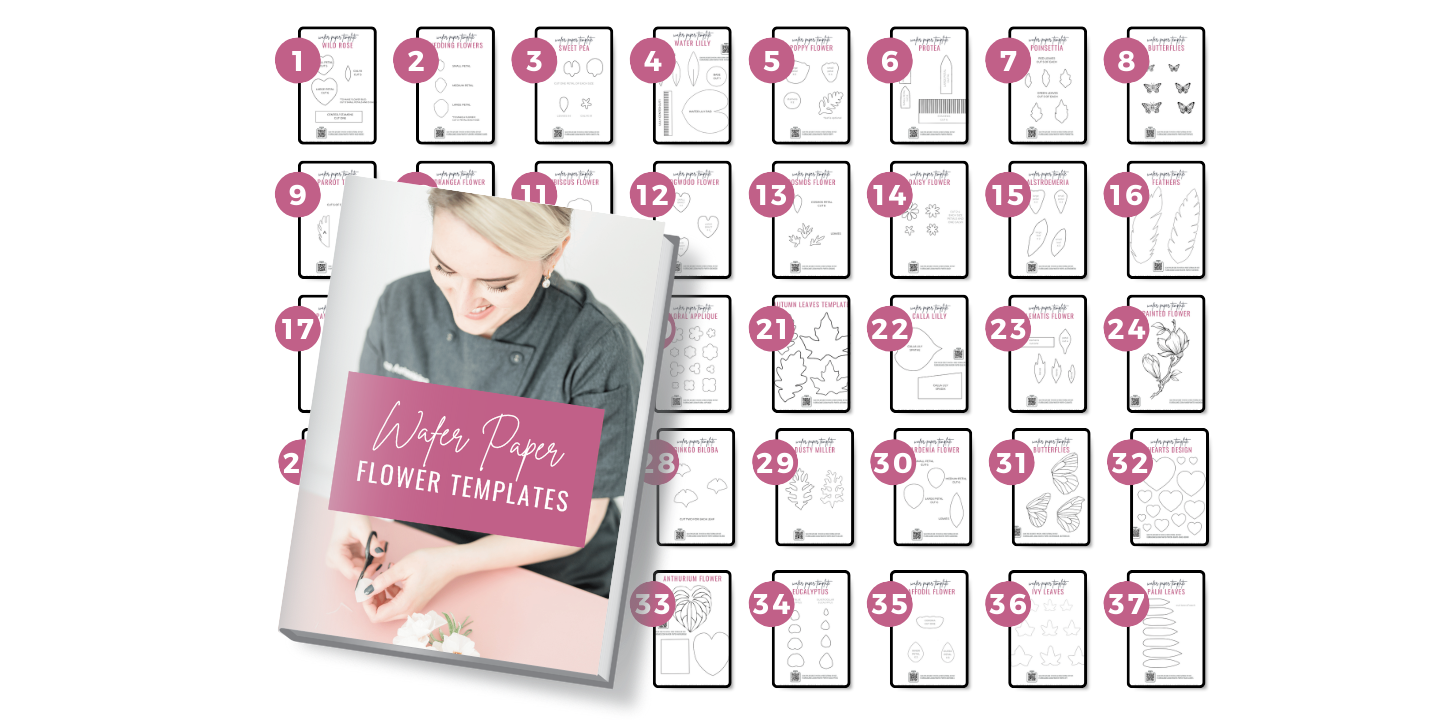
Download Wafer Paper Poinsettia Template
Get instant access to this and 37 more wafer paper flower tutorials and templates in my All-In-One Wafer Paper guide + 3 bonuses!
Materials and Tools You’ll Need
Materials
- Wafer Paper (0.27mm)
- Poppy Red Petal Dust by The Sugar Art
- Sparkling Sugar
- Edible Glitter Flakes
- Piping Gel (or Clear Gel/Corn Syrup as substitutes)
- AC Tonic Conditioner (get the recipe here)
- My Wafer Paper Poinsettia Template
Tools
- Foam Floral Pad
- Dresden Tool
- Mini Spray Bottles
- Mini Steamer
- Sharp Scissors
- Cosmetic Sponges (cut into small pieces)
How to Create Wafer Paper Poinsettia Step-by-step
Step 1: Coloring The Wafer Paper
Mix AC Tonic Conditioner with red petal dust in a mini spray bottle. Shake well until the color dissolves. Test the color on a paper towel to ensure the desired shade. Adjust if necessary.
Spray the mixture evenly onto both sides of the wafer paper. Let it dry and apply a second layer for a richer color.
Tip: If you have an airbrush, you can use this mixture for smoother application.
Tip for humid climates: Substitute AC Tonic Conditioner with vodka or high-proof alcohol for quicker drying.
Step 2: Cutting and Shaping Petals
Use the provided template to cut petals in three sizes (small, medium, large). Cut five of each size. To speed up cutting, stack three layers of wafer paper.
Place each petal on a foam floral pad. Use a Dresden tool to press gently in the center, creating a cupped or curved shape.
If the wafer paper cracks or isn’t flexible, lightly steam it to reintroduce moisture.
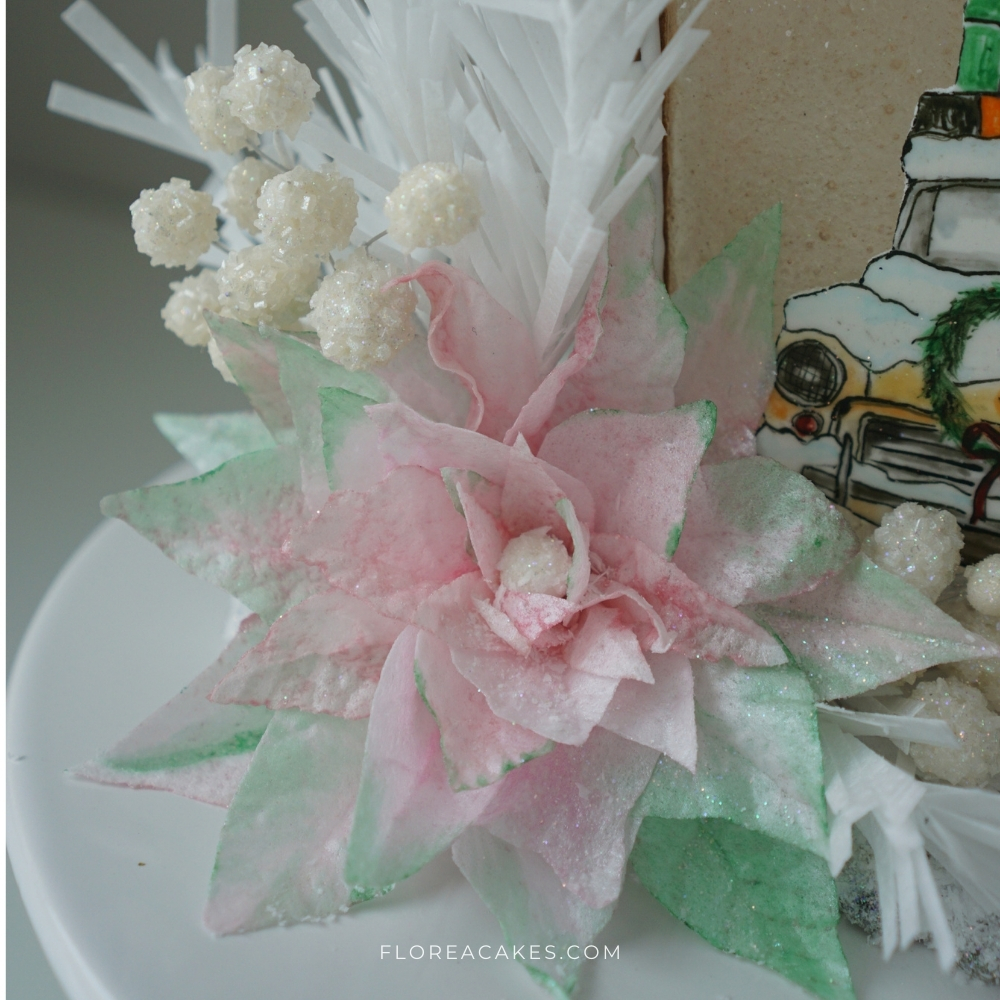
Step 3: Dusting and Detailing
Dust the edges of the petals with the same red petal dust to create depth and definition. Focus on the outer edges of medium and large petals. Fully dust small petals to make them stand out.
Embellish petals with sparkling sugar and edible glitter flakes. Apply a thin layer of piping gel over the petal surface. Dip the petal into the sparkling sugar or sprinkle glitter flakes for added texture.
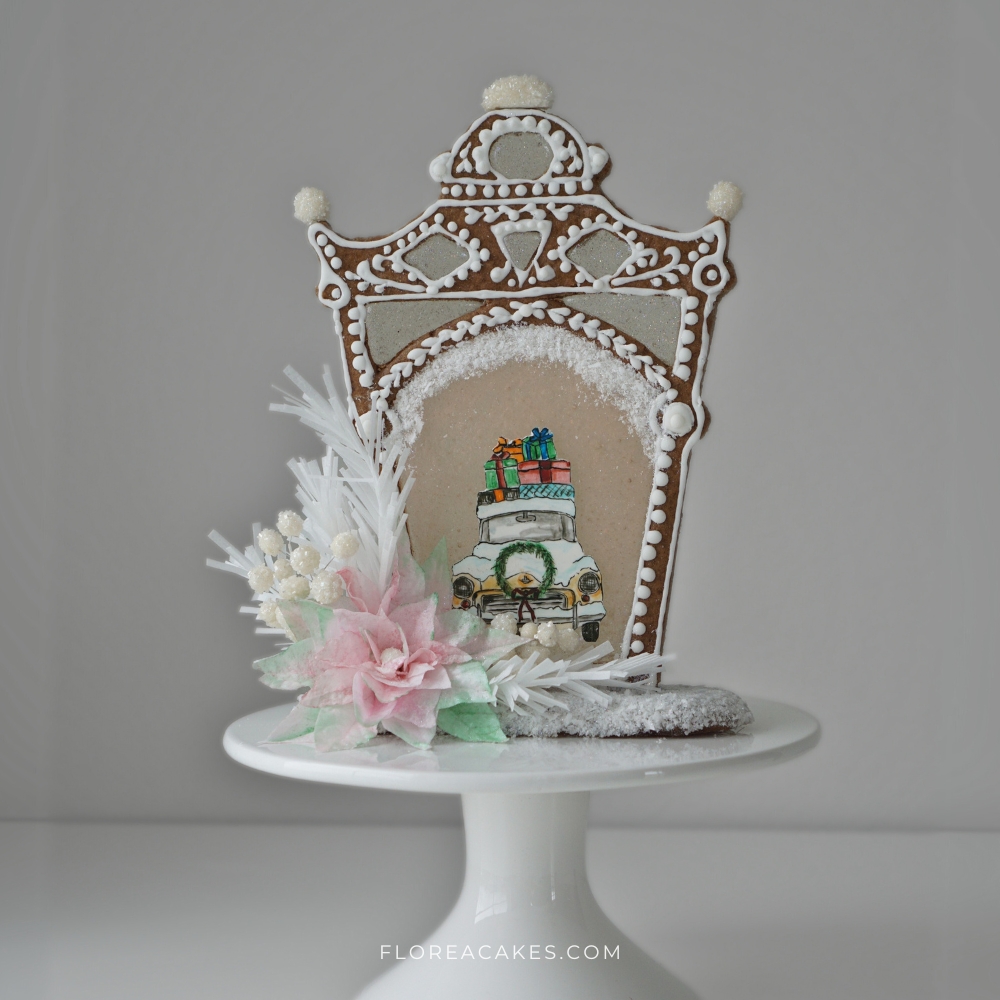
Step 4: Assembling the Poinsettia
Prepare a flower base by cutting a small circleof colored wafer paper or making a small ball of fondant.
Use piping gel as glue to attach five large petals to the base, forming the first layer. For the second layer, attach medium petals between the gaps of the first layer. Add the final layer with small petals, ensuring they overlap naturally.
Place cosmetic sponges between layers to create dimension and prevent the petals from drying flat.
Add a dollop of piping gel in the center and sprinkle with sparkling sugar and glitter flakes for a festive finish.
Step 5: Setting and Final Adjustments
Let the assembled poinsettia dry for 10-15 minutes until it holds its shape.
Remove the sponges carefully to reveal the open, dimensional design.
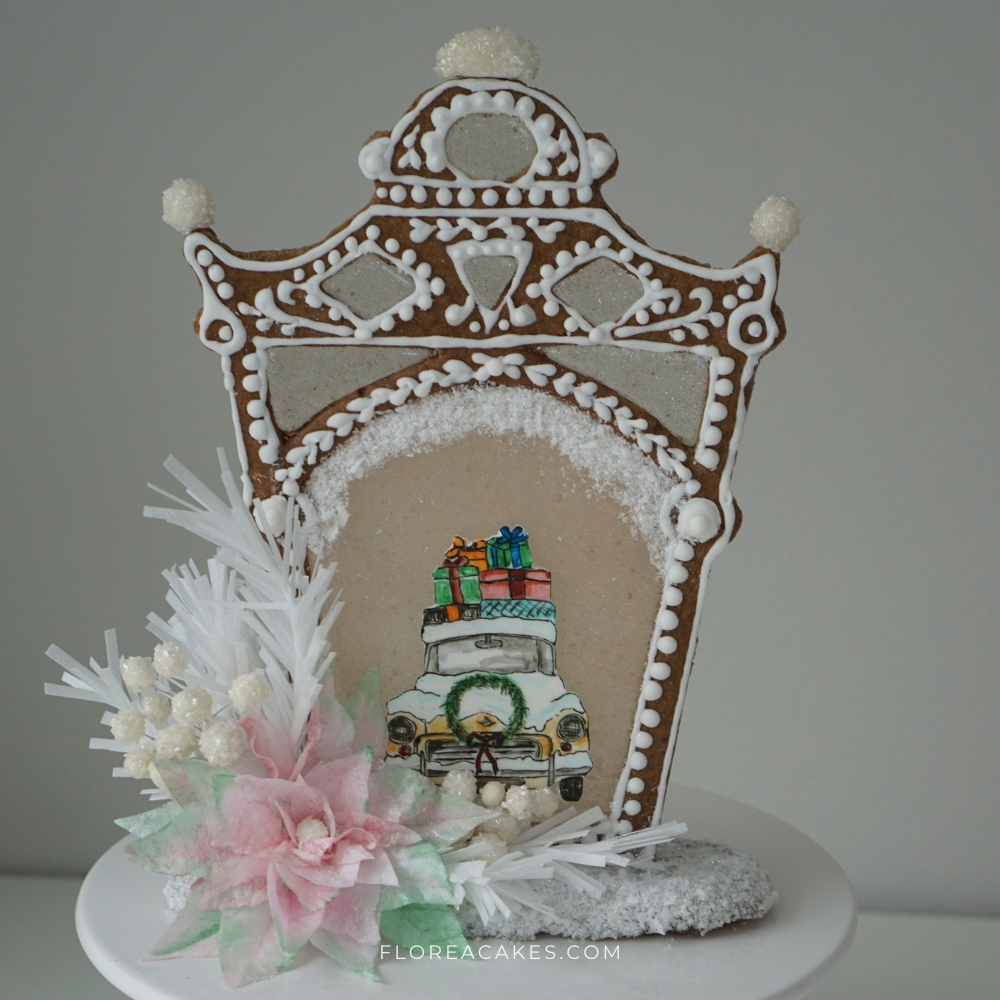
It’s Your Turn!
Thank you for following along with this wafer paper poinsettia tutorial! I can’t wait to see your creations. If you make your own poinsettias, please share them on social media and tag me at @FloreaCakes so I can feature your work!

