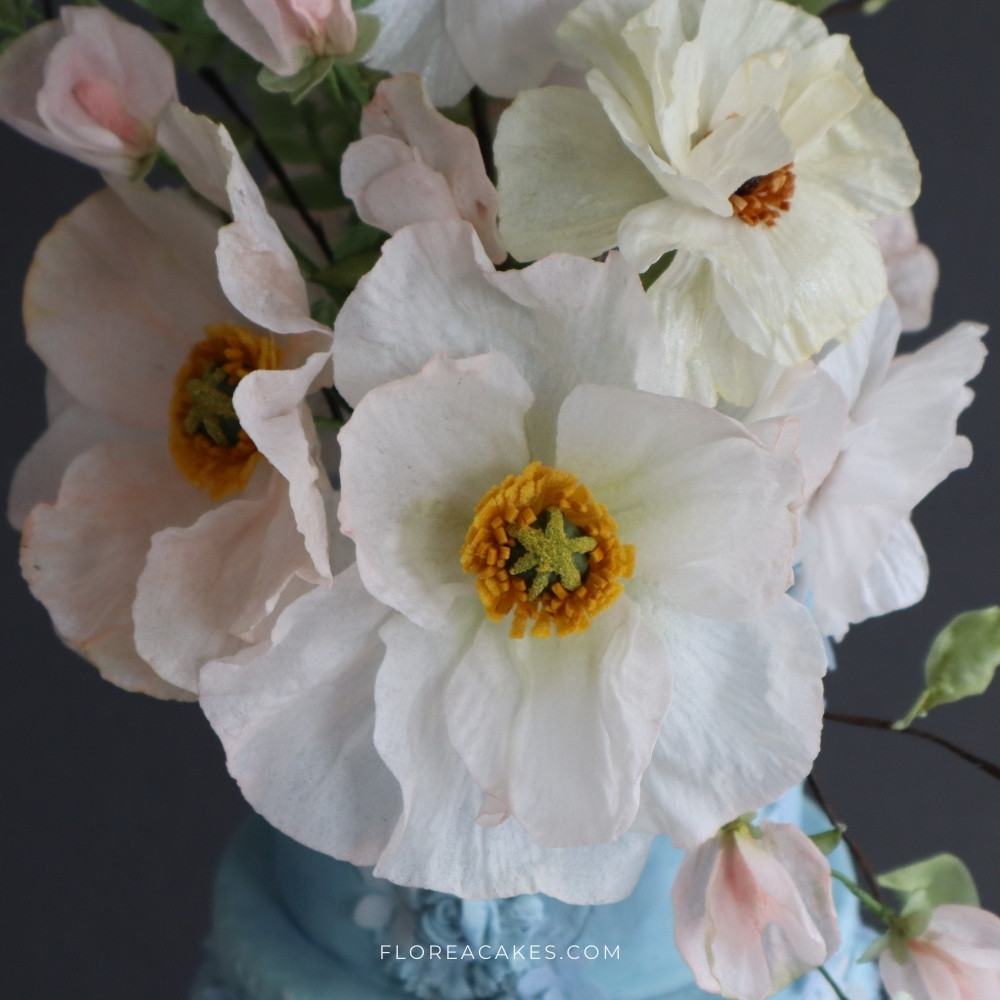
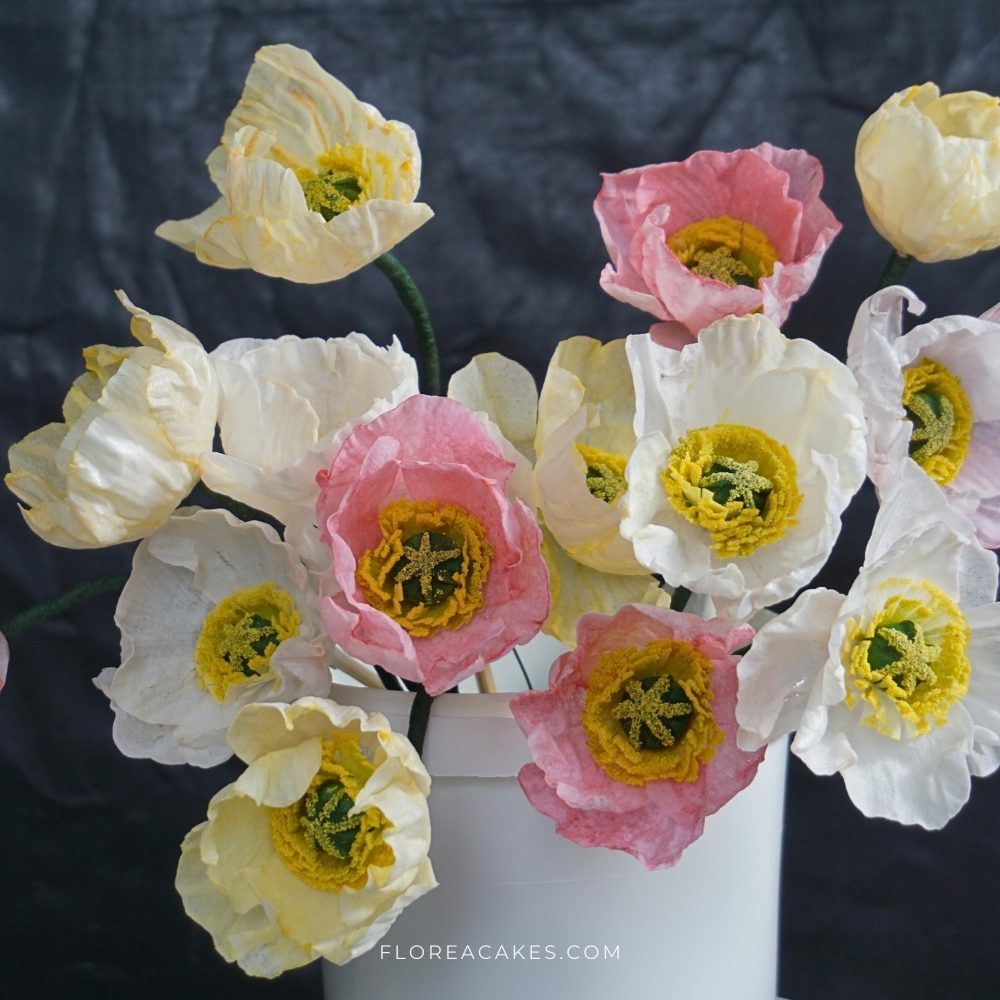
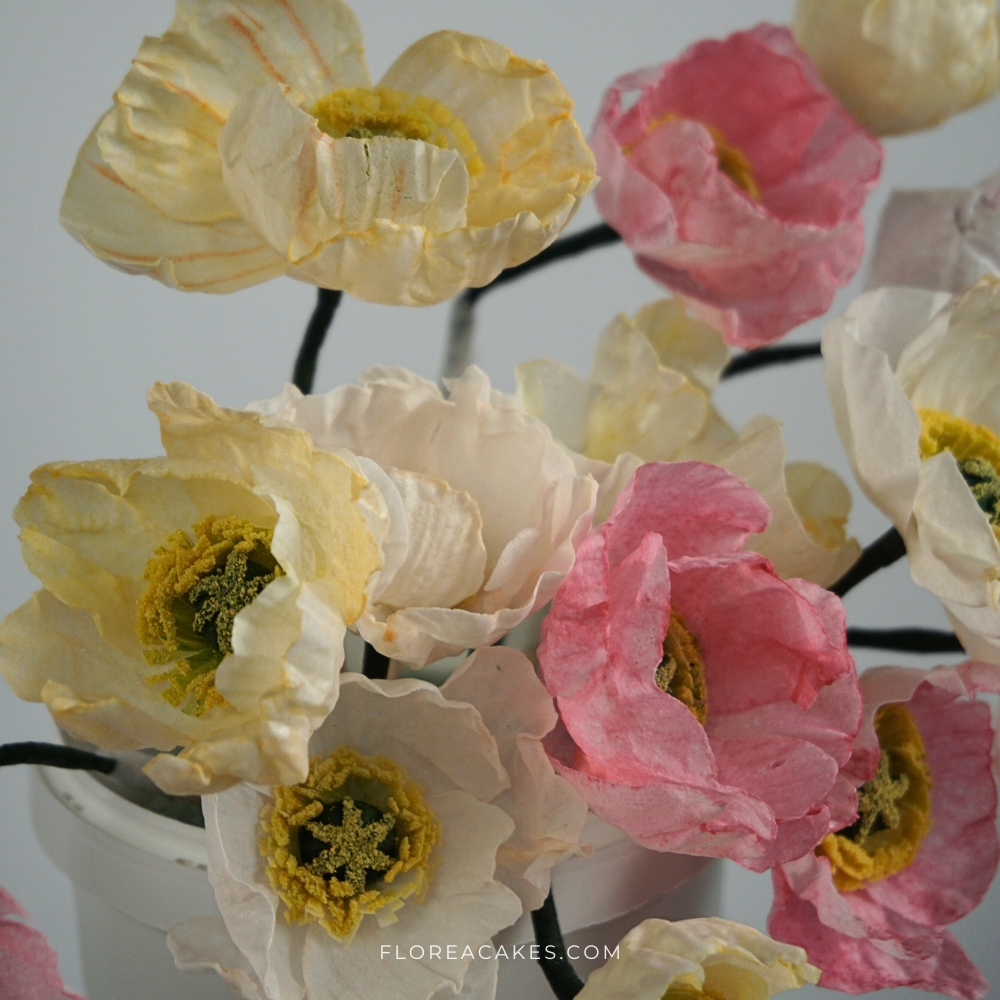
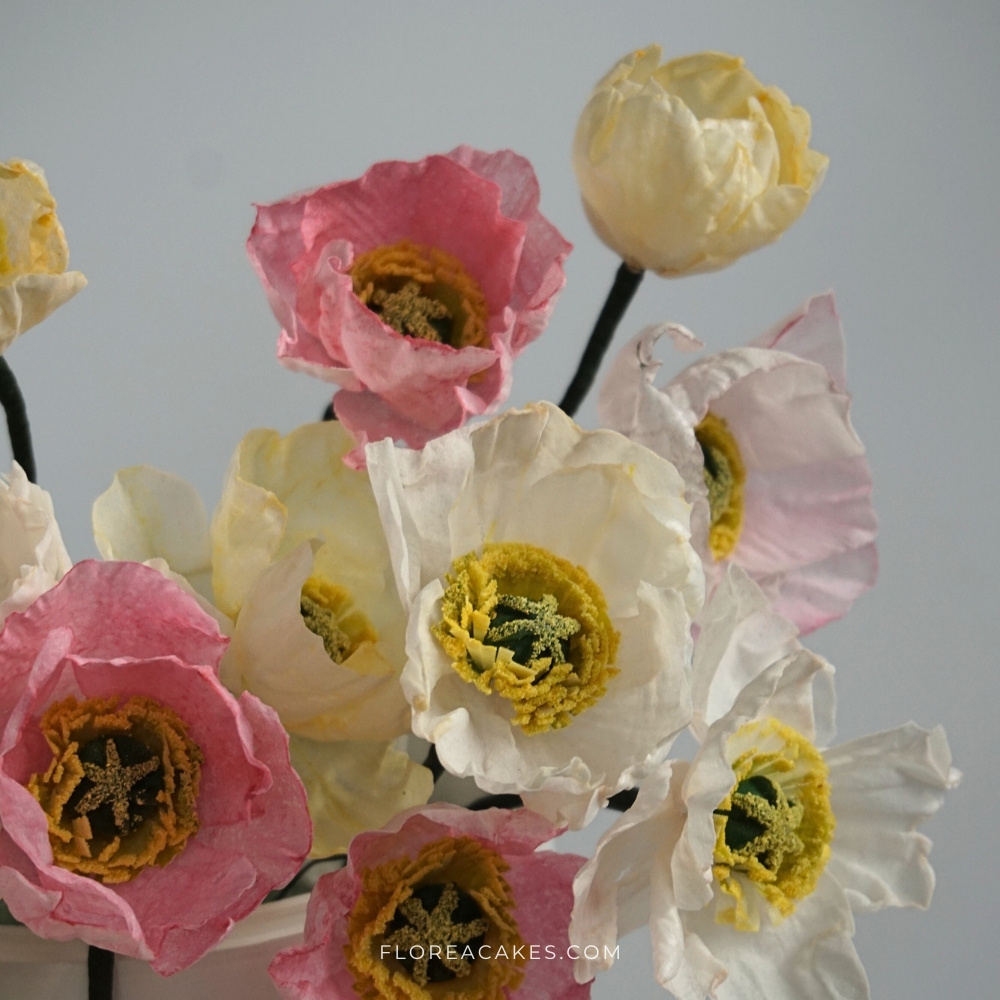
In this tutorial, I’m thrilled to share how to make beautiful, delicate wafer paper poppies! These flowers are such a statement, with their vibrant colors and unique shape. Plus, they’re surprisingly easy to create. I’ll guide you step-by-step on how to assemble these blooms, from cutting and coloring to shaping each petal.
Perfect for wedding cakes or adding a bold floral touch to any dessert, these wafer paper poppies are a must-have in your cake decorating toolkit. You’ll only need a few basic tools and techniques to transform plain wafer paper into stunning, edible art.
Follow along with the guide below or watch my YouTube video to learn how to make these eye-catching poppies!
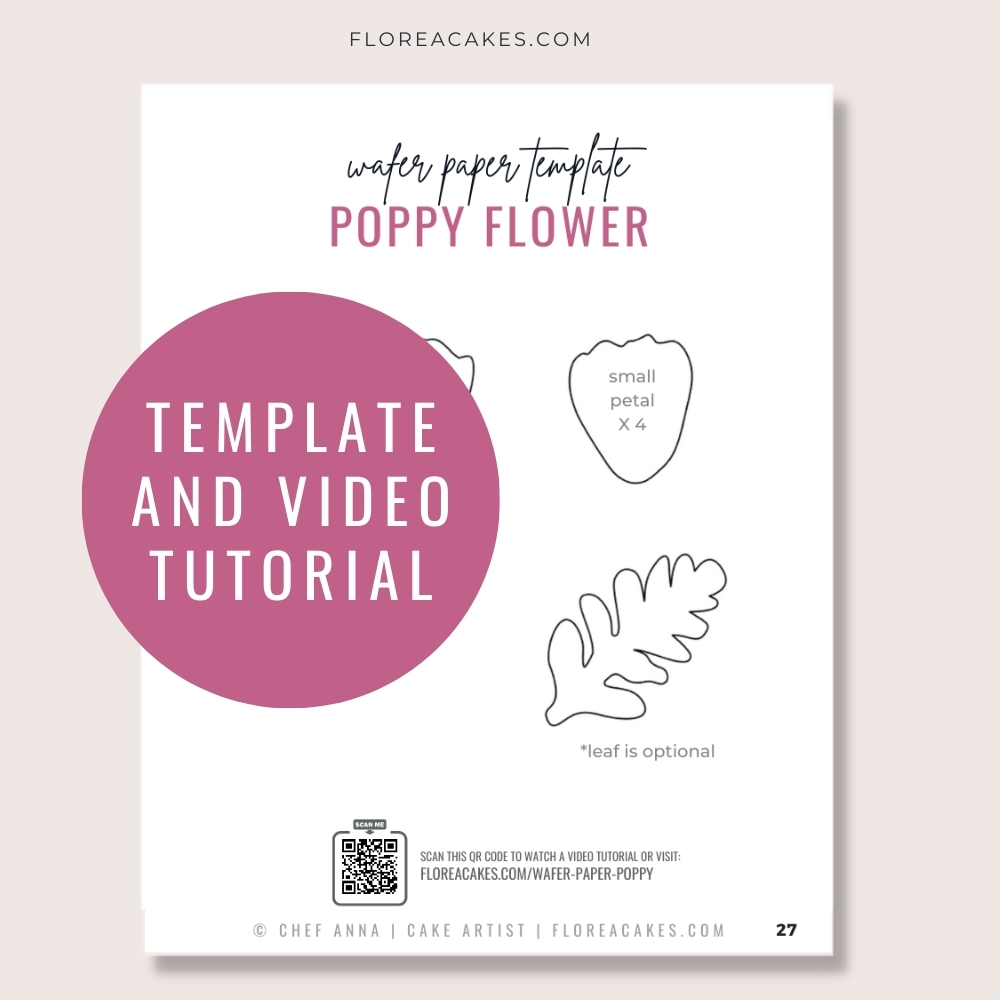
Download Wafer Paper Poppy Template
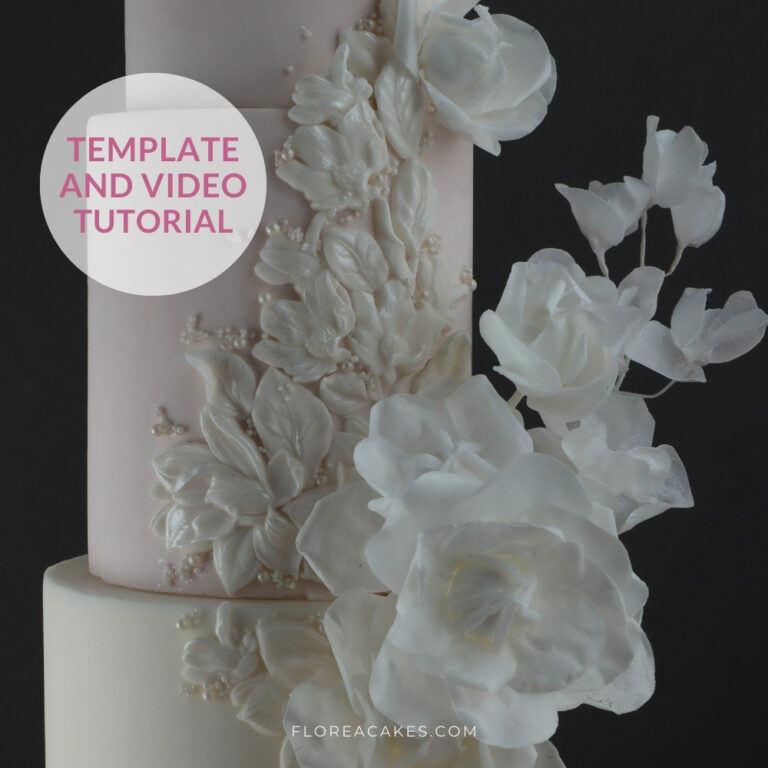
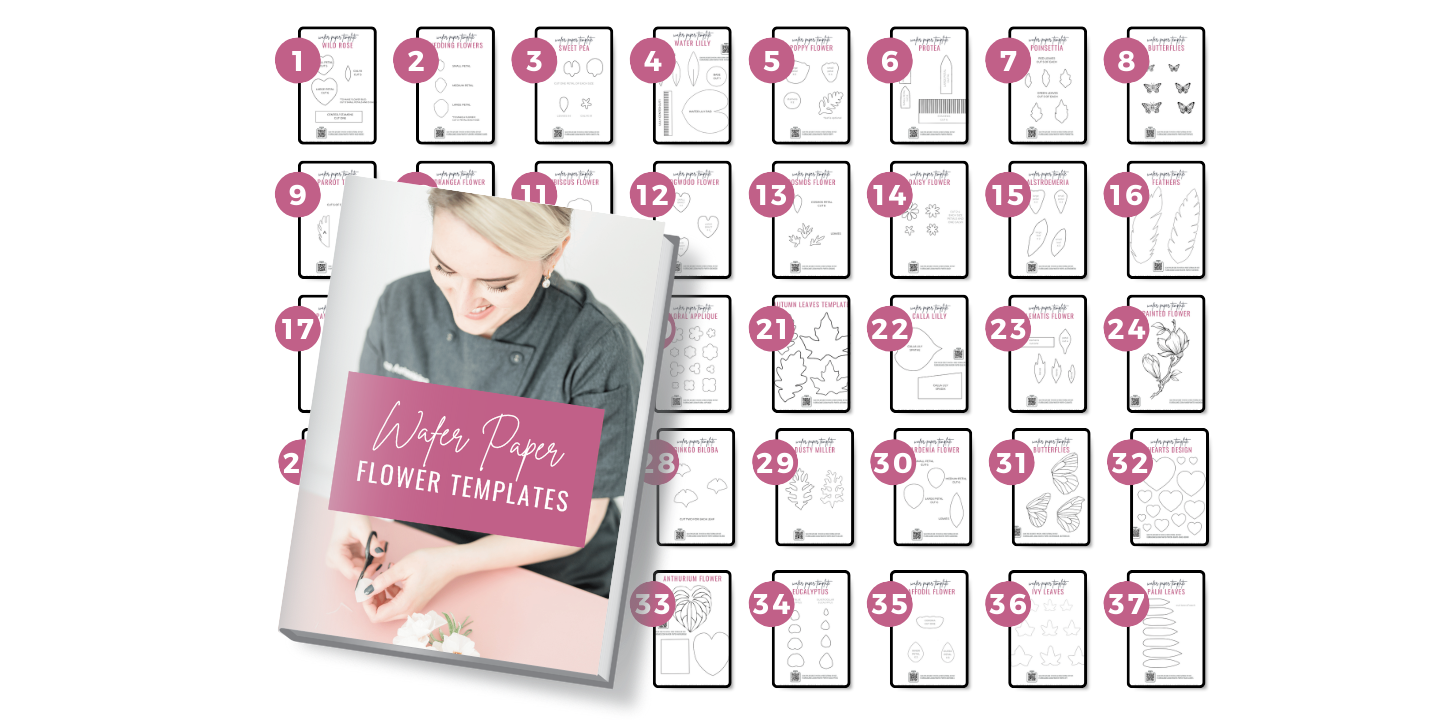
Get instant access to this and 37 more wafer paper flower tutorials and templates in my All-In-One Wafer Paper guide + 3 bonuses!
Materials and Tools You’ll Need
Materials
- Wafer paper (0.27mm or similar)
- Food-grade glycerin
- Gel colors (green, yellow, and pink/orange)
- Cornstarch
- Dark green gum paste
- 22-gauge floral wire (green)
- Green floral tape
- Wafer glue (recipe below)
- Confectioner’s glaze or gum glue
- Semolina or cornmeal mixed with yellow petal dust
- My Wafer Paper Poppy Template (download above)
Tools
- Sharp scissors
- Flat brush and fluffy makeup brush
- Peony petal veiner
- Petal or egg mold for forming petals
- Needle-nose pliers for bending wire hooks
- Lighter or candle
- Tweezers
How to Create Wafer Paper Poppy Step-by-Step
Step 1: Prepare Your Tools and Materials
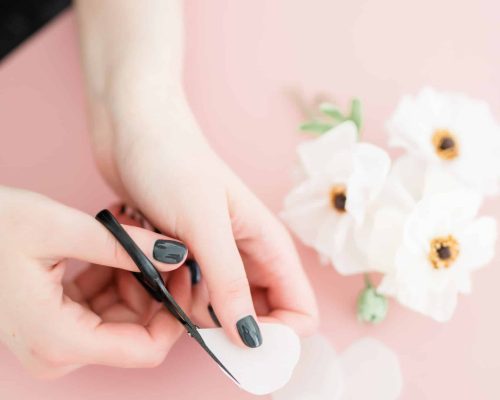
Download and print the flower template, then cut out your wafer paper petals using sharp scissors or a cutting machine.
If you’re going freehand, sketch petal shapes onto the wafer paper with a soft pencil, using real poppy petals as a guide for a natural look, then cut them out.
Step 2: Condition the Wafer Paper
Create a wafer paper conditioner by mixing two drops of glycerin with about a teaspoon of distilled water. Add a touch of gel color (like pink or red for a vibrant watermelon shade) to achieve your desired color. Use a flat brush to apply the conditioner to each petal, which softens the paper and allows you to shape it.
Step 3: Vein and Shape the Petals
Place a petal in your peony petal veiner (bumpy side up), press down, and count to five to imprint texture. Use your fingers to shape the petal edges or scrunch them slightly for added realism. Place the shaped petal in an egg mold or former to hold its shape while drying. Repeat with all six petals.
Step 4: Create the Poppy Center
Make a small ball of dark green gum paste, about the size of a large pea, and insert a 22-gauge wire with a hook on the end. Use tweezers to gently pinch the gum paste into a star shape, adding dimension. This will serve as the base for your stamens.
Step 5: Make the Stamens
Cut small circles of wafer paper about 1.5 inches in diameter. With smaller scissors, cut out the stamens. Apply a thin layer of confectioners’ glaze and dip the edge into the pollen mixture. Add wafer paper flue and wrap one layer of stamens tightly around the gum paste center. Repeat with the second circle. Allow it to dry.
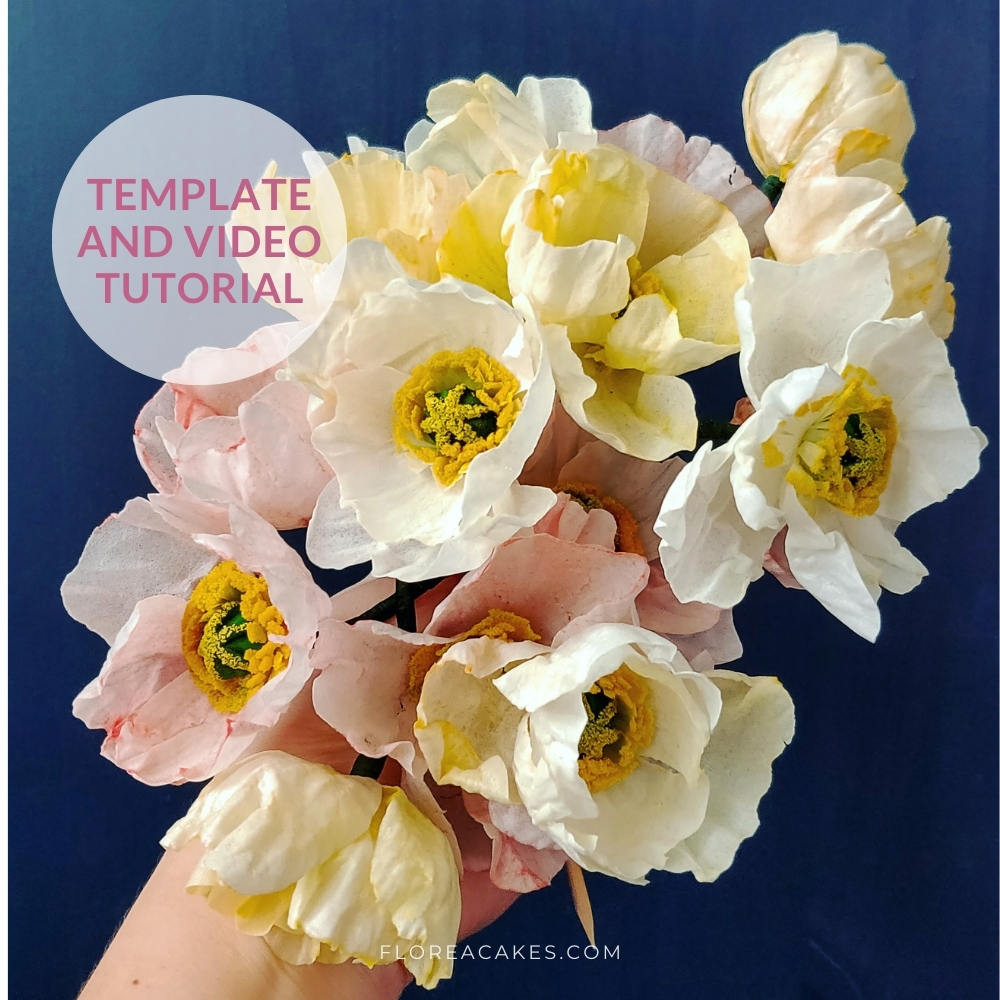
Step 6: Assemble the Flower
Once the petals and stamen are dry, apply a small amount of wafer glue to the base of each petal. Attach the smaller petals first, spacing them evenly around the center, then add the larger petals in between. Secure each petal with additional glue as needed. Shape the petals to create a natural, asymmetrical look.
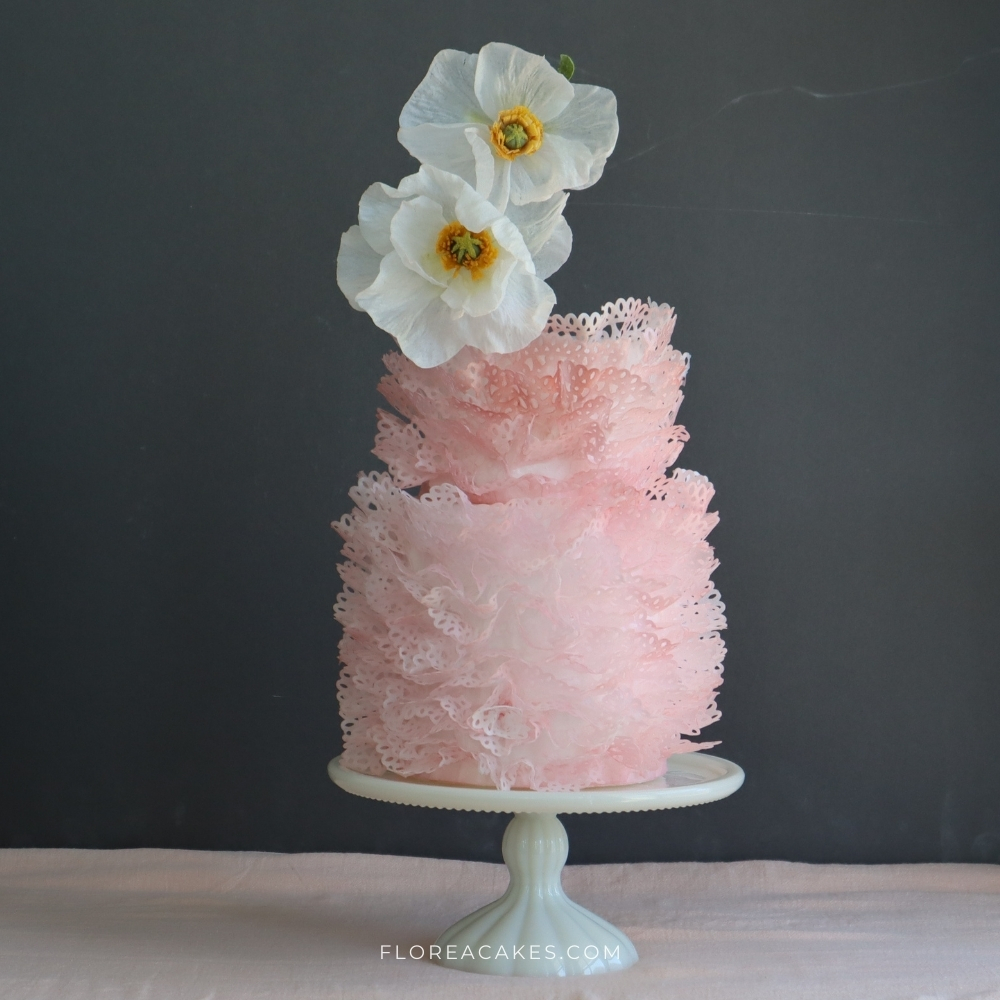
Cake Arrangements Featuring X to Inspire You
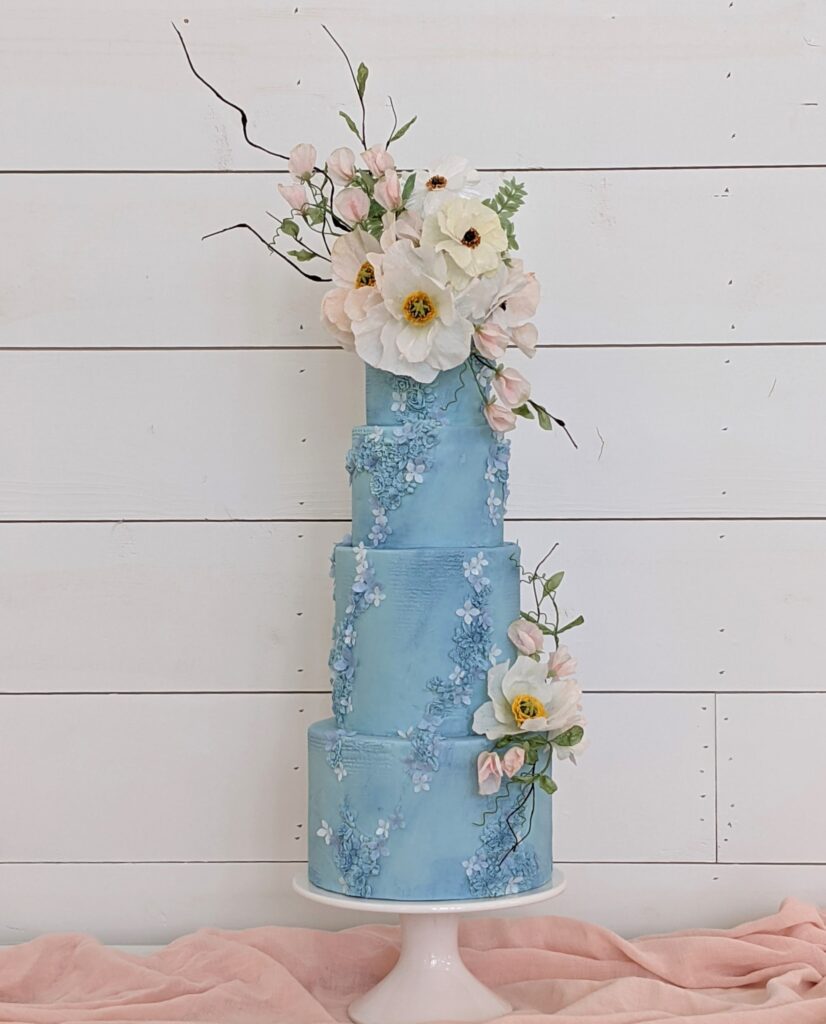
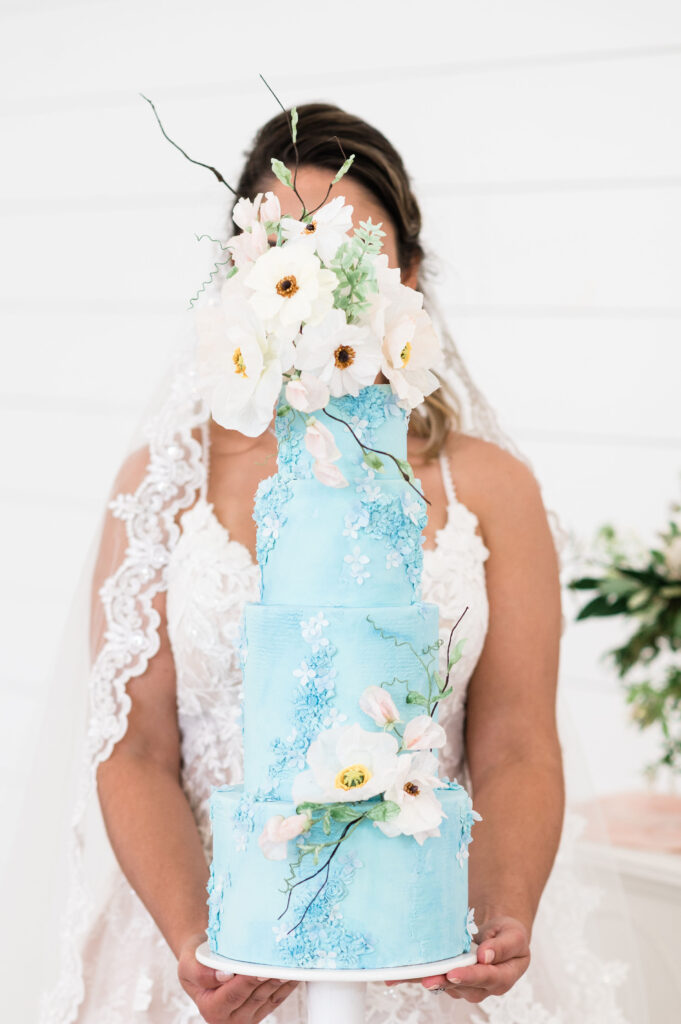
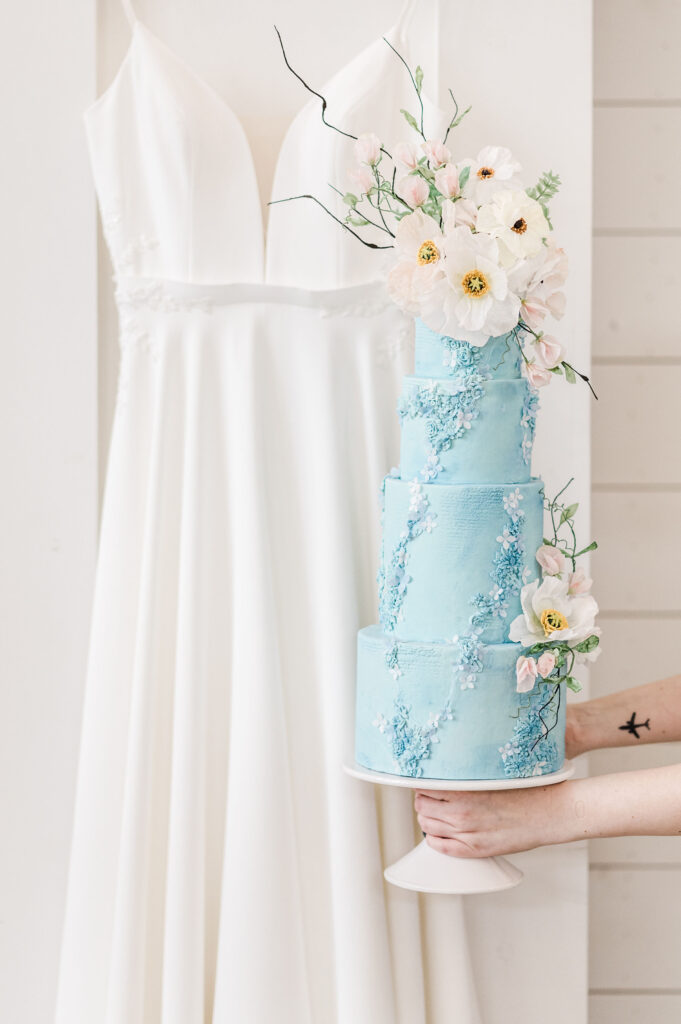
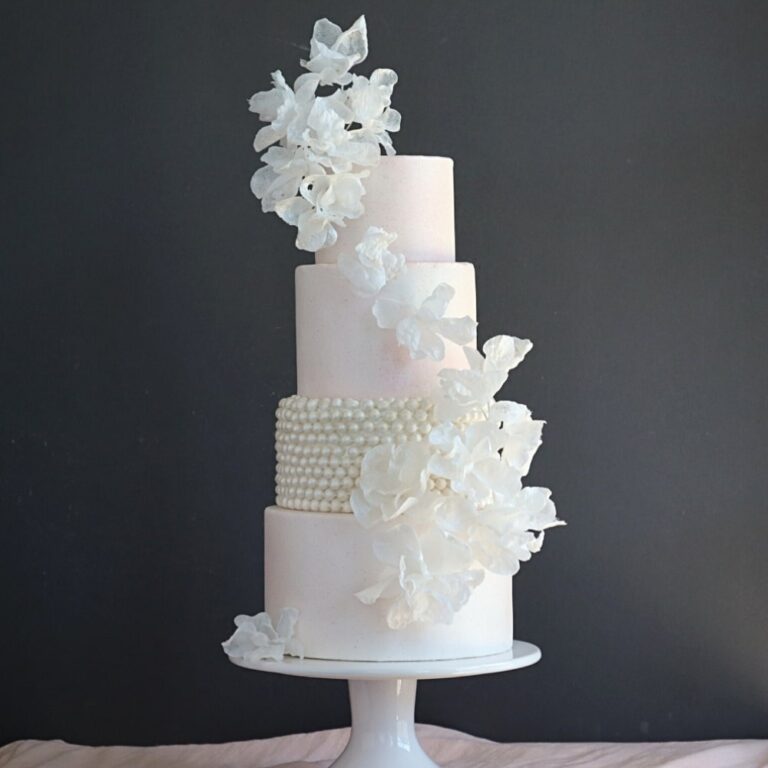
Now that you’ve learned how to make these striking wafer paper poppies, it’s time to add a pop of color to your cakes! From single accent flowers to full, eye-catching arrangements, these poppies will bring a unique, natural touch to your designs.
Your Turn!
Now you know how to create stunning wafer paper Icelandic poppies that bring color to any cake. These poppies are easy to make and can be customized to fit any style. They’ll hold their vibrant shape and texture beautifully.
Don’t forget to share your creations on social media! Tag me @FloreaCakes and I’ll be happy to feature your work!


4 Comments
Love all your tutorials.
Have you ever made Chinese Lanterns they are triangles and closed…deep orange
No, I haven’t. Thank you for your requests – I’ll add it to my list.
I have made most of the floral cut out template you have sent.
My weddingcakes are deliciously and beautiful
Can’t wait to see the other flowers you have waiting for us to make. I love my sugar paste, flowers, but these won’t break and they’re easy to travel with. And it’s turned my anxiety way down. I just wanted to thank you so much.
Chef T
I’m so happy you love wafer paper flowers as much as I do!