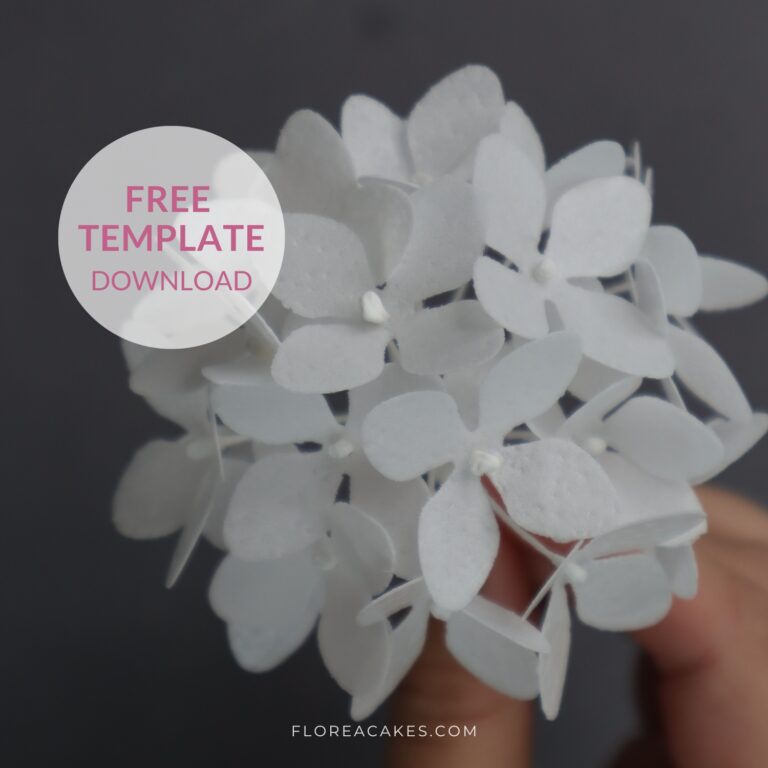
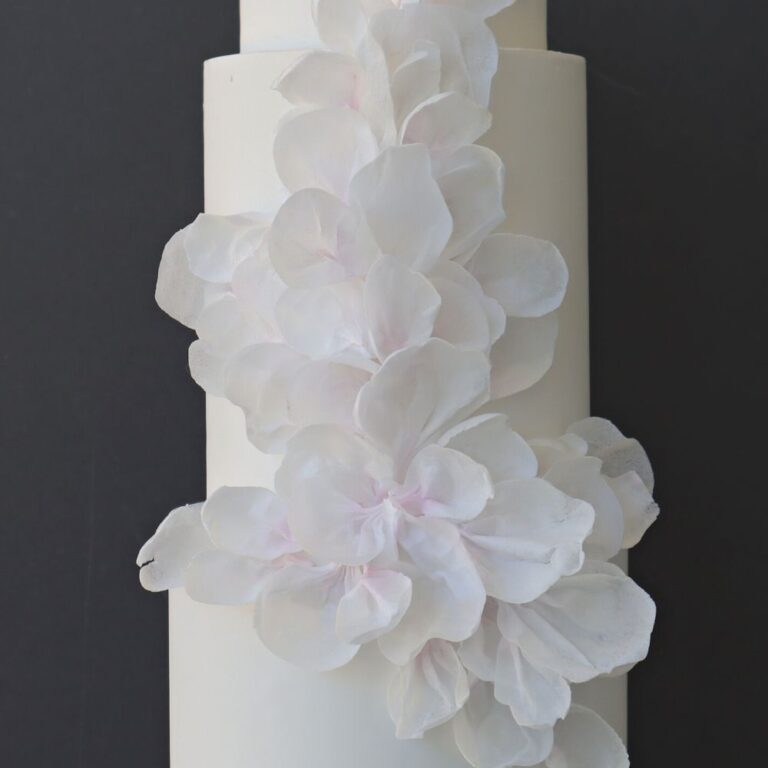
Ready to create beautiful, fluffy hydrangeas in no time? Known for their lush clusters of petals and vibrant colors, hydrangeas are a favorite in floral arrangements and now, with this wafer paper version, you can bring that same elegance to your cake designs.
These delicate wafer paper hydrangeas are perfect as filler flowers for cake arrangements, and they come together quickly without the need to wire every petal. In this tutorial, I’ll show you my tried-and-true method for making these lifelike blooms using minimal materials and tools.
Let’s get started! You can follow the step-by-step guide below or watch my YouTube video for a more hands-on approach.
Materials and Tools You’ll Need
Materials:
- Wafer Paper (any thin paper will work)
- Floral Stamens (Wilton White Stamens are recommended)
- White Floral Tape
- White Floral Wire (22 gauge)
Tools:
- Foam Floral Pad
- Hydrangea Craft Punch (large size)
- Awl (to create holes for the stamens)
- Wafer Paper Glue (made from wafer paper scraps)
- Cooling Rack or Wire Rack (for drying the flowers)
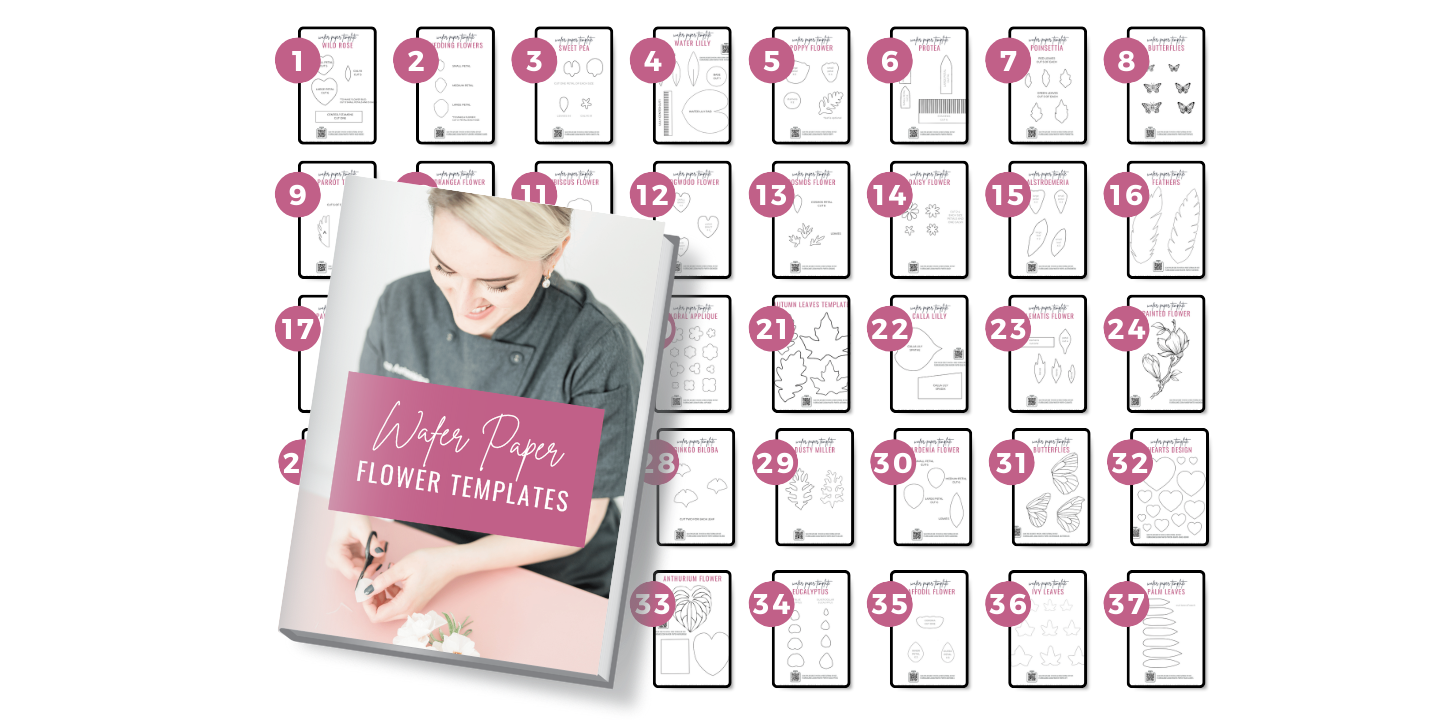
- My Free Wafer Paper Hydrangea Template (download below)
How to Create Wafer Paper Hydrangeas: Step-by-Step
Step 1: Prepare Your Wafer Paper Flowers
Start by cutting your wafer paper into hydrangea shapes using a large hydrangea craft punch. You can find it on Amazon here. You can fold the wafer paper in half to cut through two layers at once, speeding up the process. Focus on the large hydrangea shapes, and don’t worry about the smaller ones.
Step 2: Create Holes for the Stamens
Stack a few of the cut-out hydrangea flowers together. Use an awl to create a hole in the center of the flowers. This will make it easier to insert the floral stamens later on.
Step 3: Attach the Floral Stamens
Take a few stamens and cut them to the desired length. Insert them through the hole in the center of each hydrangea flower. Apply a small amount of wafer paper glue (download my recipe here) at the base to secure the stamens to the flowers.
Set the flowers aside to dry on a cooling rack. This will help the flowers maintain a dimensional and open shape as they dry.
Step 4: Assemble the Hydrangea Head
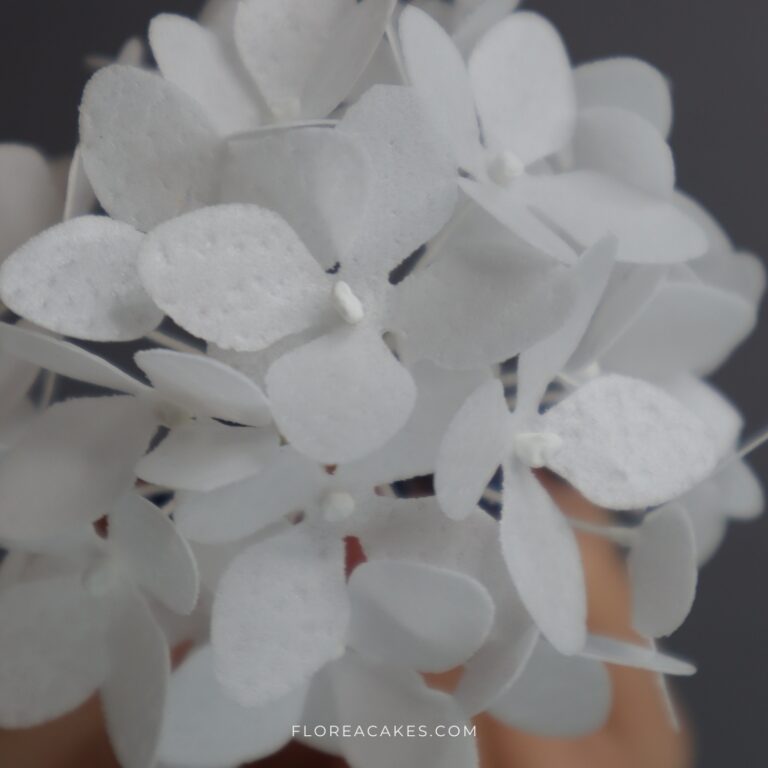
Once your flowers are dry, it’s time to assemble the hydrangea head. Take a 22-gauge floral wire and start by wrapping it with white floral tape. Attach the flowers to the wire, using the tape to secure them in place.
Continue adding flowers until you’ve created a full, rounded hydrangea head.
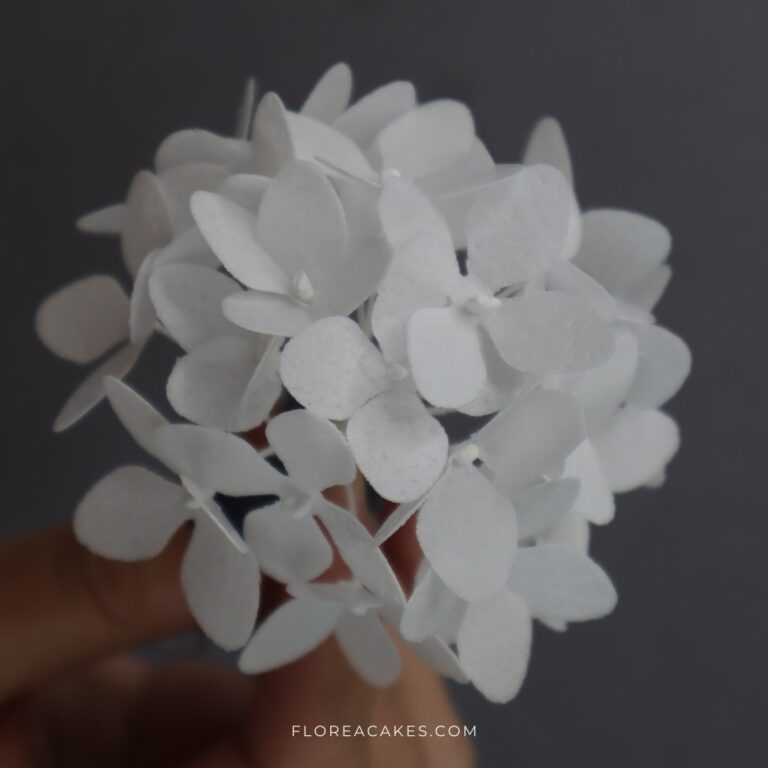
Step 5: Final Touches
Adjust the flowers on the hydrangea head to create a fuller and more open look. You can also combine several hydrangea heads to create a larger arrangement if needed.
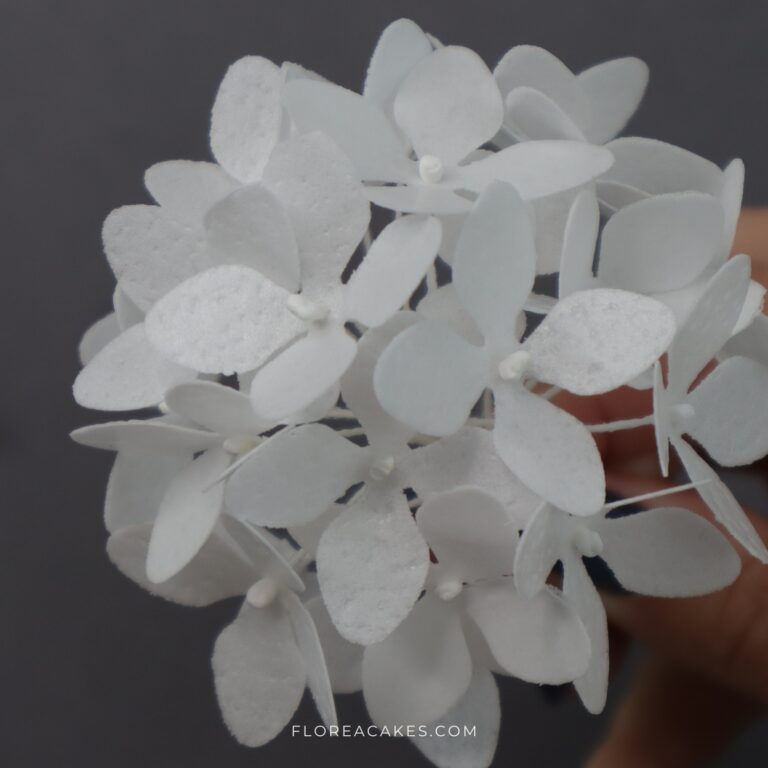
Give It a Try! Ans Share What You Create!
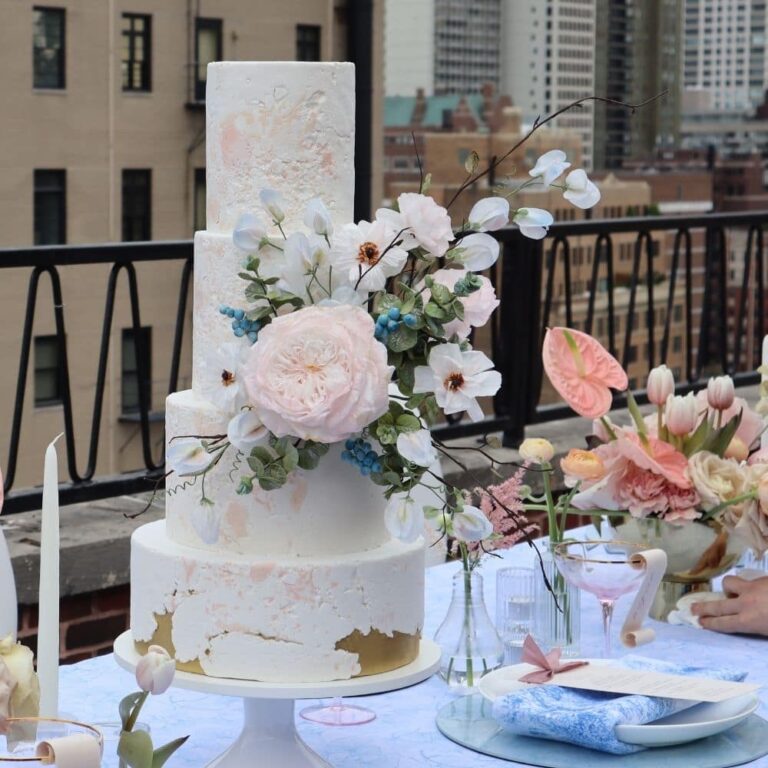
And that’s it! You’ve just created a stunning wafer paper hydrangea head in a matter of minutes. These flowers are perfect for adding volume and elegance to any cake design.
Don’t forget to share your creations with me @FloreaCakes. I can’t wait to see what you create!
Happy decorating!
