Have you ever been in a situation where you looked at your cake and thought that something is missing?
This happens to me all the time! It is actually the hardest part to stop decorating and adding more…
So, what do I do? I have some sort of a checklist of how to create a cake balanced design:
- Step away more often than you think. Take a sit of water, go on a walk, call a friend – do something that does not require any creativity nor offers any input (don’t scroll Instagram during these mini-rests).
- Take photos and look at your cake on a phone screen – it gives a different perspective, so I’ll have a “fresh” take on a design. If you watched my “Day in a Life of a Cake Artist” video, you saw me doing this – after setting up the cake at the venue, I took a photo and went to another room to evaluate my design.
- If you feel stuck with ideas – go on Pinterest and look at handmade scrapbook cards or pages. Many of those are well designed with textures and colors, but you are not going to copy a cake.
- I never start my design where it is logically a starting point. Let me explain… For example, if I would create a scrapbook with 10 pages, I won’t start with page one, but rather on page 5 and develop the project moving in opposite directions. In this way, your “worst” page is not your first page. Same with the cake design, I start somewhere I can cover up later and progress with the design, so my “best” work is the most visible.
- Don’t overthink! Have a plan and stick to it. I am rarely happy with my designs and it takes weeks or even months after creating a cake to truly appreciate the beauty. Many-many-many of my cakes has never seen the light of day (a.k.a. published on social media) because I wasn’t proud of my work, even though my clients were happy! Nowadays I’m much braver and I feel confident in sharing my cakes, thanks to you always supporting my journey! So, don’t overthink, step away and post that cake!
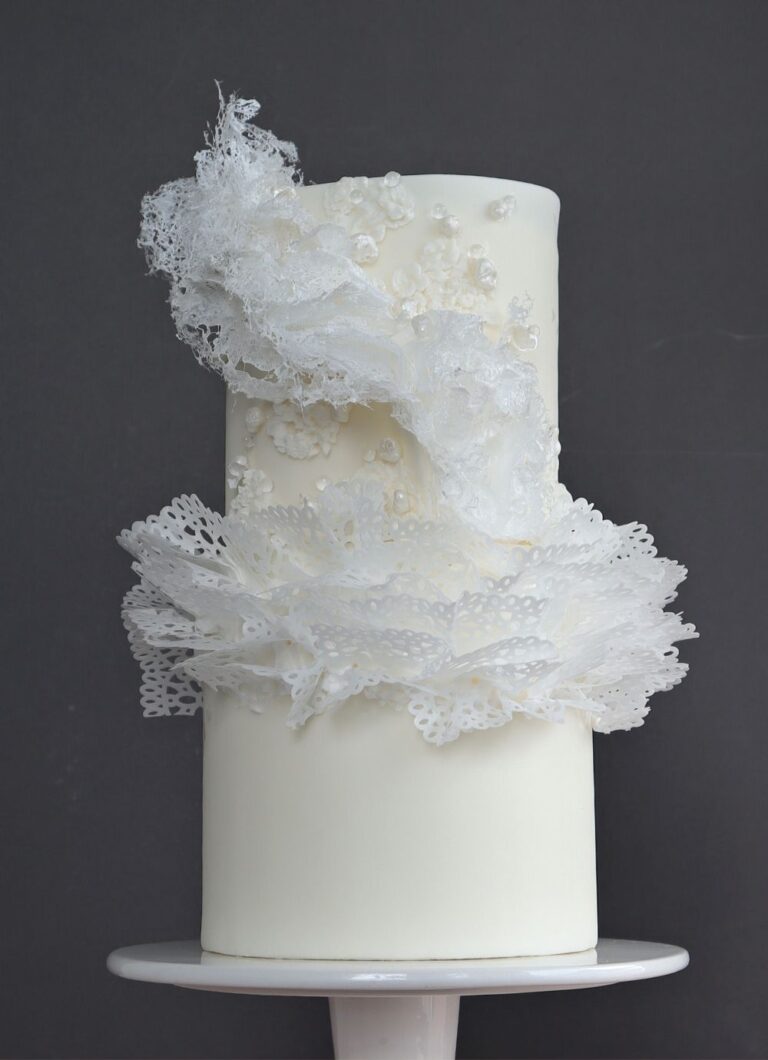
But sometimes, you actually need to add more decorations, and that’s what happened with this design! So, in this video, I’m teaching another method of making wafer paper ruffles, how to shape them, and attach them to a cake!
You will need:
- Wafer Paper
– Premium Wafer Paper
– Saracino Wafer Paper - Water and brush to attach ruffles
- Cloth steamer (or a pot of boiling water)
- Border craft punch
and that’s it!
These wafer paper lace ruffles are 100% edible, stylish, and super easy to make, so I hope you’ll give them a try and share them on Instagram, I would love to see your designs!
*Note: Some links are affiliated. If you are going to buy through my link, I can earn a small commission at no extra cost to you.
