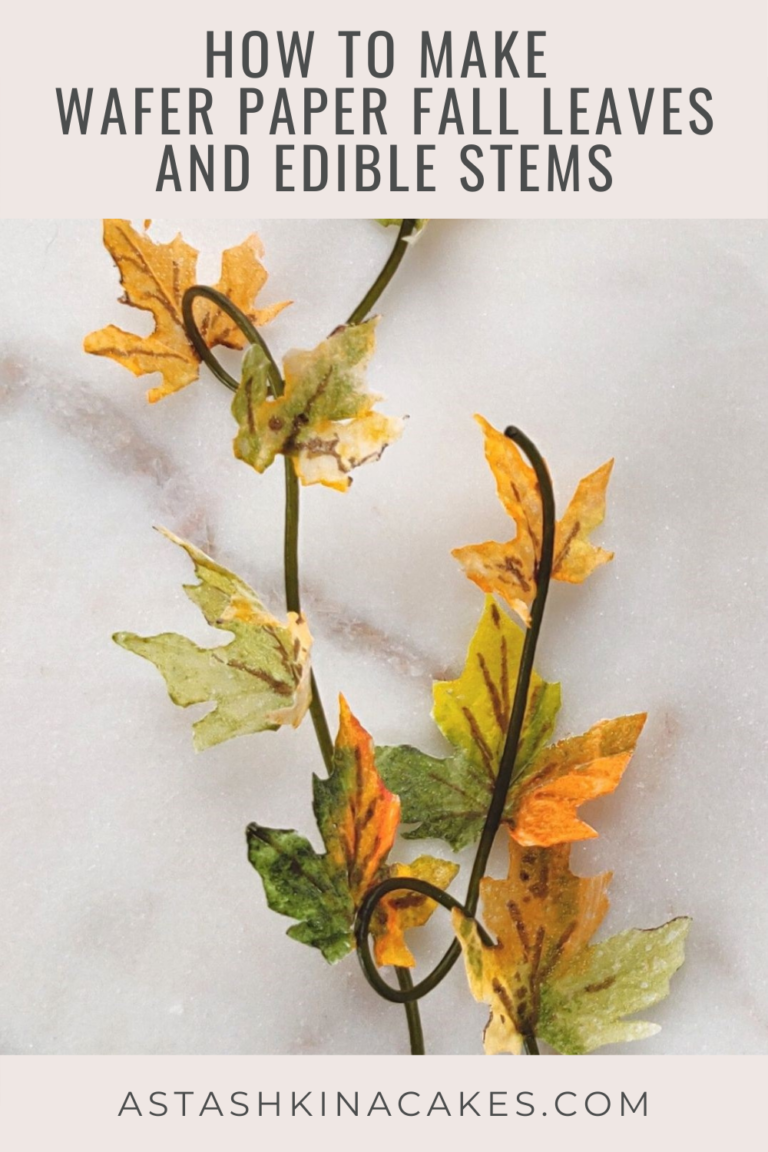
Discover how to craft stunning wafer paper autumn leaves and edible stems! From cutting and coloring wafer paper to assembling lifelike fall branches, this step-by-step guide will help you transform your cakes into seasonal masterpieces.
Watch the video or read the step-by-step instructions to get started! Plus, pick up helpful tips along the way, like how to speed up drying time, prevent wafer paper from sticking, and achieve vibrant, realistic colors for your creations.
Materials and Tools You’ll Need
Materials
- Premium Wafer Paper
- Glycerin
- Cornstarch
- Food Colors (Forest Green, Yellow, and Orange)
- Brown Food Marker or Gel Color
- My Wafer Paper Fall Leaves
Tools
- PME Ivy Veiner Set or Veining Tool
- Sharp Scissors
- Fluffy Brush
- Rice Vermicelli
- Flower Pad
- Wafer Paper Glue
How to Create Wafer Paper Fall Leaves and Edible Stems Step-by-Step
Step 1: Cutting the Leaves
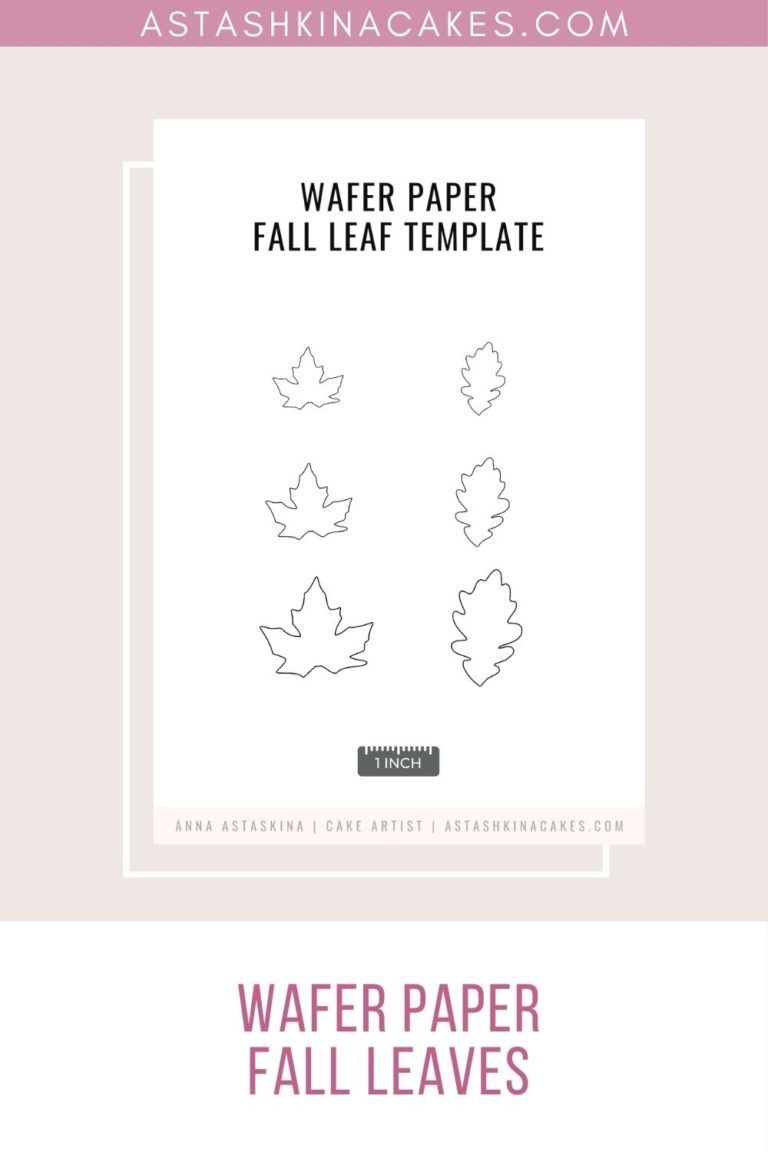
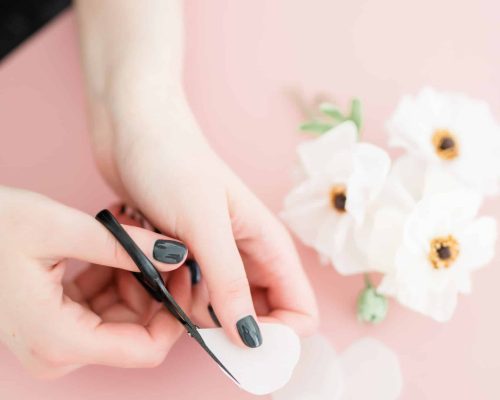
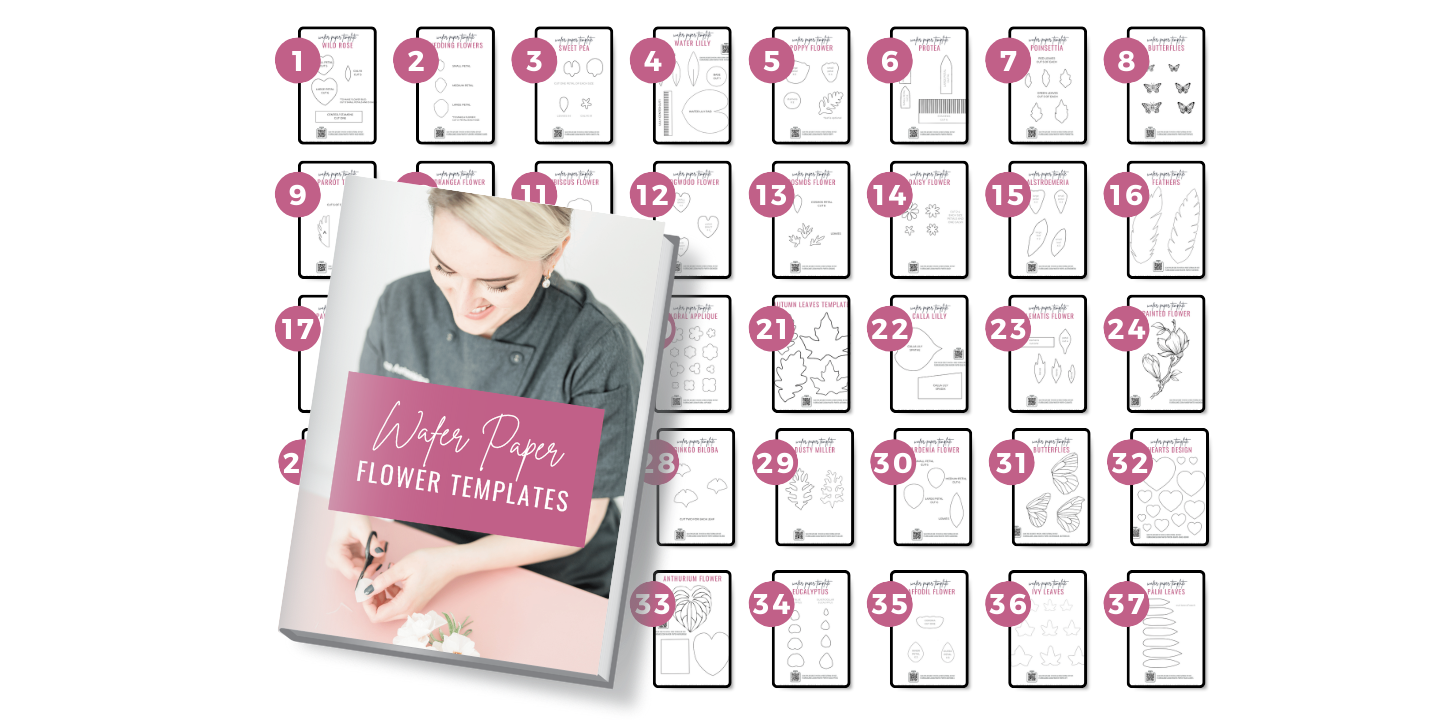
Start by cutting wafer paper using my template. If you don’t have it, sketch leaf shapes on paper and use those instead. For efficiency, layer multiple wafer paper sheets and cut them together. Create a variety of sizes and shapes to add realism.
Step 2: Making Wafer Paper Glue
Use scraps from previous projects to make glue. Combine the scraps with a small amount of tap water in a glass container and microwave for 10 seconds. Stir until you achieve a thick, piping-gel-like consistency.
Step 3: Preparing Edible Stems
Boil rice noodles for slightly less time than directed (around 9 minutes).
Place the noodles in a container with water and a few drops of Forest Green gel color. Remember that the noodles will darken as they dry.
Lay the colored noodles on bunched-up parchment paper to create natural, uneven shapes. Avoid letting them touch to prevent sticking.
Allow them to air dry for several hours, or bake at the lowest oven setting for 15 minutes, then let them dry completely.
Step 4: Painting the Leaves
Dust your flower pad lightly with cornstarch to prevent sticking.
Mix Green gel color with food-grade glycerin and a little water. Prepare Yellow and Orange gel colors as well. Remove moisture from your brush before applying color to the leaves. Layer the colors to achieve your desired look.
Once painted, place the leaves on the flower pad, dust lightly with cornstarch, and press each leaf in an Ivy veiner for 5 seconds.
Tip: If you don’t have a veiner, use a veining tool to gently roll the leaves and create dimension.
Step 5: Adding Details
Remove excess cornstarch from the leaves with a fluffy brush. Use a brown food marker or fine-tip brush with brown gel color to draw vein accents on the leaves for added realism.
Step 6: Assembling the Branch
Apply a small amount of wafer paper glue to the base of each leaf. Press the leaf onto a rice noodle stem and hold it in place for a few seconds.
Repeat with additional leaves, attaching them at different angles for a natural appearance. Once complete, let the branch dry on the bumpy side of a foam pad.
Over to You!
Wafer paper autumn leaves are a fantastic way to add a touch of fall elegance to your cakes. With a little creativity, you can bring seasonal charm to any dessert. Not to mention they are 100% edible!
Now that you know every step to create your own, go ahead and experiment with sizes and colors and don’t forget to share your creations with me on social media @FloreaCakes! I’d love to see what you create!

2 Comments
I can’t get video to start. This is for the fall leaves, which I really need to make the fall leaves help me get the video started.
Chef T
Youo can watch this video on Youtube as well: https://youtu.be/DSx1RNGM06o?si=2I_14UewLEmCGPKP