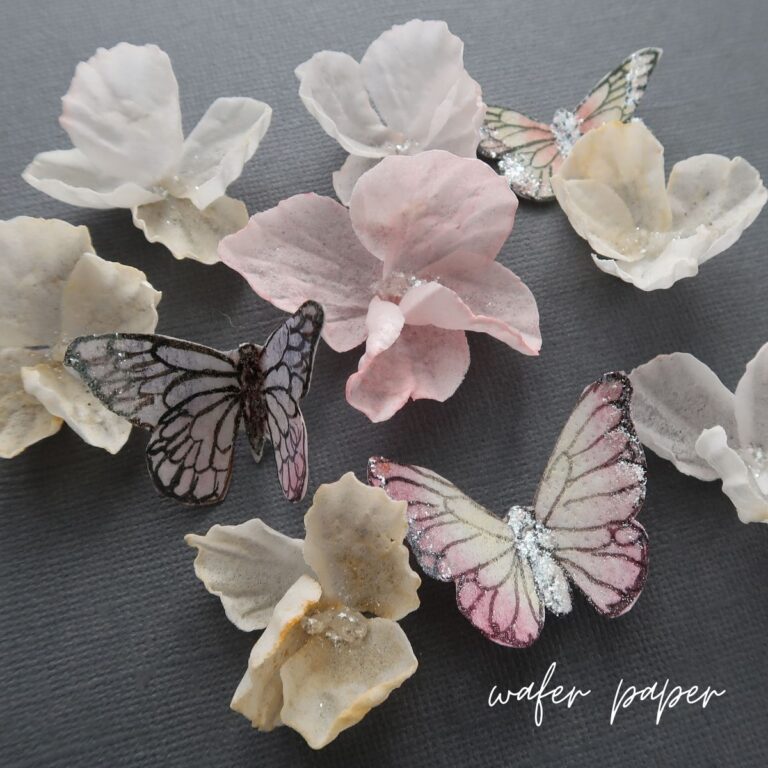
Butterflies are a timeless decoration that can make any cake look whimsical and elegant. If you’ve ever wondered how to create delicate watercolor butterflies with wafer paper, this tutorial is for you! Whether you’re a beginner or looking to add an advanced touch to your cakes, this step-by-step guide will help you master the art of wafer paper butterflies.
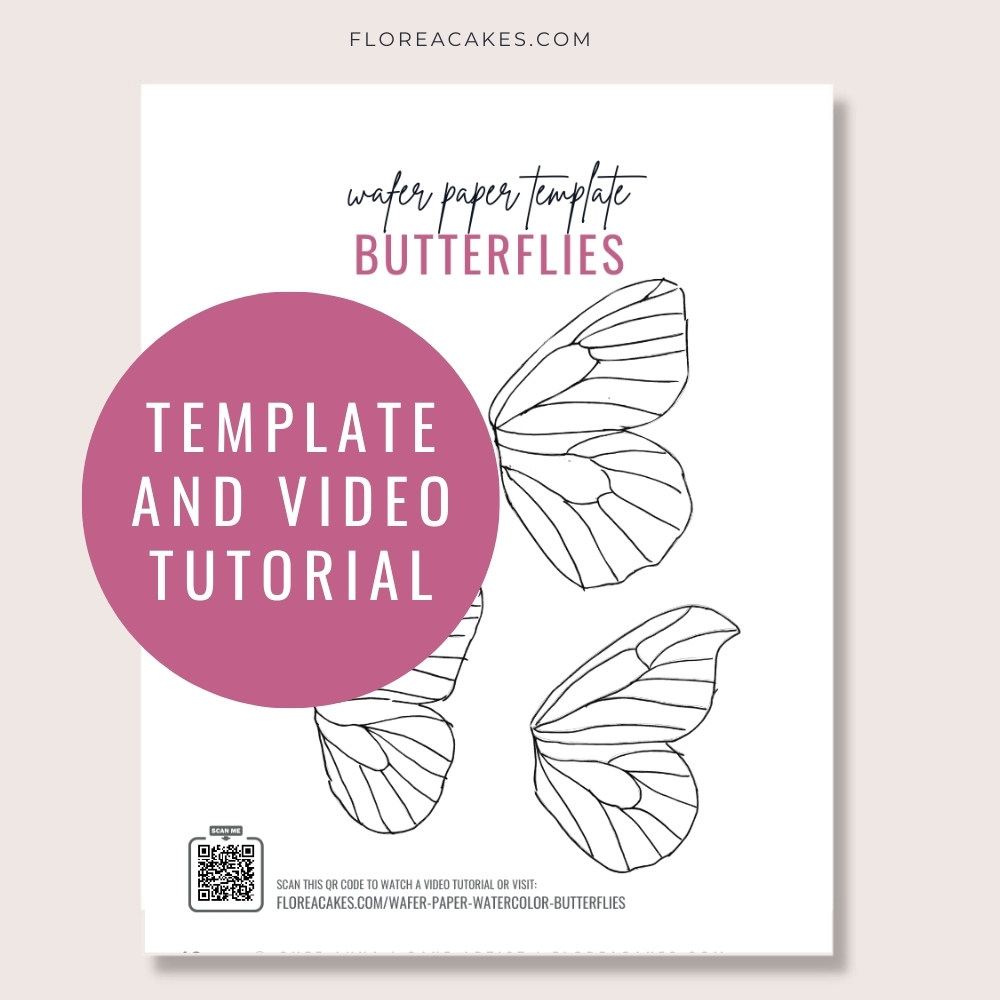
Download Wafer Paper Butterfly Template
Get instant access to this and 37 more wafer paper flower tutorials and templates in my All-In-One Wafer Paper guide + 3 bonuses!
Materials and Tools You’ll Need
Materials
- Wafer Paper (I use Saracino 0.27mm, but anything under 0.35mm will work)
- Gel Colors: Purple and Yellow
- Dipping Solution or Vodka (or water, but drying takes longer)
- Americolor Airbrush Black Color
- Edible Gold Dust (optional for accents)
- Wafer Paper Butterflies Template
Tools
- 24-gauge white wire
- Sharp scissors
- Flat brushes
- Fine-tip brush
How to Create Wafer Paper Watercolor Butterflies
Step 1: Prepare the Wafer Paper Pieces
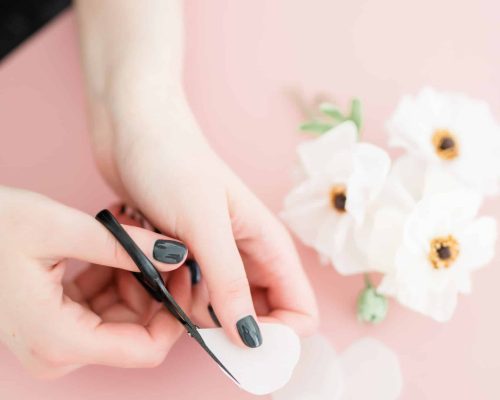
For each butterfly, you’ll need four wafer paper pieces: two for the left wing and two for the right wing. Use the provided template to trace the butterfly outline onto the wafer paper. You can use a Dresden tool to press the design or an edible marker for a more visible guide.
Step 2: Assemble the Wings
Cut the 24-gauge white floral wire in half. To create each wing apply a small amount of water to the bumpy side of one wafer paper piece using a flat brush. Place the wire onto the damp surface, then sandwich it with another wafer paper piece. Repeat this for the other two pieces to create the second wing. Ensure the wires are securely attached, and set the wings aside to dry.
Step 3: Add Watercolor Effects
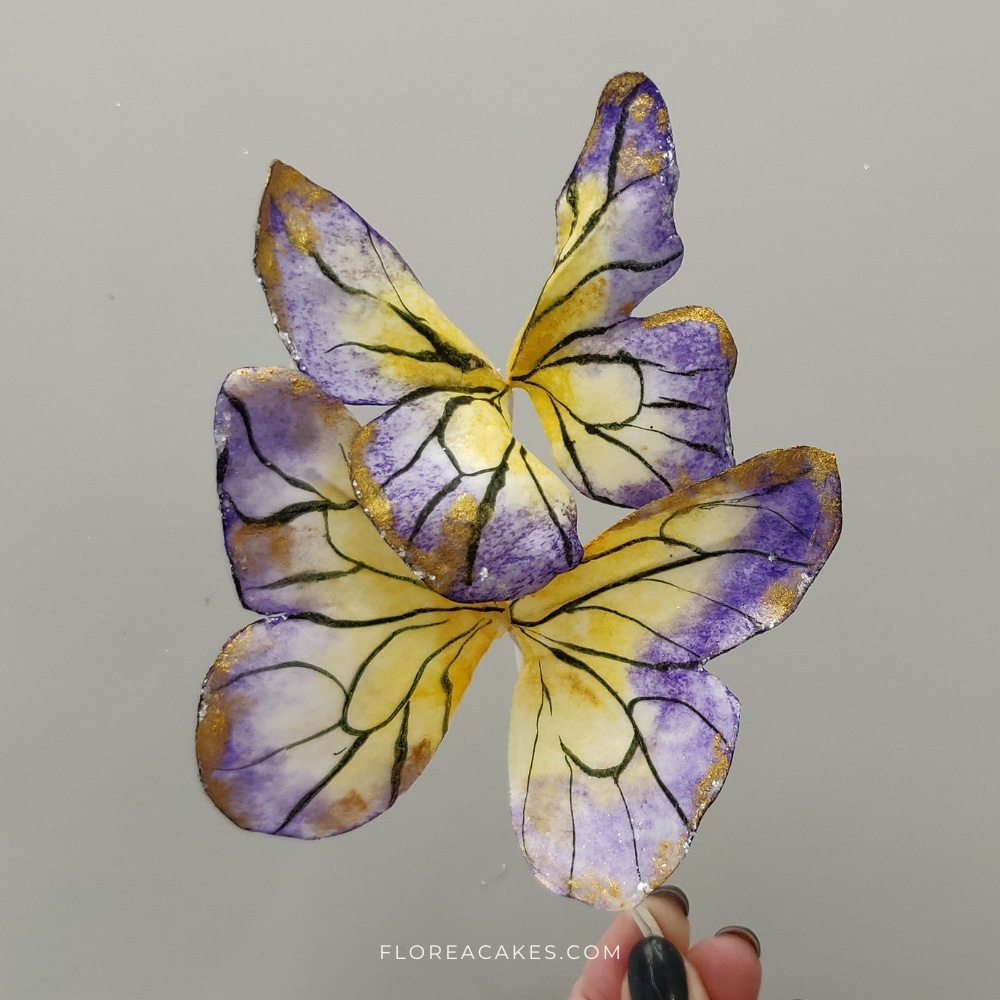
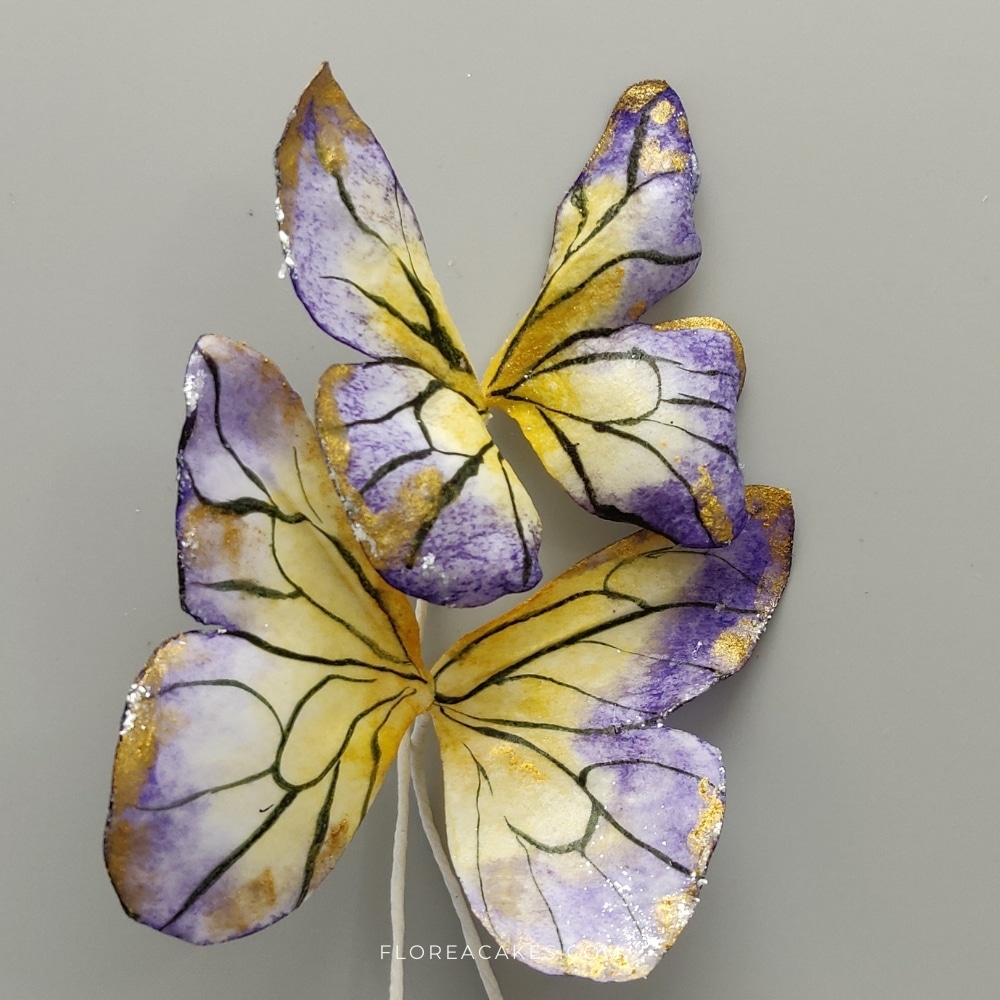
Mix violet and yellow gel colors with high-proof alcohol (like vodka or Everclear) to create edible watercolor paint. Paint the inner parts of the wings with a light yellow shade. Use purple for the outer sections of the wings, gradually blending darker shades along the edges for depth.
Allow the wings to dry completely, ideally on a palette or shaper to give them a slightly curved, realistic appearance.
Step 4: Paint the Black Lines
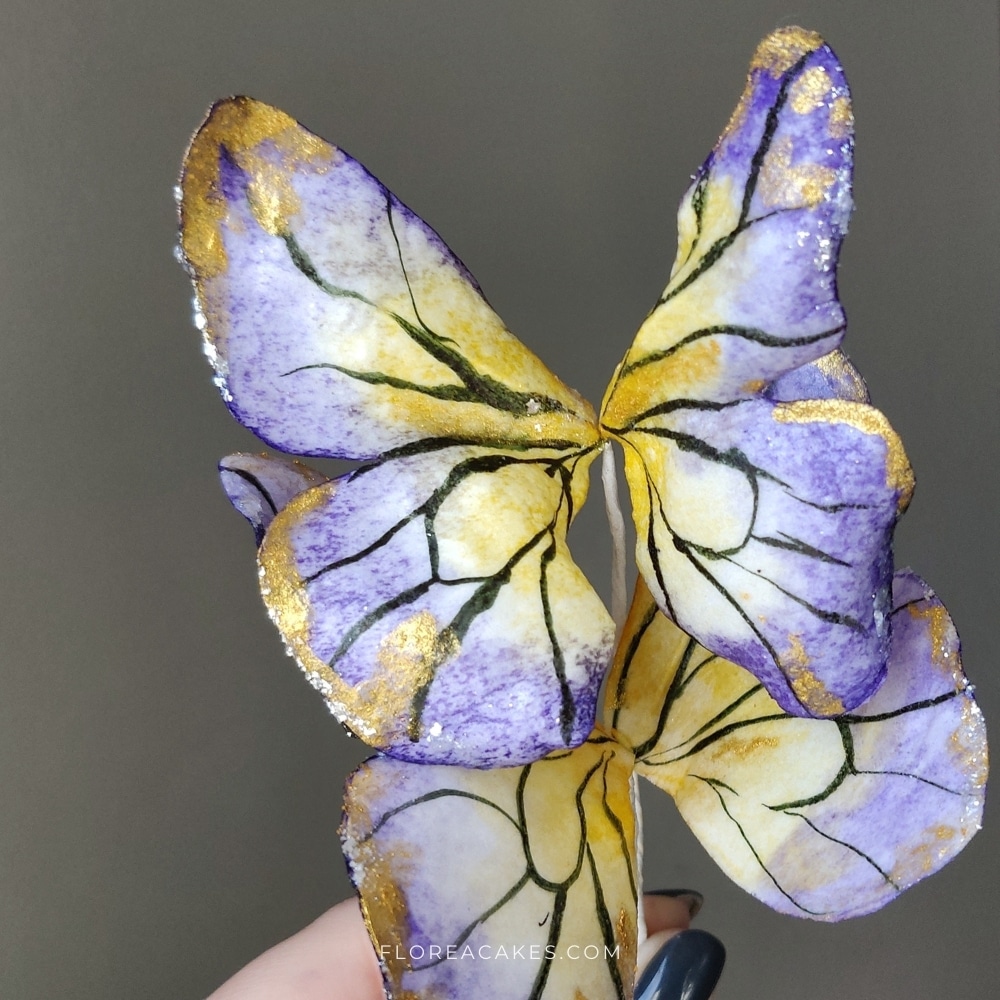
Once the wings are dry, use a fine-tip brush and airbrush black color (or a thin edible marker) to create the characteristic lines on the butterfly wings.
Don’t worry about precision—light, natural strokes will make the design more organic and lifelike.
Step 5: Add Gold Accents (Optional)
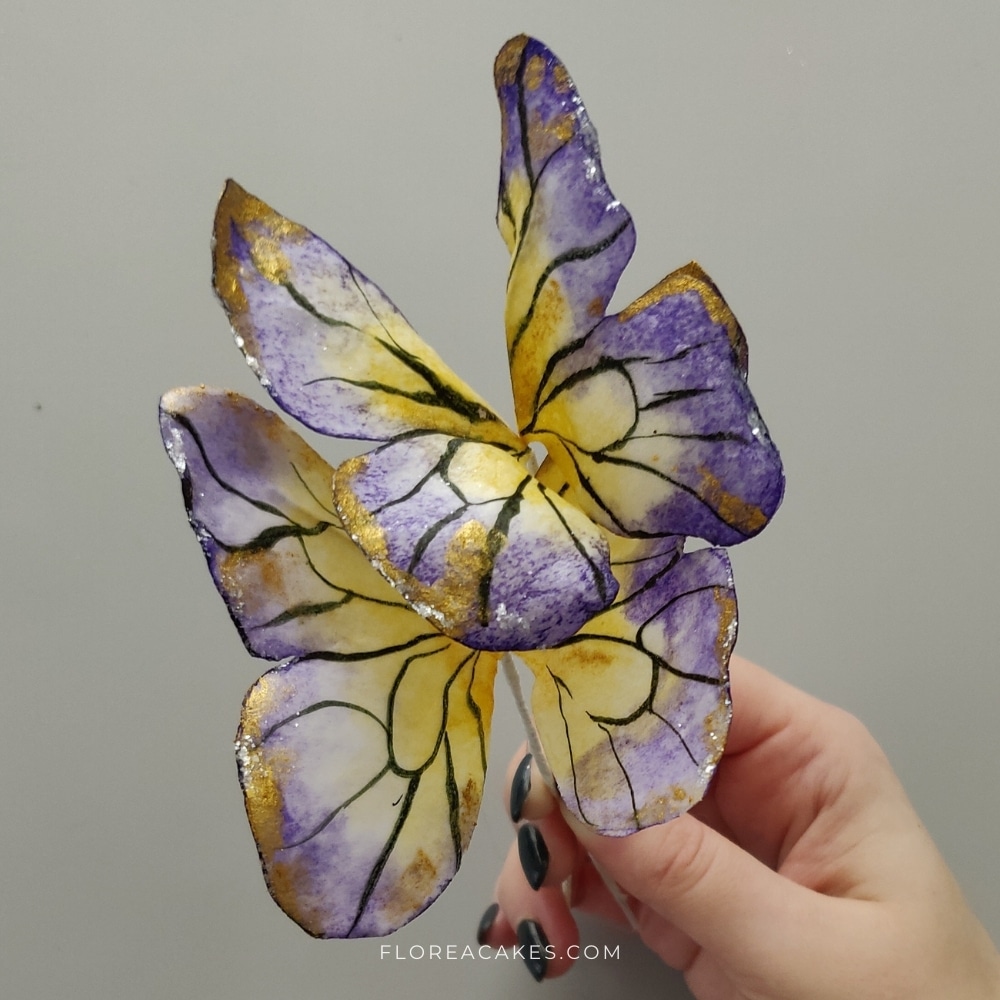
For a touch of luxury, mix edible gold dust with alcohol to create paint. Apply it to the outer edges of the wings for subtle, shimmering highlights.
Step 6: Apply Jewel Dust (Optional)
Dip a clean brush into the piping gel, then into the jewel dust to pick it up. Apply the sparkling dust to the outer parts of the wings or the center for an eye-catching finish.
Step 7: Assemble the Butterfly
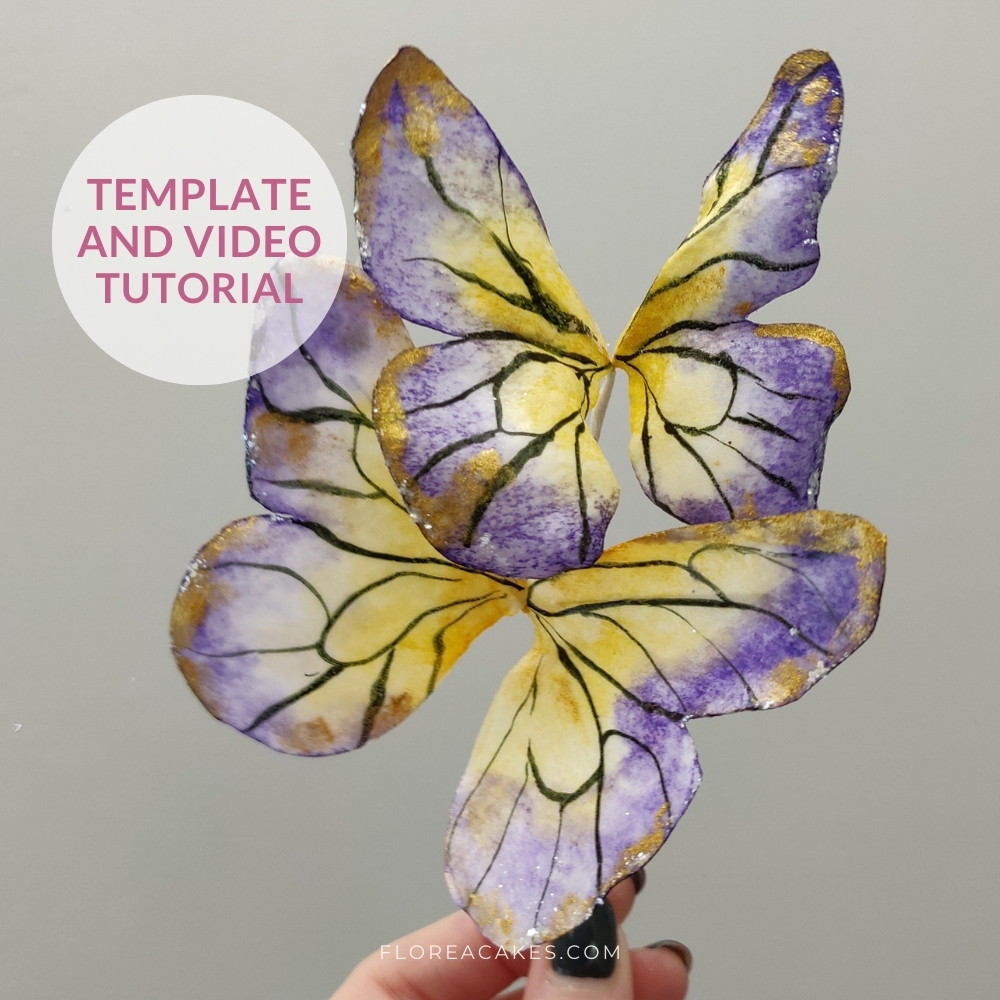
Take a piece of floral tape and wrap it around the wires of the left and right wings, securing them together to form the butterfly. Adjust the angles of the wings to make them look dynamic and natural.
Ready to Decorate?
Now that you know how to create these beautiful watercolor butterflies, it’s time to bring your cake designs to life! Whether you’re crafting an elegant wedding cake or a playful birthday treat, these butterflies add an enchanting touch.
Uleash your creativity and experiment with colors, techniques, and shapes to find what works best for your cake designs.
Download the butterfly template, watch the full video tutorial, and start creating! Don’t forget to share your creations and tag me on social media @FloreaCakes—I’d love to see and feature them!

