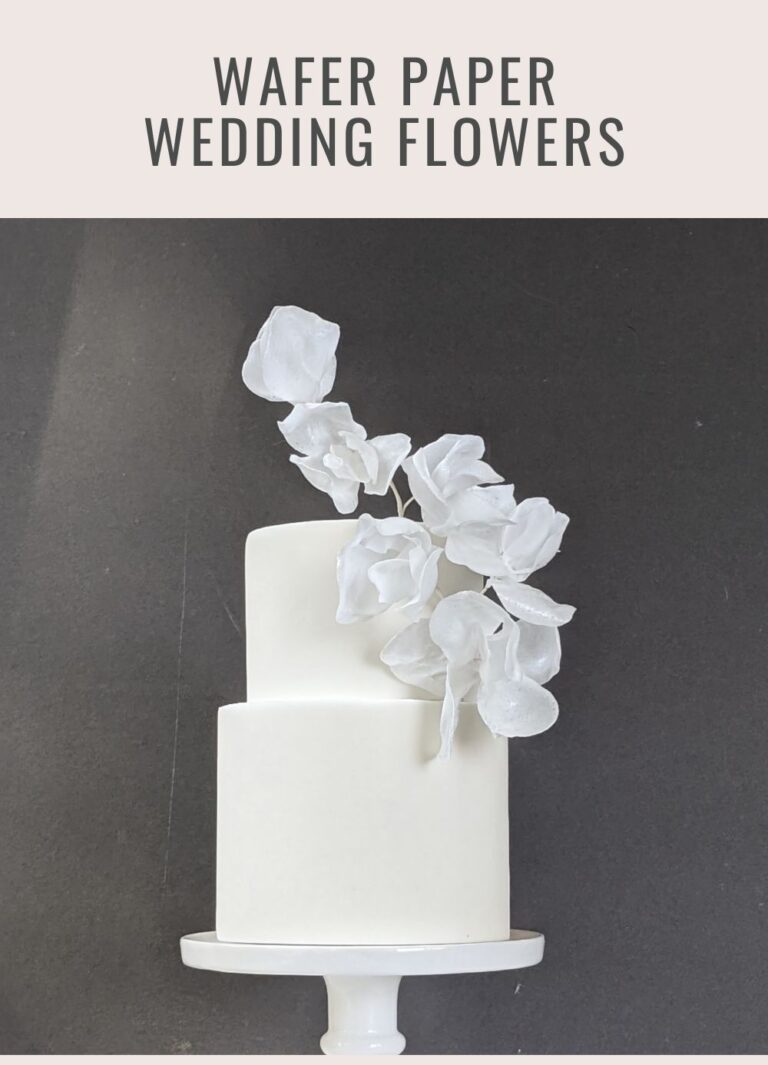
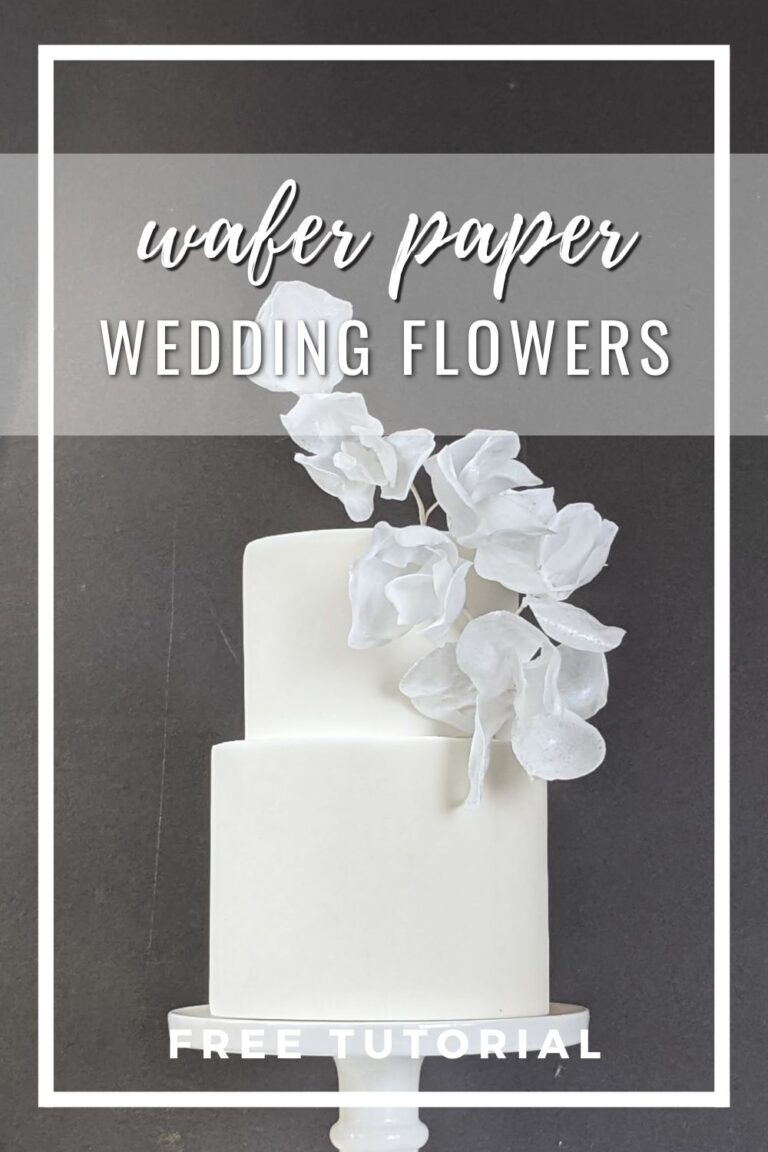
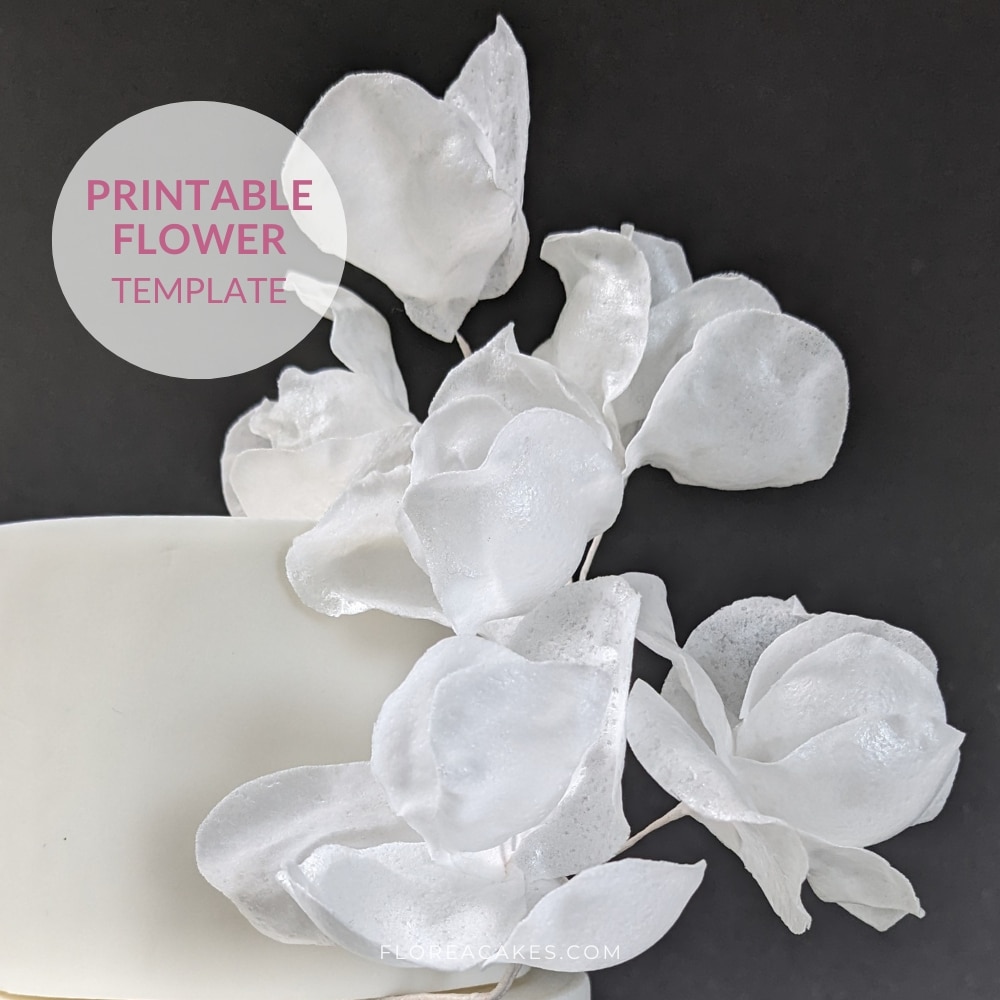
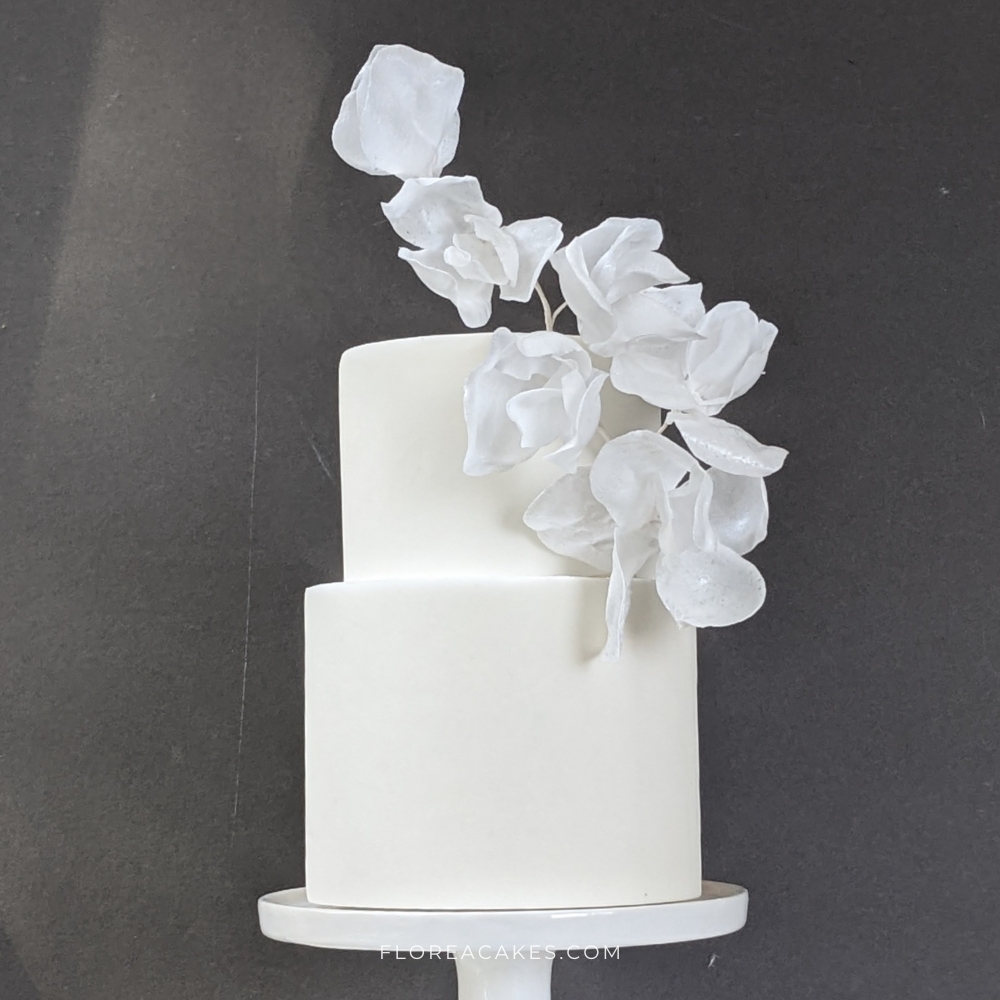
In this tutorial, I’ll show you a cost-effective, time-efficient way to decorate a wedding cake with beautiful, ethereal wafer paper flowers. These lightweight flowers are perfect for wedding cakes, and you’ll only need a few basic tools and materials to create your floral arrangement.
Whether you’re working on a grand multi-tiered wedding cake or a smaller, intimate design, wafer paper flowers are perfect for adding textural elements and decorating your cakes when you need to create quick show-sopping designs. The best part? You only need a handful of basic tools and materials—most of which you likely already have in your cake-decorating toolkit.
This technique is beginner-friendly, yet versatile, allowing you to easily craft flowers that not only look stunning but are also entirely edible.
Let’s get started! Watch the video tutorial below or scroll to see the step-by-step instructions.
Materials and Tools You’ll Need
Materials
Wafer Paper (0.22mm – 0.40mm)
Pearl Sheen Airbrush Color (or your choice of color)
26 Gauge Wire
Water
Wafer Paper Glue (you can download the recipe here)
Tools
Petal Former (or bumpy foam)
Scissors
Floral Tape
Dresden Tool
Brush for conditioning
Small Heatproof Container
Microwave
How to Create Wafer Paper Wedding Flowers Step-by-Step
Step 1: Cut Your Petals
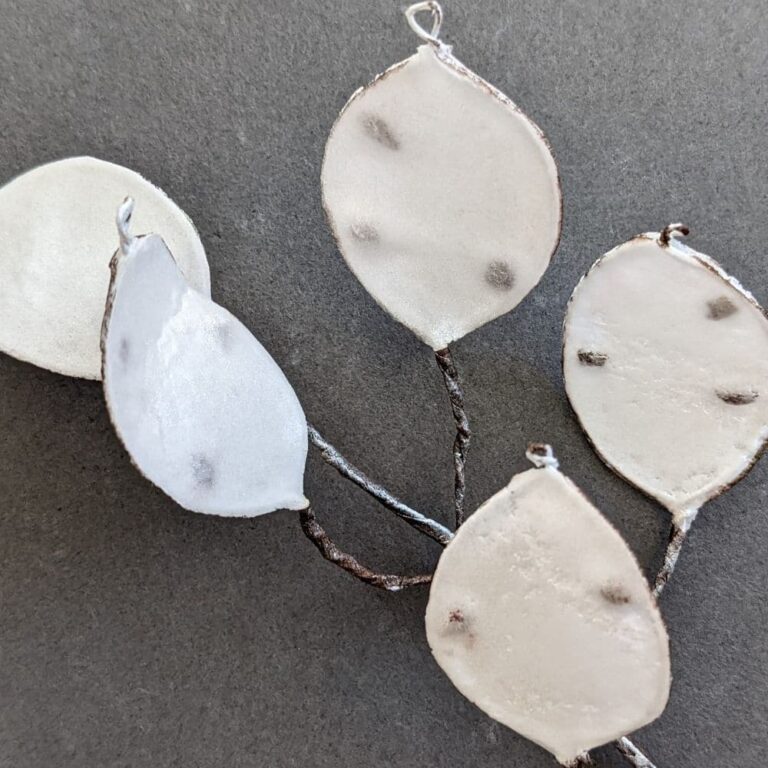
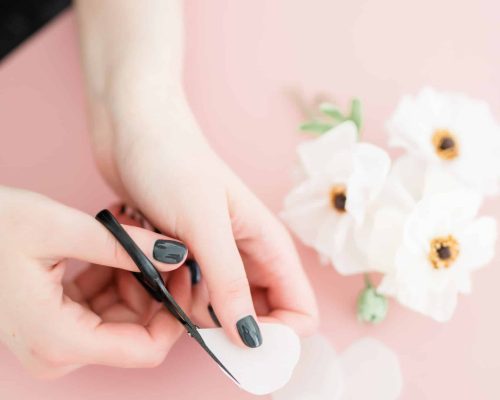
Start by cutting basic petal shapes from the wafer paper. Wafer paper is thin, so you can cut up to three layers at once to save time. Remember to save your scraps, as they will be used later to create wafer paper glue.
Step 2: Shape Your Petals
To soften and shape the petals, you’ll need to condition the wafer paper. Mix a small amount of Pearl Sheen airbrush color with AC Tonic (the wafer paper conditioner) and lightly brush it onto the shiny side of the petals. Use a petal former or bumpy foam to give the petals a gentle curve for more movement. Set the petals aside to dry.
Step 3: Prepare the Flower Stems
Cut your 26-gauge wire into three parts for each flower. Create a small hook at the top of each wire to help the flower petals adhere better.
Step 4: Assemble the Flowers
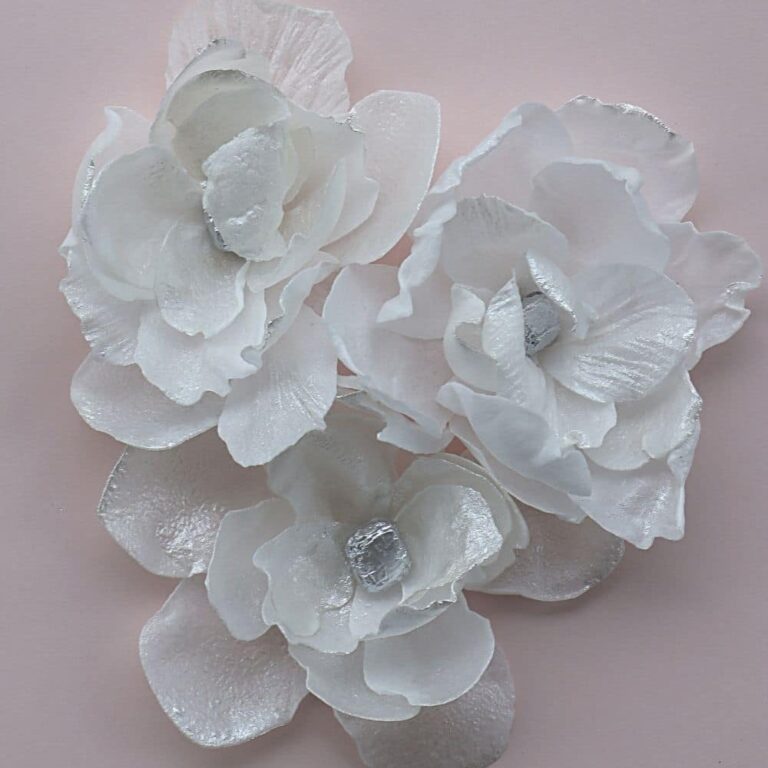
Once your petals are dry, you’re ready to assemble. Start with the smaller petals and apply a small amount of wafer paper glue (made from the scraps) at the base. Stick the petals together and insert the wire between the first two petals. This will serve as the base for your flower. As the base dries, you can begin adding larger petals, one by one, until your flower reaches the desired fullness.
Step 5: Finish with Floral Tape
Once the flowers are fully assembled and dry, use white floral tape to tape the stems. Stretch the tape slightly to activate it, and wrap it around the wire, securing the petals in place.
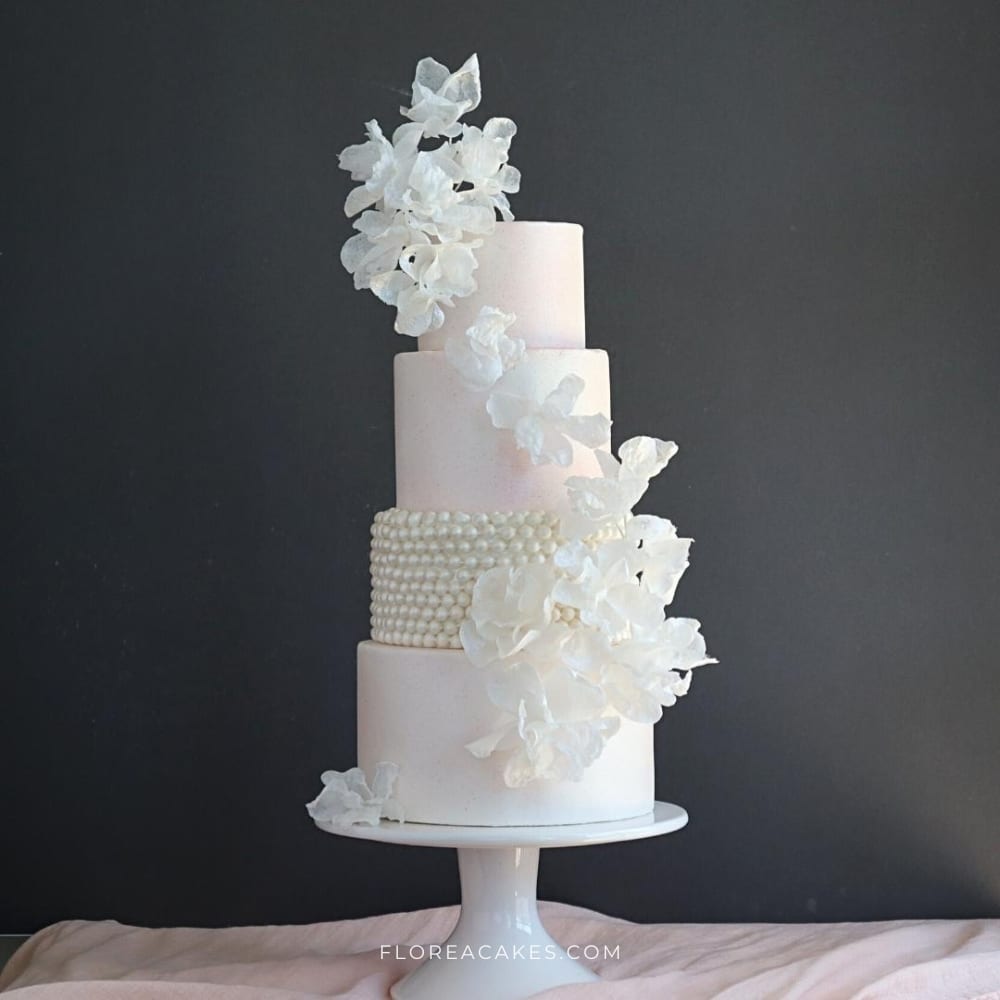
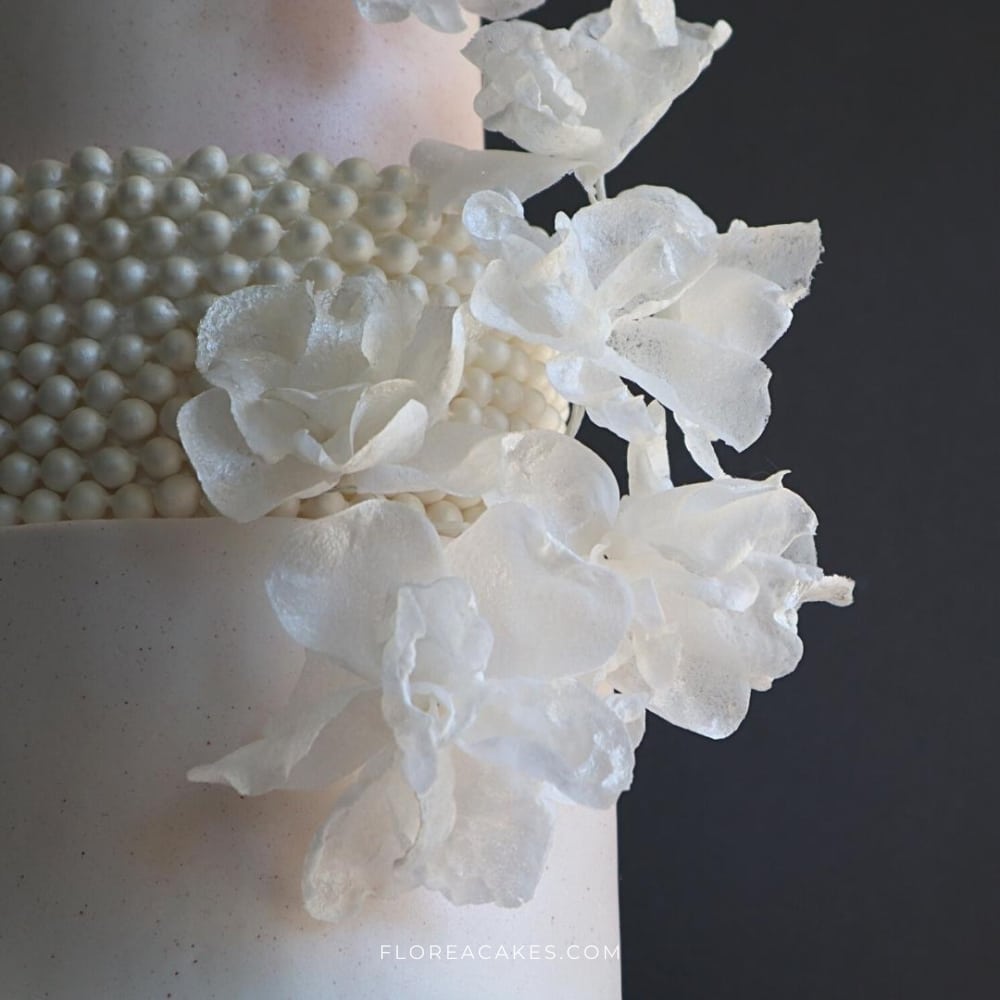
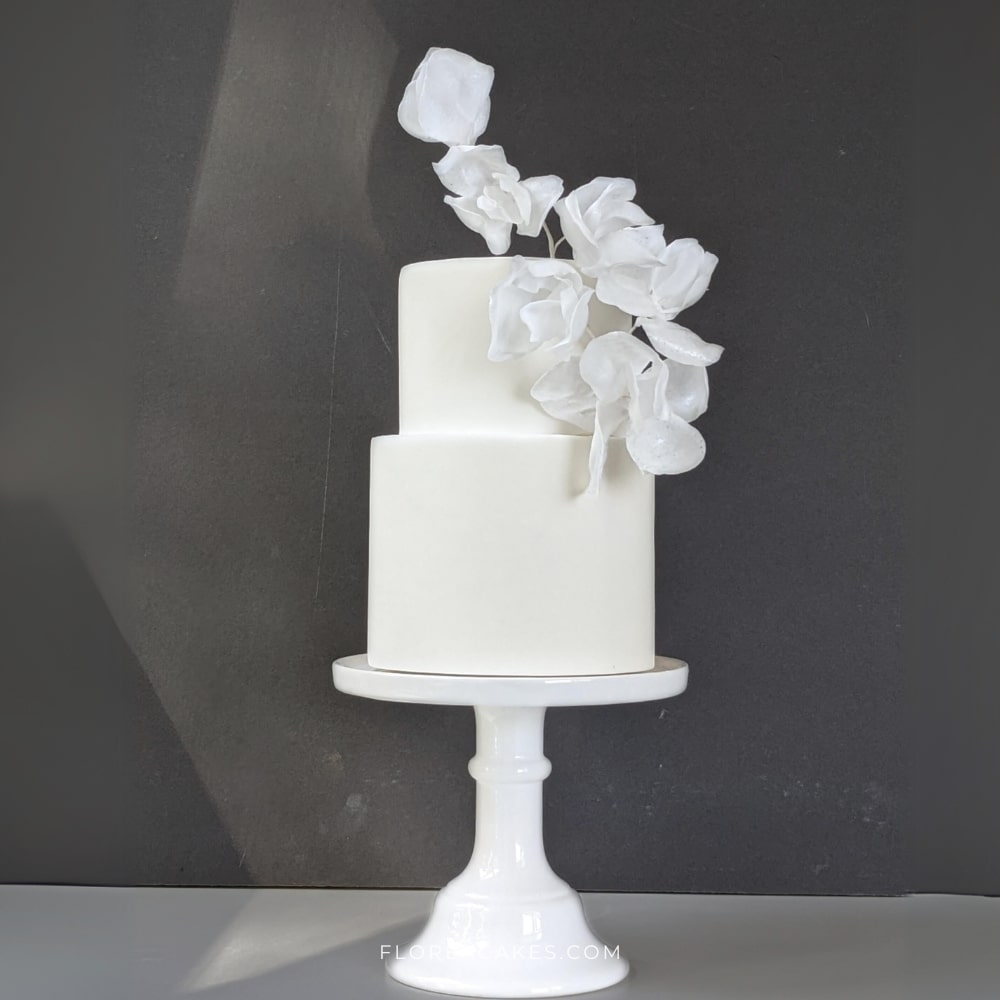
Cake Arrangements Featuring Wafer Paper Flowers to Inspire You
Your turn! Don’t forget to show me what you create
I hope you enjoyed this tutorial on creating delicate wafer paper flowers for wedding cakes!
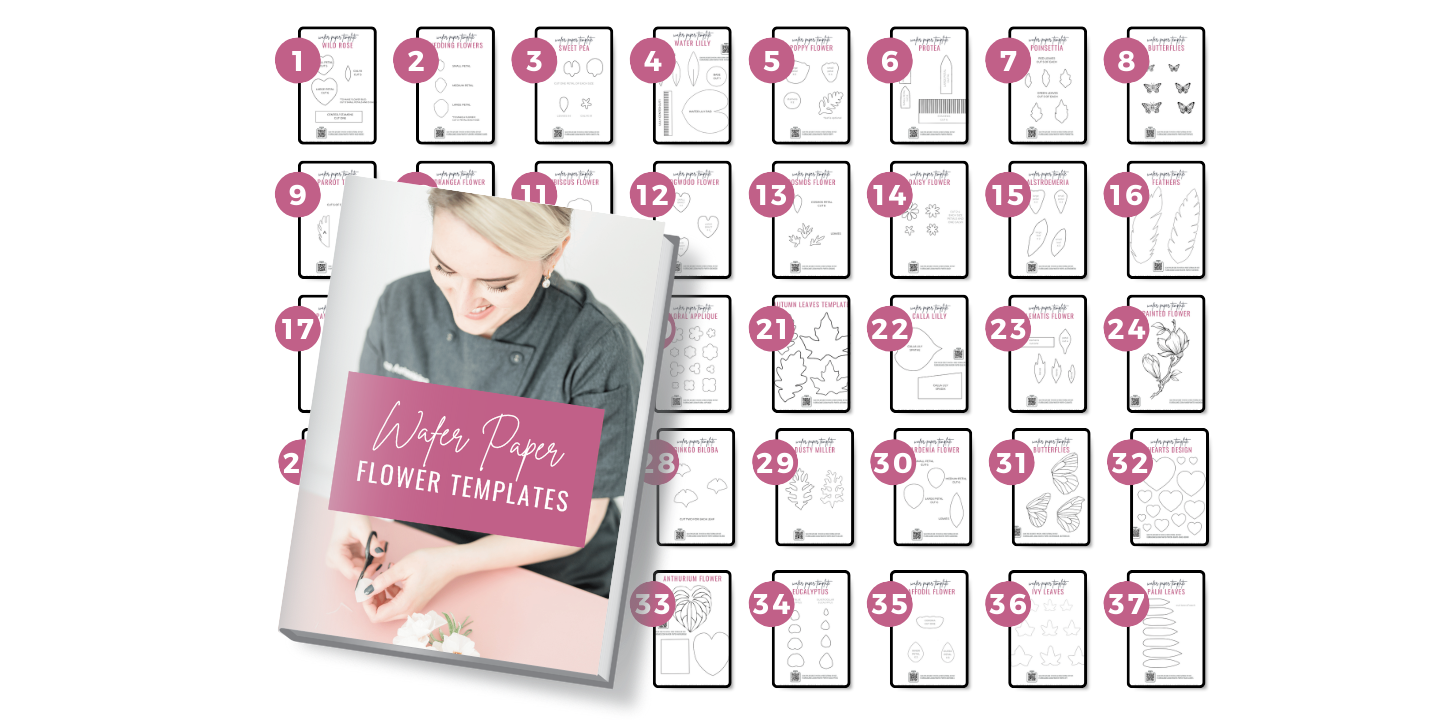
Don’t forget to download the free template to get started on your own creations.
If you try this tutorial, I’d love to see your work! Share your photos on social media and tag me @FloreaCakes so I can feature your beautiful creations.
