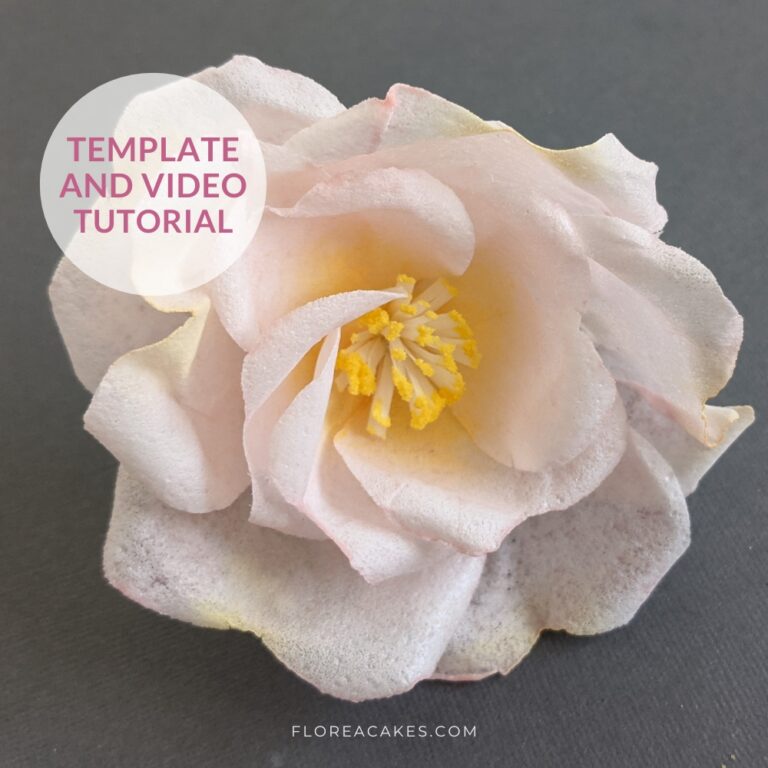
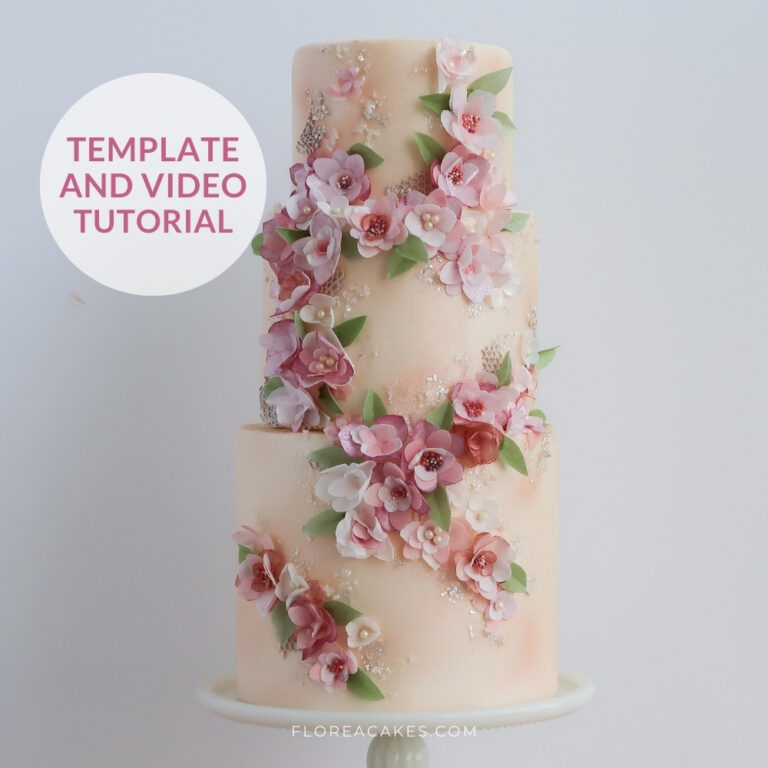
If you are a cake artist and you want to start making wafer paper flowers, you are in the right place. I’m so thrilled to walk you through the proccess of making a delicate and stunning Wafer Paper Wild Rose.
Inspired by the natural beauty and simplicity of wild roses, this tutorial will show you how to create these charming, untamed blooms. If you love working with wafer paper, you’ll find this project both exciting and beginner-friendly. Wafer paper is a modern, versatile, and edible medium for creating stunning flowers, perfect for adding elegance to your cake designs.
In this tutorial, we’ll focus on crafting a lifelike edible Wild Rose using wafer paper. You’ll learn how to cut, condition, and assemble petals to form a beautiful, realistic flower. Whether you’re decorating a wedding cake or just exploring new techniques, this project is perfect for honing your skills, especially if you’re new to using AC Tonic.
Let’s get started! Follow along with the step-by-step guide below, or watch the full video tutorial to see the process in action.
Materials & Tools You’ll Need
Materials
- Wafer Paper: (I use 0.27mm)
- Americolor Dusty Pink Gel
- Americolor Forest Green Airbrush Color
- Semolina or Cornmeal (for stamen pollen)
- Daffodil Petal Dust (by The Sugar Art)
- AC Tonic Recipe (included with the template or download here)
- White Floral Tape
Tools
- Watercolor Synthetic Brush
- Ball Tool: (medium and large)
- 20 Gauge Floral Wire
- Foam Floral Pad
- Egg Mold or Petal Former
- Sharp Scissors
- My Wafer Paper Wild Rose Template
Download Wafer Paper Wild Rose Template
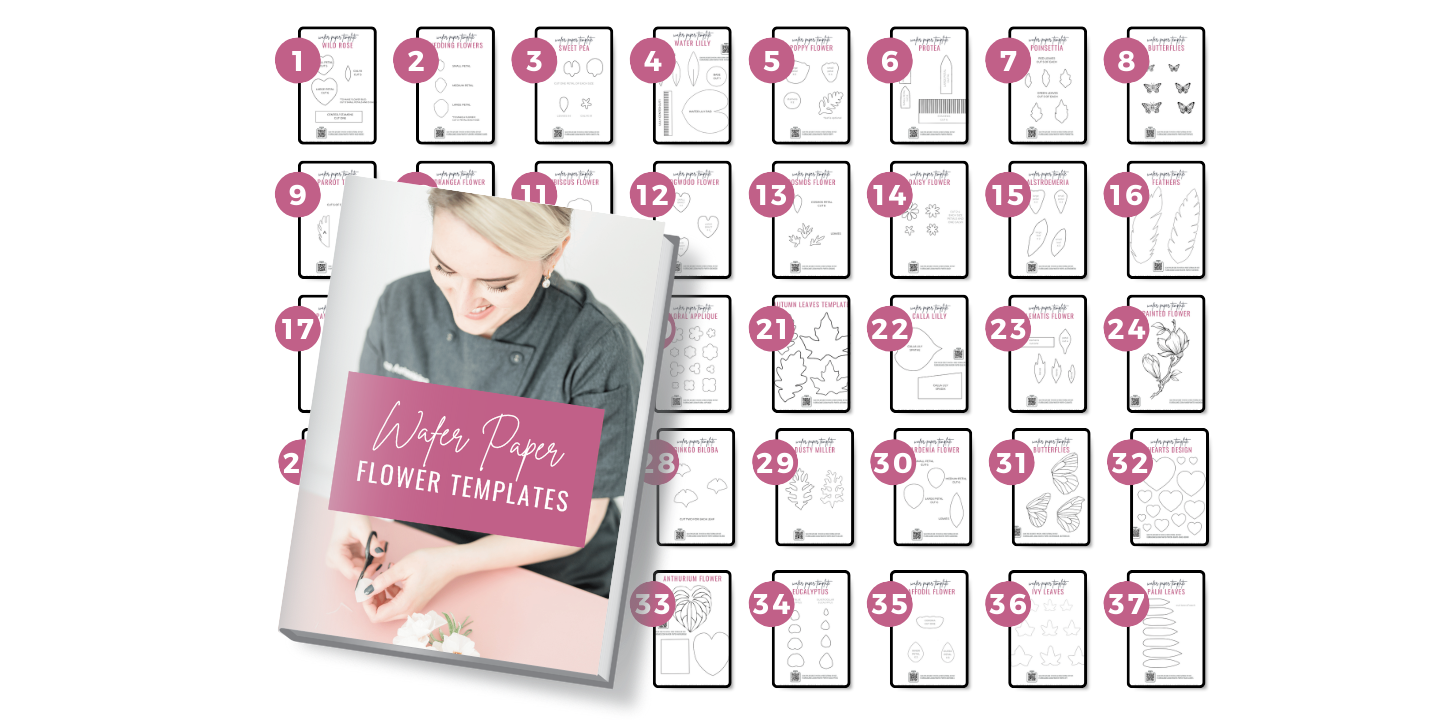
Get instant access to this and 37 more wafer paper flower tutorials and templates in my All-In-One Wafer Paper guide!
Steps to Create a Wafer Paper Wild Rose
Step 1: Cut Your Petals
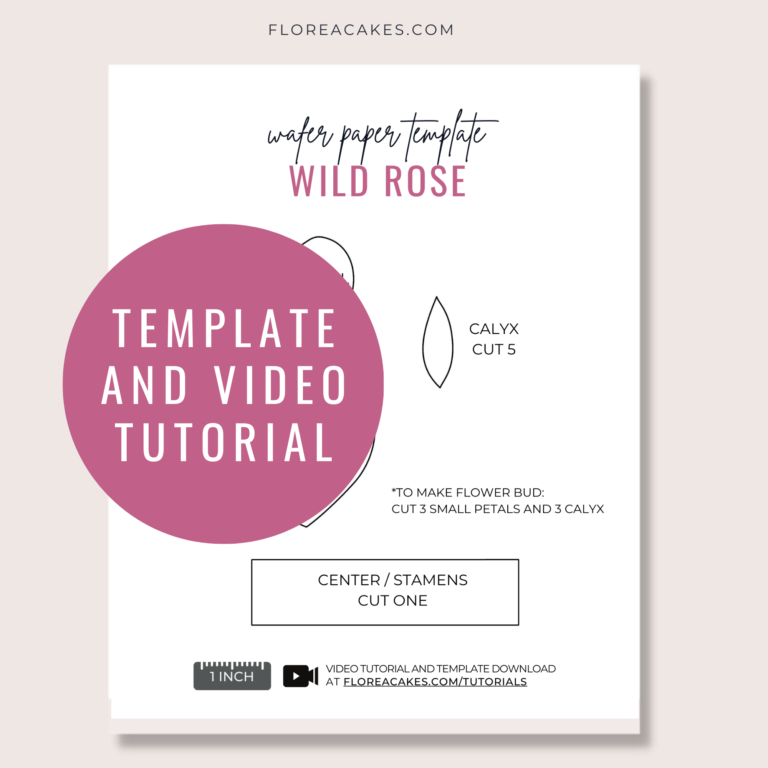
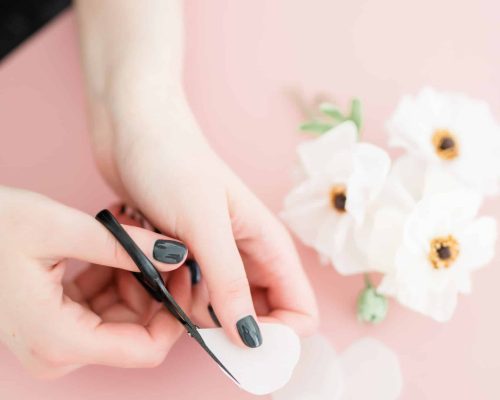
Download my Wild Rose template from my website and cut out the petals using wafer paper. I recommend stacking three sheets of wafer paper together and cutting all at once for efficiency. You’ll need six large petals, five small petals, and five pieces for the calyx.
Step 2: Create the Stamen
Using a 20-gauge floral wire, create a small hook at the end of the wire. Fringe the wafer paper finely and apply wafer paper glue (made from wafer paper scraps and water) to the fringed piece. Roll it around the wire to create the stamen, then dip the ends in a mixture of cornmeal and yellow petal dust to simulate pollen. Set it aside to dry.
Step 3: Condition the Petals
Mix your AC Tonic with a touch of Dusty Pink gel color to create a light pink shade. Using a synthetic brush, apply the conditioner to the bumpy side of the wafer paper petals.
Once conditioned, cut a small slit at the base of each petal and overlap to form a cupped shape. Use a ball tool to gently shape the petals and a toothpick to curl the edges outward.
Step 4: Assemble the Flower
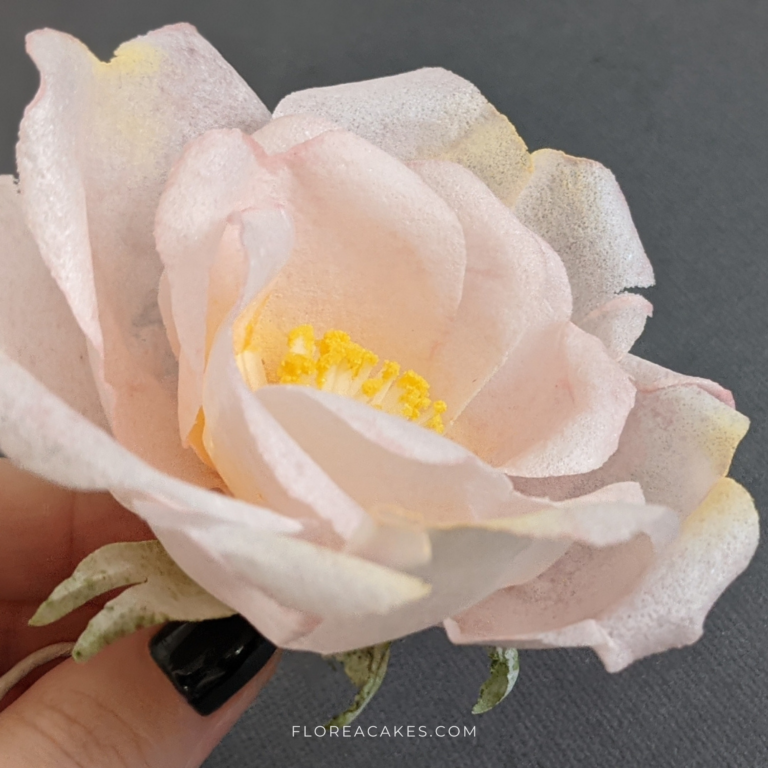
Once your petals are shaped and dried, begin assembling the flower. Start with the smallest petals, attaching them to the stamen with wafer paper glue. Gradually add the larger petals, positioning them to create a full, natural-looking flower.
Step 5: Add the Calyx
Condition and shape the calyx pieces using green airbrush color mixed with AC Tonic. Shape the calyx using a ball tool and attach them to the base of the rose. Secure the flower with white floral tape, which blends seamlessly with light-colored wedding cakes.
Step 6: Final Touches
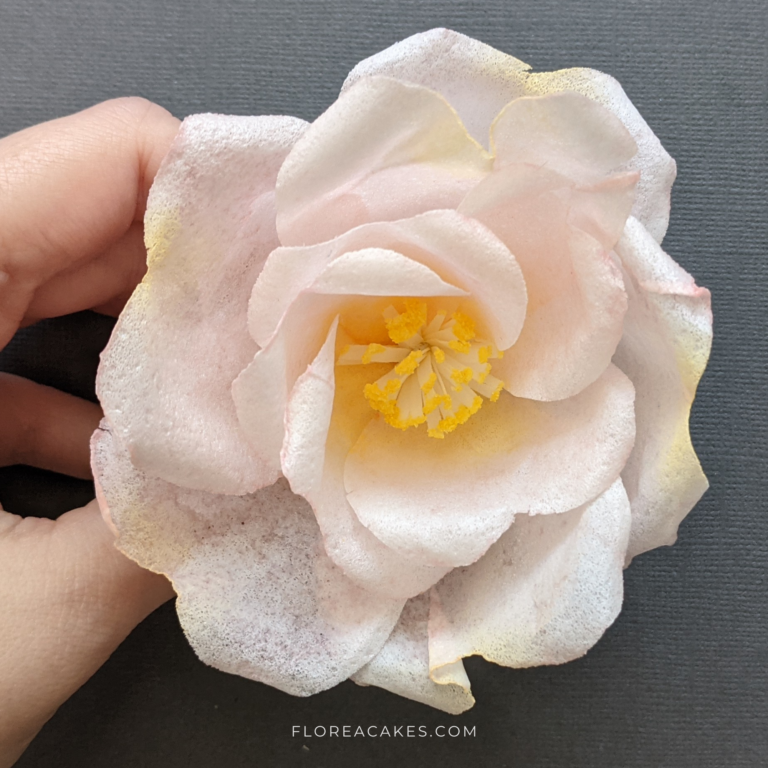
To add a final touch of realism, lightly dust the petals with Daffodil Petal Dust, focusing on the center and edges. This gives the flower depth and makes it stand out on your cake.
Now It’s Your Turn! And don’t forget to share!
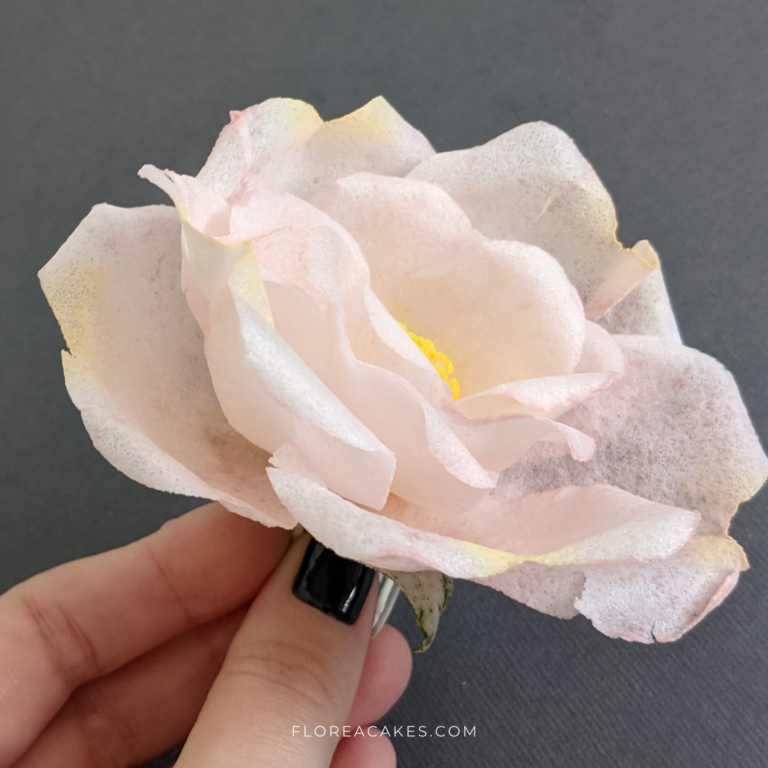
I hope you enjoyed this edible Wild Roses tutorial and that these blooms add a touch of grace to your next cake or dessert.
Make sure to Download the Template to get started, and don’t forget to share your creations on social media! Tag me @FloreaCakes so I can feature your work.


9 Comments
I can’t thank you enough for all of the wonderful knowledge and skill you have shared with us. I have turned to your website, Youtube tutorials and classes countless times for guidance. I am so grateful to you!!
Hello
Pls do u teach online
I am so grateful for your generosity on sharing great ideas on working with wafer paper. I do not think l will go back to sugar paste. Thank you once again
You are so welcome!
Am so grateful and happy to be on your page. Thanks so much for sharing .
I will try best to practice all that you’ve taught.
I just made them and they turned out great! thank you for sharing! quick question. How do you make the bud? Is it the same process but only the firt layer of petals?
Yes! You can use just a few petals and shape them into a spiral
I scanned the qr code on your book (I purchased it) and I still can’t see your tutorials.
I’m sorry for the inconvenience. I was updating this video. It should work now.