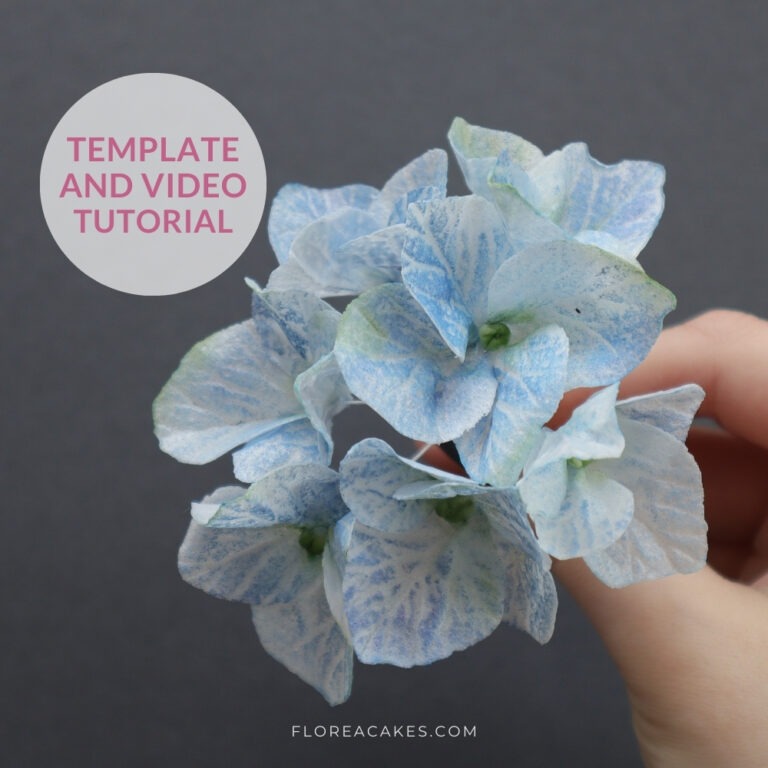
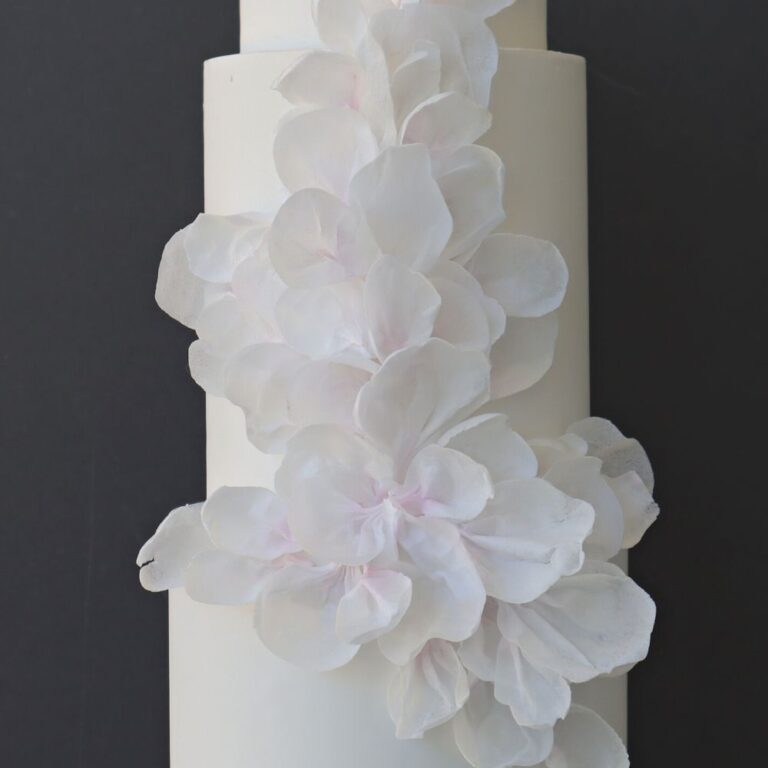
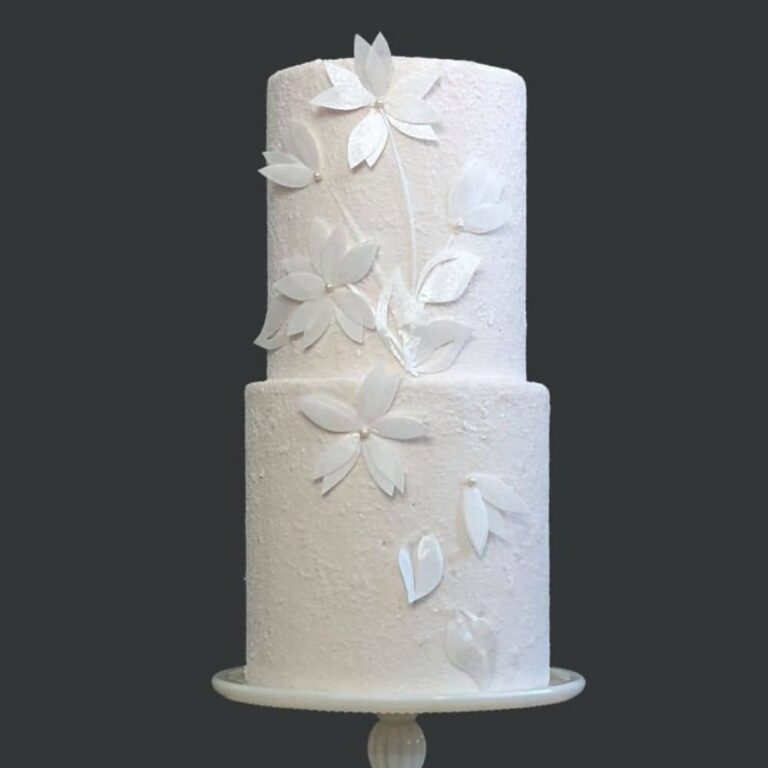
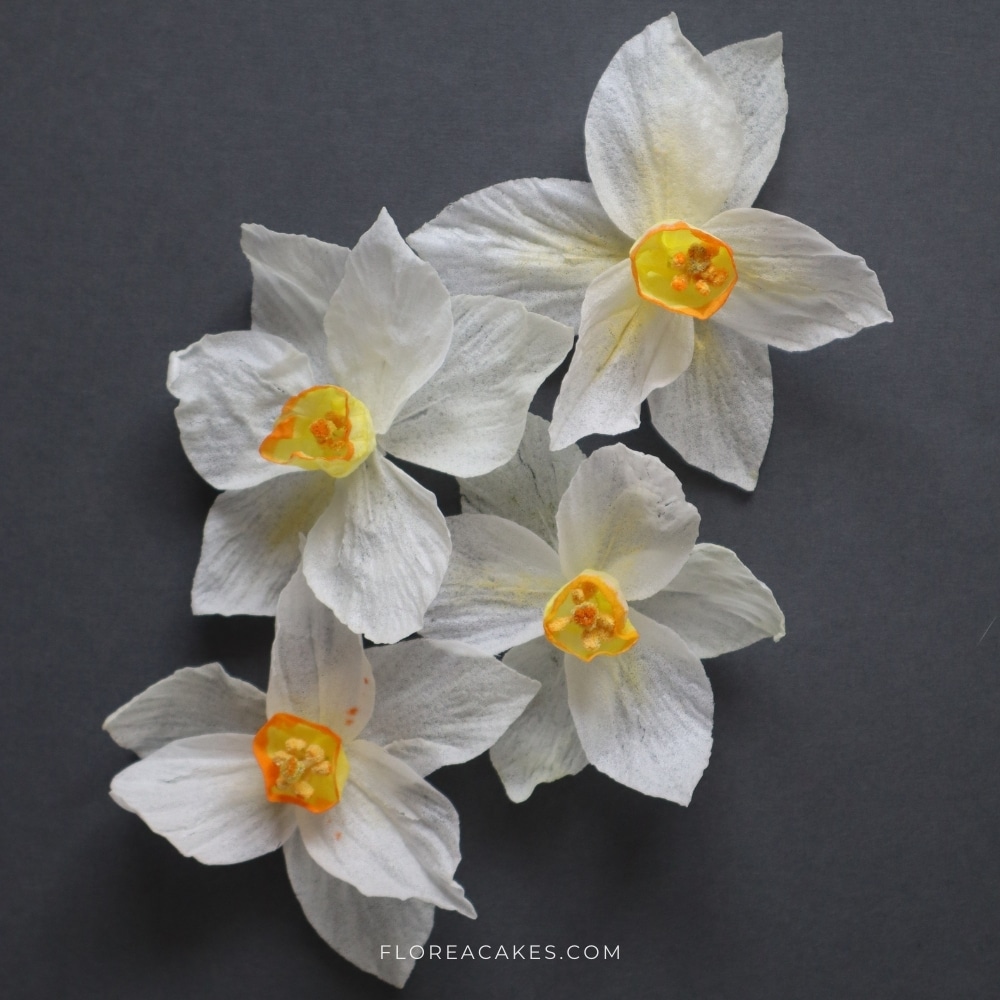
Why not bring a touch of the season to your cake decorating with these delicate, realistic wafer paper daffodils? Perfect for beginners and experienced cake artists alike, this project will guide you through every step of creating beautiful six-petaled daffodils, complete with a charming trumpet center.
In this tutorial, I’ll show you how to cut, condition, shape, and color your wafer paper so that each petal looks as lifelike as possible. Don’t worry if you’re new to working with wafer paper! This project uses basic tools, and I’ll guide you through my easy techniques for wiring and texturing. Before you know it, you’ll have a little bouquet of daffodils that will brighten any cake.
So grab your tools, get the template, and let’s bring a bit of springtime into your cake designs!
Materials and Tools
Materials
- Wafer Paper (0.27 mm)
- Wilton Stamens
- Confectioners Glaze
- Yellow Gel Color (Optional: Mix with alcohol for painting)
- Food-Grade Glycerin
- High-Proof Alcohol (Everclear or Vodka)
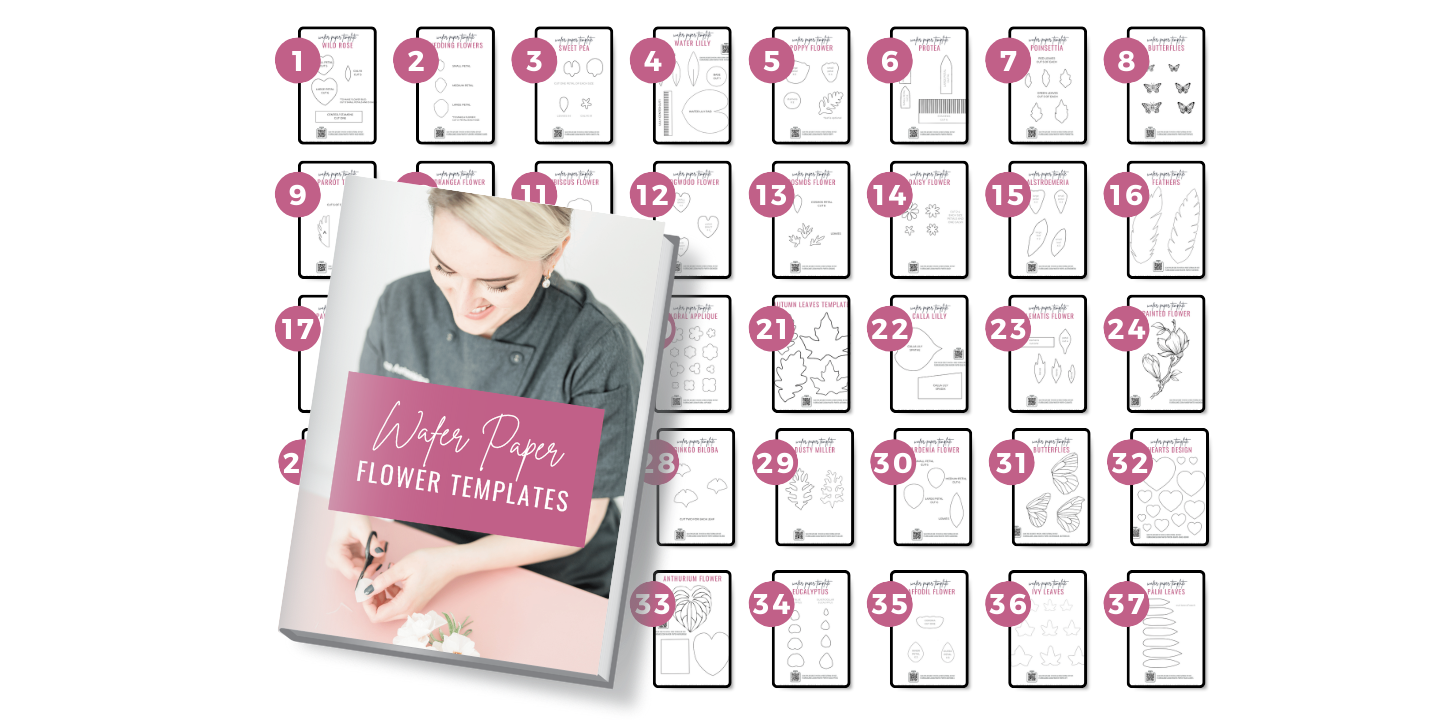
- Wafer Paper Daffodils Template (download below)
Tools
- Sharp Scissors
- Flat Brushes
- Flower Pad
- Medium Ball Tool
- Dresden Tool
- AC Tonic™ (Wafer Paper Conditioner)–get my recipe here
- Cornstarch or Corn Flour
- Floral Wire– 26-gauge and 22-gauge.
How to Create Edible Daffodils Step-by-Step
Step 1: Prepare the Template and Cut Petals
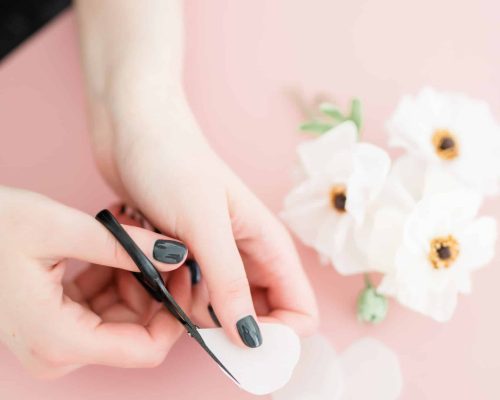
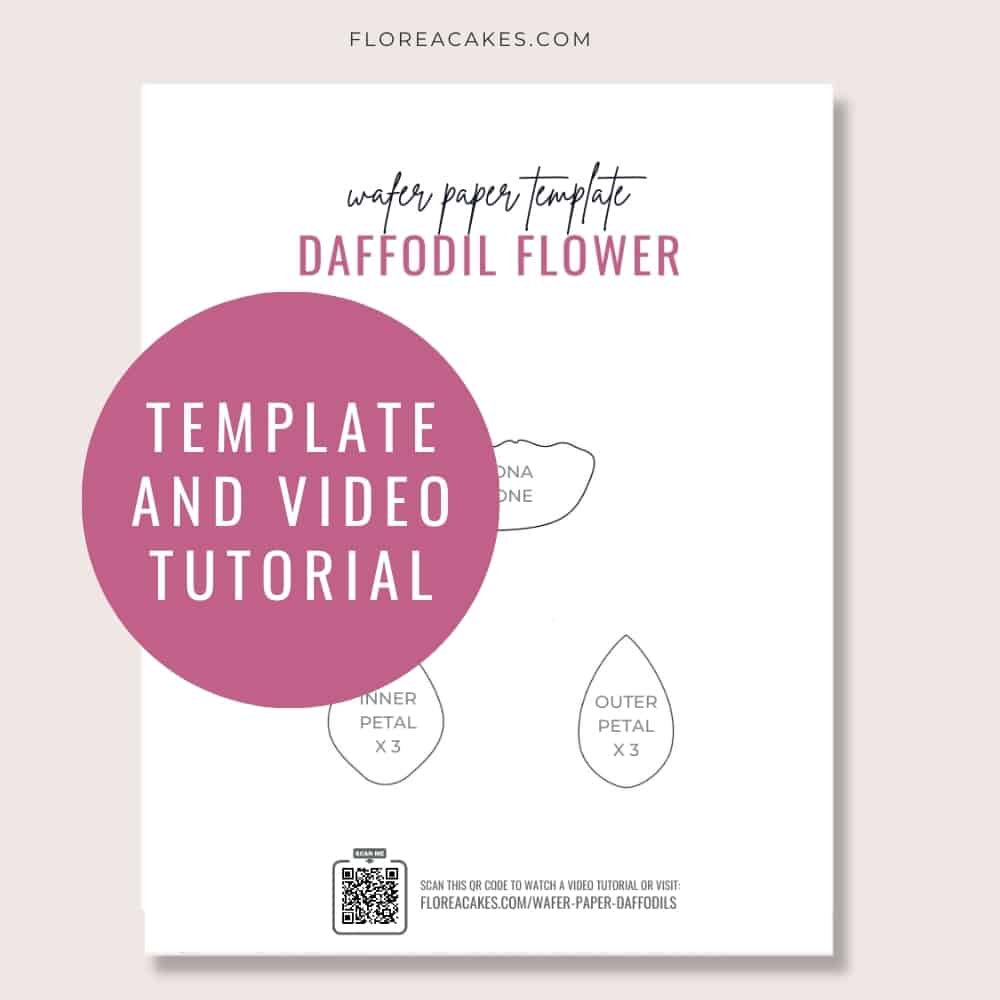
Download the FREE template below, then cut out three inner and three outer petal shapes, plus one trumpet piece (corona) for the daffodil center. Hold on to your wafer paper scraps, as these can be used to make glue later on.
Step 2: Wire the Petals
Take 30–32 gauge floral wire (the thinnest you have) and apply wafer paper glue lightly to the end. Attach it to the petal’s backside (smooth side), as the bumpy side will be the petal’s face for added texture.
Step 3: Create the Stamen Center
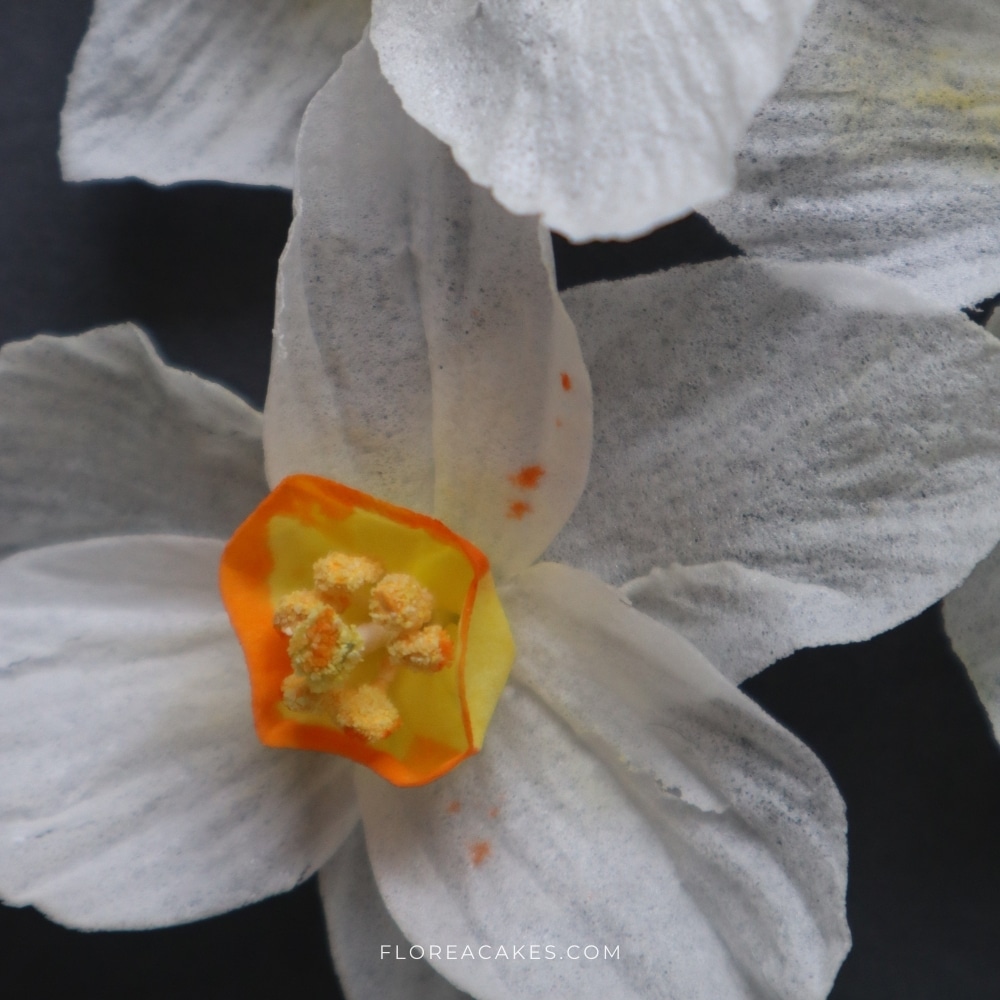
Use a 22-gauge wire for the stamen base, and secure 3–6 Wilton stamens with floral tape. Dip the stamens in confectioner’s glaze, then into a cornmeal and yellow dust mix to mimic pollen. Set aside to dry.
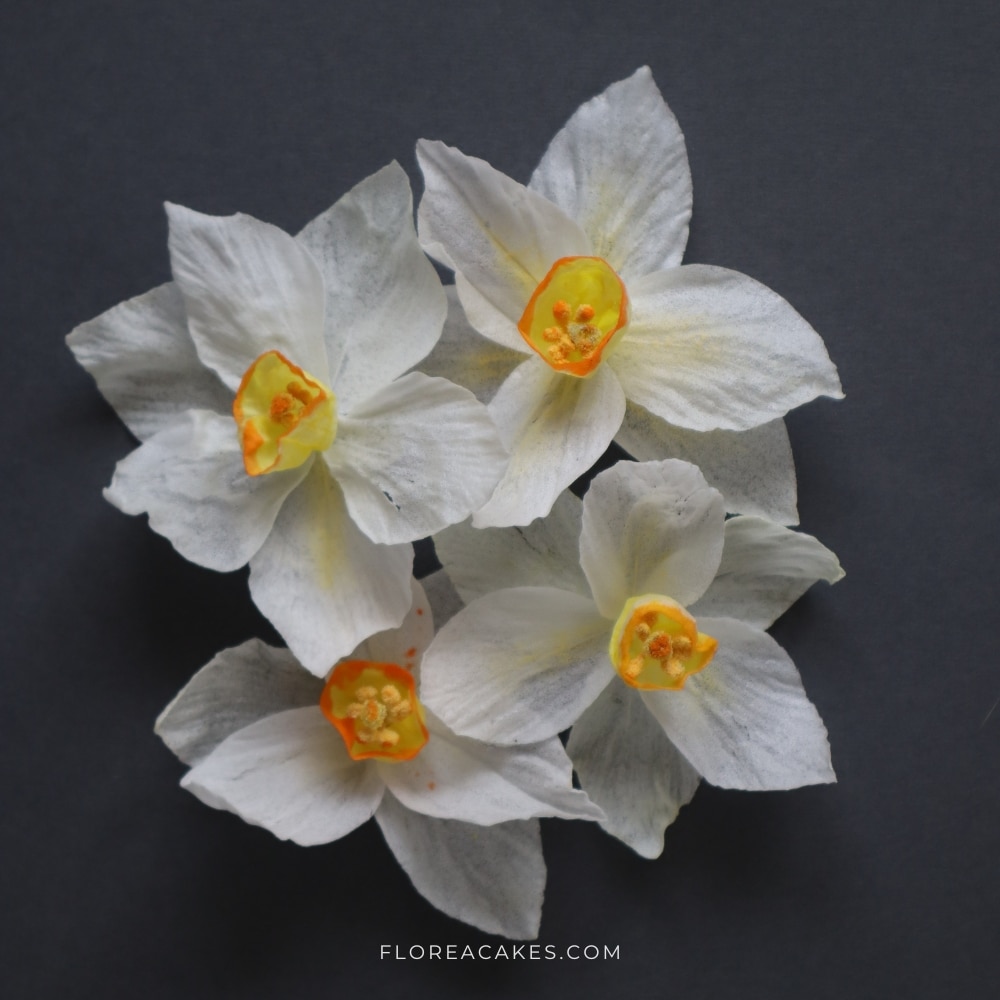
Step 4: Condition and Shape the Petals
Lightly brush each petal with AC Tonic, then press it onto a veiner to imprint texture. Let it dry on a petal former.
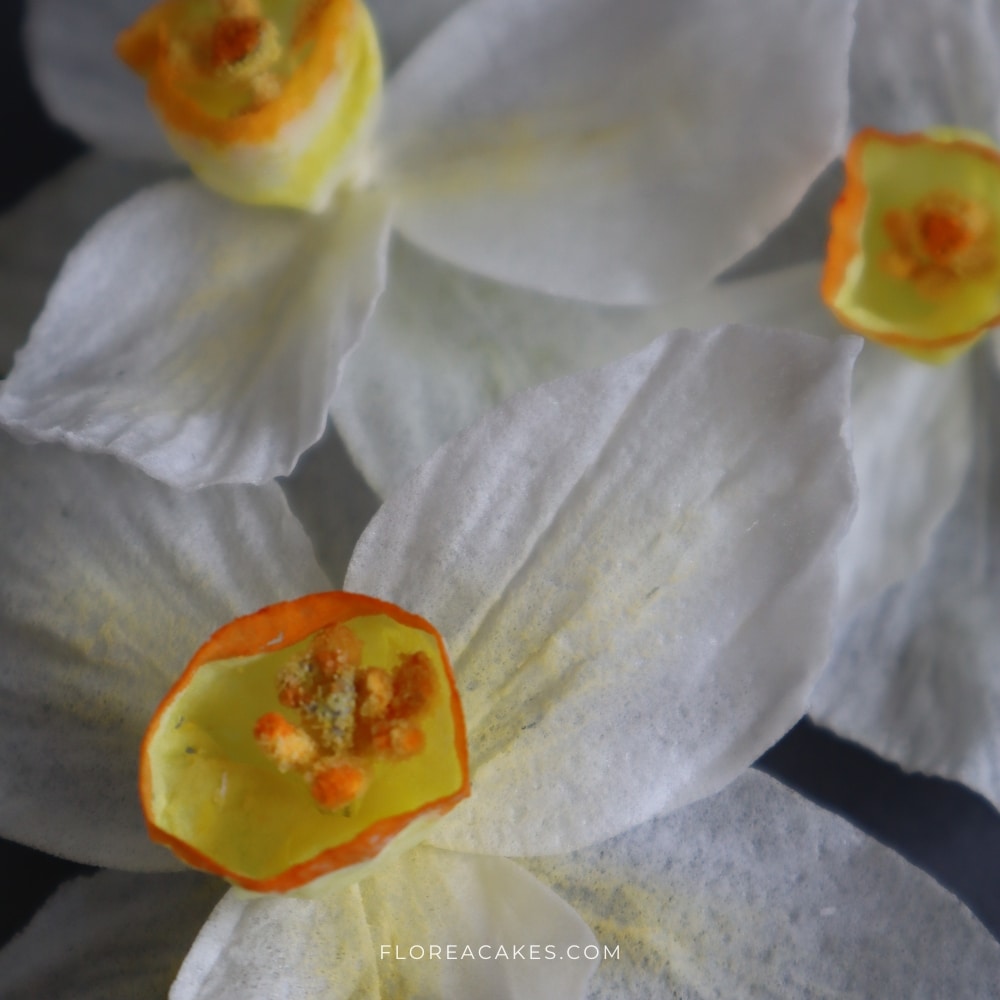
Step 5: Paint and Shape the Corona
Add yellow gel color to the conditioner mixture and paint both sides of the corona piece. Shape it with the ball tool and Dresden tool, folding it to form a trumpet shape. Attach to the stamen.
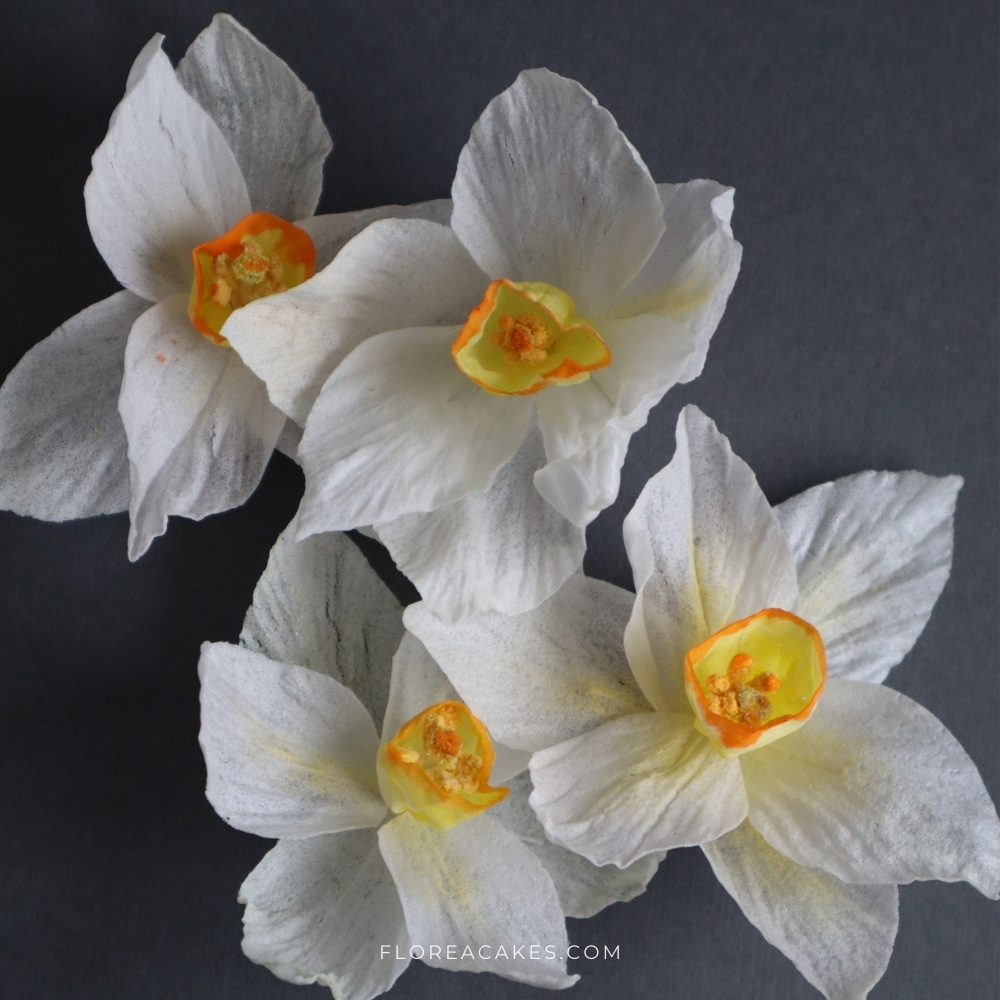
Step 6: Assemble the Flower
Attach the inner petals around the corona, followed by the outer petals. Use floral tape to secure them to the stem wire, adjusting petals as needed.
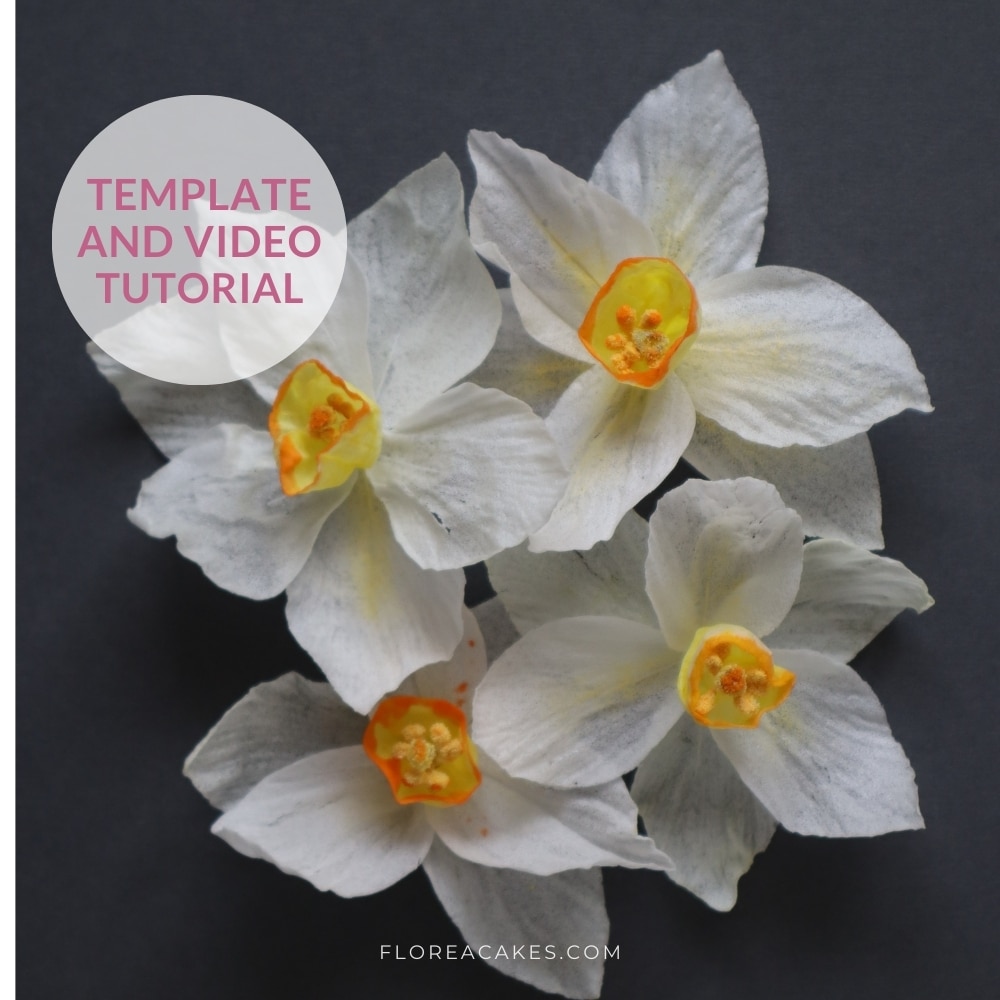
Let’s See What You Create
Creating wafer paper daffodils is a delightful way to bring the freshness of spring into your cake designs. With a few basic tools and materials, you can make these beautiful flowers come to life, adding a touch of elegance to any project.
Remember, the key is in the details – from wiring and texturing each petal to carefully painting the vibrant center.
I’d love to see your creations, so feel free to share your wafer paper daffodils on social media and tag me at @FloreaCakes! Happy crafting!
