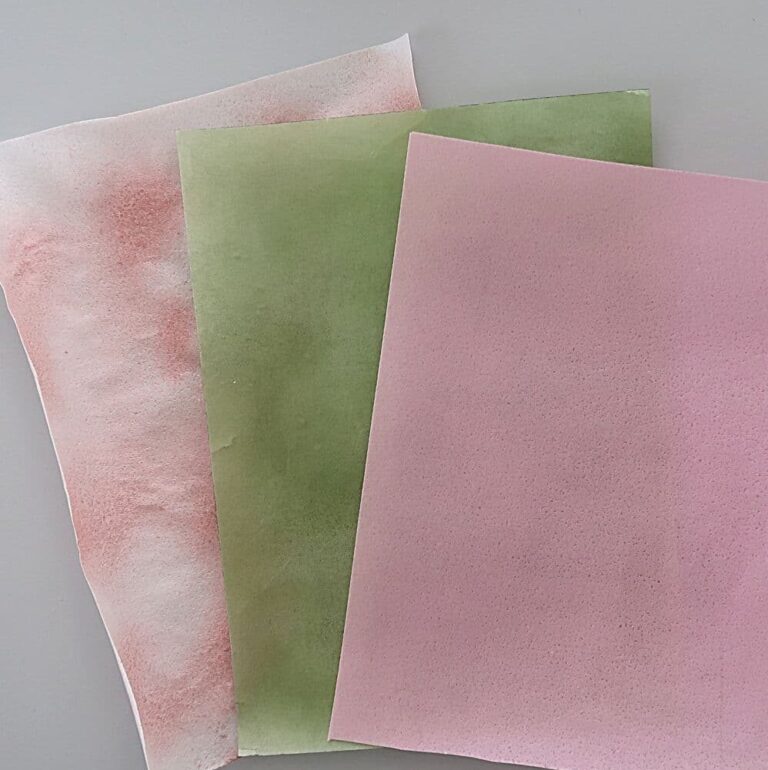
There are a few different ways to color wafer paper. You can use airbrush colors, gel color, or dry petal dust. You can also buy pre-colored wafer paper, use an edible printer, a mini-spray bottle, or oil-based colors.
My personal preference? Airbrush. It gives me more even and predictable color, better control, and it is easier to dilute. But you can do both: airbrush color and gel color.
I’m still experimenting with different ways to color wafer paper. I just want to make it easier. So let’s go back to basics, and you can make a decision for yourself.
Seven ways to color wafer paper
You know I’m partial to airbrush colors. My personal preference. But there are a few different ways to color wafer paper.
| Color | How I use it |
|---|---|
| Airbrush color | More even and predictable color. Easier to dilute. Liquid colors go on the bumpy side. |
| Gel color | Totally fine to use. Mix it well with wafer paper conditioner. It takes a little bit more time to adjust. |
| Dry petal dust | Very light and delicate coverage. Dry colors go on the shiny side. |
| Pre-colored wafer paper | Buy pre-colored wafer paper. Usually about 0.27 to 0.30 mm. |
| Edible printer | Print different designs, not just full-colored pages. |
| Mini-spray bottle | If you don’t have an airbrush, you can get a similar effect. |
| Oil-based colors | Not my favorite method. Wafer paper never becomes dry enough to handle. |
1. Buy pre-colored wafer paper
You can find different brands selling wafer paper. Usually it is about 0.27 to 0.30 mm.
Anything that’s single-thickness wafer paper will work for our flowers. The same application, the same techniques will apply to your 0.30 mm wafer paper.
2. Use an edible printer
You are not limited to pre-colored options, and you can print different designs, not just full-colored pages.
3. Use airbrush colors
If you took a course and made any flowers that I teach with wafer paper, you know I swear by airbrush colors. They give you more even and predictable color because it’s the same saturation. It’s already diluted.
When I’m making petals, I prefer to use an airbrush color. I mix it with my AC Tonic wafer paper conditioner. The color is very even. It’s easier to dilute, and it’s easier to adjust.
Even if you want bright-colored or dark-colored wafer paper, you can use airbrush color without diluting it with wafer paper conditioner. You can paint your wafer paper to make it flexible, put it in the mold, and give it all the shapes.
4. Use a mini-spray bottle
If you don’t have an airbrush, you can get a similar effect by using a spray bottle. I love these Mini Misters.
5. Color with dry petal dust
I always color the shiny side with petal dust and dry colors. We need that even surface where we can spread our colors. The coverage is much more even on the shiny side.
When I’m working with powder colors, I prefer to use fluffy brushes. For my petal dust, I use an eyeshadow brush.
Can we mix powder color with wafer paper conditioner? Yes. I just don’t see the point. It sits on the surface, and it’s not even diluting properly into the liquid. It will work so much better as a dry color.
6. Paint with gel color
It’s totally fine to use gel colors. Just make sure you mix it well. If you need to make a lot of color, you can mix it in a bottle with your wafer paper conditioner.
Sometimes the color itself is just too bright. What can you do about that? Add more wafer paper conditioner, or use less gel color. Instead of putting a little blob, take a toothpick and put just a touch.
For a general application, for making petals, I prefer airbrush color. Gel color can still have little specks of color, dots, and spots. It just takes a little bit more time to adjust.
We do use straight gel color when we are making stamens or painting certain details. But for making petals, I prefer airbrush color.
7. Color with oil-based colors
Those are the colors usually used for chocolate and candy. Not my favorite method because wafer paper never becomes dry enough to handle, but it might work for you!
Shiny side or bumpy side?
My general rule: all liquid colors go on the bumpy side. Every time you use dry color, use it on the shiny side, the smooth side of wafer paper. Then it’s going to be much more even.
How much moisture do you need?
When I’m working with liquids, I use a watercolor brush. It’s meant to work with liquids. A larger brush lets me cover the whole petal faster and get more even coverage.
Even for me, every single day is a new day. I know my humidity, my temperature, and my conditioner. But sometimes I cannot predict what is going to happen.
I saturate my brush with wafer paper conditioner on both sides. Then I scrape it on both sides to remove the excess moisture. I do want moisture in my brush, but I don’t want too much. Then I cannot control it.
I press my brush down on my plastic mat again to remove the excess moisture. I prefer not to do this on a paper towel because it’s hard to predict how much moisture will be sucked out of the brush.
I try to overlap my brush strokes by about 10%, not 50%. I want even coverage without destroying my petal. If I go in all different directions, certain spots can get too much moisture.
Just observe it. Give it some time. Try different brushes, different materials, and see which things work for you better.
Frequently asked questions
Can I use gel color on wafer paper?
Yes. You can do both. Just make sure you mix it well with wafer paper conditioner. If the color is too bright, add more conditioner or use less gel color.
Why is my wafer paper sticky and fragile?
When I have too much moisture, it feels very sticky and very fragile. I can apply a touch of cornstarch or put it on my foam pad and give it time to absorb the moisture.
I apply as little cornstarch as possible because I don’t want my wafer paper to become too stiff.
Why is my wafer paper breaking?
If your wafer paper is very dry, give it a little bit of time to absorb the moisture before you do anything else. I set it aside for a minute or two before putting it into a veiner.
You need to catch the moment when your wafer paper is flexible but not melting, flexible but not too dry. Then you can continue doing that.
How do I color a lot of petals?
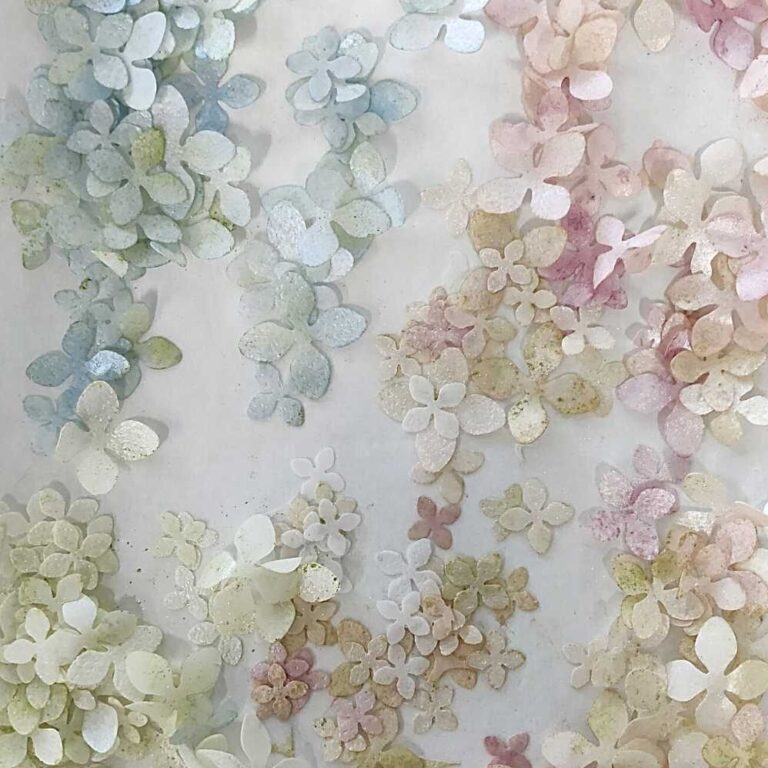
Try to condition six petals at a time, then shape six petals at a time. Repeat it over and over again. That saves me so much time because we lose time when we switch tasks.
Make beautiful arrangements
The whole point is to make a lot of petals, put them on flowers, and make beautiful arrangements. Inside WAFER PAPER ACADEMY, you have the courses, SVG files, and Silhouette files. You can use those with a cutting machine if you want to speed up the process.
If you’re just starting, here is how to make wafer paper flowers. We talk about different types of wafer paper and my favorite supplies and tools.
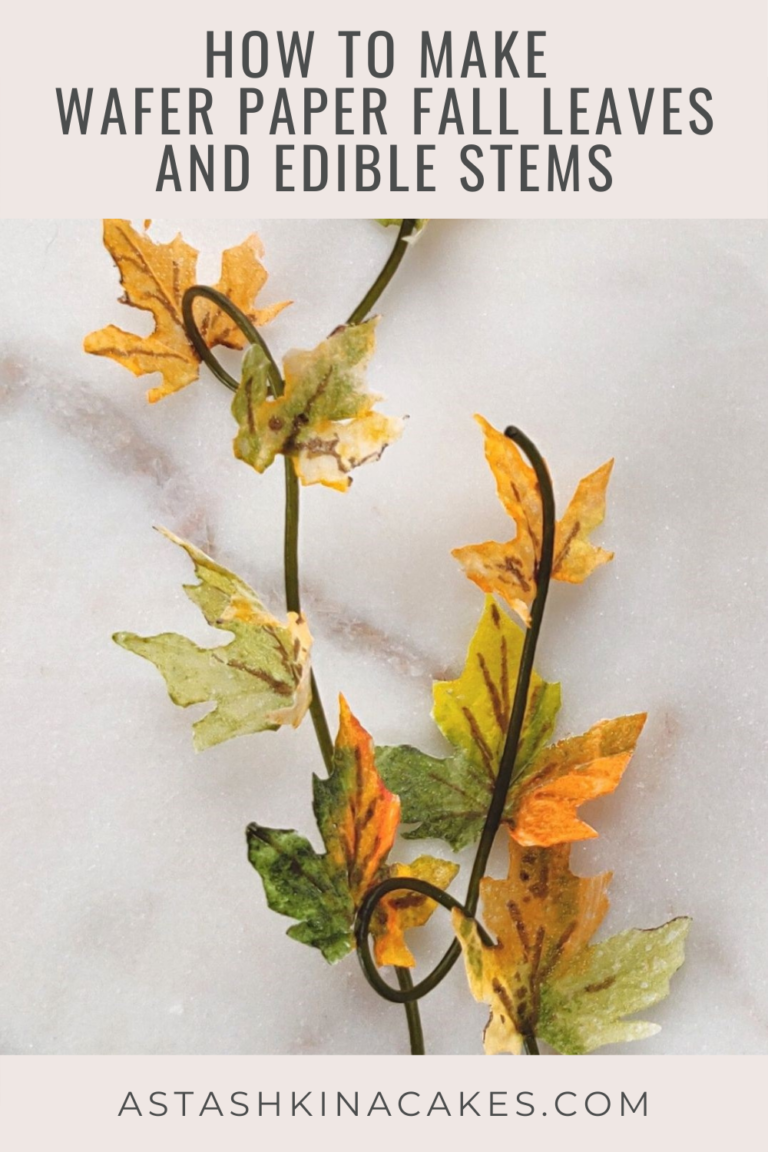
To try airbrushing on a foliage project, follow my wafer paper olive branch tutorial.
If you have any questions, I’m here to answer your questions.



One Comment
Большое спасибо за то, что делитесь своим опытом!
Очень актуальная информация! Ещё раз благодарю Вас.