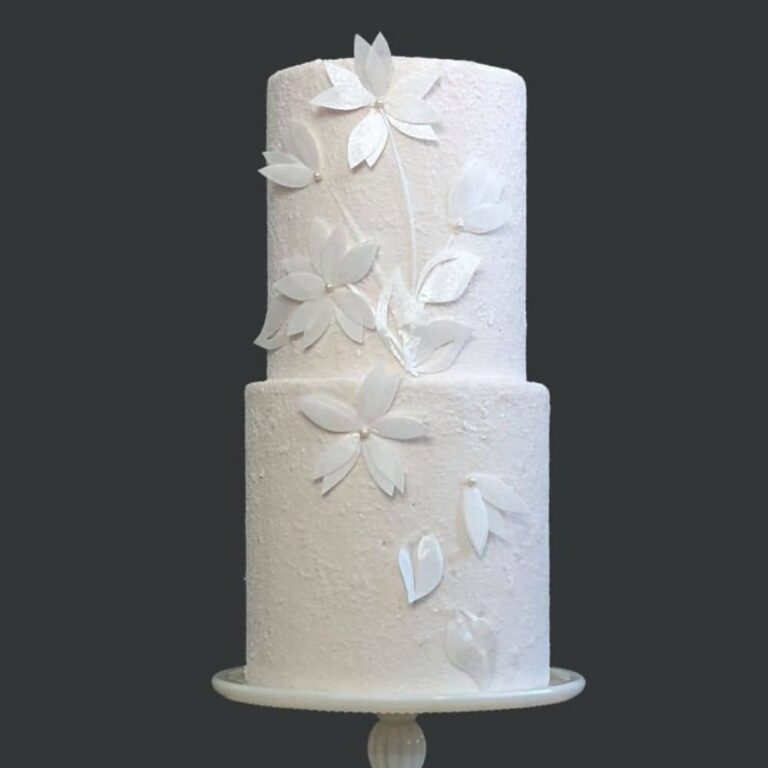
Beautiful wafer paper water lilies are a lovely addition to any cake, making a statement with their delicate, lifelike petals and vibrant lily pads.
In this tutorial, you’ll learn how to create these edible flowers from scratch, perfect for adding a natural, elegant touch to your cake designs. We won’t use any wires or non-edible materials. So these flowers would be a perfect topper on a cake.
Whether you’re new to working with wafer paper or have some experience, this step-by-step guide will walk you through the process with ease. From cutting and coloring to shaping and assembling, you’ll have everything you need to craft your own wafer paper water lily.
Ready to get started? Follow the instructions below or watch the video for a visual guide!
Materials and Tools You’ll Need
Materials:
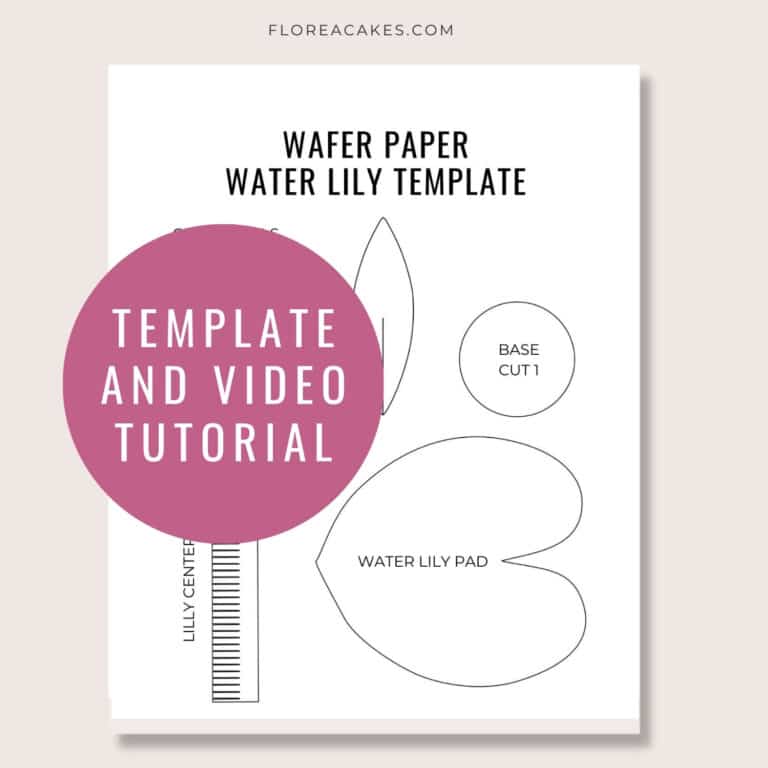
- Wafer Paper Lily Template
- AD-grade wafer paper (0.27mm) – I use Saracino for its high quality and flexibility.
- Petal Dust – The Sugar Art Petal Dust in Aurora Rose.
- Forest Green Airbrush Color – for coloring the lily pad.
- Yellow Gel Food Coloring – to color the water lily center.
- Food-grade Glycerin – helps wafer paper stay flexible.
Tools:
- Sharp Scissors – for precision cutting.
- Dresden Tool – to shape and add details to the petals.
- Medium Ball Tool – to shape the lily pad.
- Mini Cold Steamer – to gently soften the wafer paper for shaping.
- Mini Spray Bottle – for applying moisture evenly.
- Foam Pad – for shaping and adding dimension to the petals and lily pad.
How to Create a Wafer Paper Water Lily: Step-by-Step
Step 1: Cutting the Petals
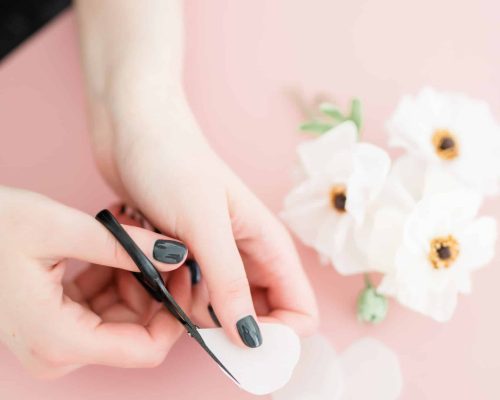
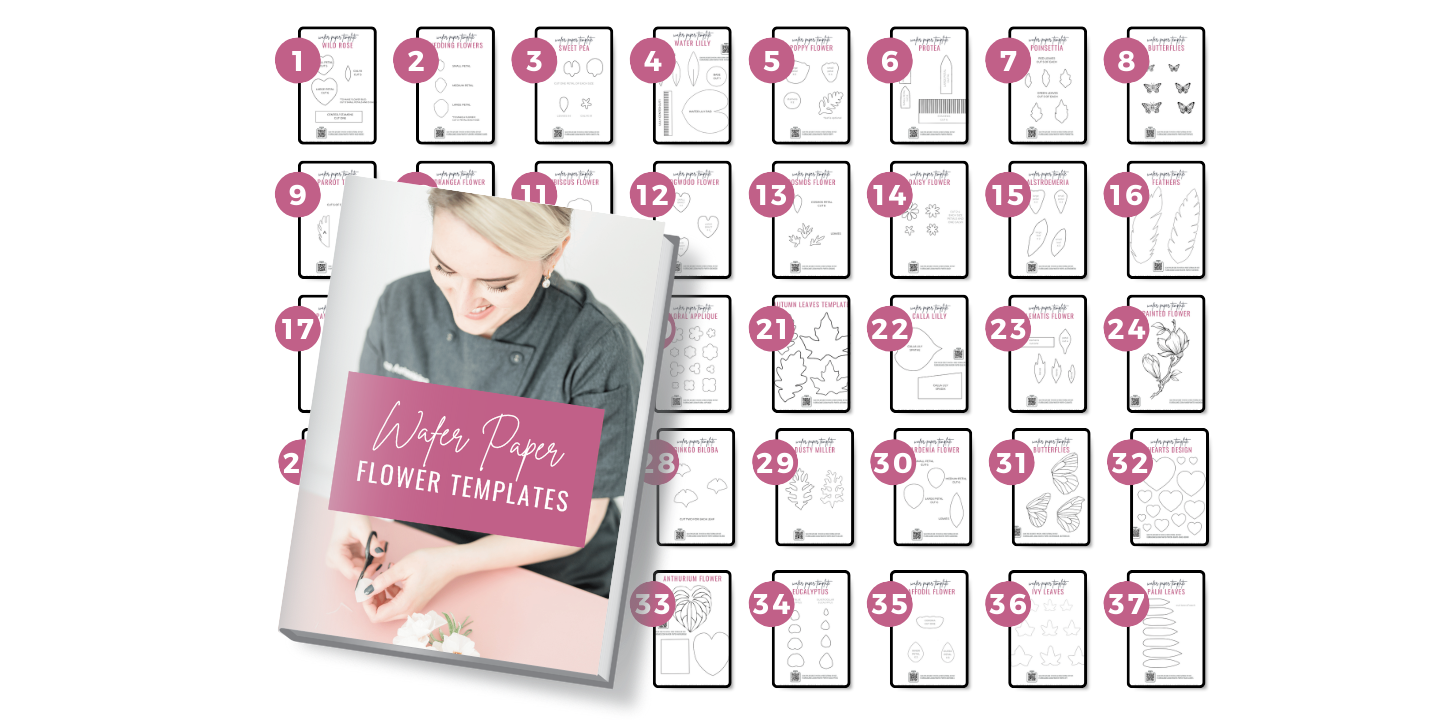
Start by cutting six petals for each size (small, medium, large) using the wafer paper template from my All-In-One Wafer Paper Guide. If you’re hand-cutting, you can stack up to three layers of wafer paper to speed up the process.
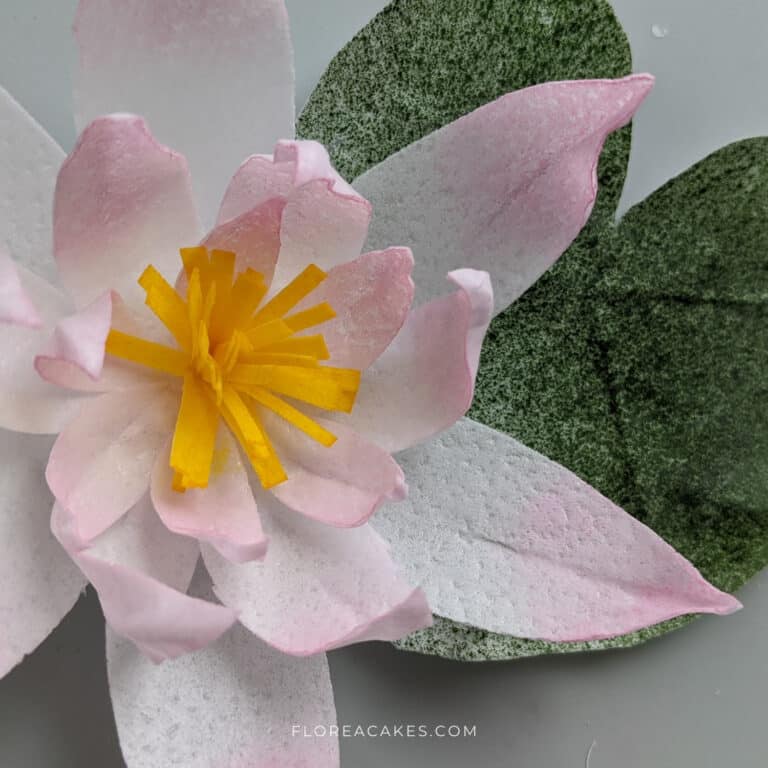
Step 2: Adding Color to the Petals
Dust the upper parts of the petals with Aurora Rose Petal Dust using a soft makeup brush. Apply lightly to create a gentle color gradient. Ensure you dust the bumpy side of the wafer paper, which will be the front side of the petal.
Step 3: Shaping the Petals
Cut a small slit into the base of each petal and use wafer paper glue (made by melting wafer paper scraps in water) to overlap the slit, creating a more curved shape. Use a Dresden tool to further shape the edges, giving each petal a natural curve.
Step 4: Assembling the Water Lily
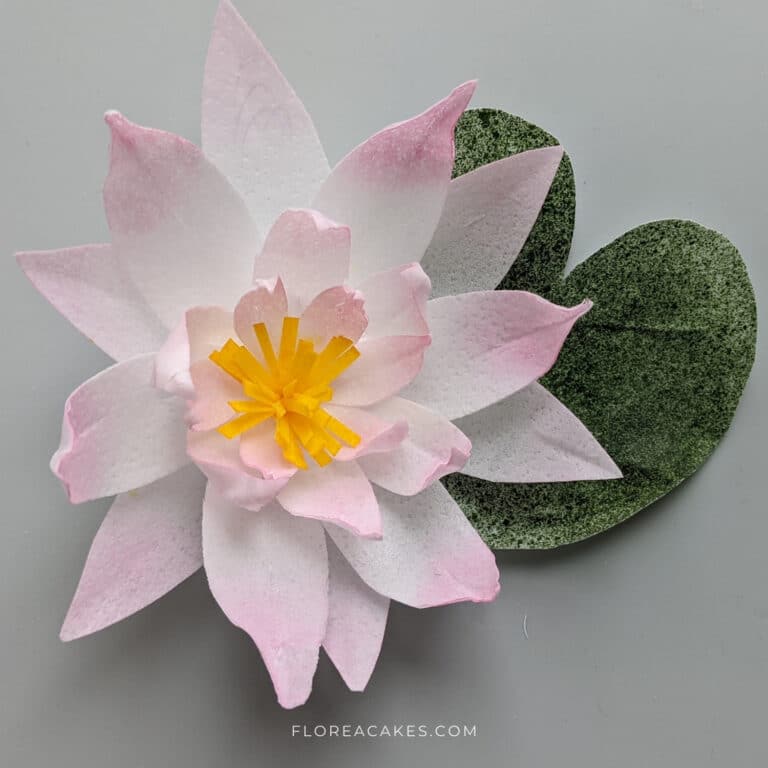
Take a small wafer paper circle as your base. Start attaching the large petals using wafer paper glue, positioning them evenly in a circular pattern. Once the first layer is attached, repeat the process with medium and small petals, staggering them for a fuller effect.
Step 5: Creating the Flower Center
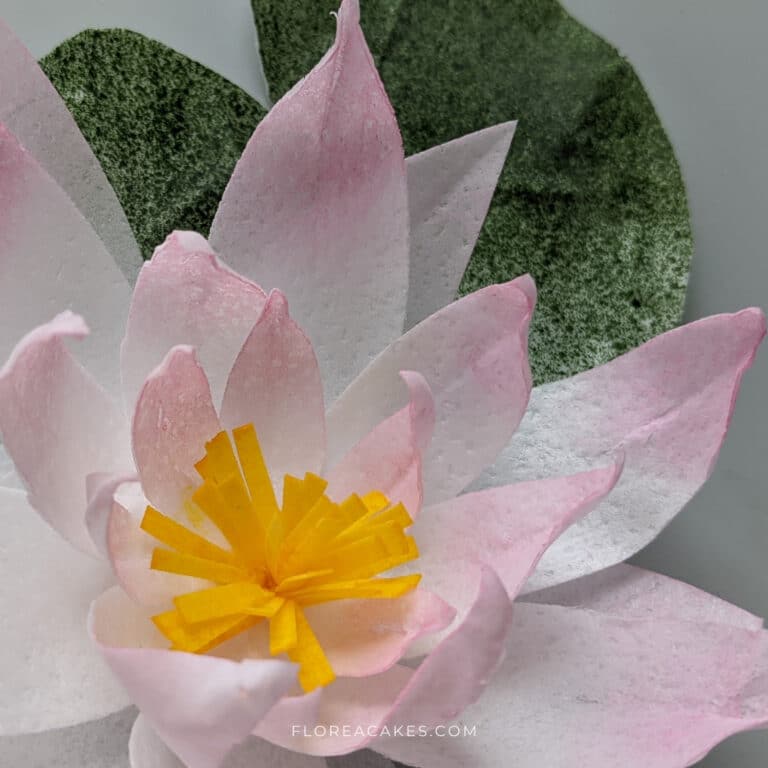
To make the stamen, color a piece of wafer paper yellow using yellow gel color mixed with glycerin. After it dries, cut the paper into fine fringes to mimic the stamen of a real water lily. Roll and pinch the fringe to form a tight center, and secure it with wafer paper glue.
Step 6: Making the Lily Pad
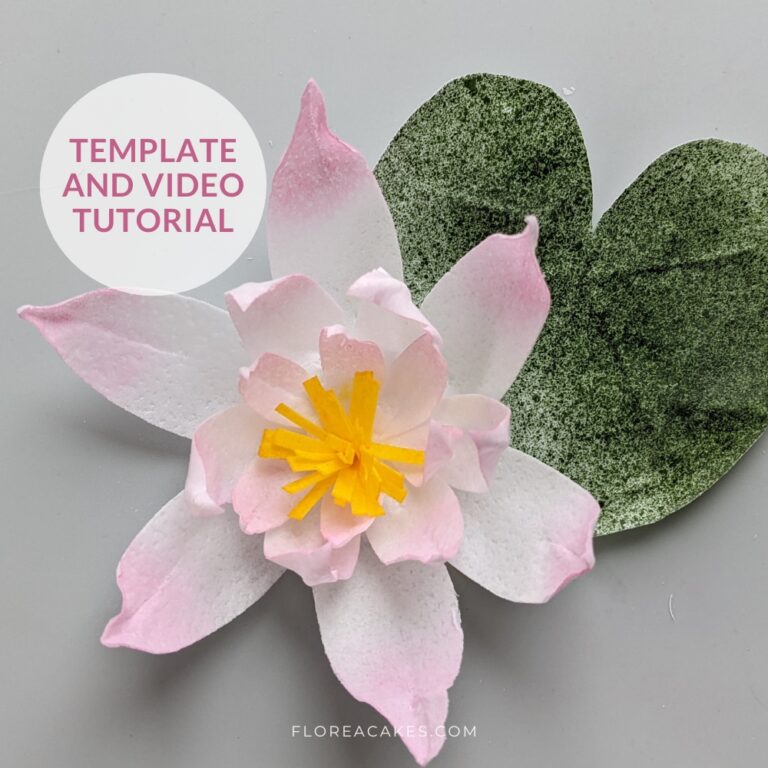
Use the template to cut out a lily pad shape from wafer paper. Color it with Forest Green Airbrush Color using a mini spray bottle. To give it dimension, lightly steam the lily pad with a mini cold steamer and shape it using a ball tool. Add veins to the pad using a Dresden tool for a more realistic look.
Now It’s Your Turn!
I hope you enjoyed this edible water lily tutorial and that these flowers add a touch of elegance to your next cake or dessert.
They’re lightweight, 100% edible, and can be customized with different colors and shapes so feel free to experiment and be creative with them!
Download the template to get started, and don’t forget to share your creations on social media! Tag me @FloreaCakes so I can feature your work.

